

“Enough with salting your food – now it’s time to food your salt!” That was salt expert Mark Bitterman throwing down the gauntlet to back-patio cooks everywhere.
Let’s be honest for a second. Grilling a steak is child’s play. You drop a two-inch ribeye onto white-hot cast iron, drink a cold beverage, and walk away looking like a hero.
But grilling a delicate piece of fish?
That’s an extreme sport. One second you are holding a beautiful, thirty-dollar piece of fresh red snapper, and the next second half of it is stuck to your grate, dripping down into the charcoal ash like a sad, burnt sacrifice to the pitmaster gods.
Enter the pink Himalayan salt block.
It sounds like a ridiculous wellness trend or something your holistic aunt uses to purify the air in her living room. But salt-plank grilling is the ultimate weapon for cooking fragile seafood without losing your mind or your dinner.
This technique gives you a smooth, heat-retaining surface that cures, sears, and seasons simultaneously.
Let’s break down how this ancient geological rock will turn you into an absolute legend behind the grill.
What is a Himalayan Salt Plank & How Does It Work?
Before throwing a chunk of pink rock onto a 500-degree flame, it helps to understand what you are actually holding.
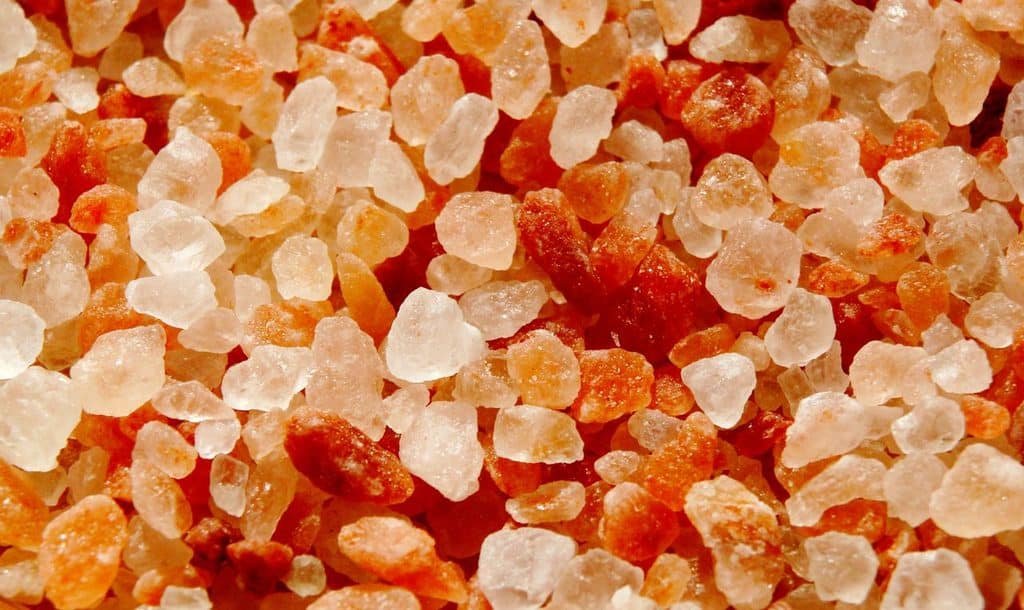
These glowing slabs are harvested from the Khewra Salt Mine in Pakistan, carved directly from ancient seabed deposits formed over 250 million years ago.
Thermal Mass and Heat Distribution
Metal grates have fierce hot spots and cold spots. A dense block of salt, however, acts like a heavy battery for thermal energy.
It absorbs heat slowly and releases it with extraordinary consistency across its entire surface. This means no surprise flare-ups and no uneven hot zones scorching your fish.
Near-Zero Moisture Content
Unlike cedar planks or hardwood boards that need to be soaked in water so they don’t catch fire, Himalayan salt blocks have almost zero residual moisture.
This low porosity allows you to heat them to searing temperatures without the rock cracking or shattering into pieces.
Subtle Mineral Flavor
When you dust a fillet with refined table salt, you are hitting it with harsh, concentrated sodium chloride.
A salt plank infuses seafood with complex mineral depth, thanks to trace amounts of iron, magnesium, calcium, and potassium that soften the saltiness and accentuate the natural sweet oiliness of the fish.
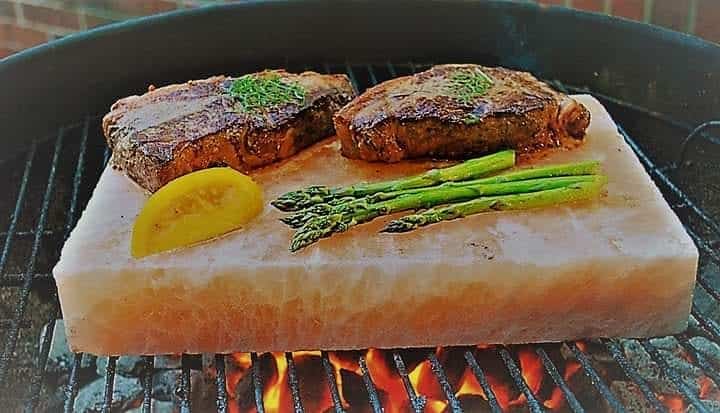
Salt Plank vs. Cedar Plank
| Feature | Himalayan Salt Plank | Cedar Wood Plank |
| Reusability | Reusable dozens of times | Single-use (burns up) |
| Flavor Profile | Infuses subtle mineral seasoning | Infuses heavy, woody smoke |
| Heat Level | High heat searing (450ºF) | Low-to-medium roasting |
| Preparation | Naturally antimicrobial | Requires hours of soaking |
Why Salt-Plank Grilling is Perfect for Delicate Fish
Cooking fragile sea life directly on a grill grate is a gamble. Salt-plank grilling solves every mechanical issue that makes seafood cooking intimidating.
- Eliminating the Flake-Through Problem: White fish like flounder, cod, or trout lose structural integrity the second their proteins denature and firm up. A solid salt block acts as a barrier, giving your fillet a smooth, uninterrupted platform so it never falls into the fire.
- Moisture Management and Crust Formation: The salt draws a microscopic layer of surface moisture out of the raw fish the moment it touches the hot rock. That moisture dissolves a microscopic layer of salt, creating an instant brine that sears into a light, crispy crust.
- No Direct Flame Flare-ups: Fish fat dripping onto hot coals creates wild flames that leave a soot-like bitter residue on delicate flesh. The salt block blocks those drips, giving you clean heat.
Best Fish Varieties for the Block
- High-Fat Delicate Fish: Salmon, Steelhead Trout, Sea Bass, and Chilean Seabass. Their rich fat melts into the salt surface, creating incredible flavor.
- White Flaky Fish: Halibut, Red Snapper, Cod, Flounder, and Mahi-Mahi. These benefit most from the flat, non-stick surface environment.
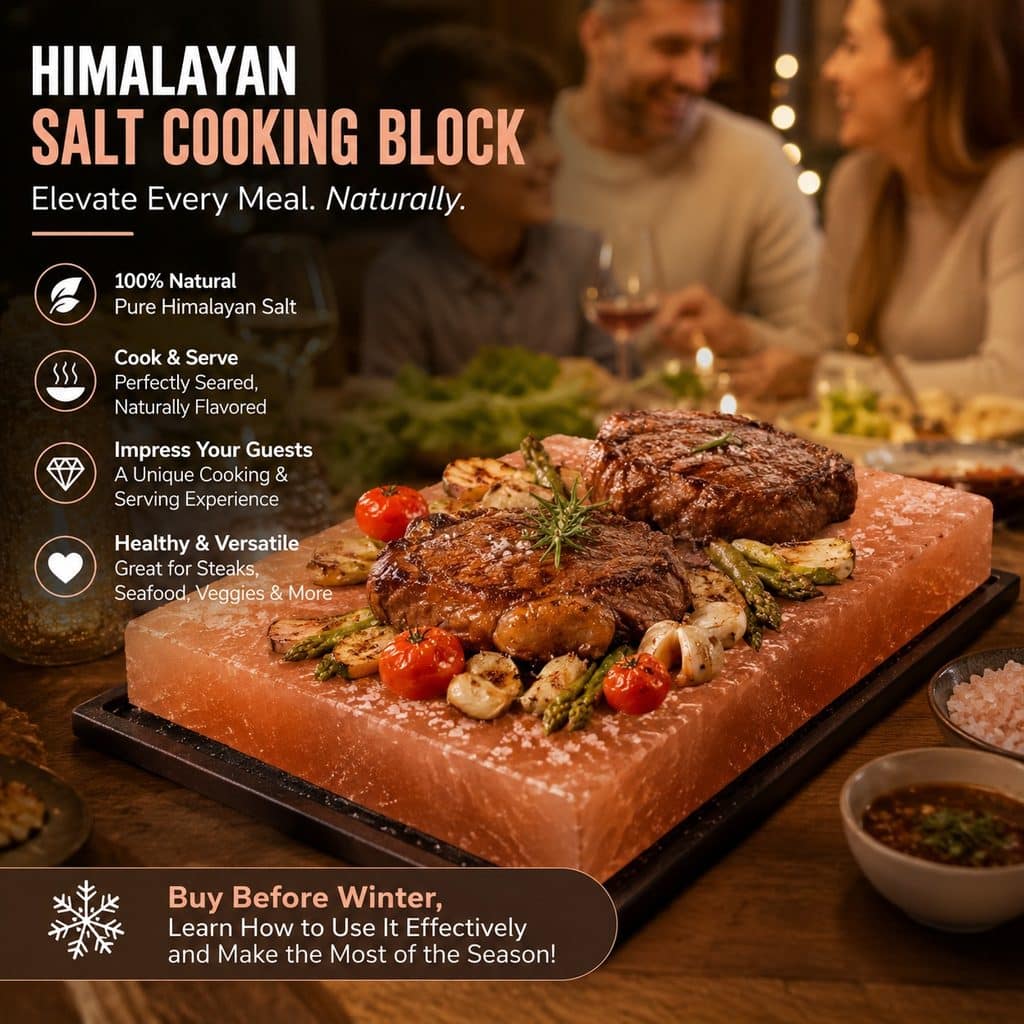
Prepping Your Salt Block: The Heating Process
If you take a room-temperature salt block and slam it onto a blazing 600-degree grill, it will explode like a cheap firecracker. Salt is a crystal, and crystalline structures do not tolerate rapid thermal shock.
Patience is key here. Heating your salt block slowly is the single most important rule of salt-plank grilling.
The 3-Step Heating Schedule
- Phase 1 (Low): 200ºF – 250ºF for 20 Minutes
- Phase 2 (Medium): 300ºF – 350ºF for 20 Minutes
- Phase 3 (High): 400ºF – 450ºF+ for 20 Minutes
How to Heat Your Block Step-by-Step
- Phase 1 (Low Heat): Place your completely dry salt block over indirect heat or a low gas burner. Set the temperature to around $200^\circ\text{F}$ and leave it alone for 20 minutes.
- Phase 2 (Medium Heat): Crank the heat up to $300^\circ\text{F} – 350^\circ\text{F}$. You may hear small popping sounds inside the stone—that is just internal micro-fissures adjusting to the heat expansion. Leave it for another 20 minutes.
- Phase 3 (High Searing Heat): Bring the grill up to $400^\circ\text{F} – 500^\circ\text{F}$ for the final 20 minutes.
Testing the Temperature
Don’t guess when your block is ready. Flick a few drops of water onto the surface of the salt block.
If they sizzle and vaporize instantly, you are ready to cook. If you have an infrared laser thermometer, aim for a target surface temp between 425ºF and 475ºF.
Preparing the Fish: Seasoning & Oil Rules
Prepping fish for a salt block requires you to unlearn almost everything you know about normal kitchen seasoning.
Rule #1: Put Away the Table Salt
Do not add salt to your raw fish. None. Zip. Zero. The salt block provides 100% of the seasoning your protein needs. Salting beforehand guarantees an inedible brine bomb.
Rule #2: Oil the Fish, Never the Block
If you pour cooking oil directly onto a hot salt block, it runs off the edges, hits the burners, and creates a grease fire.
Worse, oil seeps into the microscopic cracks of the salt, burns, and leaves a rancid taste behind. Instead, lightly brush your fish fillets with a high-smoke-point oil like avocado or grape seed oil.
Rule #3: Keep Flavors Clean and Acidic
Because the salt block brings a deep mineral salinity, pair it with bright, fresh aromatics that cut through the richness:
o Fresh cracked black pepper or crushed pink peppercorns.
o Lemon, lime, or orange zest (save the fresh liquid juice for after the cook).
o Fresh herbs like dill, thyme, tarragon, or rosemary.
o Finely minced garlic or sumac.
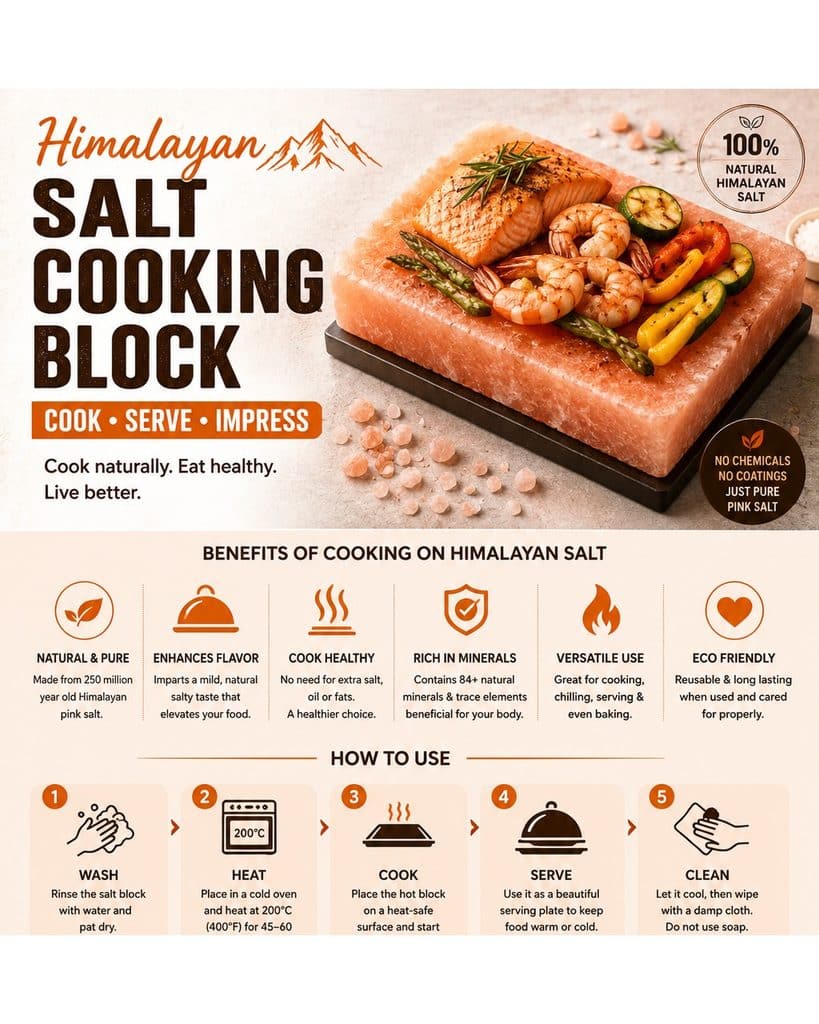
Step-by-Step Cooking Technique
Once your salt block is hot and your fish is oiled and prepped, it is game time.
Execution Order
- Step 1 (Place): Lay fillet down (Skin-side UP first for a heavy flesh sear).
- Step 2 (Monitor): Cook 4 to 6 minutes per side for 1-inch thick cuts.
- Step 3 (Flip): Slide flexible metal spatula flat beneath the protein.
- Step 4 (Finish): Pull at 130ºF internal temperature.
Detailed Cooking Steps
- Placement: Lay your oiled fish fillets directly onto the center of the screaming hot block. If your fillet has skin, lay it flesh-side down first if you want a heavy sear, or skin-side down first if you want to protect the meat while it renders.
- Timing: For a standard one-inch-thick fillet, expect a total cook time of roughly 8 to 10 minutes. Let it sit undisturbed for the first 4 to 5 minutes to allow the protein crust to release cleanly from the salt.
- The Flip: Use a thin, flexible metal spatula or fish turner. Gently slide it completely flat under the fish. If it feels like it’s sticking, give it another 30 seconds – the fish will naturally release once a crust forms.
- Checking Doneness: Don’t poke it to death. Insert an instant-read digital thermometer into the thickest part of the fillet. Pull the fish off the salt when it hits 130ºF for medium or 140ºF for well-done. The carryover heat will finish the job.
Pitmaster Pro-Tip: Use heat-resistant grilling gloves to carefully lift the entire salt block off the grill (using a metal serving tray underneath) and bring it straight to the dining table. It makes a stunning centerpiece that keeps the food warm while you serve.
The Science of Curing: Turning Cold Salt Blocks into Charcuterie Boards
You don’t always need a roaring fire to harness the culinary power of Himalayan salt. Cold salt planks act as spontaneous dry-curing platforms for delicate, sushi-grade raw fish like king salmon or tuna.
- The Setup: Chill your block in the freezer for two hours before laying down razor-thin slices.
- The Process: The cold stone draws out surface moisture while pushing trace minerals inward, triggering a instant micro-cure.
- The Result: The protein’s texture firms up without applying a single degree of heat, creating a high-end crudo or gravlax that transforms raw seafood into a silky, perfectly seasoned delicacy right before your guests’ eyes.
Desalting & Recycling: What to Do When Your Block Breaks
No matter how carefully you heat your block, every salt plank eventually succumbs to physics and cracks into pieces. Throwing those broken chunks in the trash is like throwing away liquid gold.
- Option A (Custom Finishing Salts): Break smaller pieces down with a heavy mallet and blitz them in a spice grinder to upcycle fractured salt planks into gourmet finishing salts.
- Option B (Smoked Salt Blend): Toss larger surviving chunks directly into your smoker alongside hardwood chips. The porous salt crystals absorb deep wood-smoke compounds, creating a custom hickory- or applewood-infused smoking salt.
Your old, broken grilling tool instantly becomes a high-value pantry staple that lasts for years.
The Drink Pairing Matrix: What to Sip with Salt-Planked Fish
Cooking on a mineral-dense slab alters the final flavor profile of your fish, demanding high-acid, crisp beverages that cut through rich fish oils without fighting the mineral finish.
- What to Avoid: Skip heavy, oaky Chardonnays – they clash aggressively with warm salt.
- Wine & Beer Picks: Pour a bone-dry Sancerre, a minerally Spanish Albariño, or a tart Gose beer.
- Cocktail Choices: A classic Paloma or a dry Gin & Tonic works wonders.
The bright citrus notes and carbonated effervescence cleanse the palate between bites, elevating the overall dining experience into a full-sensory backyard feast.
Cleaning, Care, and Storage
Taking care of your salt block determines whether it lasts for two years or two cooks. Salt is water-soluble, so treating it like a normal pan will literally melt your investment down the drain.
- Cool It Down Completely: Never wash or move a hot salt block. Let it sit on your unlit grill for at least 2 to 3 hours until it naturally returns to room temperature. Plunging hot salt into water will shatter it instantly.
- Scrape, Don’t Soak: Dampen a scrub brush or a soft scouring sponge with warm water. Scrape off all stuck-on bits of fish skin or burnt glaze. Do not use dish soap – salt is naturally antimicrobial, and soap will sink into the porous rock, making your next meal taste like lavender hand wash.
- Dry Thoroughly: Wipe the block down with a clean paper towel. Set it on a wire rack to air-dry in a well-ventilated space for at least 24 full hours.
- Storage Environment: Store your dry salt block wrapped in a clean cotton towel or plastic wrap, sealed inside a dry cabinet. Keep it far away from humid places like damp basements or outdoors under grill covers.
Troubleshooting Common Issues
- Issue: “My fish turned out way too salty!”
o The Fix: Either your block wasn’t hot enough when you put the fish down, or your fish was wet when it hit the salt. High heat sears the surface quickly, limiting the amount of salt absorbed. Always pat your fish completely dry with paper towels before applying oil.
- Issue: “My salt block cracked down the middle during heating.”
o The Fix: You heated it up too fast. Slow down the warm-up phases. If it splits, don’t throw it out – you now have two smaller salt blocks that work just fine for single-fillet portions!
- Issue: “The fish skin tore completely off when I tried to flip it.”
o The Fix: You flipped too early, or your block dropped below searing temp. Let the protein form a crust; it will naturally let go of the salt surface when it’s ready.
Master the Salt, Master the Flame
Salt-plank grilling transforms delicate fish from an unpredictable nightmare into an effortless victory. It merges ancient food preservation science with modern backyard barbecue, giving you stunning presentation, rich moisture retention, and unmatched flavor.
Stop losing half your seafood down the grill grates. Grab a pink Himalayan block, heat it low and slow, and watch your patio seafood game elevate overnight.
Frequently Asked Questions
Can I use a salt block on an indoor stove?
Yes. You can use it on both gas and electric stovetops. For electric burners, place a metal ring diffuser or a wok ring between the burner coil and the block to prevent direct contact, which can trap heat and crack the stone.
How many times can I reuse a single Himalayan salt block?
With proper slow-heating care and water-free cleaning, a standard block typically lasts for 20 to 30 cooks. Over time, it will naturally thin out as micro-layers dissolve during cooking and cleaning.
Is it safe to cook meat or poultry on the same salt block used for fish?
Absolutely. Dense Himalayan salt has naturally low porosity and high antimicrobial properties. As long as you scrape off food residue and allow the block to dry completely between uses, flavor transfer is minimal.
Do I need to soak or wet the salt block before placing it on heat?
No – never. Water trapped inside the crystal matrix turns to steam when heated, causing the block to crack or explode violently. The block must be 100% bone-dry before applying any heat.
What should I do if my salt block gets a small crack during cooking?
Keep cooking. Minor hairline cracks are completely normal due to thermal expansion. As long as the block holds its shape, it remains safe to use. If it splits entirely, convert the pieces into finishing salts or cold serving platters.
Featured image credit: @saltpak
