
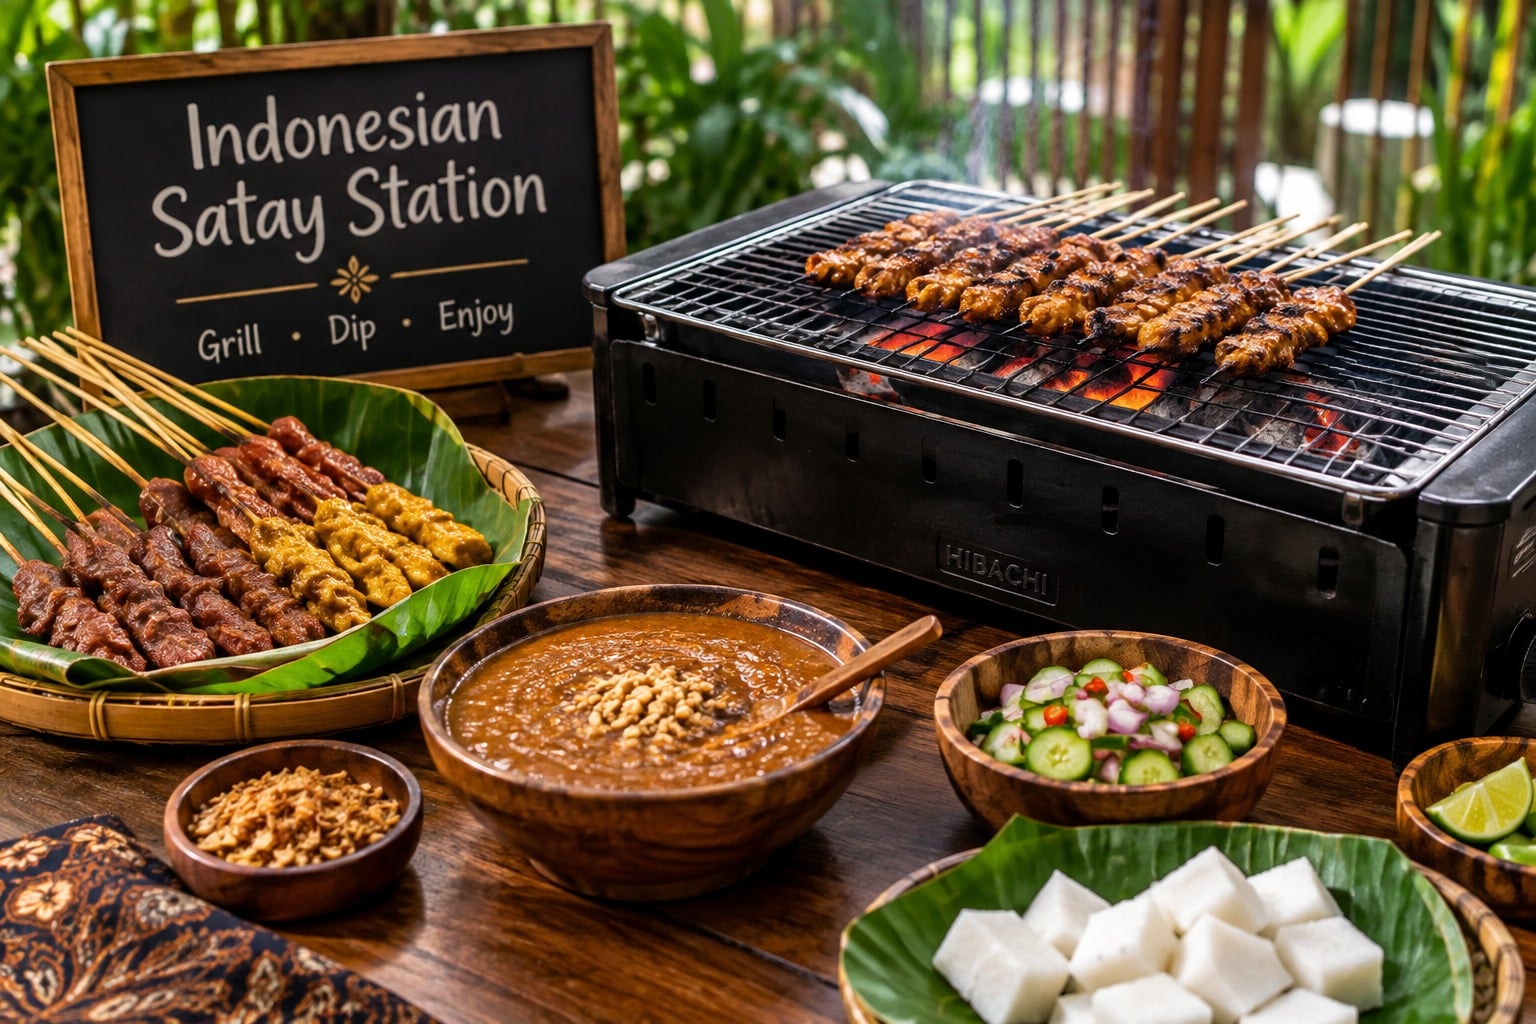
Why are we still pretending that a $2,000 stainless-steel backyard gas grill makes better food than a $40 cast-iron box full of glowing coals?
Late celebrity chef Anthony Bourdain once observed that the absolute best food in the world rarely comes from Michelin-starred dining rooms – it comes from street vendors standing over tiny, smoking troughs of charcoal in Southeast Asia.
Nowhere is this truer than in Java, where a tukang sate (satay vendor) can transform cheap cuts of chicken into a smoky, caramelized masterpiece using nothing more than a rusted metal trough, a handful of coconut shells, and a woven palm leaf fan.
Most backyard cooks treat satay like oversized chicken kabobs.
They thread gigantic blocks of bell pepper, onion, and chicken breast onto thick wooden stakes, drop them onto a massive gas grill, and end up with raw meat on the inside and incinerated vegetables on the outside.
Real satay is an art form of scale, speed, and high-heat management. Building a traditional Indonesian satay station on a simple, budget-friendly hibachi grill brings that electric Jakarta street-food energy directly to your backyard.
Here is everything you need to know to set up, engineer, and run an authentic Indonesian satay station using a standard hibachi grill.
The Anatomy of an Indonesian Satay Station
To replicate an authentic street-side setup, you first need to understand why a standard hibachi grill is secretly the most perfect piece of gear for the job.
Traditional Indonesian satay grills (bakaran sate) are long, narrow, and shallow. They hold the skewers directly over intense radiant heat while keeping the bare bamboo handles suspended safely off the coals.
A rectangular hibachi grill mirrors this geometry almost perfectly.
Unlike large kettle grills or massive gas setups that trap steam under a lid, a hibachi provides open-air, direct radiant heat. This open setup allows for continuous flipping, precise basting, and immediate control over flare-ups.
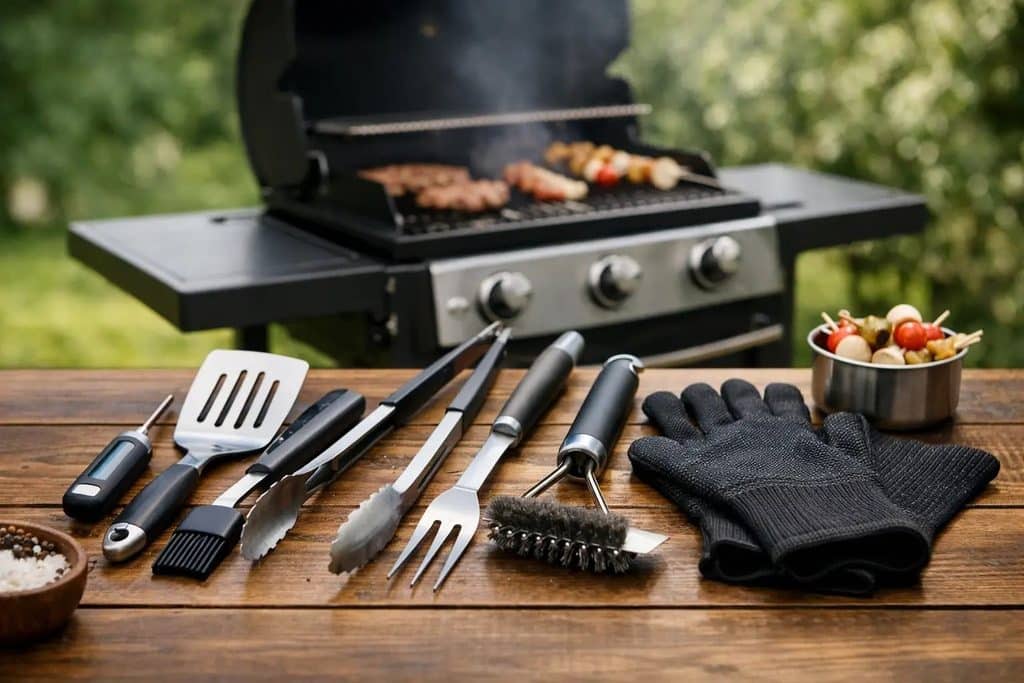
Essential Equipment Checklist
To build a fully functional Indonesian satay station, assemble these tools before lighting a single coal:
- Standard Cast-Iron or Heavy-Duty Steel Hibachi: A rectangular model measuring 10×18 inches provides ideal proportions.
- Coconut Shell Charcoal or Hardwood Lump Charcoal: Avoid cheap briquettes stuffed with chemical binders.
- Thin Bamboo Satay Skewers: Look for 6-inch to 8-inch narrow skewers rather than thick kebab sticks.
- Hand Fan (Kipas): A woven bamboo fan, a stiff piece of cardboard, or an electric hand fan.
- Aluminum Foil Guard: A folded sheet of heavy-duty foil placed along the edge of the grill to protect skewer handles from scorching.
- Wide Basting Tray & Natural-Bristle Brushes: A shallow trough allows you to submerge or heavily coat entire skewers in glaze quickly.
- Heat-Resistant Gloves & Long-Handled Tongs: Essential for managing hot coals in a tight cast-iron box.
Fuel Selection & Charcoal Bed Engineering
Gas burners produce water vapor as a byproduct of combustion. Charcoal produces pure, dry radiant heat. When cooking satay, dry heat is non-negotiable because you want to sear the marinade onto the meat immediately rather than boiling it in steam.
- Coconut Shell Charcoal: Ultra-high heat intensity with a clean, neutral flavor.
- Hardwood Lump Charcoal: High heat intensity with a mild wood smoke flavor.
- Sawdust Heat Briquettes: Medium-high heat intensity with a neutral flavor.
- Chemical Charcoal: Poor or low heat with an off-putting odor.

Coconut Shell Charcoal: The Gold Standard
If you want total authenticity, coconut shell charcoal is the undisputed champion. It burns hotter and cleaner than wood charcoal, produces almost no ash, and holds a steady temperature for hours.
Because it burns so clean, it lets the aromatics of your lemongrass, galangal, and sweet soy sauce shine through without burying them under heavy wood smoke.
Building the High-Density Charcoal Bed
Traditional satay requires an intensely hot charcoal surface just two inches below the meat.
- Light the Coals in a Chimney Starter: Fill a chimney starter with coconut charcoal or hardwood lump. Wait until the coals are covered in a fine layer of white ash.
- Pack the Hibachi Tightly: Dump the glowing coals into the bottom of the hibachi. Arrange them in a single, densely packed layer across the center.
- Leave a Safety Reserve: Leave a 1-inch cool gap along the front edge where your skewer handles will rest.
- Calibrate Bottom Vents: Open the hibachi’s bottom draft vents completely to maintain maximum oxygen airflow.
Protein Selection, Cutting, and Skewer Engineering
The biggest rookie mistake in satay preparation is cutting the meat too large. Thick chunks require a longer cooking time, which burns the sugary glaze before the interior cooks through.
Satay is fast-food engineering: small pieces mean rapid cooking, maximum surface area for caramelization, and tender meat.
- Western Kabob Style: Thick blocks of meat that end up raw inside and burnt outside, separated by veggies that create uneven heat gaps.
- Indonesian Satay Style: Half-inch uniform cubes packed tightly together for a fast four-minute total cook.
Protein Choices
- Sate Ayam (Chicken): Boneless, skinless chicken thighs are vastly superior to breasts. Thigh meat contains enough fat to stay juicy over high heat and stands up to intense searing.
- Sate Kambing (Goat or Young Lamb): A street-food icon in Central Java. Cut leg of lamb or goat shoulder into small cubes, leaving small ribbons of fat between meat pieces to render over the coals.
- Sate Daging (Beef): Flank steak or sirloin cut thin across the grain.
Precision Cutting Techniques
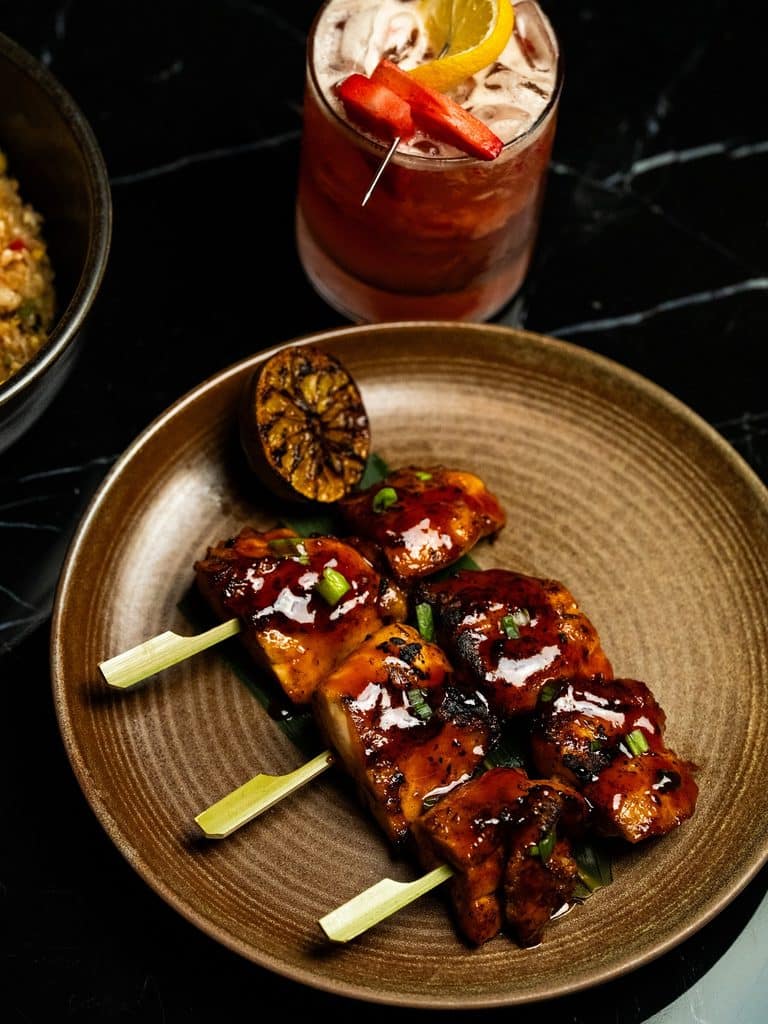
Cut your chosen protein into precise ½-inch cubes. Consistency is critical: if one piece is ½ inch and the next is 1 inch, the smaller piece will burn before the larger piece cooks through.
Soaking and Threading Skewers
Submerge bamboo skewers in warm water for at least 45 minutes before threading. Dry bamboo turns into kindling on a hot hibachi in under 15 seconds.
When threading, push 3 to 4 pieces of meat tightly together on each skewer, packing them flat. Leave 3 inches of exposed handle at the bottom.
To prevent handle flare-ups, construct a simple foil shield: take a strip of heavy-duty aluminum foil, fold it twice into a sturdy 2-inch band, and lay it along the front rim of your hibachi.
Rest the bare wooden handles on top of this foil shield while the meat hangs directly over the glowing embers.
Marinades, Glazes, and the Magic of Kecap Manis
An authentic Indonesian satay station relies on a two-stage flavor application: the initial aromatic marinade and the finishing glaze (olesan).
- Stage 1: Aromatic Marinade – Penetrates and tenderizes the meat using shallots, garlic, galangal, coriander, and lime.
- Stage 2: Kecap Manis Glaze – Creates a smoky caramel crust using sweet soy sauce, oil, melted butter, and reserved marinade.
Stage 1: The Aromatic Spice Paste (Bumbu)
The base marinade infuses the raw meat with deep, earthy aromatics. Blend the following ingredients into a fine paste using a food processor or mortar and pestle:
- 6 red shallots (or 1 medium red onion)
- 4 cloves of fresh garlic
- 1 tablespoon whole coriander seeds (toasted)
- 1 thumb-sized piece of fresh galangal (lengkuas)
- 1 stalk of lemongrass (white part only)
- 2 tablespoons vegetable oil
- 1 teaspoon salt
Toss the diced meat with this aromatic paste and let it marinate in the refrigerator for 2 to 4 hours.
Stage 2: The Basting Engine (Olesan)
Indonesian sweet soy sauce (Kecap Manis) is thick, dark, and packed with palm sugar. It acts as the primary glaze during grilling. Kecap Manis caramelizes rapidly over hot coals, creating the signature dark, lacquered crust.
Mix your basting glaze in a shallow pan:
- ½ cup Kecap Manis
- 2 tablespoons melted unsalted butter or vegetable oil
- 1 tablespoon fresh lime juice
- 1 tablespoon of the raw marinade paste
The added oil or butter is critical – it prevents the sugar in the Kecap Manis from sticking instantly to the grill grate and helps transfer heat evenly across the meat.
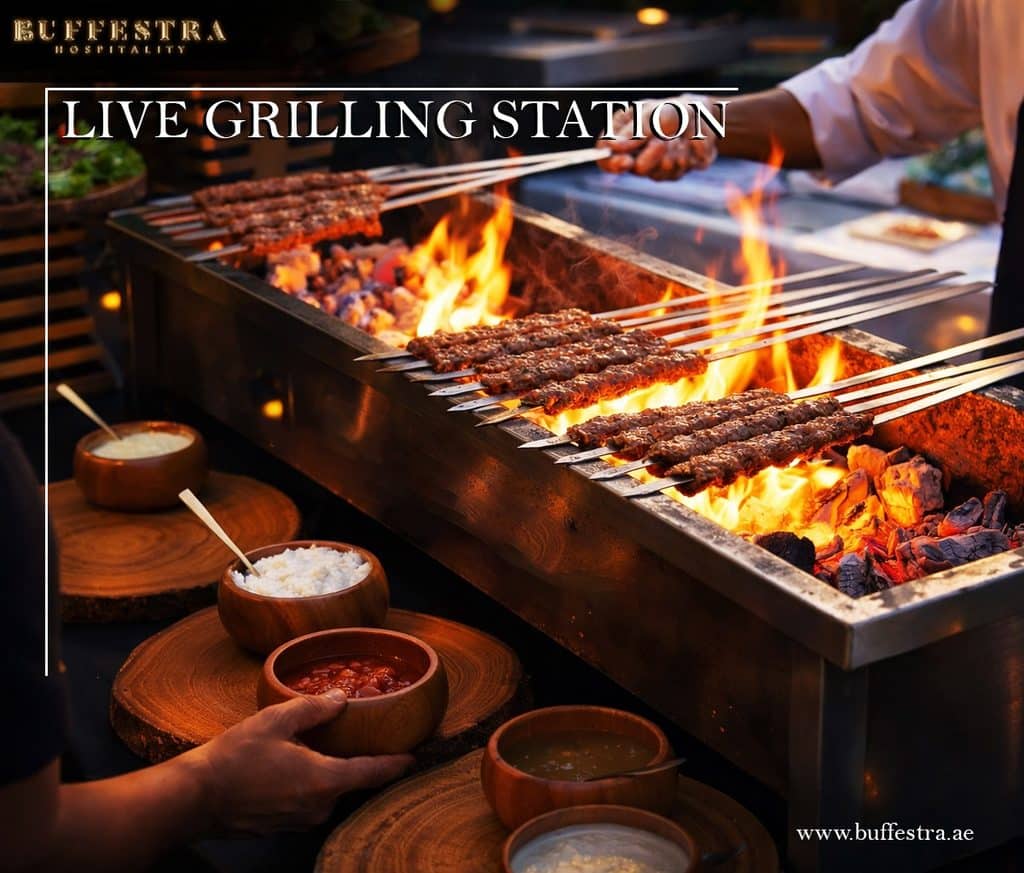
Live Grilling Technique: Step-by-Step
Running an Indonesian satay station is an active sport. Once the skewers hit the heat, you cannot step away to grab a drink. Satay cooks in 3 to 5 minutes total.
- Minute 0:00 to 1:00 (Dry Sear): High radiant heat seals meat juices without sticking.
- Minute 1:00 to 2:00 (First Flip): Sear the reverse side completely to solidify the protein exterior.
- Minute 2:00 to 3:00 (Dip & Baste): Coat all sides generously with the Kecap Manis glaze.
- Minute 3:00 to 4:00 (Fan & Caramelize): Wave the hand fan to boost heat, control flame, and drive smoke into the meat.
Phase 1: The Initial Dry Sear (Minutes 0–2)
Place 8 to 12 skewers closely together on the hibachi grate, with the meat sitting directly over the coals and the wooden handles resting safely on your aluminum foil guard.
Do not apply glaze yet. Sear the bare, marinated meat for 60 seconds.
Flip the skewers and sear the opposite side for another 60 seconds. This step cooks the outer layer of protein and prevents the meat from sticking to the grates when you apply the sugary glaze.
Phase 2: Glazing and Dip Application (Minute 3)
Using tongs, lift 3 or 4 skewers at once and dip them directly into your shallow tray of basting glaze, coating all sides generously. Return them immediately to the grill grates over the hot coals.
Phase 3: Fanning and Smoke Generation (Minute 4)
As soon as the Kecap Manis hits the live coals, fat and sugar will drip, creating burst clouds of aromatic smoke. This is where the magic happens.
Take your hand fan (kipas) and begin fanning the coals vigorously with long, steady strokes.
Fanning serves three vital purposes:
- Blows away loose ash so it doesn’t stick to the wet glaze.
- Drives oxygen into the coals, surging radiant heat up to 700°F (370°C).
- Suppresses open flames while forcing fat-drip smoke back up into the meat, imparting an authentic street-food flavor profile.
Flip the skewers every 15 to 20 seconds, basting once more if desired, until the edges show dark caramelization and light charred spots.
Tabletop Ergonomics and Interactive Hosting
Setting up an Indonesian satay station turns outdoor dining into an interactive experience. In Indonesia, satay is consumed fresh off the coals, served on banana leaves alongside rich sauces and cool accompaniments.
- Prep Zone: Raw prepped skewers kept cold on ice trays.
- Hibachi Zone: Live charcoal grill fitted with an aluminum foil handle guard.
- Glaze Zone: Shallow basting trough with natural-bristle brushes.
- Plating Zone: Banana leaf platters with peanut sauce, sambal, and rice cakes.
Safety and Table Setup
- Heat Isolation: Place your hibachi on a fireproof surface, such as a concrete table, slate slab, or thick heat-resistant silicone mat. Never place a hot cast-iron hibachi directly on an unprotected wooden patio table.
- Wind Alignment: Angle your station so the wind blows smoke away from your guests’ eyes while leaving enough space for you to operate the hand fan comfortably.
Accompaniments and Sauces
A completed satay platter requires contrasting textures and temperature variations to complement the hot, smoky meat:
- Bumbu Kacang (Classic Indonesian Peanut Sauce): Made from fried peanuts, palm sugar, garlic, chili, and lime leaves. Serve warm alongside the skewers, never poured over the entire platter, so guests can dip individually.
- Sambal Kecap (Sweet Soy & Chili Dip): Uncooked Kecap Manis mixed with finely chopped bird’s-eye chilies, shallots, and fresh lime juice. Excellent for cutting through the richness of beef or lamb satay.
- Lontong (Compressed Rice Cakes): Sticky, dense rice cakes sliced into bite-sized rounds. They absorb extra peanut sauce and clean up leftover glaze on the plate.
- Acar (Pickled Cucumbers & Carrots): Quick-pickled cucumber, carrot, and shallot slices in rice vinegar and sugar. The cool acidity cuts through fat and cleanses the palate between skewers.
Troubleshooting, Cleaning, and Maintenance
Cooking with high-sugar glazes over intense charcoal heat leaves no room for error. Here is how to fix common issues on the fly and clean up like a pro afterward.
- Problem: Skewers catch fire.
o Root Cause: Unsoaked wood or exposed handles over live embers.
o Fix: Slide an aluminum foil guard under handles and mist wooden ends.
- Problem: Meat sticks to grill grate.
o Root Cause: Glazed too early or grates lack oil.
o Fix: Dry sear meat for the first 2 minutes before applying glaze; oil grates before cooking.
- Problem: Glaze burns black before meat cooks.
o Root Cause: Heat is too high or meat chunks are cut too large.
o Fix: Fan coals faster to suppress open flames and ensure meat is cut into uniform ½-inch cubes.
Managing Flare-ups
Because satay fat drips directly onto open coals, small flare-ups are inevitable.
Do not pour water on a cast-iron hibachi to extinguish flames. Sudden temperature shocks can crack vintage cast iron, and water creates clouds of dirty ash that cling to your food.
Instead, move the skewers to the cooler edges of the grill for a few seconds and fan the coals rapidly to extinguish open flames.
Post-Feast Maintenance
Cleaning a hibachi after a high-heat satay session requires care to handle burnt sugar glaze without stripping the grill’s natural seasoning:
- Burn Off Excess Glaze: Once the cooking is complete, let the remaining coals burn hot for 10 minutes to carbonize sweet soy drippings on the grates.
- Scrape Hot Grates: Use a stiff wire brush to clean burnt residue off the grates while they remain hot.
- Safe Coal Disposal: Transfer spent coals into a metal ash bucket with a sealed lid using long-handled tongs.
- Oil Cast Iron Parts: Once the cast-iron hibachi cools completely, wipe down the internal surfaces with a light coating of neutral canola or peanut oil to prevent rust before storing it in a dry place.
Final Thoughts
Setting up an authentic Indonesian satay station on a humble hibachi grill proves that you don’t need expensive outdoor kitchen setups to make world-class food.
With a box of glowing coconut coals, a woven hand fan, and a bottle of Kecap Manis, you can transform simple skewers into an unforgettable feast.
Master the high-density coal bed, keep your fan moving, sear before you glaze, and enjoy the rich, smoky flavors of authentic Indonesian street food right at home.
Frequently Asked Questions
1. Can I use a regular gas grill or kettle grill instead of a hibachi?
You can, but you won’t get the same street-authentic result. Large gas and kettle grills trap steam under their lids, which boils the marinade instead of flash-searing it.
A hibachi’s open-air, shallow design provides the concentrated radiant heat and close coal proximity required to caramelize Kecap Manis in under four minutes without overcooking the inside.
2. Where can I find coconut shell charcoal, and what if I can’t get any?
Coconut shell charcoal is widely available online and at Southeast Asian or international specialty markets. If you can’t source it, high-quality hardwood lump charcoal is your best substitute.
Just avoid standard commercial briquettes, as their chemical binders create off-putting odors that overpower the subtle aromatics of lemongrass and galangal.
3. How do I keep the wooden skewer handles from burning off over live coals?
Soak your bamboo skewers in warm water for at least 45 minutes before threading.
Beyond soaking, create a foil guard: fold a piece of heavy-duty aluminum foil into a thick 2-inch strip and lay it along the front rim of your hibachi.
Rest the un-meated wooden handles on top of this shield while the meat sits directly over the glowing embers.
4. Why did my satay stick to the grill grate and tear apart when I flipped it?
Sticking happens when sugary glaze is applied too early.
Always dry sear your bare, marinated meat on a well-oiled grate for 60 seconds per side before dipping it into your Kecap Manis basting glaze.
This seals the outer proteins so the meat releases cleanly from the metal.
5. How far in advance can I prep the meat and sauces for a backyard party?
You can slice and marinate the meat up to 24 hours in advance – in fact, letting it sit overnight yields even better flavor.
The peanut sauce (Bumbu Kacang), pickled vegetables (Acar), and basting glaze can also be made a day ahead.
Thread the skewers a few hours before your guests arrive and keep them chilled until it is time to hit the coals.
6. Can I use chicken breast instead of chicken thigh for Sate Ayam?
While chicken breast works in a pinch, boneless, skinless chicken thigh is strongly recommended.
Satay cooks over intense 700°F heat; chicken breast dries out almost instantly at those temperatures, whereas thigh meat has enough natural fat to stay juicy, tender, and flavorful under high-heat searing.
Featured image credit: ChatGPT
