
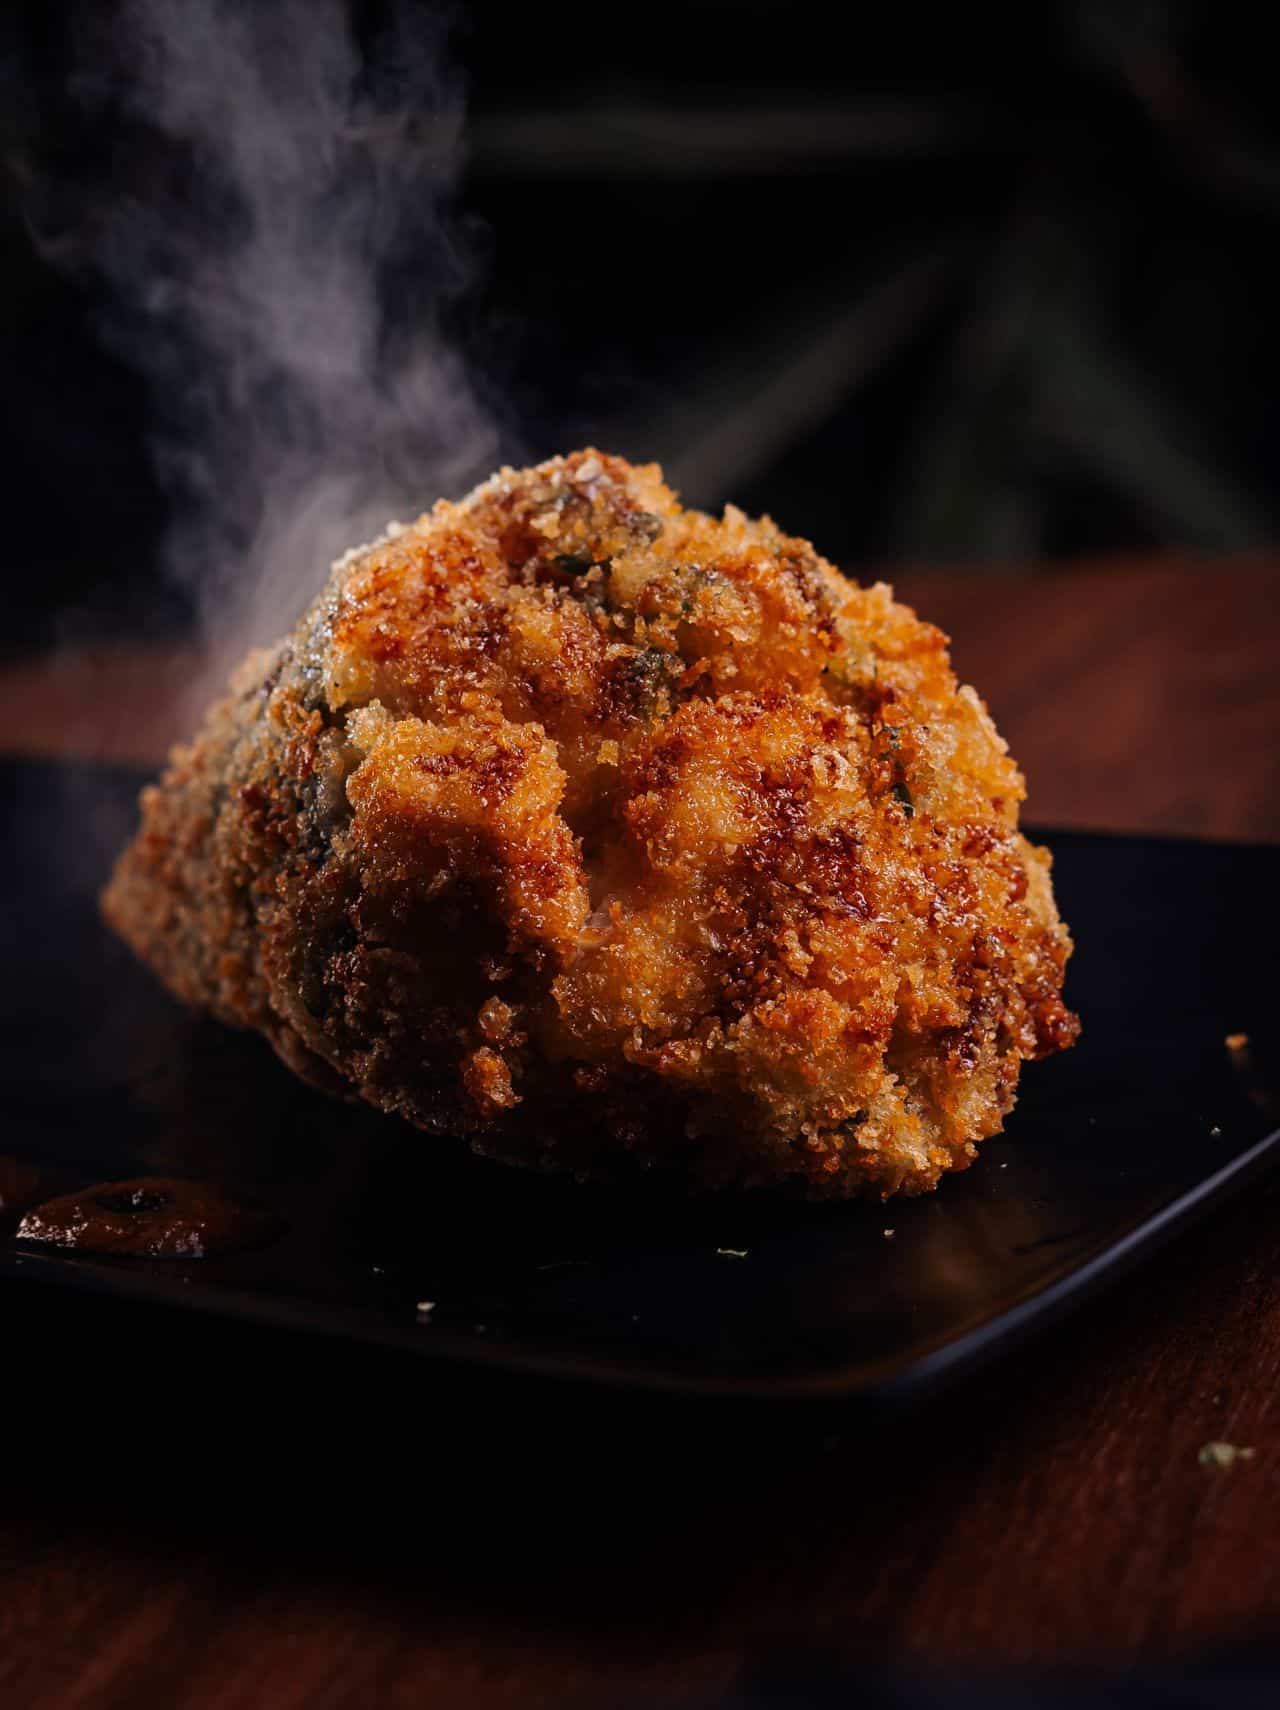
The first time I seriously tried to get crispy, bite-through chicken skin on the smoker, I was convinced I had everything figured out.
The chicken was seasoned properly. The smoker was humming along. The smoke was clean. The meat came out juicy, tender, and beautifully bronzed.
Then I took a bite.
The meat practically fell apart.
The skin, unfortunately, had other plans.
It stretched.
It tugged.
It clung to the chicken like it had signed a long-term lease.
I remember thinking, How can the chicken be this good and the skin be this bad?
So I tried everything I could think of. I changed the rub. I added oil. I lowered the temperature. I raised the temperature. I cooked the chicken longer. I even convinced myself that maybe rubbery skin was simply part of the “low-and-slow” experience.
It wasn’t.
After several cooks – and a few chickens sacrificed in the name of research – I finally figured out the problem.
I was treating the chicken skin like the meat.
Chicken meat benefits from gentle, steady cooking.
Skin needs something different. It needs moisture management, rendered fat, airflow, and eventually enough heat to transform that floppy exterior into something you actually want to bite.
That discovery changed the way I cook chicken.
And if you’re wondering why chicken skin won’t crisp, the answer usually isn’t complicated. You’re probably missing one or two key steps that happen before and during the finishing stage.
The good news is that bite-through chicken skin isn’t difficult once you understand what the skin needs.
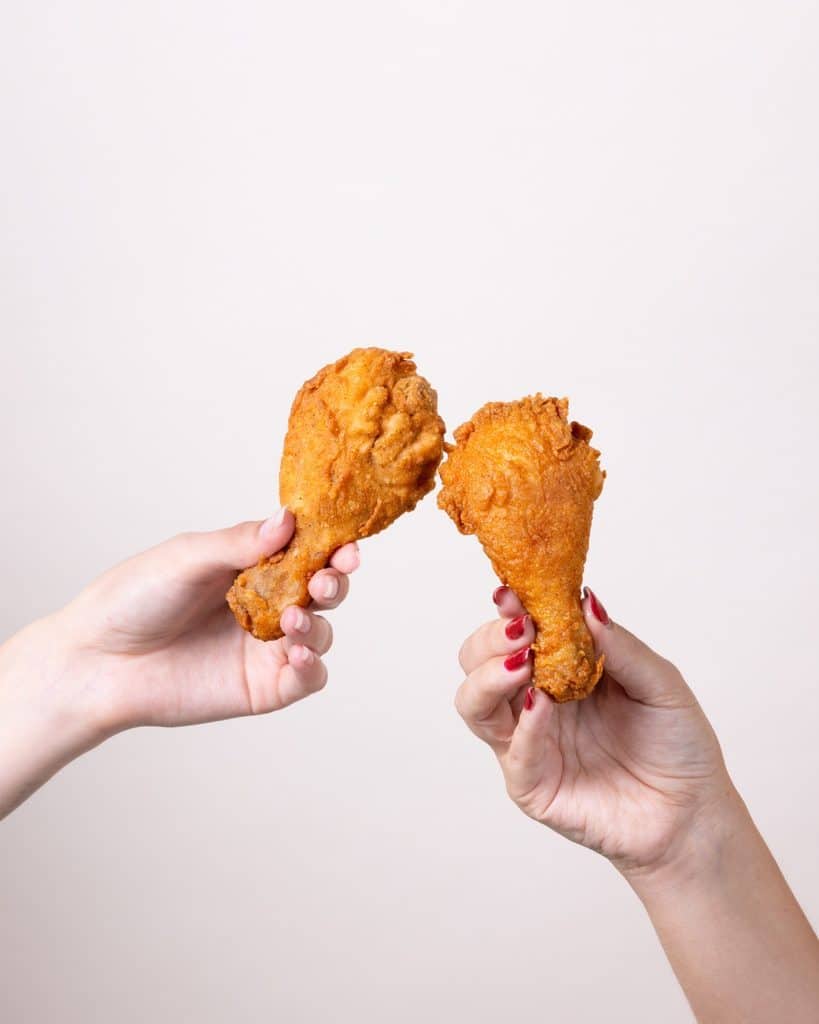
What Is Bite-Through Chicken Skin?
Before chasing “crispy,” it’s worth defining what good BBQ chicken skin actually means.
Bite-through skin isn’t necessarily the same thing as deep-fried crispy skin.
A smoker isn’t a fryer. You’re not trying to turn a chicken thigh into a potato chip.
In BBQ terms, bite-through skin means the skin has enough structure and tenderness that your teeth can break through it cleanly.
It shouldn’t stretch.
It shouldn’t pull half the chicken with it.
And it definitely shouldn’t feel like you’re chewing a piece of elastic.
Good bite-through skin is:
- Thin and well-rendered
- Tender enough to bite easily
- Slightly crisp or taut on the surface
- Well-seasoned
- Free from excess rubberiness
The ideal texture sits somewhere between roasted chicken skin and a lightly crisped exterior.
That distinction is important because chasing maximum crunch can actually lead you in the wrong direction.
The real goal is controlled rendering and a clean bite.
Why Chicken Skin Won’t Crisp on the Smoker
Chicken skin looks simple, but there’s a lot happening during a cook.
The skin contains moisture, fat, and connective tissue. For it to develop a good texture, moisture needs to escape while fat needs to render.
Get that balance wrong and the skin stays soft.
1. The Skin Is Too Wet
This is one of the simplest problems to fix.
Wet skin doesn’t brown efficiently.
Before the chicken can develop that beautiful roasted exterior, moisture on the surface needs to evaporate.
Put damp chicken directly into the smoker and you’re essentially asking the first stage of the cook to dry it before browning can really happen.
That’s why I now make drying the chicken one of the first steps. Grab some paper towels and pat the chicken thoroughly.
Don’t just wipe the tops.
Get around the edges, folds, and creases where moisture likes to hide.
For an even better result, place the chicken uncovered in the refrigerator for several hours before cooking.
The circulating cold air helps dry the surface. It sounds almost too easy. That’s because it is.
Some of the best BBQ tricks aren’t complicated. They’re just easy to skip.
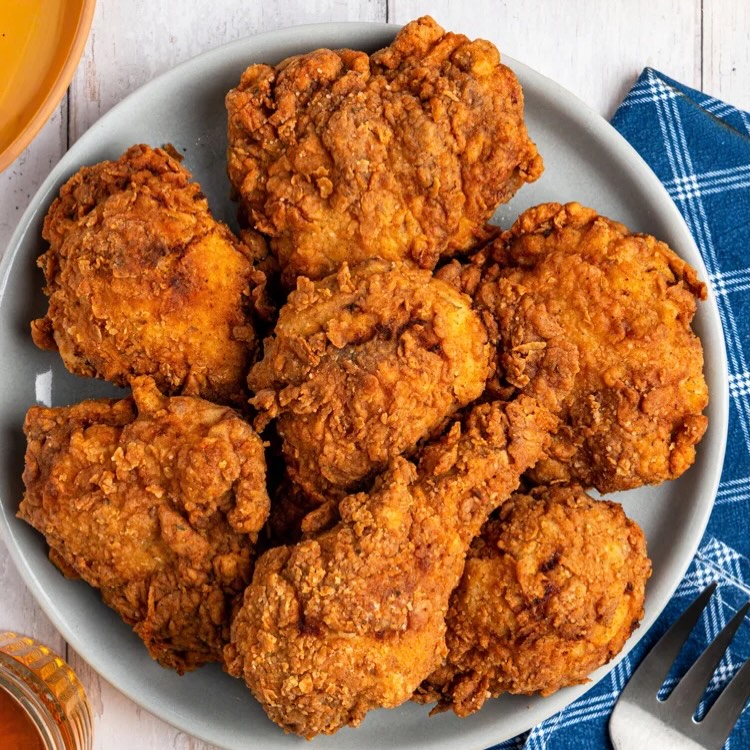
2. Your Cooking Temperature Is Too Low
This was one of my biggest mistakes. I had been taught that great BBQ meant low and slow at all costs.
That philosophy works beautifully for certain cuts. Chicken skin, however, doesn’t always appreciate being treated like a brisket.
At low temperatures, chicken can cook perfectly while the skin remains soft and rubbery. Why?
Because the skin needs enough heat to render its fat and dry the surface.
That’s why a higher-temperature finishing stage is so useful. Start with enough heat to cook the chicken and develop smoke flavor.
Then increase the heat toward the end. That final blast helps the skin tighten, brown, and render.
Think of it as giving the chicken a second act. The smoke builds the personality.
The heat finishes the job.
3. The Fat Hasn’t Properly Rendered
Chicken skin contains plenty of fat. That’s part of what makes properly cooked chicken skin so delicious. But fat needs to render.
When the cooking temperature isn’t sufficient, some of that fat remains trapped beneath the skin.
The result is often a soft, greasy exterior instead of the thin, tender texture you’re after.
Heat is what turns that layer of fat from a problem into flavor.
You don’t necessarily need to cook the chicken longer. You need to give the skin the right conditions to render. That’s an important distinction.
More time at the wrong temperature isn’t always the answer.
4. Your Smoker Is Holding Too Much Moisture
Here’s another factor that’s easy to overlook.
Your smoker is a small cooking environment. As the chicken cooks, it releases moisture. Poor airflow can allow that moisture to linger around the chicken.
And humid air isn’t exactly a crisp-skin specialist.
Think about the difference between drying a towel outside on a breezy afternoon and leaving it in a steamy bathroom.
Same towel. Very different result.
Good airflow helps carry moisture away from the chicken.
Avoid packing the cooking grate too tightly. Make sure the smoker’s vents are functioning properly.
And don’t assume more smoke automatically means better BBQ. Clean, moving smoke is what you’re after – not a stagnant cloud trapped around the chicken.
5. You May Be Saucing Too Early
This was another lesson learned through trial and error. I used to brush BBQ sauce on early because I wanted plenty of flavor.
The problem?
Every layer of sauce added moisture to the skin.
I’d finally get the exterior looking promising, then brush on another coat and wonder why the skin softened again.
Sauce should be the finishing touch – not a swimming pool.
Apply it toward the end of the cook. Use a thin layer. Then give it enough heat to set and caramelize.
You’ll get that glossy BBQ finish without completely undoing the texture you’ve spent hours developing.

The Pitmaster Tricks for Bite-Through Chicken Skin
Once I stopped fighting the chicken and started paying attention to what the skin actually needed, the results became much more consistent.
Here are the techniques that made the biggest difference.
1. Start With Dry Skin
Before anything else, dry the chicken. Use paper towels to remove surface moisture.
If you have the time, place the seasoned or salted chicken uncovered in the refrigerator for several hours.
Dry skin gives you a head start on browning and crisping.
It’s one of those techniques that costs virtually nothing. No special equipment. No expensive ingredients.
Just a few extra minutes of preparation.
2. Dry-Brine the Chicken
Dry-brining does two useful things. First, it seasons the meat more deeply. Second, it helps with moisture management.
Season the chicken with salt and place it uncovered in the refrigerator. Several hours is good.
Overnight is even better.
As the salt works into the meat, the surface becomes drier and better prepared for cooking.
Just remember to account for the salt already in your BBQ rub.
Otherwise, you may end up with chicken that tastes like it spent the night at the bottom of the ocean.
Better seasoning is good. Salt overload is not.
3. Keep the Rub Thin
You don’t need to bury the chicken under seasoning.
A heavy layer of rub can interfere with the skin’s texture, particularly when the rub contains a lot of sugar. Sugar can caramelize beautifully.
But exposed to aggressive heat for too long, it can burn.
Use a light, even coating of rub.
You want the seasoning to complement the skin, not create a thick shell around it.
4. Smoke First, Finish Hot
This is probably the most important change I made.
Instead of expecting one cooking temperature to do everything, divide the cook into stages.
Use the smoking stage for flavor.
Then use higher finishing heat for texture.
During the first stage, the chicken develops smoke flavor and gradually cooks.
Toward the end, increase the heat.
That hotter environment encourages:
- Fat rendering
- Surface moisture evaporation
- Better browning
- Tighter skin
- Improved bite-through texture
Once I started doing this consistently, I stopped blaming the chicken for having rubbery skin. The chicken wasn’t the problem.
My cooking strategy was.
5. Keep the Skin Exposed
Skin needs access to heat and dry air. Don’t bury it beneath foil. Don’t let it sit in a pool of liquid.
And don’t crowd the chicken so tightly that air can’t move around it.
On a grill, you can move the chicken toward a hotter zone for the finishing stage. Just watch it closely.
High heat can improve chicken skin very quickly – and burn it just as quickly.
Especially when BBQ sauce is involved.
6. Sauce Near the End
Once the skin has developed the texture you want, add your sauce. Brush on a thin layer. Let it heat and set.
Then, if you want more sauce, add another light coat rather than drowning the chicken in it.
Thin layers build flavor without turning the skin soggy.
A Step-by-Step Method for Perfect Bite-Through Skin
Here’s the process I now use when the skin matters just as much as the meat.
Step 1: Trim
Remove loose pieces of skin and excessive pockets of fat. Don’t over-trim. You still want enough skin to protect the meat and develop flavor.
Step 2: Dry
Pat every piece thoroughly with paper towels. Pay special attention to folds and edges.
Start dry.
Step 3: Dry-Brine
Season with salt and refrigerate uncovered for several hours or overnight. This gives the seasoning time to penetrate while helping dry the exterior.
Step 4: Apply the Rub
Use a light, even layer of your BBQ rub. Avoid creating a thick paste-like coating.
Step 5: Smoke
Place the chicken skin-side up in the smoker. Maintain steady heat and good airflow. Let the chicken develop smoke flavor while it cooks.
Step 6: Turn Up the Heat
As the chicken approaches the finishing stage, increase the cooking temperature. This is where the skin gets its opportunity.
You want enough heat to render the fat and dry the surface without scorching the chicken.
Step 7: Add Sauce
Brush on a thin layer of BBQ sauce near the end. Let it set over heat.
Step 8: Check the Internal Temperature
Use an instant-read thermometer in the thickest portion of the meat without touching the bone.
Don’t rely solely on cooking time.
Temperature tells you what’s happening inside; the skin tells you what’s happening outside.
You need both to be right.
Step 9: Rest Carefully
Give the chicken a short rest. But avoid tightly wrapping it in foil. The trapped steam can soften the skin you’ve just worked so hard to improve.
Don’t turn your beautifully finished chicken into a sauna.
The Best Temperature Strategy if Chicken Skin Won’t Crisp
You may find dozens of different opinions about the “perfect” chicken-smoking temperature.
Here’s the problem with that:
Your smoker isn’t my smoker. Your chicken pieces aren’t mine. Weather, humidity, airflow, fuel, and cooker design all affect how heat behaves.
Instead of obsessing over one magic number, think about temperature strategy. Lower temperatures can help develop smoke flavor but may leave the skin soft.
Moderate heat gives you a useful balance between cooking and rendering. Higher finishing heat helps evaporate moisture and render remaining fat.
That’s why the two-stage method works so well.
Smoke for flavor. Heat for texture.
Once you understand that principle, you can adapt the technique to almost any smoker or grill.
Common Mistakes That Ruin Chicken Skin
A few small mistakes can undo an otherwise excellent cook.
Putting wet chicken on the smoker:
Pat it dry first.
Keeping the smoker too cool throughout the cook:
Use a hotter finishing stage.
Overcrowding the cooking grate:
Leave room for airflow.
Wrapping the chicken tightly:
Trapped steam softens the skin.
Saucing too early:
Add sauce toward the end.
Using an overly thick sugary rub:
Too much sugar can burn during high-heat finishing.
Covering the chicken immediately after cooking:
Steam can turn good skin soft. The pattern is pretty clear.
Moisture and insufficient heat are the two biggest enemies of bite-through skin.
Control those, and you’re already well ahead.
Can You Fix Rubbery Chicken Skin After Cooking?
Yes.
This is another lesson I learned the hard way. You don’t have to accept rubbery skin simply because the chicken is already cooked.
If the meat is done but the skin needs help, move the chicken to a hot grill, broiler, or oven for a short finishing blast.
The goal isn’t to cook the chicken again.
You’re finishing the skin.
Watch it closely, especially if the chicken has BBQ sauce on it. Sugar can burn quickly under intense heat.
A few minutes of carefully controlled high heat can make a surprising difference. Just don’t walk away.
Chicken skin has a remarkably short journey between “beautifully caramelized” and “well, that’s definitely charcoal.”

The Real Secret to Bite-Through Chicken Skin
After all those experiments, temperature changes, rub adjustments, and a few chickens that never made it onto the “success” list, the answer turned out to be much simpler than I expected.
Good chicken skin is about managing moisture, fat, heat, and airflow.
That’s it.
Start with dry chicken. Dry-brine when you have time. Use a light coating of seasoning. Give the chicken enough time to absorb smoke and cook properly.
Then raise the heat.
That final step is the one I wish I’d understood from the beginning.
Low-and-slow builds flavor. Higher finishing heat builds texture.
Don’t drown the chicken in sauce. Don’t trap it under foil. Don’t expect a low-temperature smoker to produce deep-fried crunch.
And don’t keep cooking for hours hoping the skin will suddenly figure itself out. Sometimes the answer isn’t more time.
It’s the right heat at the right moment.
So the next time chicken skin won’t crisp, don’t immediately blame the recipe, the smoker, or the chicken.
Look at the surface.
Is it dry?
Is the fat rendering?
Can air move around it?
Has it received enough finishing heat?
Once you start asking those questions, bite-through skin becomes much less mysterious.
And eventually, you’ll pull a tray of chicken off the smoker, take that first bite, and hear the sound every pitmaster wants:
a clean little bite through the skin – no tugging, no chewing, no rubber band.
That’s when you know you’ve finally got it right.
FAQ: Chicken Skin Won’t Crisp
Why is my smoked chicken skin rubbery?
The most common causes are excess moisture, low cooking temperatures, poor airflow, and insufficient fat rendering.
Drying the chicken and finishing with higher heat can dramatically improve the texture.
What temperature makes chicken skin crispy?
There’s no single magic temperature that works for every cooker.
What matters most is giving the chicken enough finishing heat to render fat and evaporate surface moisture.
Your smoker, grill, chicken cut, and weather all influence the ideal temperature.
Should I put oil on chicken skin before smoking?
A very light coating of oil can help seasoning adhere, but oil shouldn’t replace proper drying.
Dry skin should be your priority.
Too much oil can also make the exterior greasy rather than crisp.
Does baking powder make chicken skin crispy?
Some cooks add a small amount of baking powder to their dry seasoning because it can encourage browning and alter the surface of the skin.
Use it sparingly. Too much can leave an unpleasant taste.
Should I wrap chicken when smoking?
Wrapping can speed up cooking and retain moisture, but it generally works against crispy or bite-through skin.
Steam and crisp skin aren’t exactly best friends.
How do I keep BBQ sauce from making chicken skin soggy?
Apply a thin layer near the end of the cook and allow it to set over heat. Avoid repeatedly brushing wet sauce onto the chicken throughout the entire cooking process.
Featured image credit: pedro furtado
