
“The secret of good cooking is, first, having a love of it… If you’re convinced that cooking is drudgery, you’re never going to be good at it, and you might as well warm up something frozen.”
James Beard said that decades ago, and he clearly never tried standing over a sputtering cast-iron skillet at 10:00 AM on a Sunday, dodging hot oil while trying to fry tortillas in four separate batches for hungry brunch guests.
Traditional chilaquiles are a masterpiece of Mexican comfort food, yet making them on the stovetop often turns into a high-stress juggling act.
Either you babysit a skillet while your coffee gets cold, or you dump everything into a pan at once and end up with a sad, mushy pile of tortilla soup.
That exact kitchen bottleneck is why sheet-pan chicken chilaquiles deserve a permanent spot in your weekly rotation.
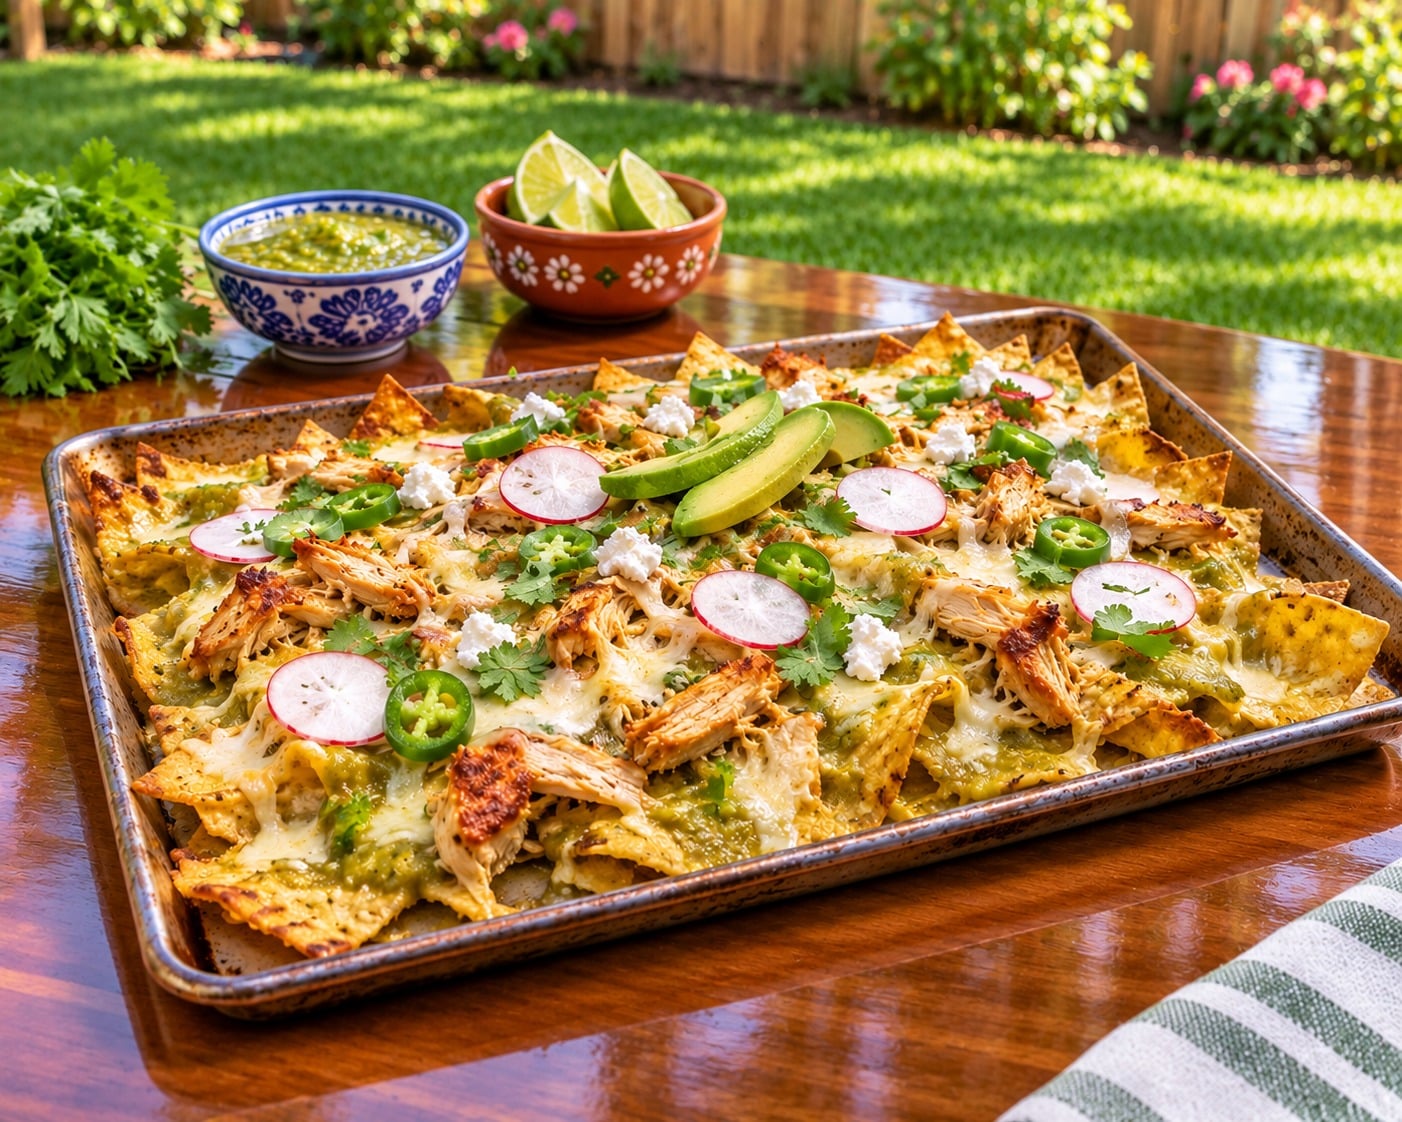
By moving the entire operation onto a single rimmed baking sheet, you get the smoky, tangy magic of classic chilaquiles with salsa verde – without the grease splatters or the soggy aftermath.
High-heat oven roasting locks in the crunch of sturdy tortilla chips while bubbling Monterey Jack cheese and tender shredded chicken meld together in under fifteen minutes.
Whether you are feeding a loud weekend brunch crowd or scrambling to get a real dinner on the table on a Tuesday night, this method delivers maximum texture and bold flavor with almost zero cleanup.
The Sheet-Pan Chicken Recipe of Divine Flavor
Most people think baked chilaquiles are just fancy nachos wearing a sombrero. Let’s clear the air right now: nachos rely on dry chips holding up heavy toppings, whereas authentic chilaquiles are all about chips lightly simmered or baked in salsa so the edges stay crisp while the centers absorb tangy tomatillo flavor. Moving this dish to the oven solves every headache of the traditional method:
- Unmatched Crunch Control: Spreading the chips across a wide surface area lets excess moisture evaporate quickly in a 400°F oven, preventing the dreaded steam-trap effect of a deep skillet.
- True One-Pan Cleanup: Line your baking sheet with parchment paper or foil, and your post-meal dishwashing drops to a mixing bowl and a spatula.
- Built for Brunch or Dinner: Crack a few eggs onto the pan during the final minutes of baking for a hearty breakfast, or pile on extra shredded chicken and avocado for a complete weeknight dinner.
- Rescue Mission for Leftovers: That half-eaten rotisserie chicken sitting in your fridge and the lonely jar of salsa verde in the pantry suddenly look like a five-star meal.
The Science of Stale Tortillas: Why Day-Old Corn Wins
Nobody ever brags about serving stale bread, yet stale corn tortillas are the secret weapon behind authentic chilaquiles.
Fresh tortillas hold onto high levels of moisture, turning limp and gummy the moment they hit warm salsa verde. Letting tortillas dry out creates a completely different structure:
- Firmer Starches: Sitting out overnight – or dehydrating in a low oven – allows surface water to evaporate so the corn starches tighten up.
- Microscopic Air Pockets: That drier texture forms tiny pockets that lock in crunch and resist sogginess, even under melted Monterey Jack cheese.
- DIY Chip Prep: Slice day-old tortillas into wedges, toss lightly with neutral oil and kosher salt, and bake at 375°F until crisp before layering your sheet-pan chicken chilaquiles.
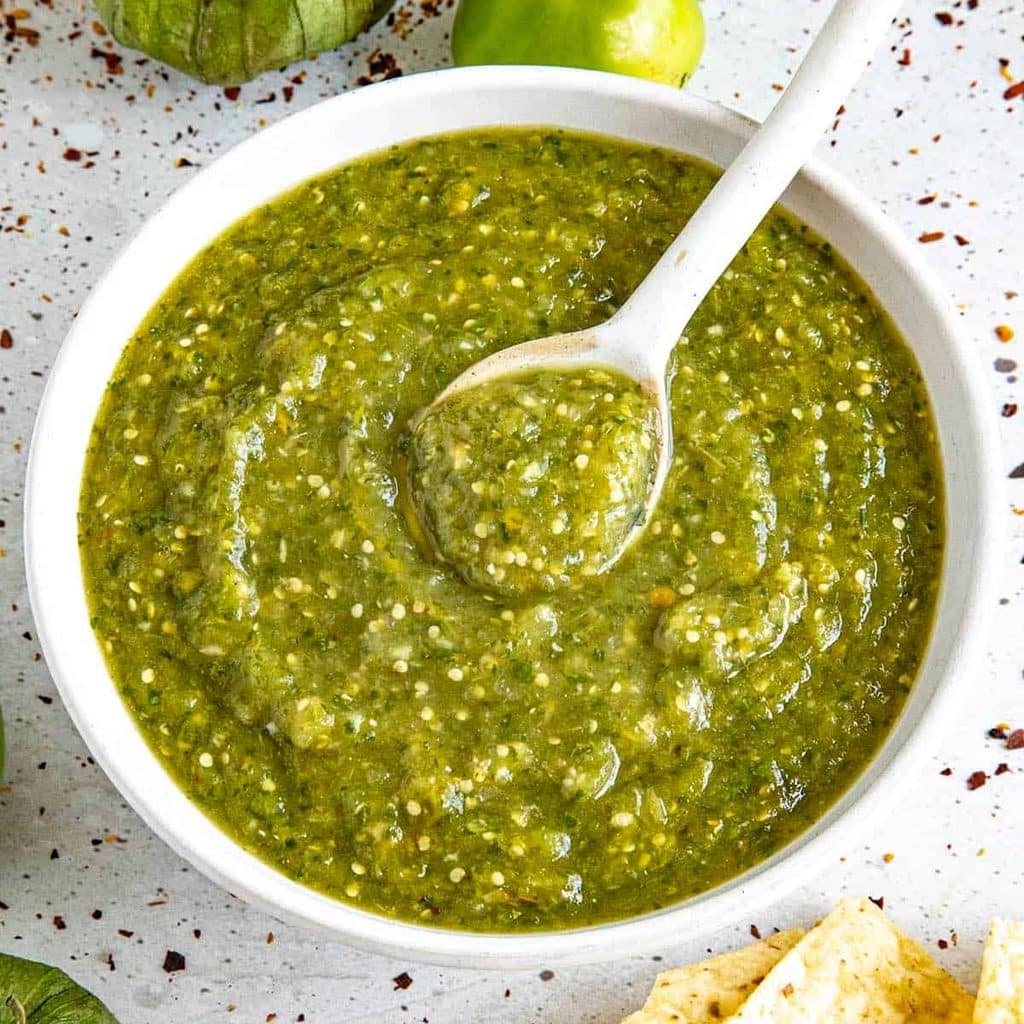
Building a 5-Minute Homemade Salsa Verde from Scratch
Jarred salsa verde is a lifesaver on busy weeknights, though roasting your own tomatillos takes this dish into restaurant territory with almost zero extra effort.
Tomatillos pack natural pectin and bright, citrusy acidity that cuts right through rich melted cheese and savory chicken.
- Broil the Aromatics: Toss 1 pound of husked tomatillos, 2 halved jalapeños, ½ white onion, and 3 unpeeled garlic cloves onto a sheet pan and broil for 6 minutes until blistered and charred.
- Blend Until Smooth: Peel the garlic and puree everything with fresh cilantro, lime juice, and kosher salt.
- Flavor Payoff: That subtle smoky char balances heavy dairy, giving your sheet-pan chicken chilaquiles a vibrant, complex punch no store-bought jar can match.
Best Side Dishes to Serve Alongside Sheet-Pan Chilaquiles
Even though sheet-pan chicken chilaquiles already pack protein, carbs, and healthy fats onto one tray, pairing them with a smart side dish turns a quick meal into a full spread:
- Creamy Refried Black or Pinto Beans: Act as a rich, earthy anchor that balances the sharp tang of roasted tomatillo salsa.
- Jicama and Orange Salad: Dressed with fresh lime juice and chili powder, this cool, juicy crunch refreshes your palate between cheesy bites.
- Weekend Brunch Extras: Round out the table with blistered padrón peppers, warm flour tortillas on the side, or a pitcher of tart hibiscus agua fresca.
Upgrading Rotisserie Chicken So It Never Tastes Dry
Store-bought rotisserie chicken is the ultimate weeknight shortcut, yet dry, shredded breast meat can quickly turn stringy under a 400°F oven. A quick two-minute prep step keeps every bite juicy:
- Add Moisture and Spice: Toss the shredded chicken in a bowl with 2 tablespoons of warm salsa verde, a squeeze of fresh lime juice, and a pinch of ground cumin before layering.
- Heat Protection: Pre-hydrating the chicken shields it from high oven heat while infusing every strand with savory flavor from the inside out.
- Mix in Dark Meat: Include shredded meat from the thighs and drumsticks whenever possible – the extra natural fat stays succulent during baking and adds deeper richness.
Beverage Pairings: What to Drink with Spicy Salsa Verde
Tangy tomatillos, salty cotija cheese, and fiery jalapeños create a bold flavor profile that can easily overpower the wrong drink. Crisp, cold beverages with bright acidity or light carbonation work best to cleanse the palate between bites of sheet-pan chicken chilaquiles:
- For Brunch: Skip heavy orange juice mimosas and pour a grapefruit paloma or a spicy michelada rimmed with Tajín – the citrus and salt mirror the lime and cotija on the pan.
- For Dinner: Reach for an ice-cold Mexican lager with a lime wedge, or pour a chilled glass of Sauvignon Blanc or Albariño, whose zesty herbal notes match the fresh cilantro and green chiles effortlessly.
Expert Tips for Keeping Chilaquiles Crispy
Even with a foolproof oven setup, a few small habits separate legendary chilaquiles from a soggy mess. Keep these four rules in your back pocket every time you make this dish:
- Never Overcrowd the Sheet Pan: Stacking chips three inches deep traps steam underneath the top layer. Keep your layers relatively shallow so hot air circulates around the edges of the tortillas.
- Toss Gently or Drizzle Strategically: If you decide to toss the chips and salsa in a bowl before panning, use a light hand and work fast. Drizzling warm salsa directly over layered chips on the pan gives you far better control over wet versus dry zones.
- Strain Watery Salsa: If your favorite salsa verde seems thin or watery, let it simmer on the stove for three to four minutes to reduce before using it. Removing that excess water guarantees a crispier bite.
- Serve Straight from the Pan: Chilaquiles wait for no one. Have your plates, forks, and toppings lined up on the counter before the timer goes off so everyone digs in while the edges are still crackling.
Easy Variations & Substitutions
Once you master the basic formula for sheet-pan chicken chilaquiles, you can pivot the flavor profile in a dozen directions depending on what is sitting in your kitchen:
- Go Red (Chilaquiles Rojos): Swap the salsa verde for a smoky roasted tomato salsa or red enchilada sauce, and garnish with pickled red onions and queso fresco.
- Change Up the Protein: Trade the shredded chicken for leftover pulled pork carnitas, browned Mexican chorizo, or a can of rinsed, seasoned black beans for an easy vegetarian feast.
- Make It Dairy-Free: Use your favorite plant-based shredded mozzarella or cheddar style cheese, skip the cotija, and double up on diced avocado and dairy-free cashew crema.
Storage and Reheating Tips
Chilaquiles are undeniably at their peak ten minutes out of the oven, so try to scale your batch to what your table will finish in one sitting.
If you do end up with leftovers, scrape them into an airtight container and refrigerate for up to 2 days.
When you are ready for round two, stay far away from the microwave unless you enjoy eating warm, rubbery tortilla mush. Instead, dump the leftovers into an air fryer basket or toaster oven at 350°F for 4 to 5 minutes.
The circulating dry heat re-crisps the tortilla edges and melts the cheese back to life in minutes.
Final Thoughts
Great weeknight cooking isn’t about showing off complicated knife skills or dirtying every pot in your cabinet – it’s about knowing how to get maximum flavor and texture with smart techniques.
Moving chilaquiles onto a sheet pan takes the stress out of a beloved classic while giving you crispy, cheesy, tangy perfection in every forkful.
Grab a bag of sturdy tortilla chips, crank up your oven, and put this pan right in the center of the table.
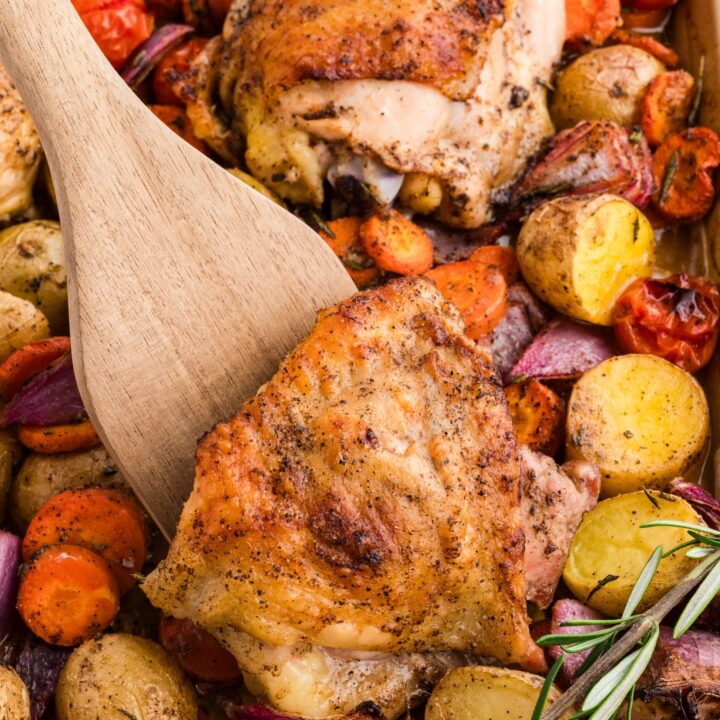
Crispy Sheet-Pan Chicken Chilaquiles with Salsa Verde
Image credit: @withpeanutbutterontop
Ingredients
- 12 ounces thick-cut restaurant-style corn tortilla chips (about 10–12 cups)
- 2 cups cooked shredded chicken (rotisserie or poached)
- 1 ½ cups tomatillo salsa verde, warmed
- 2 cups freshly shredded Monterey Jack or Oaxaca cheese (about 8 ounces)
- 4 large eggs (optional, for brunch)
- Kosher salt and freshly ground black pepper, to taste
- For Serving:
- ½ cup crumbled cotija cheese
- ⅓ cup Mexican crema or sour cream, thinned with a splash of lime juice
- 1 ripe avocado, pitted and diced
- 4 radishes, thinly sliced
- ⅓ cup fresh cilantro leaves, roughly chopped
- 1 lime, cut into wedges
Instructions
- Preheat the oven: Arrange a rack in the center of the oven and preheat to 400°F (200°C). Line a large rimmed half-sheet pan (18x13 inches) with parchment paper or lightly coat with nonstick cooking spray.
- Warm the salsa: Pour the salsa verde into a small saucepan over medium-low heat (or microwave in a heat-safe bowl for 45 seconds) until warm to the touch.
- Assemble the first layer: Spread half of the tortilla chips evenly across the prepared sheet pan. Drizzle half of the warm salsa verde over the chips, top with half of the shredded chicken, and scatter half of the shredded Monterey Jack cheese over the top.
- Repeat the layers: Layer the remaining tortilla chips, warm salsa verde, shredded chicken, and Monterey Jack cheese evenly across the pan, leaving some dry chip corners exposed for maximum crunch.
- Bake: Transfer the pan to the oven and bake for 8 to 10 minutes until the cheese is melted and bubbling. (If adding eggs: bake for 6 minutes, remove the pan, make 4 shallow wells in the chips with a spoon, crack an egg into each well, season lightly with salt and pepper, and bake for 5 to 7 minutes more until the whites are set).
- Garnish and serve: Remove the sheet pan from the oven. Immediately scatter with crumbled cotija cheese, diced avocado, sliced radishes, and fresh cilantro. Drizzle with Mexican crema and serve straight from the pan with lime wedges on the side.
Notes
Chef’s Note: Shred your own Monterey Jack cheese from a block rather than buying pre-shredded bags; block cheese lacks anti-caking starches and melts far smoother.
Featured image credit: ChaGPT
