
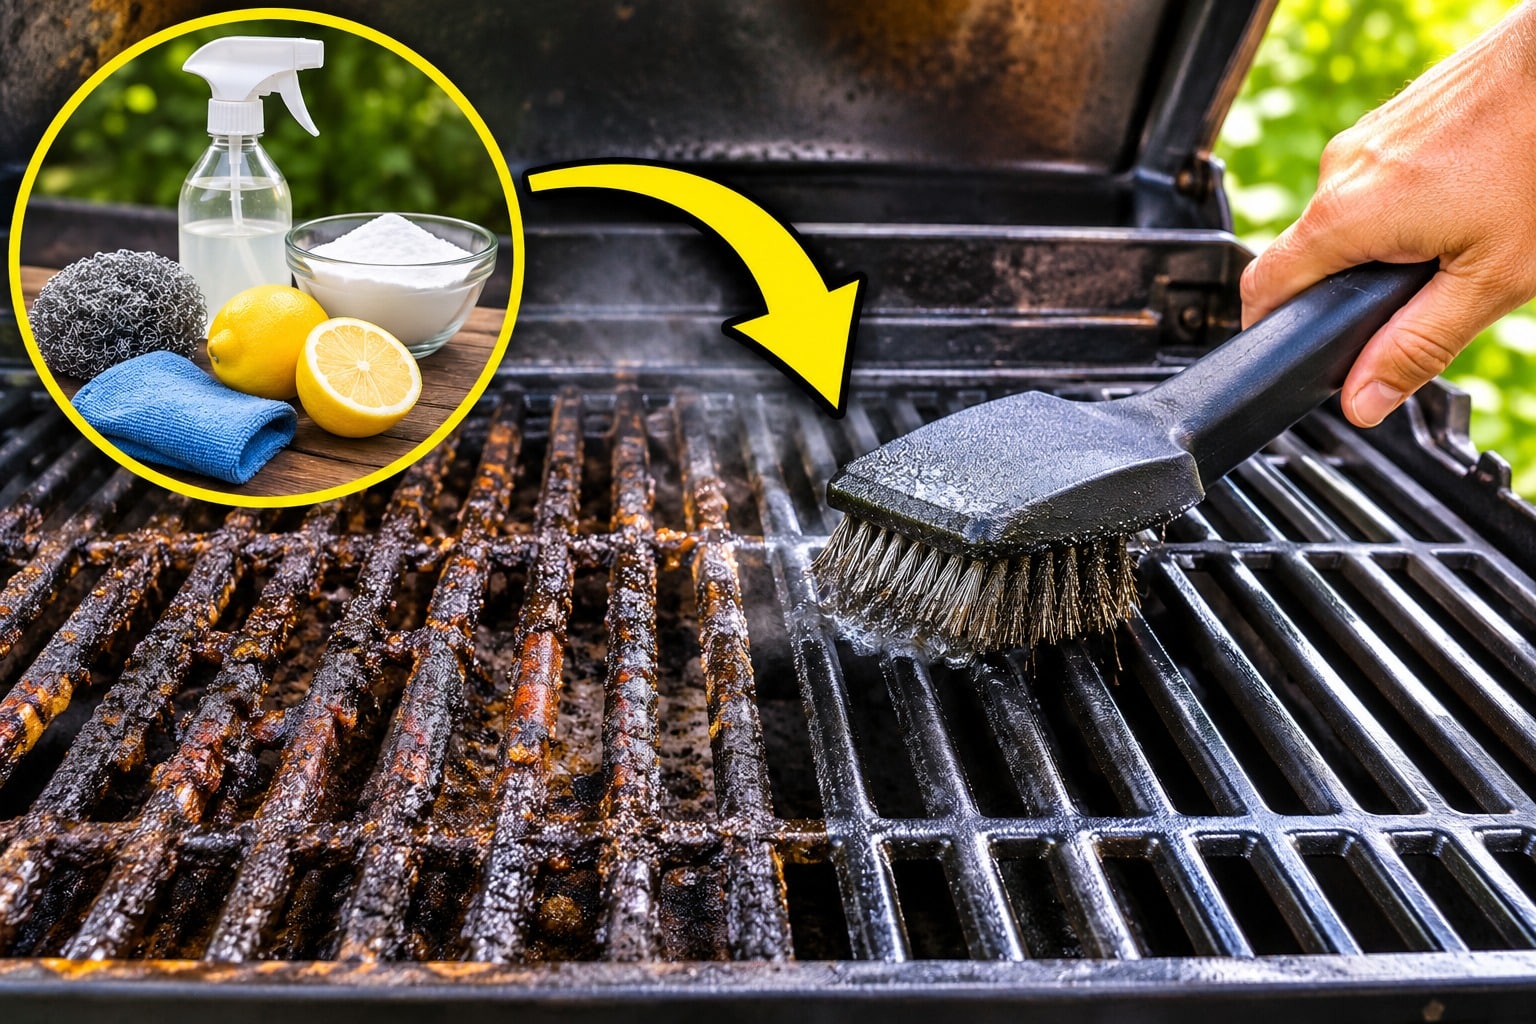
The first time I encountered a grill covered in months of baked-on grease, I made the mistake of thinking a quick scrub would take care of it.
Ten minutes, two brushes, and one very frustrated arm later, I realized I was fighting a losing battle.
The grease had hardened into a black, stubborn layer that seemed more permanent than the grill itself. It was the kind of mess that made you wonder whether buying a new grill would be easier than cleaning the old one.
That experience taught me an important lesson: grill cleaning is much easier when you know how to break down grease instead of simply scrubbing harder. Heat, moisture, mild abrasives, and the right cleaning solutions can make a surprising difference.
Whether you’re dealing with years of accumulated grime or stubborn grease left behind after last weekend’s barbecue, you don’t need expensive equipment or an industrial cleaning crew. A few household ingredients, simple tools, and the right techniques can help restore your cooking surface.
Here are nine practical cleaning hacks to get baked-on grease off your grill grates and make your grill ready for its next barbecue session.

1. Use the Heat-and-Scrape Method
Sometimes, the easiest way to remove stubborn grease is to let your grill do some of the heavy lifting. Heat helps soften accumulated grease and carbonized food particles, making them easier to remove.
Start by turning on your grill and allowing it to heat for approximately 10–15 minutes, following the manufacturer’s cleaning instructions. Once the residue has loosened, turn off the burners and allow the grates to cool to a safe working temperature.
Use a suitable grill scraper or non-wire cleaning brush to remove the loosened debris. Work along the grate bars, paying extra attention to corners and areas where grease tends to collect.
Why it works: Warmth helps soften greasy buildup, reducing the amount of scrubbing required.
Pro tip: Avoid wire-bristle brushes that can shed metal fragments. Nobody wants an unexpected crunch with their next burger.
2. Soak Grill Grates in Warm, Soapy Water
Sometimes, the best cleaning solution is sitting right beside your kitchen sink. Dish soap is designed to break down everyday grease, making it a useful option for tackling dirty grill grates.
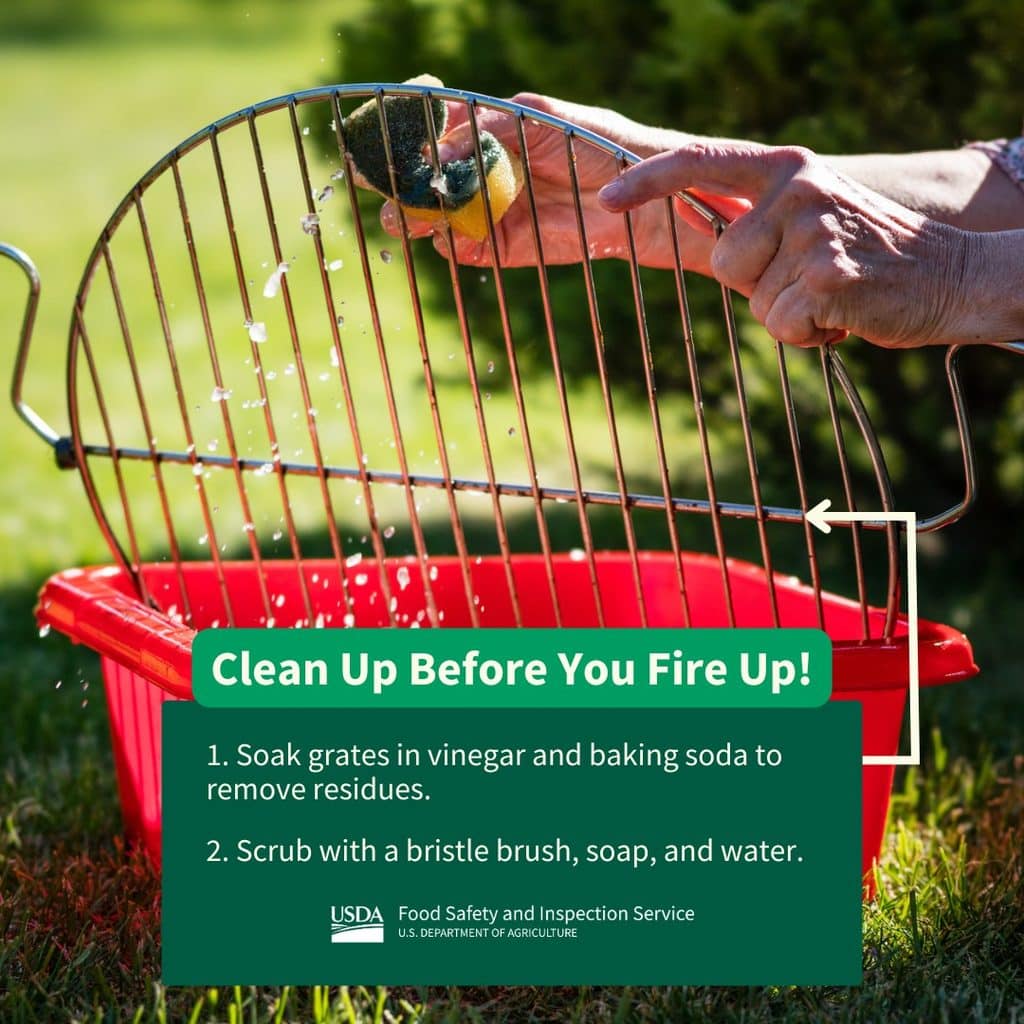
Start by removing the grates once they’re completely cool. Place them in a large container or sink filled with warm water and a generous squeeze of grease-cutting dish soap.
Allow them to soak for 20–30 minutes, giving the solution time to loosen accumulated grease. For particularly stubborn spots, let them soak longer if the grate manufacturer permits it.
After soaking, scrub the surfaces with a non-abrasive sponge or suitable brush. Rinse thoroughly with clean water and dry completely before reinstalling.
Why it works: Dish soap contains surfactants that help lift grease so it can be washed away with water.
Pro tip: This method works especially well for removable grates. For oversized grates, clean one section at a time rather than attempting to wrestle the entire thing into your kitchen sink.
3. Make a Baking Soda and Water Paste
Baking soda is one of the most useful household cleaning ingredients, and your grill grates can benefit from it too. Its mild abrasive properties help loosen stubborn residue without requiring aggressive scrubbing.
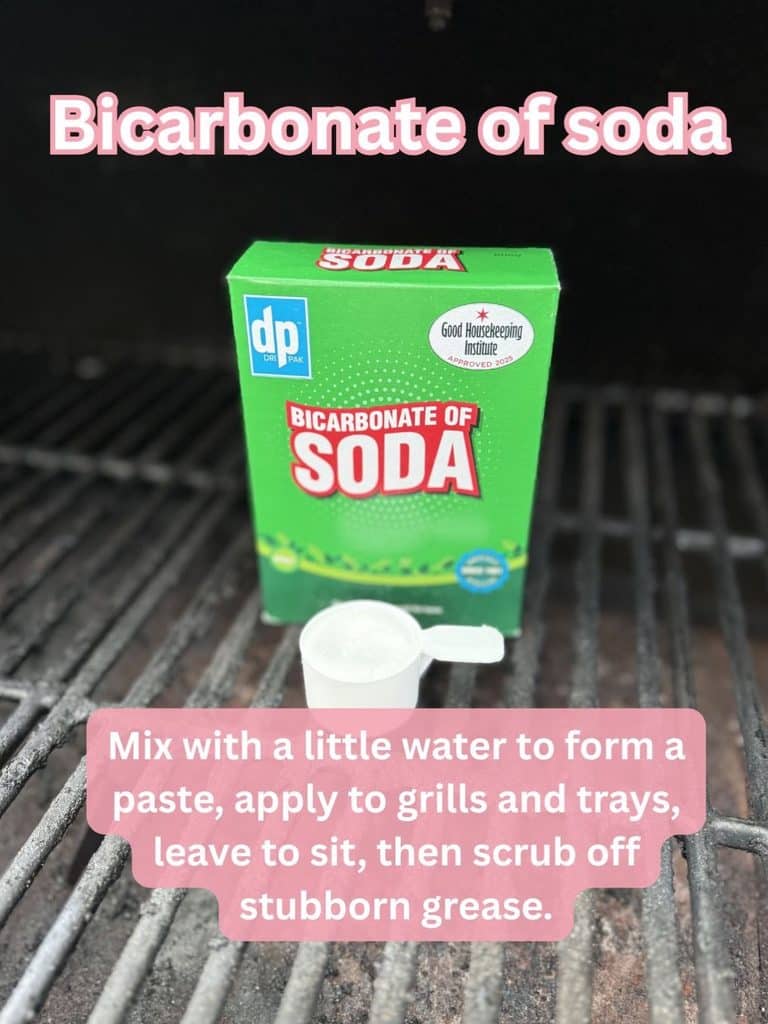
To make your cleaning paste, mix approximately half a cup of baking soda with enough water to create a thick consistency. You want something closer to toothpaste than pancake batter.
Spread the mixture over greasy areas, making sure to cover the stubborn patches. Let it sit for 15–30 minutes before scrubbing gently with a suitable brush or sponge.
Once the residue begins to loosen, rinse the grates thoroughly and dry them completely.
Why it works: Baking soda provides mild abrasive action that helps lift stubborn grime and grease deposits.
Pro tip: Concentrate the paste on heavily soiled areas instead of coating the entire grate. It’s a simple way to save cleaning time and avoid unnecessary scrubbing.
4. Try a Vinegar and Water Cleaning Solution
White vinegar deserves a spot in your grill-cleaning toolbox. Its natural acidity can help loosen certain greasy deposits and mineral residue, making stubborn spots easier to clean.
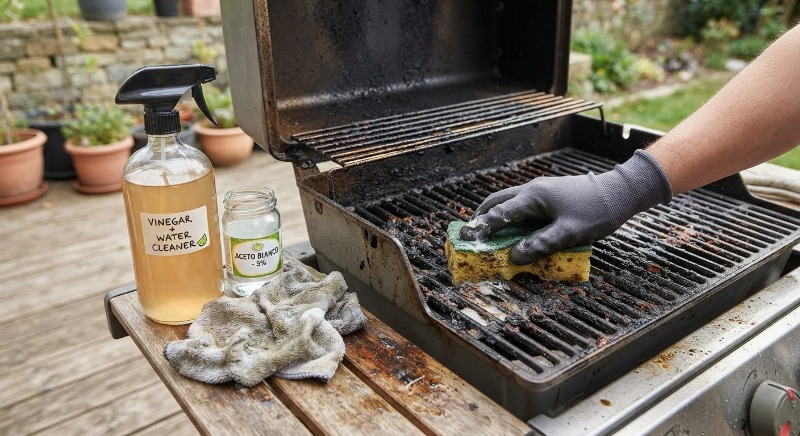
Mix equal parts white vinegar and water in a spray bottle. Once your grill grates have cooled completely, spray the solution generously over the affected areas.
Allow it to sit for approximately 10–15 minutes. Then, use a non-abrasive brush or sponge to work away the loosened residue.
Rinse the grates thoroughly with clean water and dry them before putting them back.
Why it works: The acetic acid in vinegar can help loosen some deposits, making them easier to remove through scrubbing.
Pro tip: Check your grill manufacturer’s recommendations before using vinegar, especially on porcelain-coated or specially finished surfaces. Also, never mix vinegar with bleach or other cleaning chemicals.
5. Scrub Away Grease With an Onion
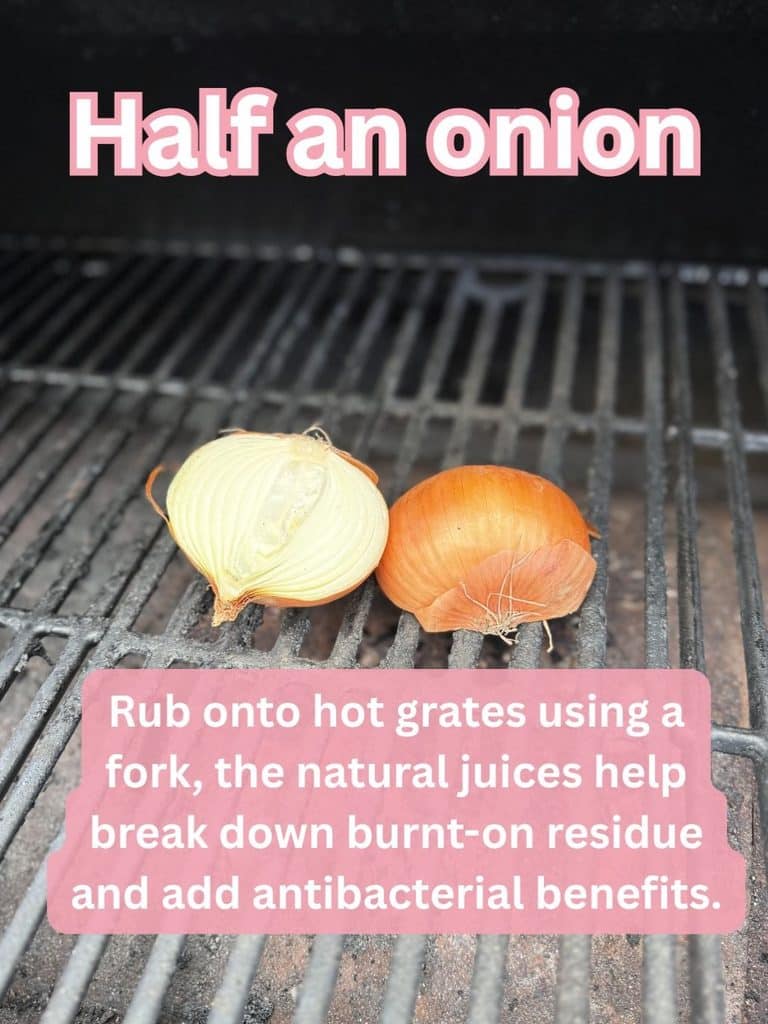
Here’s a cleaning trick that might make you look at your next barbecue onion a little differently. An ordinary onion can help clean light grease and food residue from grill grates.
Cut a medium-sized onion in half and pierce the rounded side with a long-handled fork or secure it with heat-resistant tongs. With the cut side facing the grate, gently rub it along the bars while the grill is warm but not dangerously hot.
The onion releases moisture and natural compounds that can help loosen fresh residue. Its texture also provides gentle friction as you move it across the cooking surface.
Why it works: The moisture helps soften light deposits, while the physical rubbing action helps dislodge loose food particles.
Pro tip: Save this trick for light buildup and routine maintenance rather than thick, carbonized grease. Also, don’t use an onion while the grill is dangerously hot. Your fingers deserve better than becoming the next barbecue special.
6. Use Aluminum Foil for Stubborn Residue
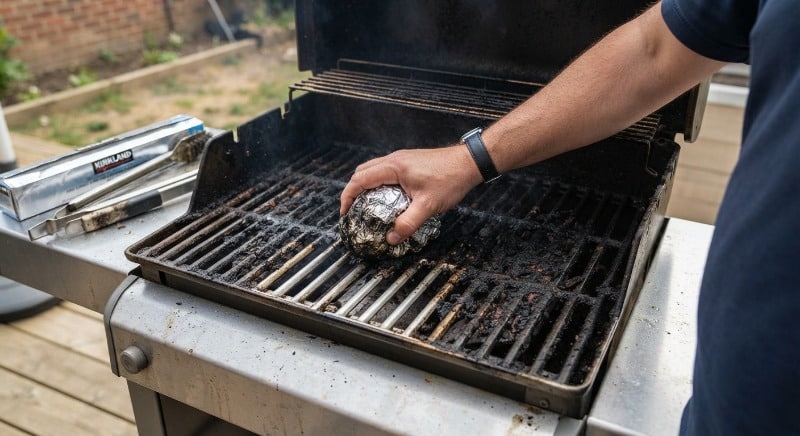
When food particles become stuck to grill grates, a little gentle abrasion can make a difference. Aluminum foil offers a convenient alternative cleaning tool, provided your grate material can handle it.
Take a sheet of aluminum foil and loosely crumple it into a ball. Once the grates are completely cool, use the foil ball with your hand or long-handled tongs to gently scrub areas with stuck-on debris.
Work along the grate bars rather than pressing aggressively against them. Pay attention to corners and spaces where food particles tend to accumulate.
Why it works: The textured surface of crumpled foil provides friction that can help dislodge stubborn residue.
Pro tip: Avoid this technique on delicate porcelain-coated grates or surfaces that scratch easily. A manufacturer-approved non-abrasive brush is a better choice for those materials.

7. Apply a Baking Soda and Vinegar Treatment
For particularly stubborn grease spots, try combining baking soda and vinegar. The familiar fizzing reaction can help loosen debris, although the combination isn’t necessarily more powerful than using either ingredient separately.
Start by sprinkling a thin layer of baking soda over the affected areas of your cooled grill grates. Lightly spray white vinegar over the powder and allow the mixture to fizz briefly.
Once the bubbling settles, use a non-abrasive brush to gently scrub the affected areas. The goal is to loosen the residue, not attack the grate like you’re sanding a piece of furniture.
Rinse everything thoroughly with clean water and dry completely.
Why it works: The bubbling action can help disturb and loosen surface debris, while the mild abrasive properties of baking soda assist with scrubbing.
Pro tip: Don’t expect the fizz to magically dissolve thick, carbonized grease. Give the treatment time to work, then finish with gentle mechanical cleaning.
8. Use a Grill-Safe Degreaser
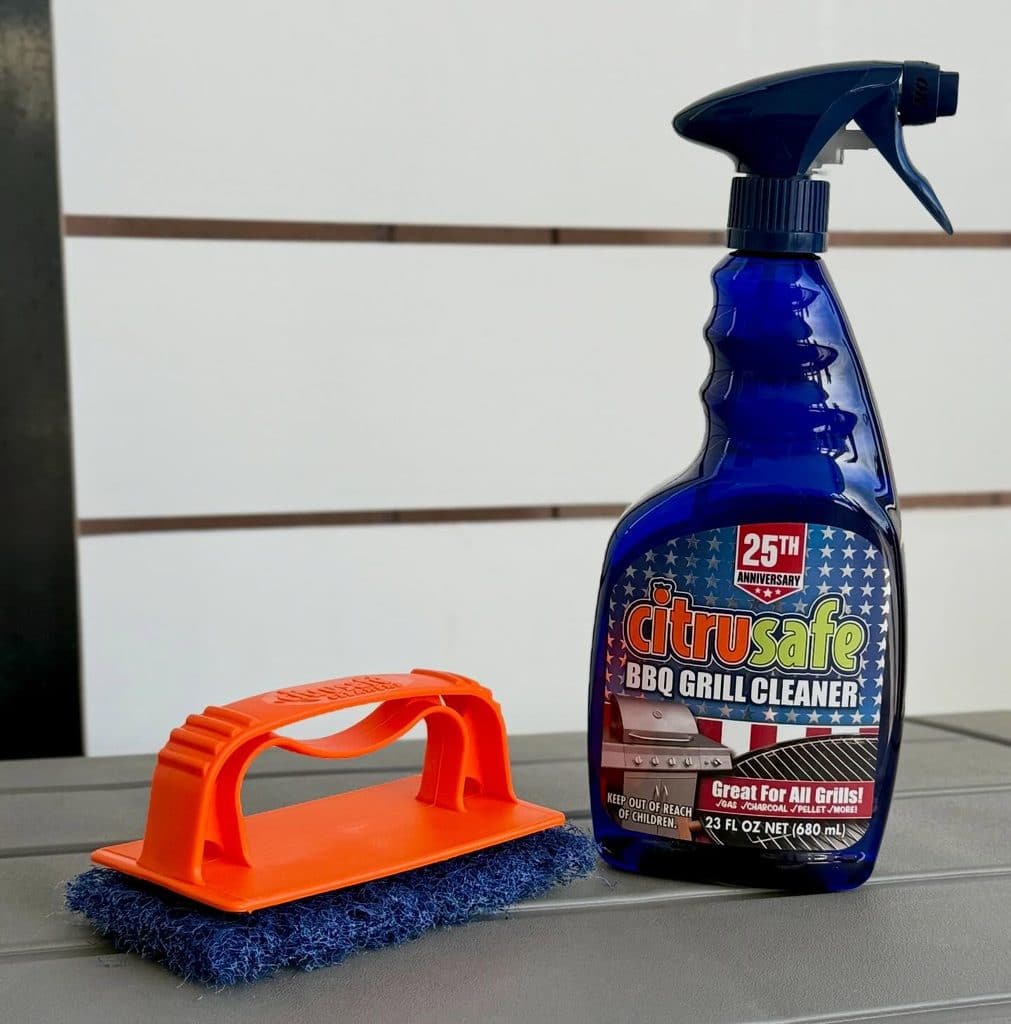
Sometimes, household ingredients simply aren’t enough. When you’re dealing with months of accumulated grease, a commercial grill degreaser may be the more practical option.
Choose a product specifically labeled as suitable for your grill grate material and intended food-contact surfaces. Different grills have different finishes, so avoid assuming that every kitchen or oven cleaner is safe for barbecue equipment.
Follow the product instructions carefully, including the recommended application method and contact time. Use the appropriate brush or sponge to remove loosened residue, then rinse thoroughly as directed.
Allow the grates to dry completely before reinstalling them and cooking again.
Why it works: Commercial degreasers are formulated to break down stubborn greasy deposits, often making heavily soiled surfaces easier to clean.
Pro tip: Always read the label. Avoid oven cleaners, harsh chemicals, or products containing ingredients that aren’t approved for your grill’s cooking surfaces.
9. Steam-Clean your Grill Grates
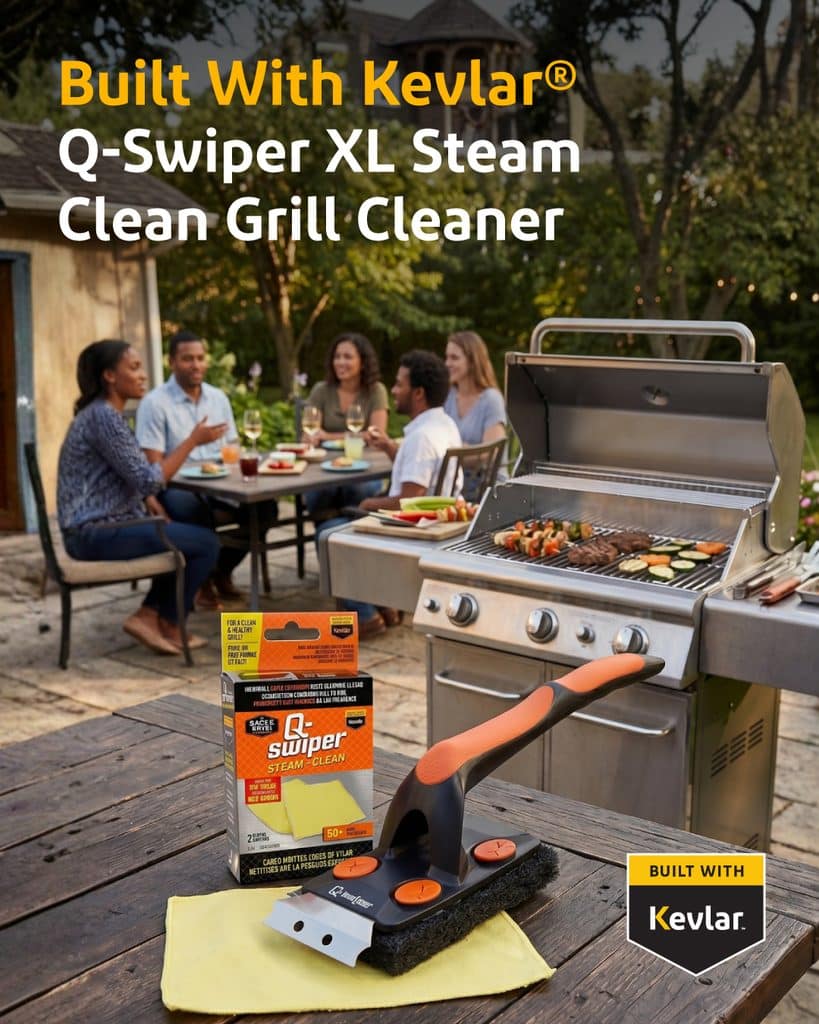
Want to loosen stubborn grime without relying on heavy scrubbing? Steam cleaning is another useful technique worth considering.
Steam helps soften greasy residue and stuck-on food particles, making them easier to remove with a suitable cleaning brush.
Use a manufacturer-approved steam-cleaning method or an appropriate steam cleaner designed for the task. Follow its operating instructions carefully, keeping your hands and face away from escaping steam.
Once the residue has softened, use a suitable brush to remove the loosened debris. Wipe away the remaining grime and dry the grates thoroughly.
Why it works: Heat and moisture help soften accumulated residue, reducing the effort needed to remove it.
Pro tip: Steam can cause serious burns, so wear appropriate protective equipment and never direct steam toward your hands. Avoid sudden temperature changes that could damage the grates, especially cast iron or porcelain-coated surfaces.
How to Prevent Baked-On Grease from Building Up Again
Getting rid of stubborn grease is satisfying, but keeping it from returning is even better. A few simple habits can save you from another afternoon of aggressive scrubbing.
Here are some easy maintenance tips:
- Clean after cooking: Remove loose food particles and grease once the grates have cooled to a safe temperature.
- Empty grease trays regularly: Don’t let accumulated drippings become another cleaning nightmare.
- Oil when appropriate: Apply a thin layer of suitable cooking oil when recommended for your grate material.
- Inspect your grill: Check corners, burners, drip pans, and other areas where grease collects.
- Use a grill cover: Protect your equipment from rain, dust, and outdoor debris.
- Schedule deep cleaning: Give your grill a more thorough cleaning periodically, depending on how frequently you use it.
Remember, regular maintenance is much easier than removing months of baked-on grease in one sitting.
Final Thoughts
A dirty grill doesn’t have to mean an exhausting cleaning session.
From warm soapy water and baking soda paste to vinegar solutions and steam cleaning, these nine hacks offer practical ways to tackle stubborn baked-on grease without turning your backyard into a chemistry laboratory.
The trick is choosing the right method for your grate material and the amount of buildup you’re dealing with. Clean regularly, use appropriate tools, and treat your grill with a little care.
After all, your grill should be famous for its smoky ribs and juicy burgers – not the impressive collection of grease it has been saving since last summer.
Featured image credit: ChatGPT
