
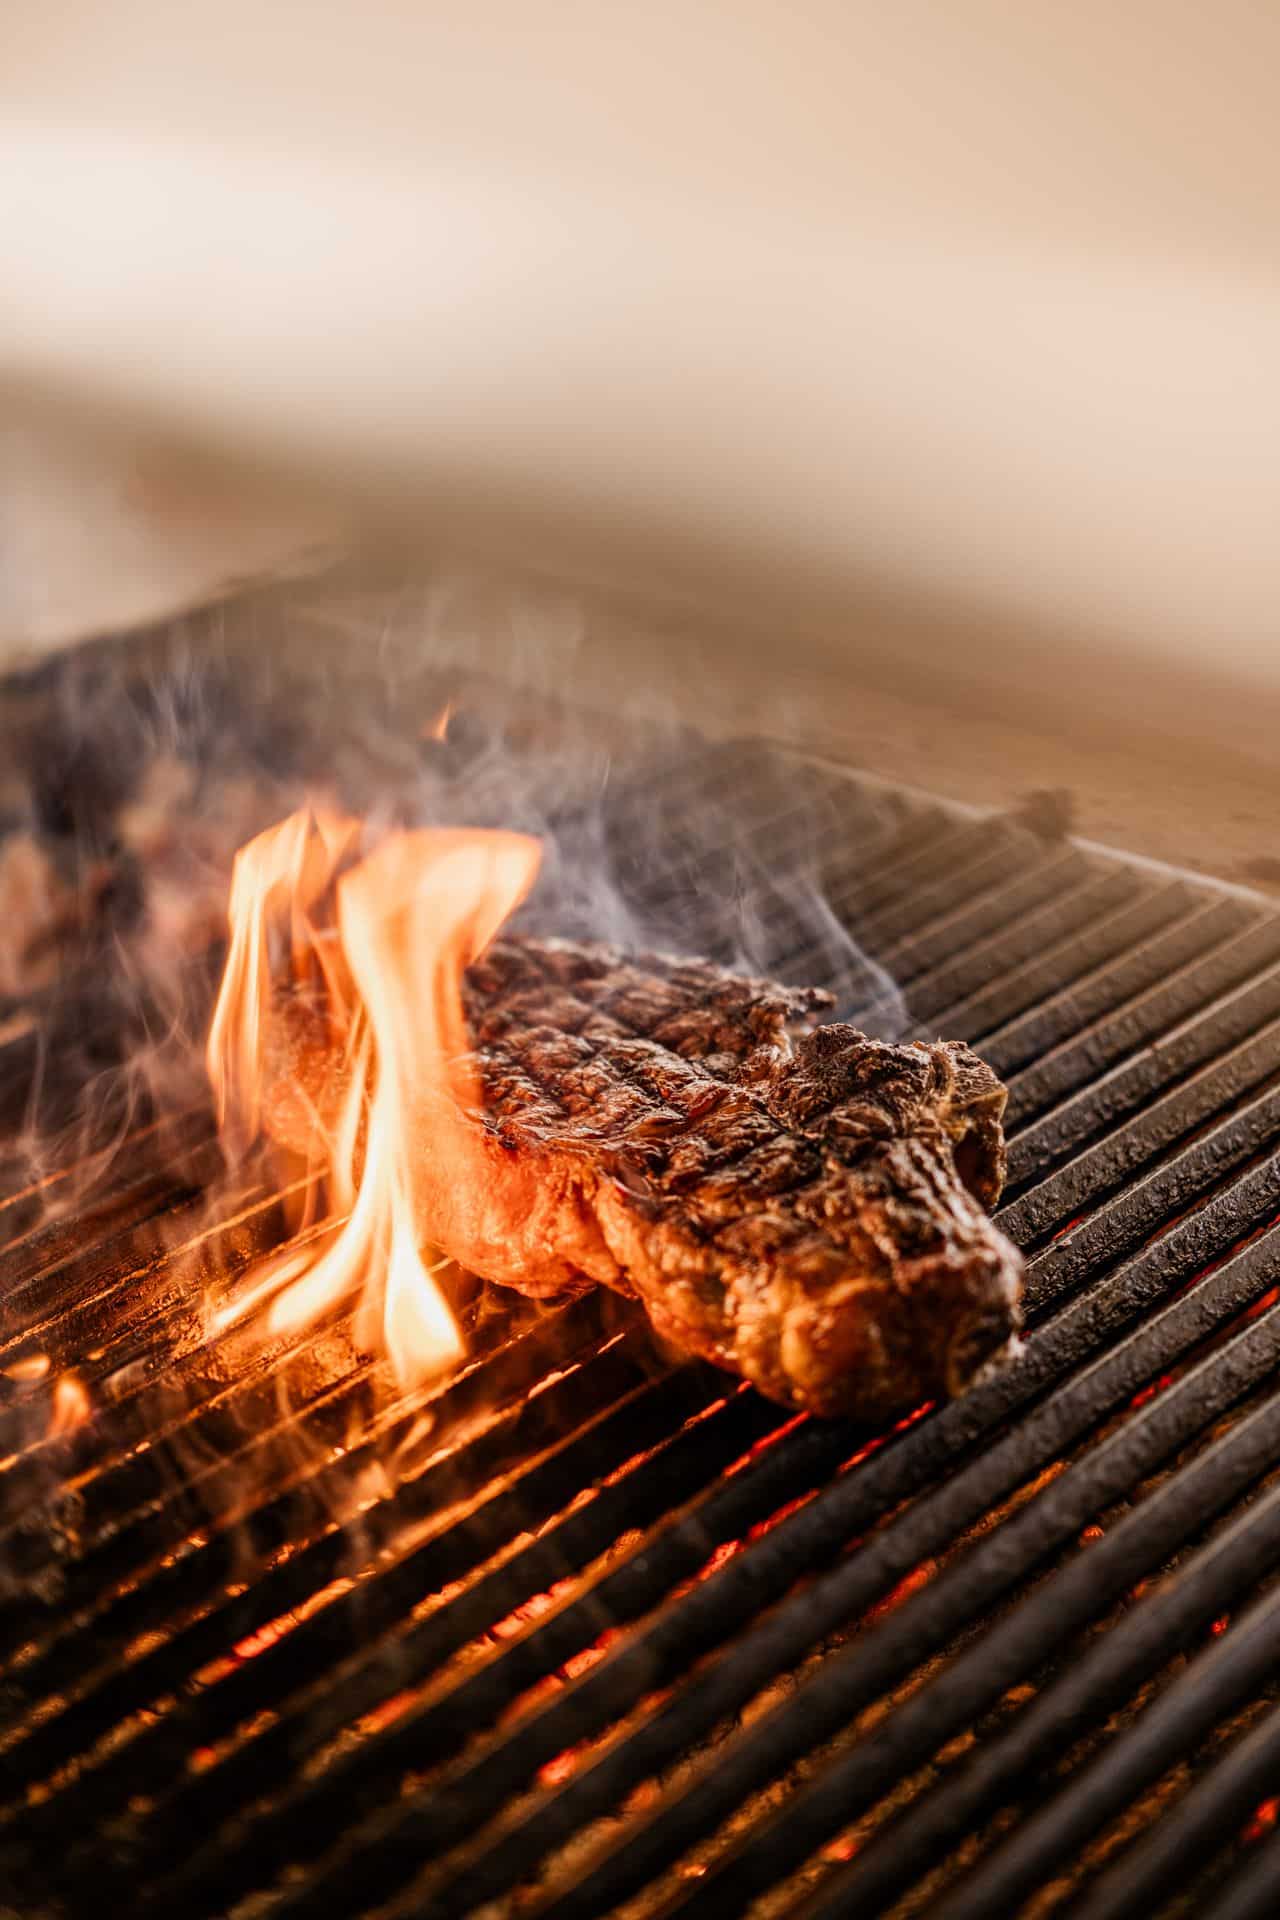
How do you cook a steak that’s beautifully browned on the outside, perfectly pink from edge to edge, and tender enough to make you forget about every mediocre steak you’ve ever eaten?
The answer might surprise you: stop searing your steak first.
That’s right. One of the best ways to cook a thick, juicy steak is to turn traditional steak preparation upside down.
Welcome to the world of reverse searing steak, a technique that starts with gentle, low-temperature cooking and finishes with an intense, high-heat sear.
Instead of rushing a thick ribeye through a hot skillet and hoping the middle catches up, you let the heat work slowly before giving the exterior that gorgeous, golden-brown crust.
The result is a steak with more consistent doneness, excellent texture, and a deeply flavorful crust. Whether you’re cooking a marbled ribeye, a tender filet mignon, a New York strip, or a massive tomahawk, reverse searing can transform the way you approach steak.
And don’t worry. You don’t need a professional kitchen, a culinary degree, or a chef yelling behind you. A reliable thermometer, a good skillet, and a little patience are all it takes.
What Is Reverse Searing?
Reverse searing is a steak-cooking technique that flips the traditional cooking process around. Instead of searing the meat first and finishing it over lower heat, you cook the steak slowly at a low temperature before searing it over high heat.
The method has two distinct stages:
- Low-temperature cooking: The steak goes into an oven, smoker, or grill set up for indirect heat. It gradually approaches its desired internal temperature without exposing the exterior to excessive heat.
- High-temperature searing: Once the steak is nearly cooked, it goes into a screaming-hot cast-iron skillet or onto a hot grill. This final step creates the rich, browned crust responsible for so much of steak’s flavor.
Why does this work?
Slow cooking gives heat more time to travel toward the center, helping reduce the temperature difference between the exterior and interior. It also allows moisture on the surface to evaporate, making it easier to develop a beautiful crust during the final sear.
Think of reverse searing as cooking the inside first and building the crust last. It’s a straightforward change that delivers particularly impressive results with thick cuts of beef.
Why Reverse Sear Steak? The Benefits Explained
A great steak isn’t just about buying expensive beef. It’s about understanding heat, choosing the right cut, and knowing when to leave the meat alone. Reverse searing makes all three easier.
Here are the biggest reasons to give this technique a try.
More Even Cooking
One of the biggest frustrations when cooking thick steaks is the gray band of overcooked meat beneath the crust. Gradual heating helps minimize this problem, producing a more consistent interior from edge to center.
Better Temperature Control
Instead of racing against a scorching-hot skillet, you have more time to monitor the steak’s internal temperature. A reliable meat thermometer takes much of the guesswork out of achieving your preferred doneness.
A Better Crust
The low-temperature cooking stage helps dry the steak’s surface. Since excess moisture interferes with browning, a drier surface makes it easier to develop a deeply browned, flavorful exterior.
More Consistent Results
Reverse searing gives you greater control over the cooking process, especially when dealing with thick steaks that can be difficult to cook evenly using traditional methods.
Better Fat Rendering
Well-marbled cuts, particularly ribeyes, benefit from the gradual cooking process. The fat has more time to soften before the final sear adds another layer of flavor.
However, reverse searing isn’t the answer to every steak-cooking situation. Thin cuts cook quickly and may reach their target temperature before developing a proper crust. For those, traditional pan-searing is often the better option.
Best Types of Steak for Reverse Searing
Not every steak needs the reverse sear treatment. The technique shines with thicker cuts, particularly those measuring around 1.5–2 inches.
The extra thickness gives the meat enough time to cook gradually before the final high-heat sear.
Here are some of the best cuts to try.
Ribeye Steak
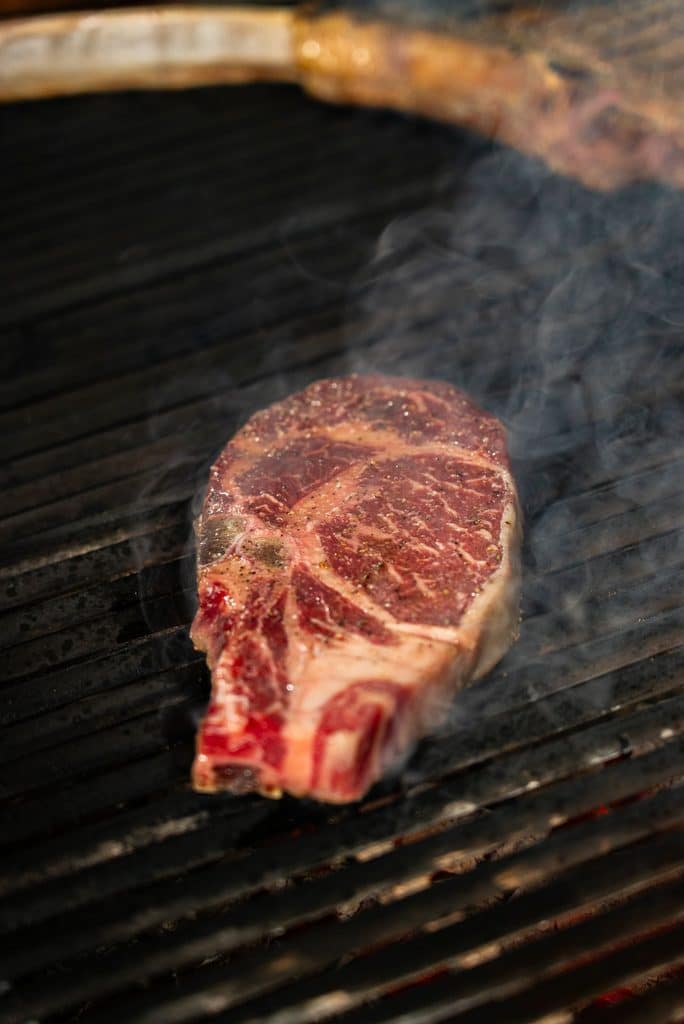
Ribeye is practically made for reverse searing. Its generous marbling delivers rich beef flavor, while the gradual cooking stage gives the fat time to soften before the final sear.
Both boneless and bone-in ribeyes work beautifully. For particularly thick cuts, reverse searing helps cook the center without overdoing the exterior.
Pitmaster tip: Pay attention to the fat cap and larger seams of marbling. Give the outer fat some contact with the hot skillet during the final sear to encourage browning and render the exterior.
New York Strip Steak
The New York strip offers a fantastic balance of tenderness, beefy flavor, and moderate marbling. It’s also an excellent choice for anyone who prefers a firmer bite than ribeye.
Reverse searing helps maintain an evenly cooked interior while developing a crisp, flavorful crust. Don’t forget the strip of fat along the edge. Searing it properly adds another layer of flavor.
Filet Mignon
Filet mignon is prized for its tenderness, but its relatively lean composition means it can dry out when overcooked.
The reverse sear method provides better temperature control, making it easier to preserve its delicate texture. Since filet mignon is often cut thick, it’s an excellent candidate for this technique.
Finish it with butter, garlic, and fresh thyme for a classic steakhouse touch.
Sirloin Steak
Top sirloin is a flavorful, more affordable alternative to premium steakhouse cuts. It doesn’t have the same marbling as ribeye, but a thick-cut sirloin can deliver excellent results.
Slow cooking helps prevent the exterior from becoming overdone before the center reaches the desired temperature.
T-Bone and Porterhouse Steak
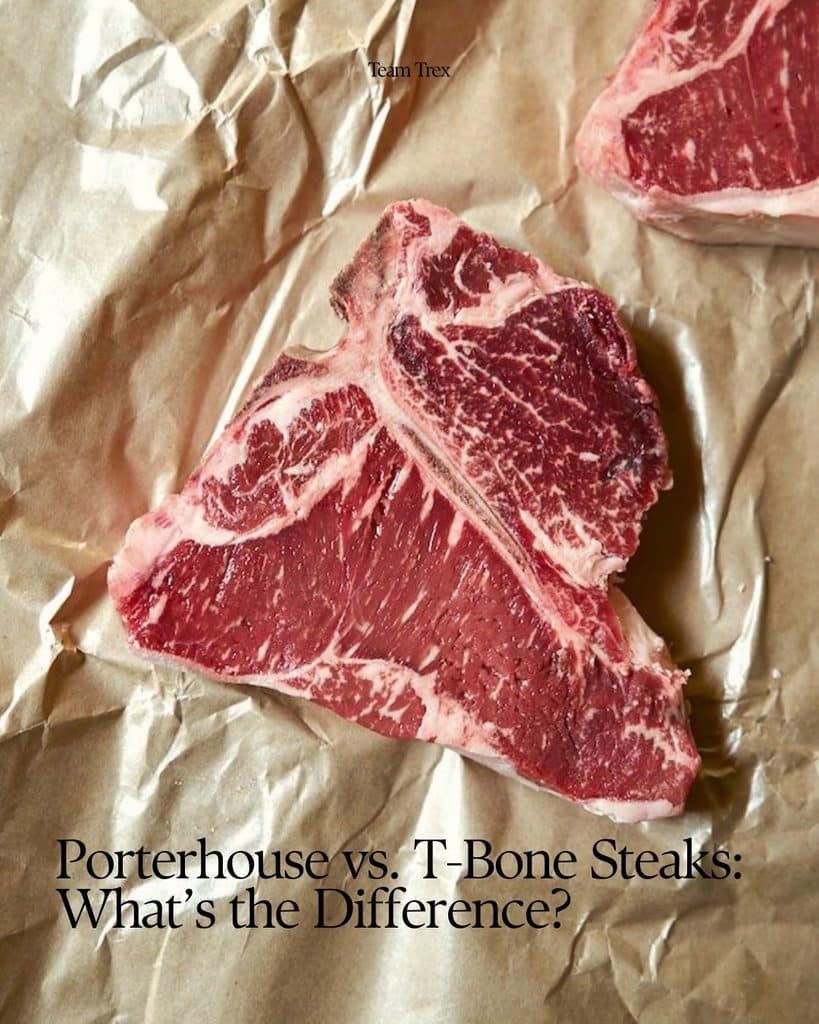
These impressive cuts combine two different muscles: New York strip on one side and tenderloin on the other.
The challenge is that the two sections have different textures and cooking characteristics. Reverse searing gives the steak a gentler start, helping both sections approach their target temperatures before the final sear.
Tomahawk and Bone-In Steaks
A tomahawk is essentially a thick, bone-in ribeye with an impressive long rib bone. It’s a showstopper on the grill, but its size makes temperature control particularly important.
Reverse searing works exceptionally well with these larger cuts because it allows the center to cook gradually before the exterior gets its final crust.
Remember: Thickness matters more than the name of the steak.
A thick ribeye, strip, or sirloin is generally a better candidate than a paper-thin premium cut.
Ideal Steak Thickness and Temperature for Reverse Searing
Before firing up the oven, consider two important factors: steak thickness and desired doneness.
How Thick Should a Steak Be?
For the best results, aim for steaks approximately 1.5–2 inches thick. Thicker steaks provide enough cooking time for gradual heat penetration without overcooking the exterior.
You can reverse sear a 1-inch steak, but it requires more attention. Thin steaks have less room for error and can easily overcook during the final sear.
Reverse Sear Steak Temperature Guide
Internal temperature is the most important measurement when cooking steak. Cooking times provide a rough estimate, but a thermometer tells you what’s actually happening inside the meat.
| Doneness | Final Internal Temperature |
| Rare | 120–125°F |
| Medium Rare | 130–135°F |
| Medium | 140–145°F |
| Medium Well | 150–155°F |
| Well Done | 160°F+ |
For reverse searing, remove the steak from the oven approximately 10–15°F below your intended final temperature. The final sear and carryover cooking will raise the temperature further.
For example, targeting medium rare? Pull the steak from the oven around 115–120°F, then finish it with a hot sear while monitoring the temperature.
Important food safety note: These are culinary doneness targets, not guaranteed food-safety temperatures. The USDA recommends cooking whole beef steaks to 145°F, followed by a three-minute rest.
Extra care is particularly important when serving children, older adults, pregnant people, or anyone with a weakened immune system.
How to Reverse Sear Steak: Step-by-Step Guide
Now for the fun part. You don’t need a professional kitchen or a collection of expensive equipment. A good oven, a wire rack, a cast-iron skillet, and a reliable thermometer will get the job done.
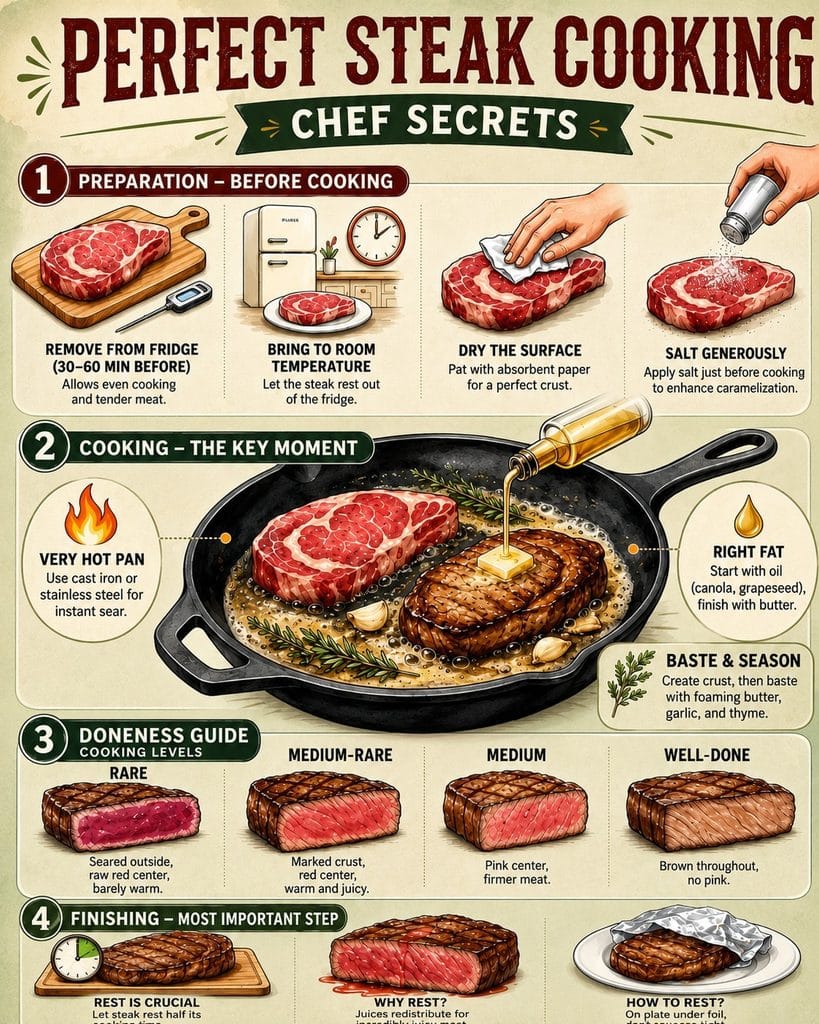
Step 1: Choose and Prepare Your Steak
Start with a quality steak that’s approximately 1.5–2 inches thick.
Pat both sides dry using paper towels. Removing surface moisture helps the steak develop a better crust later.
Trim any excessive exterior fat, but don’t go overboard. Fat is flavor, and nobody wants to turn a beautiful ribeye into a lean piece of disappointment.
Step 2: Season the Steak
Season generously with kosher salt and freshly ground black pepper.
For deeper seasoning, salt the steak several hours ahead or overnight in the refrigerator on an uncovered wire rack. This dry-brining process helps season the meat and dry its surface.
You can also add garlic powder, onion powder, or smoked paprika, but keep the seasoning balanced. Let the beef do most of the talking.
Step 3: Preheat the Oven
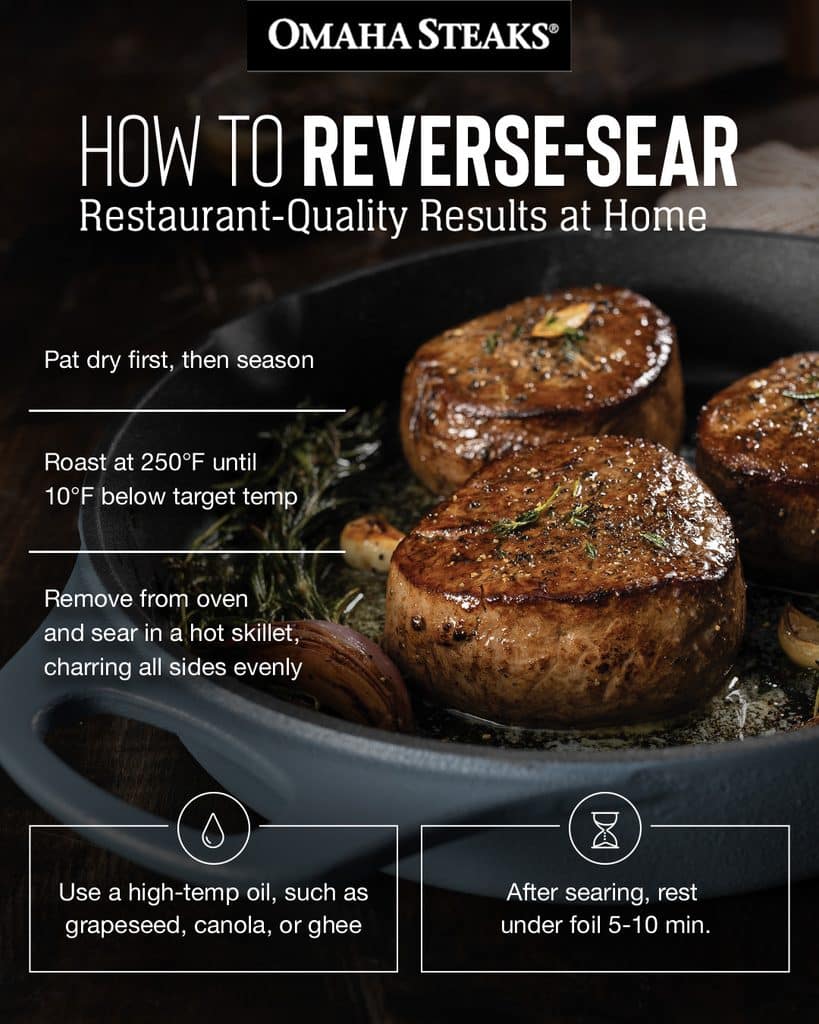
Set your oven to 225–250°F.
Place a wire rack over a rimmed baking sheet. The rack allows hot air to circulate around the steak, helping it cook more evenly.
Avoid placing the steak directly on a flat baking sheet. The bottom can trap moisture and interfere with the cooking process.
Step 4: Slowly Cook the Steak
Place the steak on the wire rack and insert a meat thermometer into its thickest section.
Cook until the internal temperature reaches approximately 10–15°F below your desired final temperature.
Cooking time varies depending on thickness, starting temperature, oven accuracy, and the cut itself. A thick steak may take 45–90 minutes, sometimes longer.
Don’t obsess over the clock. Cook to temperature, not time.
Step 5: Prepare for the Final Sear
Remove the steak from the oven once it reaches your target pull temperature.
Heat a cast-iron skillet over high heat until thoroughly hot. This is where patience pays off. A lukewarm pan produces a disappointing crust, and nobody wants a steak that’s been slowly cooked only to be finished with a sad little sizzle.
Pat the steak dry again if moisture has accumulated on its surface.
Step 6: Sear Over High Heat
Add a thin layer of high-smoke-point oil, such as avocado or refined canola oil.
Carefully place the steak in the skillet and sear each side for approximately 45–90 seconds, adjusting as needed for the pan’s heat and steak thickness.
Don’t forget the edges. Use tongs to hold the steak upright and brown the fat cap.
During the final moments, you can add butter, crushed garlic cloves, and fresh rosemary or thyme. Tilt the skillet slightly and spoon the melted butter over the steak.
Keep an eye on the internal temperature. The goal is a rich, brown crust without pushing the center beyond your desired doneness.
Step 7: Rest and Serve
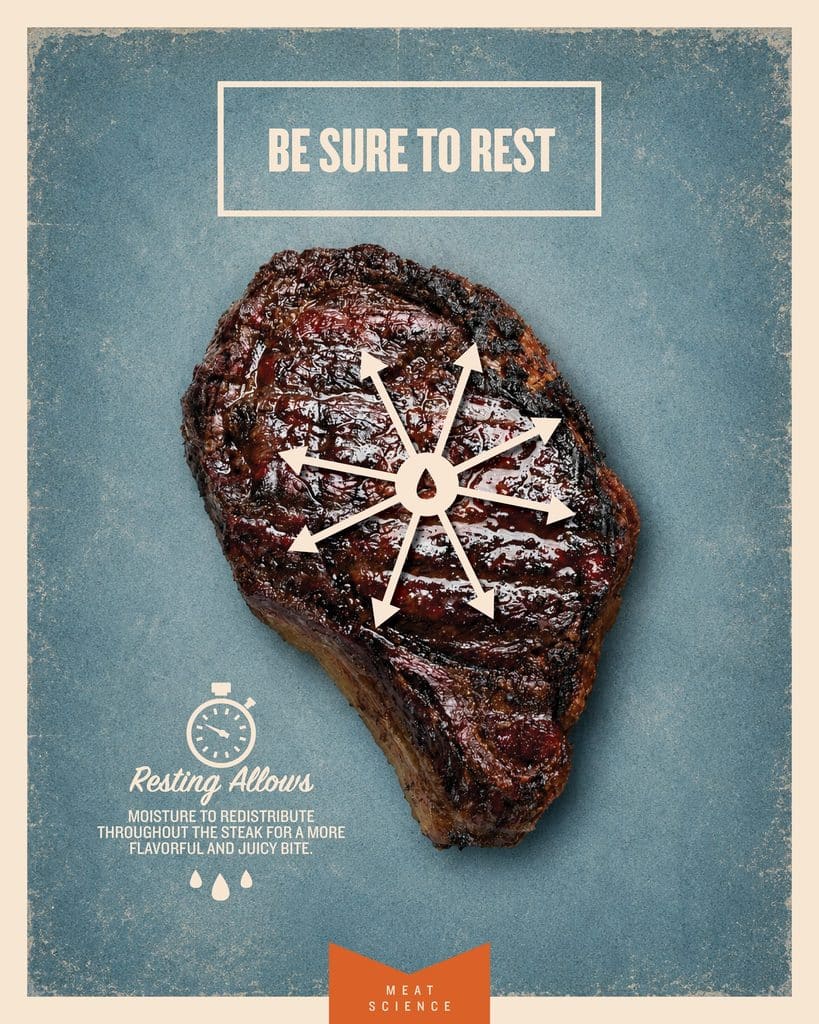
Remove the steak from the skillet and let it rest briefly before slicing. A short rest of around five minutes is generally sufficient, although larger cuts may benefit from a little longer.
Slice against the grain when appropriate, finish with flaky sea salt, and serve. Congratulations. You’ve just made a steak that looks like it belongs on a restaurant menu.
Reverse Searing Steak Using Different Cooking Methods
The oven-and-skillet combination is the easiest way to get started, but reverse searing isn’t limited to your kitchen.
Reverse Searing Steak in the Oven
This is the most straightforward method for home cooks.
Set the oven to 225–250°F, place the steak on a wire rack, and cook until it reaches the desired pull temperature. Finish in a hot cast-iron skillet.
The oven provides consistent heat, while the skillet delivers the crust.
Reverse Searing Steak on the Grill
A grill gives you another excellent option, particularly when cooking outdoors.
Set up a two-zone fire with one side for indirect heat and the other for direct high heat.
- Place the steak on the cooler side of the grill.
- Close the lid and cook until it reaches the desired internal temperature.
- Move it over direct heat for the final sear.
- Turn as needed to develop an evenly browned crust.
This works particularly well with charcoal grills, where you can combine gentle indirect cooking with intense direct heat.
Reverse Searing Steak in a Smoker
Want to add another layer of flavor? Use a smoker.
Set your smoker to approximately 225°F and cook the steak until it approaches your target internal temperature. Oak, cherry, and hickory are popular wood choices.
Be mindful of smoke intensity. Steak has a naturally rich flavor, so you don’t need to bury it under a cloud of wood smoke.
Finish the steak in a screaming-hot cast-iron skillet or over direct grill heat.
Common Reverse Searing Mistakes and How to Avoid Them
Even a simple technique has a few traps. Avoid these common mistakes and you’ll get much more consistent results.
- Choosing steaks that are too thin: Thin cuts don’t provide enough room for gradual cooking. Stick with steaks around 1.5–2 inches thick whenever possible.
- Skipping the meat thermometer: Guessing doneness is a gamble. Invest in a reliable thermometer and use it.
- Failing to dry the surface: Moisture prevents proper browning. Pat the steak dry before the final sear.
- Using a pan that isn’t hot enough: A proper crust requires high heat. Preheat your skillet thoroughly before adding the steak.
- Searing for too long: The final sear should develop the crust, not cook the center all over again.
- Cutting immediately: Give the steak a short rest before slicing to help retain its juices.
The biggest mistake? Relying entirely on cooking time. Every steak is different, and your thermometer is a much better judge than the kitchen clock.
Expert Tips for Getting the Perfect Reverse Sear Every Time
Once you’ve mastered the basics, a few small adjustments can make a noticeable difference.
- Use a leave-in thermometer: Monitor internal temperature without repeatedly opening the oven.
- Dry-brine overnight: Seasoning ahead of time improves flavor and helps create a drier surface.
- Choose cast iron: Its heat retention makes it excellent for developing a deep crust.
- Avoid overcrowding the pan: Sear one or two steaks at a time, depending on skillet size.
- Use high-smoke-point oil: This reduces the chance of burning during high-heat cooking.
- Don’t rush the sear: Allow each side to develop a rich brown crust before turning.
- Finish with compound butter: Garlic-herb butter adds richness without requiring complicated sauces.
One more thing: don’t chase a perfect Instagram crust at the expense of the steak’s internal temperature. The best steak is the one cooked to your preferred doneness.
Final Thoughts: Master the Reverse Sear for Better Steak
Great steak isn’t about complicated techniques or owning every gadget in the grilling aisle. It’s about understanding heat, respecting the cut, and knowing when to turn up the temperature.
Reverse searing steak gives you a dependable way to achieve a tender, evenly cooked interior and a beautifully browned crust. Start with a thick ribeye or New York strip, keep your thermometer close, and don’t rush the process.
Once you get comfortable with the technique, experiment with different cuts, cooking temperatures, and finishing methods.
Because at the end of the day, a perfectly cooked steak is a beautiful thing. And if you can make one without turning your kitchen into a smoke-filled disaster, even better.
Frequently Asked Questions
What Is the Best Temperature for Reverse Searing Steak?
A practical oven temperature is 225–250°F. This range allows the steak to cook gradually, helping produce an evenly cooked interior before the final sear.
How Long Does It Take to Reverse Sear a Steak?
Most 1.5–2-inch steaks take approximately 45–90 minutes in a 225–250°F oven. However, thickness, starting temperature, and oven performance all affect cooking time. Always use a meat thermometer.
Can You Reverse Sear a 1-Inch Steak?
Yes, but it’s less forgiving. A 1-inch steak can reach its target temperature quickly, leaving little room for the final sear. Traditional pan-searing is often a better choice for thinner cuts.
Should You Rest Steak Before or After Searing?
A long rest between the low-temperature cooking stage and the final sear isn’t necessary. Allow the steak to rest briefly after searing before slicing, particularly for thicker cuts.
Do You Need to Flip Steak During Reverse Searing?
Not usually when cooking on a wire rack in the oven because hot air circulates around the meat. On a grill, flipping may help depending on your heat setup.
Is Reverse Searing Better Than Sous Vide?
Both techniques offer excellent temperature control, but they work differently. Reverse searing uses dry heat and naturally dries the steak’s surface, while sous vide cooks the steak in a temperature-controlled water bath.
Reverse searing is generally simpler to set up, while sous vide offers exceptionally precise temperature control.
Featured image credit: Furkan Alakoç
