
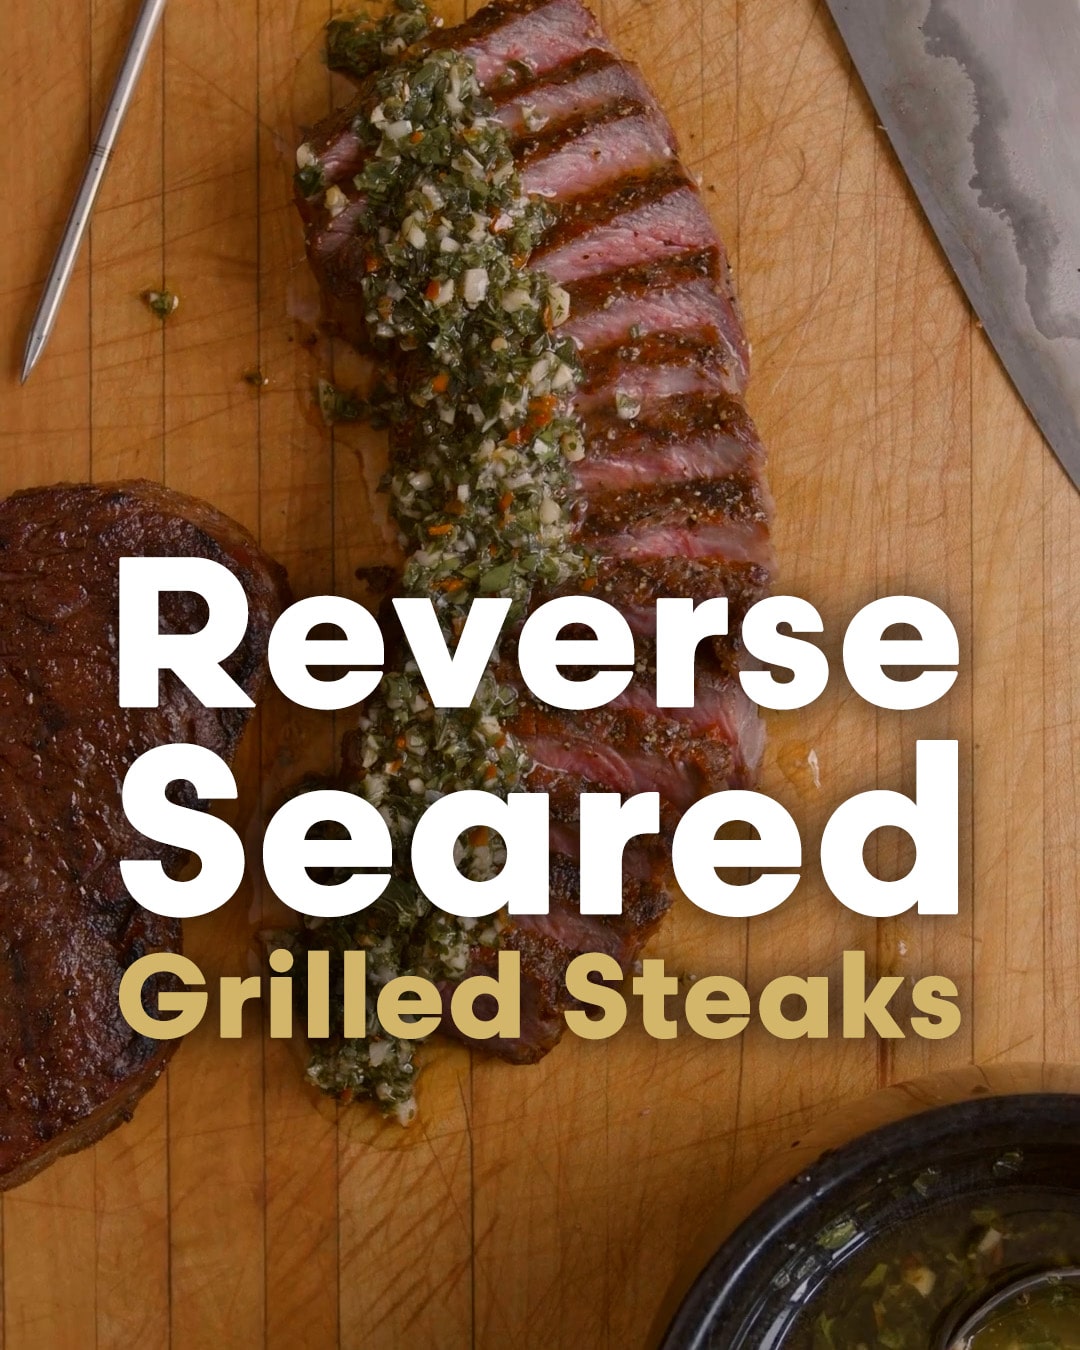
A thick ribeye fresh off the grill can spark surprisingly heated debates. One cook swears by blasting it over roaring flames from the start. Another insists that low heat, patience, and a final sear produce a better steak.
Somewhere between the smoke and the sizzling fat lies a fascinating bit of food science known as reverse sear dynamics.
For decades, backyard grillers were told that searing meat first “locks in the juices.” It sounds convincing. It also happens to be wrong.
Modern cooking techniques and a deeper understanding of muscle fibers have revealed that the path to juicy meat is much less dramatic:
cook gently first, then bring the heat at the very end.
The reverse sear method isn’t magic. It’s simply a smarter way to manage heat, moisture, and texture. Understanding why it works means taking a closer look at what meat is made of and how proteins respond when temperatures start climbing.
What Is Reverse Searing?
At its core, reverse searing flips traditional steak cooking upside down.
Instead of starting with intense heat and finishing slowly, reverse searing follows two simple steps:
- Cook the meat over indirect heat at a low temperature.
- Finish it with a quick, blazing-hot sear.
That’s it. No secret handshake required.
The method became popular among barbecue enthusiasts because it solves two of the biggest cooking problems:
- Dry outer layers.
- Uneven doneness.
Traditional searing often creates a thick gray ring of overcooked meat around a small pink center. Reverse searing minimizes that issue by allowing heat to move gradually through the steak.
How Reverse Searing Differs From Traditional Searing
A conventional steak routine usually looks like this:
- Sear over high heat.
- Move to a cooler zone.
- Finish cooking.
- Rest and serve.
The reverse sear approach changes the sequence:
- Cook indirectly at 225–275°F.
- Remove when nearly done.
- Sear at maximum heat.
- Slice and enjoy.
The difference may sound small, but reverse sear dynamics fundamentally change how muscle fibers react to heat.
Best Cuts for Reverse Searing
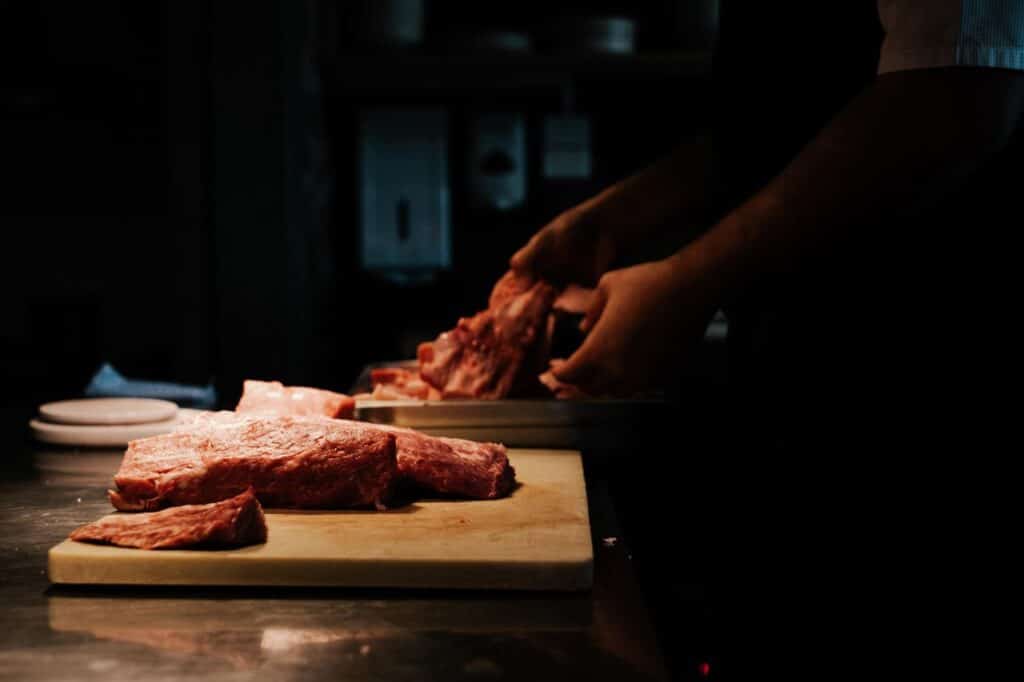
Reverse searing shines with thick cuts, especially those at least 1½ inches thick.
Great candidates include:
- Ribeye steaks.
- New York strips.
- Porterhouse steaks.
- Tomahawks.
- Thick pork chops.
- Lamb racks.
- Tri-tip roasts.
Thin cuts cook too quickly to benefit from the process. Trying to reverse-sear a skinny supermarket steak is a bit like bringing a race car to a school zone.
The Science of Meat: Understanding Muscle Fibers and Moisture
Before discussing heat, it helps to know what’s happening inside a steak.
Meat consists of several components working together:
- Muscle fibers.
- Connective tissue.
- Fat.
- Water.
- Proteins.
Surprisingly, raw meat is mostly water. Depending on the cut, up to 75 percent of meat is water trapped inside microscopic muscle structures.
That moisture isn’t simply sloshing around like soup in a bowl. Proteins act like tiny sponges, holding water within bundles of muscle fibers.
When heat enters the equation, those proteins begin to change.
What Happens When Meat Heats Up?
Cooking triggers a process called protein denaturation. Fancy term, simple concept.
As temperatures rise:
- Proteins unravel.
- Muscle fibers tighten.
- Water gets squeezed out.
- Fat starts melting.
The faster the temperature climbs, the more aggressively those fibers contract.
That explains why a steak forgotten on a blazing grill transforms from juicy dinner into something better suited for patching drywall.
Reverse sear dynamics rely on slowing down this entire process.
Understanding Indirect Cooking
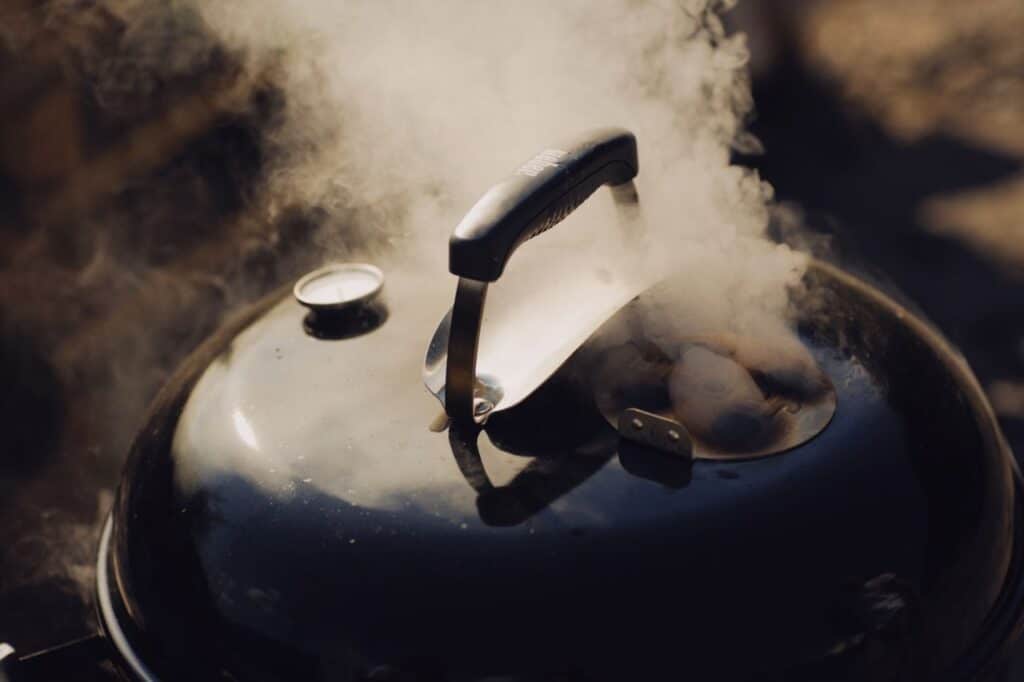
Indirect cooking means exposing meat to ambient heat rather than placing it directly over flames.
Different setups achieve this in different ways:
Charcoal Grill
- Coals sit on one side.
- Meat rests on the opposite side.
- Lid stays closed.
Gas Grill
- Burners on one side remain lit.
- Meat cooks away from direct heat.
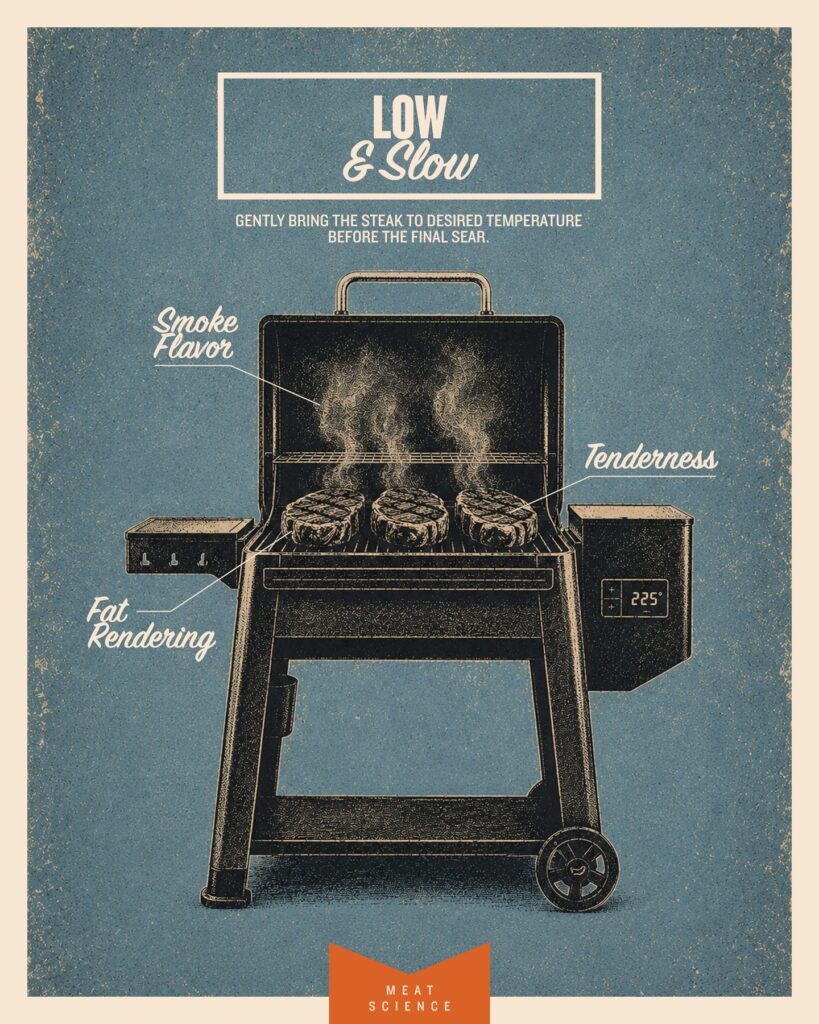
Pellet Smoker
- Controlled wood-fired heat circulates evenly.
Oven
- Consistent temperatures create gentle cooking conditions.
Indirect heat works because it reduces thermal shock.
Instead of one side of the steak immediately reaching extreme temperatures, the entire cut warms gradually.
Why Low Temperatures Matter
The sweet spot for reverse searing usually falls between 225°F and 275°F. Cooking within that range offers several advantages.
1. More Even Heat Distribution
Heat moves slowly toward the center, reducing the gap between the surface temperature and the internal temperature.
2. Better Moisture Retention
Because proteins tighten more gradually, less water gets forced out.
3. Greater Margin for Error
A steak cooking gently gives you time to react. At 700°F, dinner can go from medium-rare to “call the pizza place” in a matter of minutes.
Reverse Sear Dynamics: Why Indirect Cooking Preserves Muscle Fiber Moisture
This is where the science becomes delicious. The secret behind reverse sear dynamics lies in the relationship between heat and muscle fibers.
Gradual Heating Prevents Sudden Contraction
High heat causes proteins near the surface to seize rapidly. Think of squeezing a wet sponge with both hands. Water shoots out.
Low temperatures apply pressure more gently. The fibers still tighten, but they release less moisture overall.
That means more juice remains inside the meat rather than dripping onto the grill grates and fueling flare-ups.
Smaller Temperature Differences Mean Better Results
Traditional searing creates huge temperature gaps:
- Surface: Extremely hot.
- Center: Still cool.
The result is a thick overcooked band surrounding the ideal doneness. Reverse searing narrows those differences.
Instead of dramatic layers, the steak develops:
- A thin crust.
- A consistent pink interior.
- Better texture from edge to edge.
Cut into a properly reverse-seared ribeye and the cross-section looks almost too perfect—as though someone colored it in with a marker.
Surface Drying Improves Browning
Counterintuitively, losing a little moisture from the surface actually helps.
During indirect cooking:
- Surface moisture evaporates.
- The exterior dries slightly.
- Browning becomes easier.
A wet steak steams before it sears. A dry steak browns immediately. That distinction matters because the crust comes from chemistry, not fire.
Fat Renders More Efficiently
Marbling contributes heavily to perceived juiciness. Gentle cooking allows fat to render slowly and evenly.
Instead of pockets of chewy fat surviving the cooking process, reverse searing melts them into the surrounding meat.
The result is richer flavor and a softer bite.
Debunking Common Myths About Reverse Searing
Cooking myths tend to survive longer than leftovers at a family barbecue.
Let’s clear up a few.
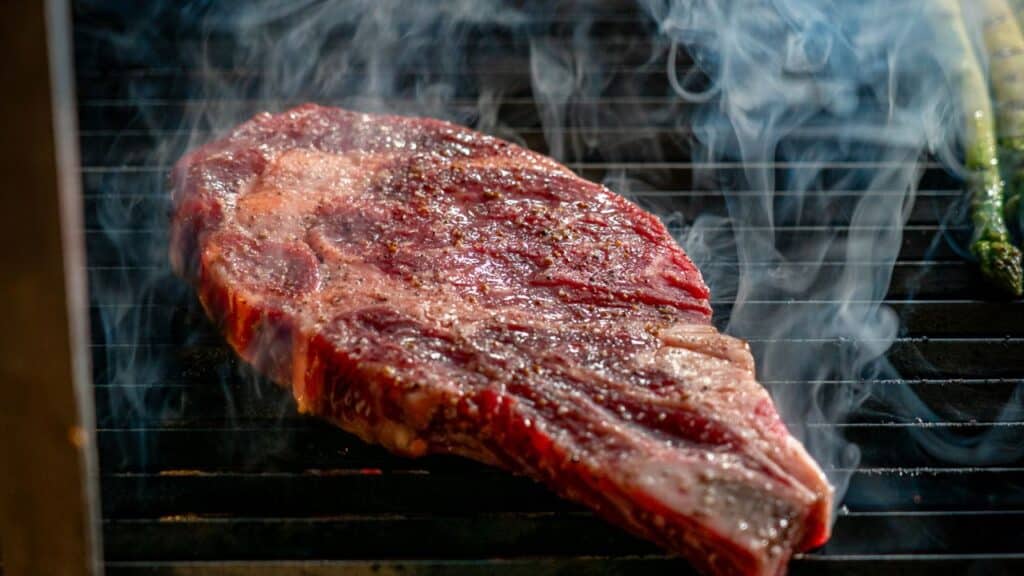
Myth #1: Searing Locks in Juices
This idea dates back more than a century. Unfortunately, searing doesn’t create an impenetrable barrier.
Meat isn’t a Tupperware container. A crust tastes fantastic, but water molecules still escape during cooking.
What actually preserves moisture?
- Controlled temperatures.
- Gradual protein contraction.
- Proper doneness.
Those principles sit at the heart of reverse sear dynamics.
Myth #2: Reverse Searing Is Only for Steak
Steaks may get the spotlight, but reverse searing works beautifully with:
- Pork chops.
- Lamb.
- Venison.
- Prime rib.
- Thick chicken breasts.
Any substantial cut benefits from gentler heat.
Myth #3: Reverse Searing Takes Forever
Technically, yes – it often adds extra time. Practically speaking, much of that time is hands-off.
The trade-off is consistency.
Waiting an extra 20 minutes for a steak that tastes dramatically better feels like a pretty fair bargain.
The Maillard Reaction: The Science Behind the Crust
That gorgeous brown crust isn’t simply “burning.” It comes from the Maillard reaction, one of cooking’s greatest tricks.
When amino acids and sugars meet high temperatures, they create:
- New flavors.
- Aromatic compounds.
- Deep color.
- Complex textures.
Scientists have identified hundreds of flavor compounds generated during this reaction. That explains why a browned steak smells irresistible while boiled meat inspires considerably less enthusiasm.
Why Reverse Searing Produces Better Crusts
Because indirect cooking dries the exterior, reverse-seared meat reaches browning temperatures faster.
Instead of wasting energy evaporating water, the heat immediately gets to work creating:
- Crunchy edges.
- Nutty aromas.
- Deep savory notes.
The sear becomes faster and more efficient. Ironically, cooking slowly first often produces a better final crust.
Choosing the Right Searing Method
Not every kitchen setup delivers the same results.
Cast-Iron Skillet
The gold standard.
Advantages include:
- Excellent heat retention.
- Consistent browning.
- Simple cleanup.
A little butter, garlic, and thyme in the final minute never hurt anybody.
Charcoal Grill
Provides:
- Intense heat.
- Smoky flavor.
- Dramatic presentation.
Bonus points if neighbors suddenly appear “just to say hello.”
Gas Grill
Convenient and effective, especially with dedicated sear burners.
Infrared Grill
Produces blistering temperatures perfect for finishing thick cuts.
Blowtorch
Yes, some enthusiasts use culinary torches. Nothing says commitment to dinner quite like wielding a flamethrower over a steak.
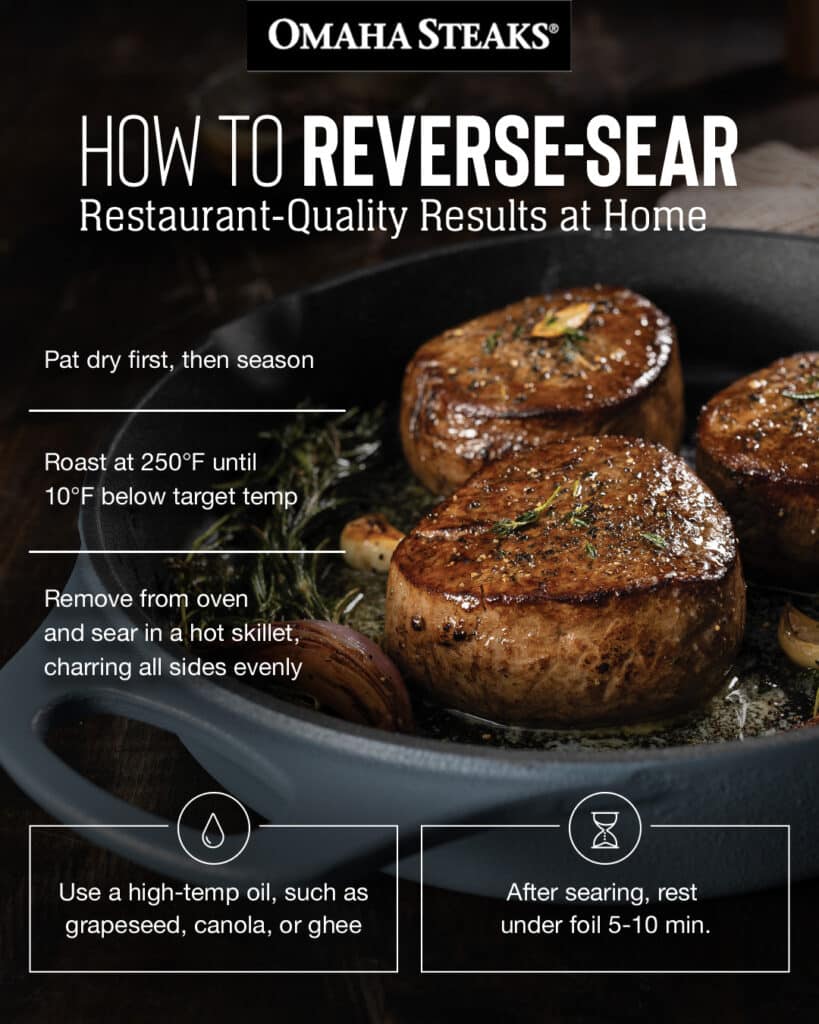
Step-by-Step Guide to Reverse Searing Meat
Mastering reverse sear dynamics doesn’t require restaurant equipment. It simply requires patience and a thermometer.
Step 1: Choose the Right Cut
Aim for steaks at least 1½ inches thick.
Look for:
- Good marbling.
- Uniform thickness.
- Fresh color.
Step 2: Season Properly
Keep it simple:
- Kosher salt.
- Black pepper.
- Optional garlic powder.
Dry-brining overnight improves moisture retention and flavor.
Step 3: Cook Indirectly
Set your grill or oven to 225–275°F.
Target internal temperatures:
- Rare: 115°F.
- Medium-rare: 120–125°F.
- Medium: 130–135°F.
Pull the steak before it reaches its final target temperature.
Step 4: Rest Briefly
Five to ten minutes is enough.
During this pause:
- Surface moisture evaporates.
- Internal temperatures stabilize.
Step 5: Sear Over High Heat
Sear for roughly:
- 45–90 seconds per side.
Rotate as needed for even browning. The goal is crust – not charcoal.
Step 6: Rest and Slice
A short rest helps juices redistribute. Slice against the grain whenever possible. Then enjoy the moment when everyone at the table suddenly becomes an expert on steak.
Common Reverse Sear Mistakes That Dry Out Meat
Even a great technique can go sideways.
Cooking Thin Cuts
Thin steaks reach their target temperature too quickly. Stick with thicker cuts.
Ignoring Internal Temperature
Guesswork belongs in trivia nights, not barbecue. A digital thermometer is essential.
Over-Searing
A proper sear happens quickly. Leaving meat over high heat too long defeats the purpose of reverse searing.
Rushing the Indirect Phase
Trying to speed up low-and-slow cooking by raising temperatures often backfires. Patience remains one of the most valuable tools in barbecue.
Equipment That Makes Reverse Searing Easier
You do not need a garage full of gadgets, but a few tools help tremendously.
Essentials
- Instant-read thermometer.
- Probe thermometer.
- Wire rack.
- Cast-iron skillet.
- Reliable grill.
Nice Upgrades
- Pellet smoker.
- Infrared burner.
- Temperature controller.
- Heavy-duty charcoal setup.
The thermometer deserves special attention.
Many cooks obsess over seasoning blends while ignoring the one device that determines whether dinner succeeds. A thermometer may not look glamorous, but neither does chewing through an overcooked steak.
How Meat Thickness Changes Reverse Sear Dynamics
One of the most overlooked factors in reverse sear dynamics is the thickness of the cut itself.
A two-inch ribeye behaves very differently from a one-inch strip steak because heat needs more time to travel toward the center. Thicker cuts create a larger buffer between the outer crust and the interior, making them ideal candidates for indirect cooking.
Thin steaks, on the other hand, can go from perfectly cooked to overdone before the reverse-sear process has a chance to shine.
For the best results, choose cuts that are:
- At least 1½ to 2 inches thick.
- Well-marbled for better moisture retention.
- Uniform in shape to encourage even cooking.
Think of thickness as extra insurance: the more room heat has to work, the juicier and more evenly cooked the final bite becomes.
The Role of Carryover Cooking After the Sear
Many cooks assume that meat stops cooking the moment it leaves the grill, but carryover cooking continues to raise the internal temperature for several minutes. During this period, residual heat stored in the outer layers moves inward, gently finishing the cooking process.
Understanding this phenomenon is essential to mastering reverse sear dynamics, since removing meat at exactly the right temperature can mean the difference between medium-rare perfection and a disappointing medium-well steak.
Cuts that experience the most carryover cooking include:
- Thick tomahawk steaks.
- Prime rib roasts.
- Bone-in ribeyes.
- Large pork chops.
Timing your pull temperature correctly turns resting from a waiting game into one of the most important steps in the cooking process.
Why Airflow Matters More Than Most Grillers Realize
Heat alone does not determine the success of a reverse sear – airflow plays a huge role as well. Inside a smoker, grill, or oven, moving air distributes heat around the meat and influences how evenly it cooks.
Poor airflow can cause several problems:
- Hot spots that overcook one side.
- Uneven internal temperatures.
- Excess moisture buildup on the surface.
- Weaker crust development during the sear.
Proper ventilation helps remove surface moisture and encourages better browning at the end of the cook. Experienced pitmasters often adjust vents, fan speeds, and lid positions to fine-tune temperatures.
Understanding how air circulates gives cooks another way to control moisture retention, crust formation, and overall texture.
How Reverse Searing Enhances Smoke Flavor Absorption
A hidden advantage of reverse searing is its effect on smoke flavor absorption. Meat absorbs smoke compounds most efficiently while its surface remains cool and slightly moist during the indirect-cooking stage.
This extended cooking period gives hardwoods more time to leave their mark. Popular choices include:
- Hickory for a bold, bacon-like flavor.
- Oak for balanced smokiness.
- Cherry for subtle sweetness and rich color.
- Applewood for a lighter, milder profile.
Once the meat reaches higher temperatures, smoke adherence slows considerably. That means reverse-seared steaks often develop deeper barbecue notes than cuts cooked entirely over direct heat.
For grill enthusiasts, experimenting with different wood combinations is another way that reverse sear dynamics can transform flavor as well as texture.
Reverse Sear vs. Traditional Sear: Which Method Wins?
Comparing the two approaches reveals why reverse sear dynamics have earned such a loyal following.
| Category | Reverse Sear | Traditional Sear |
| Moisture retention | Excellent | Moderate |
| Internal consistency | Excellent | Variable |
| Crust quality | Outstanding | Good |
| Ease for beginners | High | Moderate |
| Cooking speed | Slower | Faster |
Traditional searing still has its place.
For:
- Thin steaks.
- Burgers.
- Weeknight meals.
- Fast cooking sessions.
It remains a practical option. Reverse searing dominates when quality matters most.
For thick steaks and premium cuts, it consistently produces:
- Better texture.
- More even doneness.
- Superior moisture retention.
- A more dramatic crust.
Why Reverse Sear Dynamics Produce Better Meat
The beauty of reverse sear dynamics isn’t hidden in expensive equipment or secret seasoning blends. The real advantage comes from understanding how heat affects muscle fibers.
Cooking indirectly first allows proteins to tighten gradually, helping meat retain more moisture while minimizing overcooked outer layers.
The slow rise in temperature creates a steak that is evenly cooked from edge to edge, while the final burst of high heat delivers the crust everyone craves.
The next time someone claims that searing locks in juices, hand them a slice of reverse-seared ribeye and let the evidence speak for itself.
Good barbecue often rewards patience. In the case of reverse searing, a little extra time transforms science into something far more satisfying: a steak so juicy that conversation around the table pauses for a few glorious bites.
FAQ
What is reverse searing?
Reverse searing is a cooking method that involves slowly cooking meat over indirect heat before finishing it with a quick, high-temperature sear. This approach promotes more even cooking and helps preserve moisture inside the muscle fibers.
Why does cooking meat indirectly first keep it juicier?
The science behind reverse sear dynamics comes down to temperature control. Gentle, indirect heat causes muscle fibers to contract more slowly, which reduces the amount of moisture squeezed out during cooking.
Does reverse searing take longer than traditional cooking methods?
Yes, reverse searing usually takes longer because the meat spends more time cooking at low temperatures. However, the extra time often results in better texture, improved moisture retention, and a more consistent level of doneness.
What is the ideal temperature for reverse searing?
Most cooks recommend maintaining an indirect cooking temperature between 225°F and 275°F. This range allows the meat to heat gradually without overcooking the exterior.
Which cuts of meat work best for reverse searing?
Reverse searing works best with thick cuts that are at least 1½ to 2 inches thick, including:
- Ribeye steaks
- New York strips
- Porterhouse steaks
- Tomahawk steaks
- Pork chops
- Prime rib
Does searing meat lock in juices?
No. Despite being one of the most common grilling myths, searing does not create a barrier that traps moisture inside the meat. Juiciness depends more on controlled cooking temperatures and proper timing than on the sear itself.
Can you reverse-sear meat in an oven?
Absolutely. An oven is one of the easiest tools for reverse searing because it provides stable, even heat. Simply cook the meat at a low temperature and finish it in a hot skillet or on a grill.
Why is a thermometer important when reverse searing?
A thermometer removes the guesswork from cooking. Because carryover cooking continues after the meat leaves the heat source, tracking the internal temperature helps prevent overcooking.
How long should meat rest after reverse searing?
Most steaks benefit from resting for 5 to 10 minutes after the final sear. Larger cuts, such as prime rib or tomahawk steaks, may need 15 to 20 minutes to allow the juices to redistribute.
Does reverse searing improve smoke flavor?
Yes. During the indirect-cooking stage, the meat stays cooler and slightly moist, allowing it to absorb more smoke from woods like hickory, oak, cherry, and applewood before the final sear seals in the flavor.
Featured image credit: @chrisyoungcooks
