
“Men will cook if danger is involved,” comedian Rita Rudner once quipped.
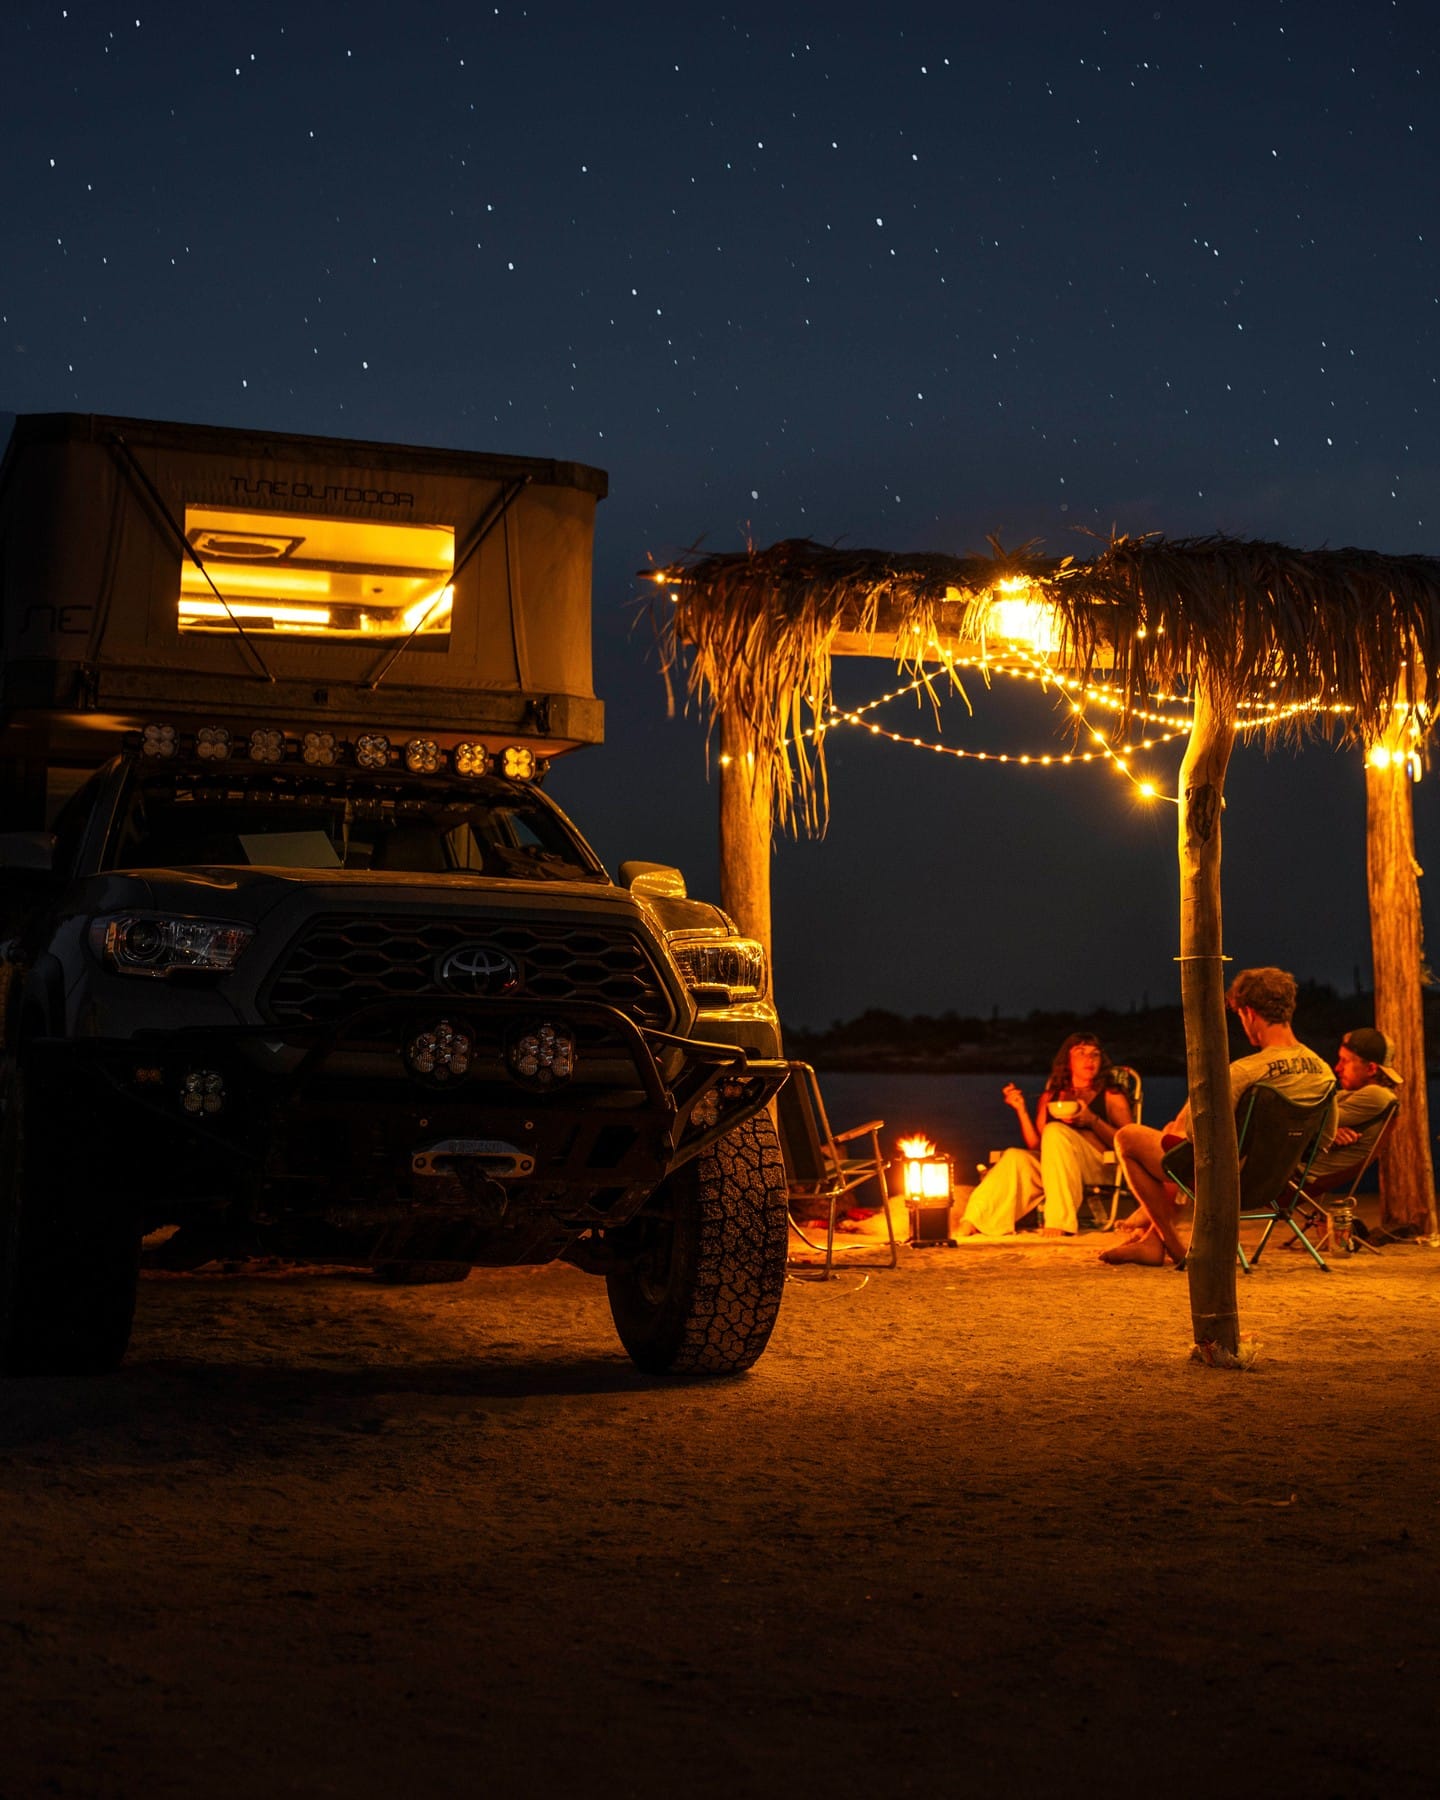
Nothing embodies that spirit quite like backing a two-ton rig up to a cliffside, dropping the tailgate, and firing up a blazing bed of charcoal while the wind tries to blow your hat into the canyon.
Overlanding and off-grid exploration have exploded in popularity, yet thousands of camp cooks still settle for lukewarm pork and beans straight out of a tin can. Packing hot dogs on a three-day backcountry trek isn’t just a missed opportunity – it’s an outright culinary tragedy.
Your rig isn’t merely a vehicle to get you from point A to point B. It’s a mobile kitchen baseplate, offering unprecedented payload capacity, high-output power, and structural stability that tent campers can only dream of.
Learning the subtle art of the camping truck BBQ unlocks a level of outdoor living that transforms standard trail trips into legendary feasts.
From gear selection to heat management and water-conscious cleanup, this guide covers everything required to run a high-performance camping truck BBQ anywhere your four-wheel drive can reach.
Selecting Your Truck Camping Grill Setup
Bringing a backyard smoker on a rock-crawling trail is a fast way to snap an axle, but relying on a flimsy backpacker stove won’t feed a crew. Striking the right balance between portability, structural durability, and cooking area is essential.
| Fuel / System | Primary Advantage | Main Trade-Off |
| LPG / Propane | Instant Heat & Clean Operation | Lacks Natural Smoke Flavor |
| Charcoal | Rich Traditional Flavor & High Heat | Ash Management & Long Cool-Down |
| Hitch-Mounted Systems | Zero Bed-Space Used | Road Dirt & Mud Exposure |
| Open Fire Racks | Authentic Wood Smoke | Highly Subject to Burn Bans |
Portable Charcoal Grills
Solid fuel remains the gold standard for deep flavor. Compact hibachi-style cast iron units or collapsible stainless-steel boxes provide excellent heat retention.
The trade-off comes down to cool-down time and ash disposal. Hot embers cannot be dumped on the ground, meaning you must factor in a cooling phase before packing out.
Compact Propane/LPG Systems
Propane offers instantaneous heat adjustment and immediate shutdown. Portable cast-aluminum LP grills are burn-ban compliant in most regions, making them the safest bet during dry summer months.
You sacrifice natural wood smoke, but you gain precision temperature control for delicate meats.
Tailgate Mounts & Hitch Accessories
Hitch-mounted swing-away grill systems attach directly to your 2-inch receiver. They swing clear of the vehicle to keep grease splatter off your paint while keeping precious space inside the truck bed completely free for storage boxes.
Cast Iron & Open Fireplace Racks
If local regulations permit open wood fires, a heavy-duty grate placed across fire ring rocks yields unbeatable wood-fired flavor. Pair this with a 12-inch cast-iron skillet for a bombproof cooking platform.
Crucial Mobile Kitchen Gear & Organization
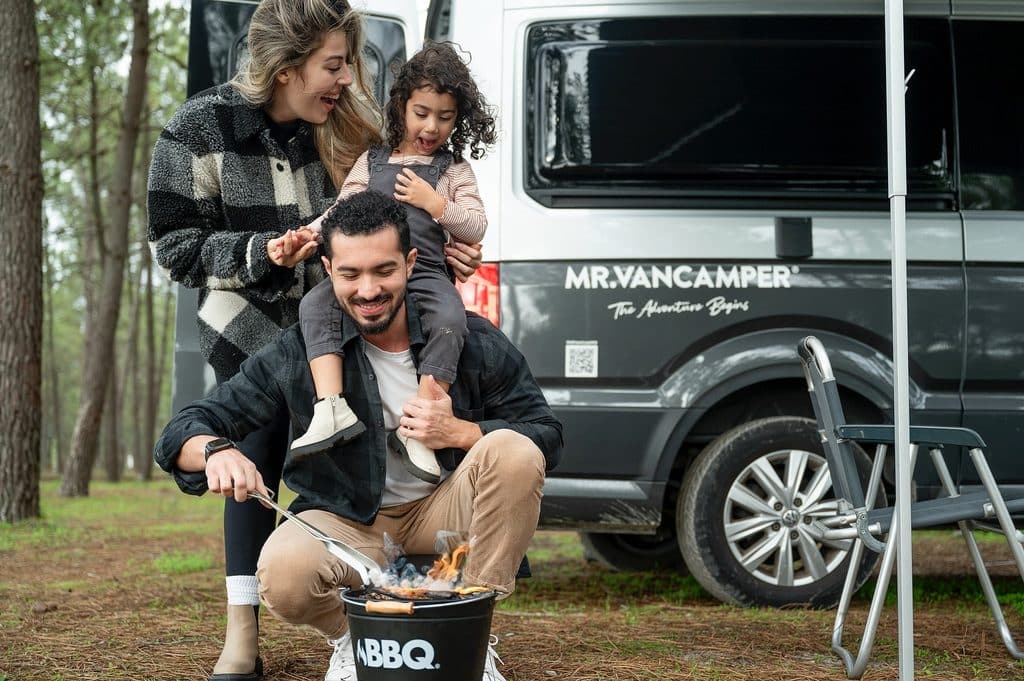
A successful camping truck BBQ relies on total organization. Hunting through three unlabeled plastic totes for a misplaced digital thermometer while a ribeye burns is no way to spend an evening.
Truck Bed Storage Layout
- Cab-Side Left (Heavy-Duty Tub 1): Cast iron cookware, frying pans, long utensils, tongs, and grill brushes.
- Cab-Side Right (12V Fridge/Cooler): Vacuum-sealed meats, dairy, produce, and perishable sauces.
- Tailgate Left (Heavy-Duty Tub 2): Dry pantry, cooking oils, rubs, aluminum foil, and cleaning supplies.
- Tailgate Right (Work Station): Drop-down tailgate table, cutting boards, and primary prep area.
Essential Utensils & Hardware
- Long-handled stainless steel tongs: Keeps knuckles away from wild outdoor flames.
- Instant-read digital thermometer: Essential for verifying internal meat temperatures when light is low.
- Welded heat-resistant gloves: Allows safe handling of hot grates, iron skillets, and charcoal chimneys.
- Heavy-duty brass grill scraper: Keeps cooking surfaces clean without risking stray wire bristles in your food.
The Truck-Bed Kitchen Layout
Treat your truck bed like a commercial line kitchen. Utilize heavy-duty, gasket-sealed storage tubs grouped by function:
- The Dry Pantry Tub: Spices, marinades, aluminum foil, paper towels, and butcher paper.
- The Hardware Tub: Grills, tools, fuel canisters, and cleaning supplies.
Stack these tubs along the sides of the bed, keeping the central floor clear for quick access to your cooler or fridge.
Cooler & Fridge Management
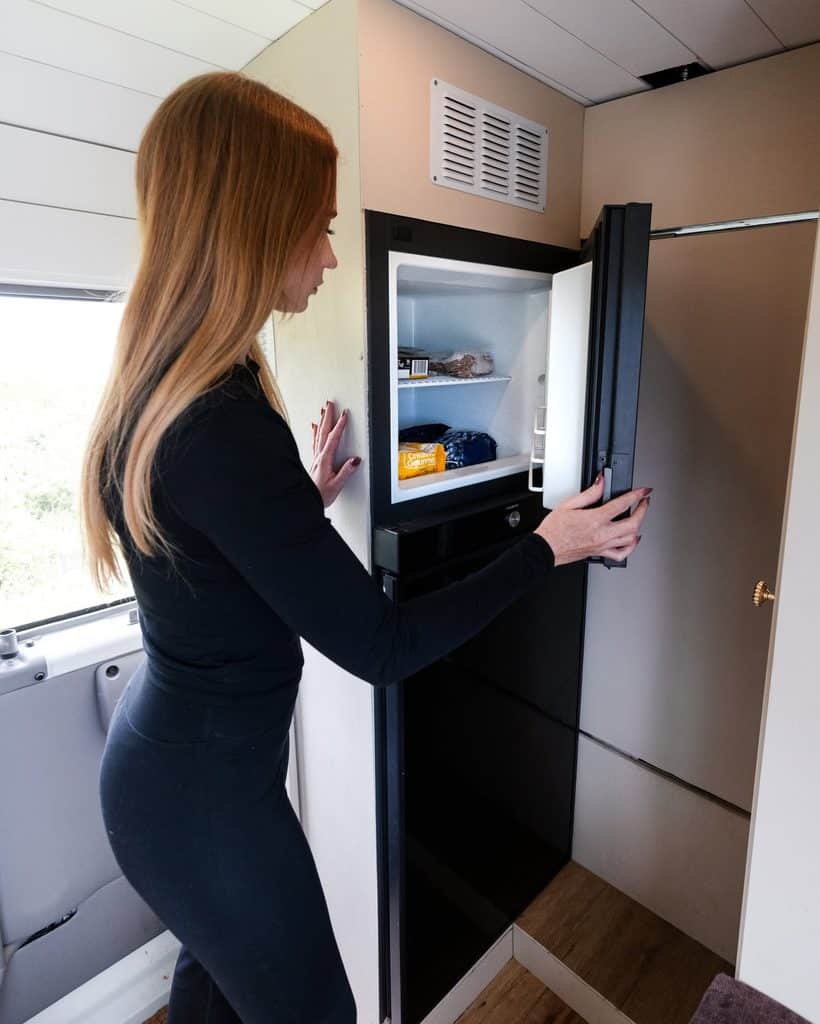
Fluctuating temperatures ruin good meat fast. A 12V compressor fridge powered by a dual-battery system eliminates soggy ice messes entirely.
If relying on a traditional ice chest, pre-chill the cooler 24 hours prior to loading. Vacuum-seal all raw meats in advance to prevent cross-contamination and water intrusion as ice melts.
Prep Surfaces
Relying on a tail-side rock as a cutting board is a recipe for dull knives and contaminated food. Upgrade your setup with:
- Drop-down tailgate tables fitted with cutting-board inserts.
- Roll-out bamboo or stainless-steel tables that deploy in seconds.
- Heavy wooden cutting boards featuring perimeter juice grooves to keep runoff off your tailgate carpet.
Fire Up: Fuel, Fire Safety & Site Prep
Nature is unpredictable. Wind, uneven terrain, and strict forest regulations require careful preparation before striking a match.
Positioning Your Setup for Maximum Wind Protection
- Windward Direction: Incoming breeze hits the solid side body of your truck first.
- Protected Zone (Tailgate Area): Use the truck bed as a primary windbreak for prep tables.
- Downwind Safe Zone: Place the active grill setup downwind from both the vehicle and sleeping tents to prevent smoke and stray embers from hitting camp.
Before leaving cell service, check local forestry service alerts. During Stage 1 or Stage 2 fire restrictions, charcoal and open wood fires are strictly prohibited.
In these conditions, portable propane systems featuring a dedicated shut-off valve are typically the only legal way to run a camping truck BBQ.
Leveling Your Truck
Parking on an incline causes cooking oil to pool on one side of your pan, leading to hot spots and dangerous grease flare-ups.
Carry modular leveling blocks under your tires, or use natural terrain to level the truck bed. A small pocket bubble level placed on the dropped tailgate confirms your cooking surface is flat.
Wind Protection Strategy
High wind robs heat and blows ash across your food. Position your truck perpendicular to the prevailing breeze to turn the vehicle body into a massive windbreak.
Set up portable aluminum wind guards around the base of your grill to maintain steady internal temperatures.
Safety Protocols & Leave No Trace
- Keep a minimum 2.5-lb Class ABC fire extinguisher mounted within arm’s reach inside the bed.
- Position fuel-driven grills at least three feet away from vehicle body panels, awnings, and canvas tents.
- Never dump hot coals on forest soil. Extinguish coals completely with water, stir the ashes, and pack them out in a sealed metal container if an approved ash pit isn’t provided at the site.
The Ultimate Truck Camping BBQ Recipes
High-end outdoor cooking should minimize camp clutter while maximizing flavor. These four field-tested recipes deliver exceptional results with streamlined prep.
| Meal Routine | Featured Dish | Primary Cook Method |
| Night 1 (Fast & Hot) | Garlic-Butter Ribeye | Direct Flame / Screaming Hot Cast Iron |
| Night 2 (Low & Slow) | Smoky Chicken Thighs | Indirect Charcoal Heat / Applewood |
| Tailgate Classic | Bacon Smash Burgers | Flat-Top Cast Iron Griddle |
| Trailhead Morning | Chorizo Breakfast Tacos | Open Flame Skillet |
Quick-Arrival Night 1: Garlic-Butter Cast-Iron Ribeye
After hours behind the wheel, nobody wants a complex three-hour cook.
- Ingredients: 1.5-inch thick bone-in ribeyes, coarse kosher salt, coarse black pepper, 4 tbsp unsalted butter, 4 smashed garlic cloves, fresh rosemary sprigs.
- Process:
- High-center a cast-iron skillet directly over your burner or red-hot coals until smoking hot.
- Season steaks generously with salt and pepper right before searing.
- Sear for 3–4 minutes per side until a deep mahogany crust forms.
- Drop in butter, garlic, and rosemary during the final two minutes, basting the top continuously.
- Pull at an internal temperature of 125°F for medium-rare, resting for 10 minutes on a wooden board.
The Crowd-Pleaser: Smoky Grilled Chicken Thighs & Charred Corn
Chicken thighs offer plenty of leeway against drying out over open heat.
- Ingredients: Bone-in skin-on chicken thighs, your favorite sweet BBQ rub, fresh sweet corn in husks, apple cider vinegar spray bottle.
- Process:
- Set up a dual-zone fire (coals piled on one side, empty on the other).
- Place chicken on the indirect (cool) side, skin side up, closing the lid to hold heat around 350°F.
- Spritz with apple cider vinegar every 15 minutes to build sticky layers of flavor.
- Soak whole corn husks in water for 20 minutes, then place directly over coals, turning frequently.
- Once chicken hits 165°F internally, move skin-side down over direct coals for 60 seconds to crisp the skin.
Handheld Classic: Bacon-Wrapped Campfire Smash Burgers
Nothing beats a crisp, caramelized burger crust built on a blazing flat-top.
- Ingredients: 80/20 ground beef (portioned into 2oz balls), thick-cut bacon, American cheese slices, brioche buns, sliced pickles, secret sauce (mayo, mustard, relish mix).
- Process:
- Fry bacon in a skillet or flat griddle until crispy; set aside while keeping rendering grease on the surface.
- Place beef balls on the screaming-hot griddle, pressing down firmly with a heavy spatula until paper-thin with jagged edges.
- Cook for 90 seconds until edges char, flip, and immediately top with American cheese and cooked bacon.
- Toast buns in the remaining bacon fat and assemble immediately.
Campfire Breakfast: Skillet Chorizo & Egg Breakfast Tacos
Start the day with high energy before hitting technical off-road trails.
- Ingredients: Mexican pork chorizo, 6 large eggs, diced pre-cooked potatoes, corn tortillas, fresh cilantro, cotija cheese.
- Process:
- Brown the chorizo in a skillet over medium heat, breaking it up with a wooden spoon.
- Toss in pre-cooked diced potatoes, letting them crisp up in the rendered spiced oil.
- Push ingredients to the perimeter of the skillet and crack eggs into the center, scrambling lightly.
- Warm corn tortillas directly over the open flame for 5 seconds per side until pliable.
- Spoon contents into warmed tortillas and top with cotija and fresh cilantro.
Prep, Cleanup, and Pack-Out Protocols
The mark of an experienced outdoor cook is leaving camp cleaner than it was found, all while protecting limited freshwater reserves.
Water-Conscious Two-Bucket Cleanup Protocol
- Dry Scrape: Use a plastic scraper or paper towel to clear all solid food waste into a trash bag before introducing water.
- Wash Basin (Bucket A): Scrub items in a small volume of warm water paired with biodegradable, eco-friendly soap.
- Rinse Dip (Bucket B): Submerge cleaned items briefly in a separate tub of clear, unsoaped water.
- Air Dry & Store: Allow utensils to air dry completely or towel dry thoroughly before packing away to prevent corrosion and mildew.
Advance Prep Work
Save time, fresh water, and trash volume by handling raw prep in your home kitchen:
- Pre-trim and marinate meats inside leakproof freezer bags before packing them into the cooler.
- Pre-chop vegetables like onions, peppers, and garlic, storing them in stackable glass or plastic containers.
- Pre-mix dry rubs and seasonings in small moisture-proof spice shakers.
Water-Conscious Cleanup
Water is precious off-grid. Clean your gear efficiently without wasting gallons of fresh drinking water:
- Scrape First: Use plastic scrapers or wooden spatulas to remove all cooked food bits into a trash bag while cookware is still warm.
- The Two-Bucket System: Use one small basin filled with warm, biodegradable soap water for scrubbing, and a second basin with clean water for a quick rinse dip.
- Cast Iron Care: Wipe iron skillets clean with dry paper towels and coarse salt. Re-oil lightly before storing to prevent ambient humidity from causing rust.
Cool-Down & Pack-Out Strategy
- Extinguish all heat sources at least one full hour before departure.
- Drain grease traps into sealable cans – never pour grease onto trail ground, where it attracts local wildlife and pollutes the soil.
- Secure all cooking hardware with padded straps or moving blankets inside storage tubs to prevent metallic rattling while driving down washboard roads.
Final Thoughts
Mastering the camping truck BBQ isn’t about hauling your entire home kitchen into the wilderness. It’s about bringing the right tools, organizing your space efficiently, and understanding how to control heat in the open air.
With a solid rig, a reliable fire source, and quality ingredients, you can serve up unforgettable wood-fired meals anywhere the trail leads.
Pack your gear, secure your payload, drop the tailgate, and fire up the grill. The open road is waiting – and it tastes incredible.
Camping Truck BBQ FAQ
Q: What is the best type of grill to use for a camping truck BBQ?
A: Propane (LPG) grills are the most versatile option because they heat instantly, shut down immediately, and remain legal during strict summer burn bans.
However, if flavor is your top priority and fires are permitted, a compact cast-iron charcoal grill or a hitch-mounted unit will give you that authentic wood-smoked taste.
Q: How do I store meat safely in a truck bed for multi-day trips?
A: Vacuum-seal all raw meats at home to prevent leaks, cross-contamination, and water damage. For best results, use a 12V portable compressor fridge connected to your truck’s dual-battery system. If using a traditional cooler, pre-chill it 24 hours before your trip and keep meat packed tightly at the bottom under fresh ice.
Q: How can I grill safely during a forest fire or burn ban restriction?
A: Always check local forestry service alerts before heading out. During Stage 1 or Stage 2 fire restrictions, charcoal and open campfires are banned.
Use a portable propane grill equipped with a dedicated shut-off valve, keep a 2.5-lb Class ABC fire extinguisher in your truck bed, and set up at least three feet away from awnings and vehicle panels.
Q: What is the best way to clean cast iron and cooking gear with limited camp water?
A: Scrape off warm food debris into a trash bag using a plastic or wooden scraper before using any water.
Use a two-bucket wash system – one small basin with warm biodegradable soap for scrubbing, and a second clear basin for a quick rinse dip.
For cast iron, simply wipe clean with paper towels and coarse salt, then apply a light layer of oil to prevent rust.
Q: How do I safely dispose of hot charcoal coals when packing up camp?
A: Never dump hot coals onto forest soil or leave them unattended.
Extinguish the embers completely by drowning them in water, stir the ash until it is cool to the touch, and pack the cooled ash out in a sealed metal container if an approved park ash pit is unavailable.
Featured image credit: @tuneoutdoor
