
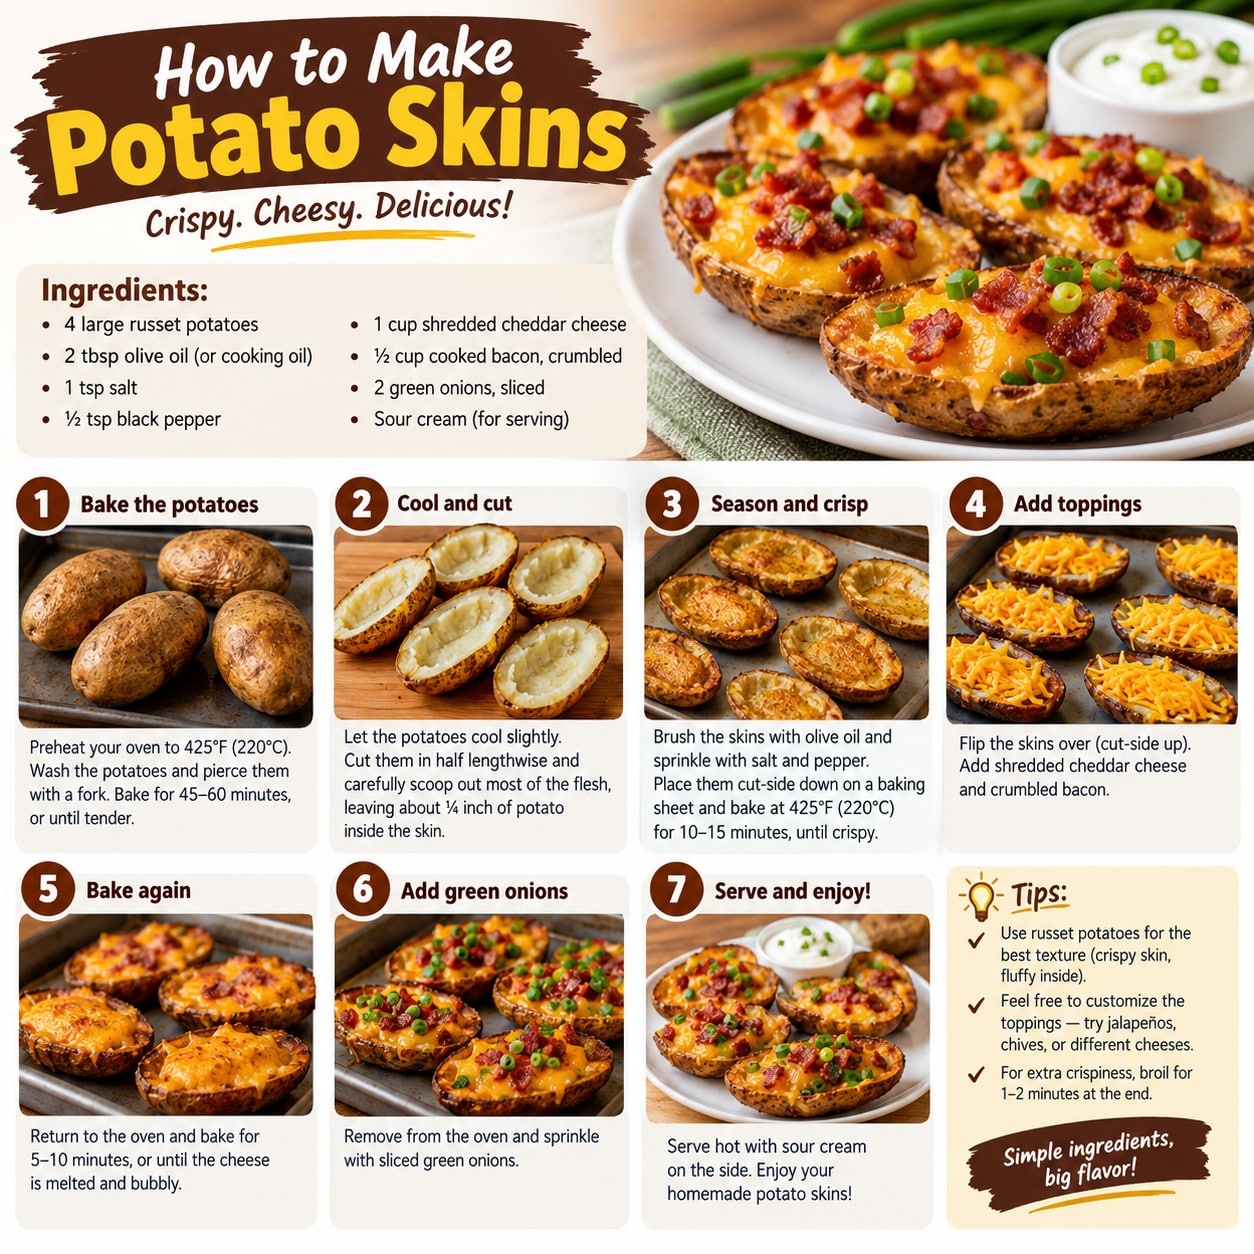
Why do we constantly treat the potato skin as a mere vessel to transport melted cheddar, crispy bacon, and sour cream into our mouths, when the peel itself should be the absolute star of the show?
Catherine the Great of Russia once famously declared, “I have no doubt that the potato is the best remedy against hunger.”
Yet, centuries after royal courts embraced the humble spud, millions of home cooks still manage to commit criminal acts against it by serving sad, leathery, soggy boats that resemble wet cardboard more than a legendary appetizer.
Mastering how to make potato skins isn’t rocket science, but it does require breaking away from boring kitchen routine.
Whether you are running low on time, feeding a crowd on game day, or looking to add a little wood-fired smoke to your bar-food routine, there is a cooking technique tailored to your exact setup.
Here is everything you need to know to ditch the soggy skins forever and pull off 11 distinct cooking methods for the ultimate crispy potato skins.
The Base Setup: Prep & Essentials
Before exploring the heat sources, every single recipe lives or dies by basic spud mechanics. Get this step wrong, and no amount of high-end cheddar can save you.
- Choose the Right Potato: Always reach for Russet potatoes. Their thick skin crisps up beautifully, while their high-starch interior scoops out cleanly without tearing the structural integrity of the boat.
- The Par-Cook: Wash, dry, and pierce your Russets with a fork. Bake them at 400ºF for 45–50 minutes (or microwave them for 8 minutes) until tender. Let them cool slightly before slicing them lengthwise.
- The Scoop Rule: Leave a firm 1/4-inch border of potato flesh inside the shell. If you scoop too close to the skin, your boat collapses under the weight of the cheese. Scoop out too little, and you are eating a baked potato, not a potato skin.
- The Oil Seal: Always brush both sides with melted butter or high-smoke-point oil (and a pinch of kosher salt) before your final crisping session. This creates an immediate barrier against moisture.
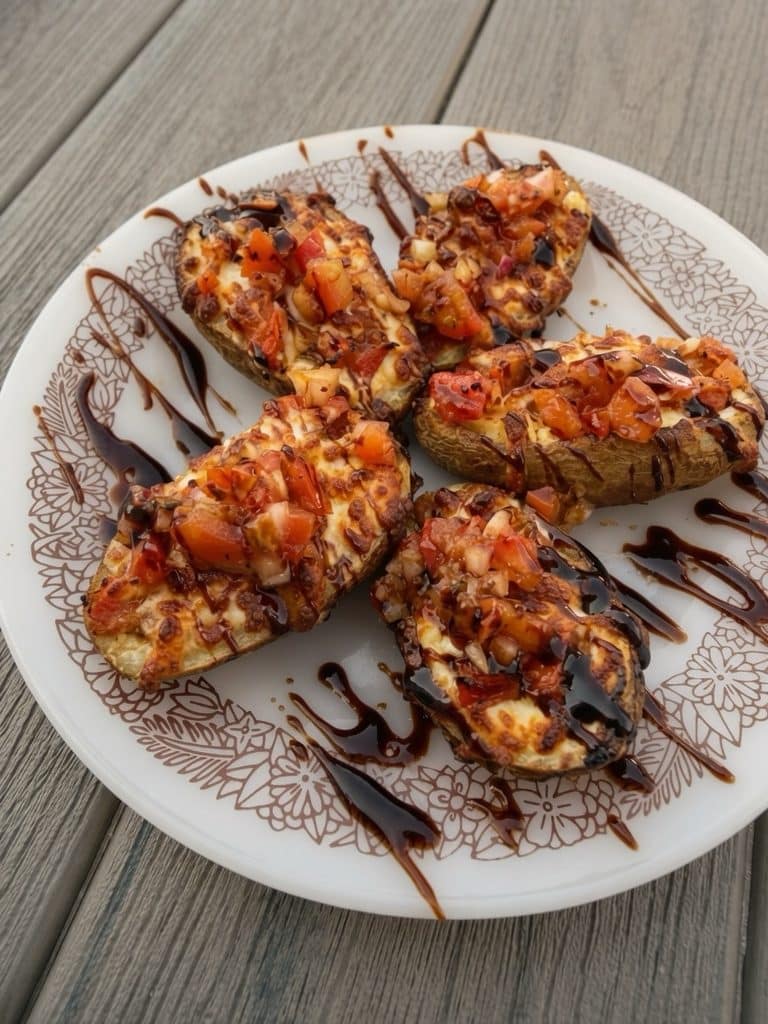
1. The Classic Oven-Baked Method
This is the baseline standard for home kitchen success. The secret here isn’t just turning up the heat; it’s elevation.
- How It Works: Set your oven to 425ºF and place a wire cooling rack directly inside a rimmed baking sheet. Lay your oiled, hollowed-out skins face-down on the rack for 10 minutes, flip them over, fill with cheese and bacon, and bake for another 8 to 10 minutes.
- Why It Works: 360-degree heat circulation prevents the bottoms from steaming in their own oil.
DIY recipe
- Prep Time: 15 min (plus par-cook) | Cook Time: 18–20 min | Yield: 8 skins (serves 4)
- Settings: 425°F (220°C) | Wire rack inside a rimmed baking sheet
- Ingredients: Base prepared skins, 1 1/2 cups sharp yellow cheddar (shredded), 6 strips cooked bacon (crumbled), sour cream, chopped chives.
- Process: Place oiled shells skin-side down on the wire rack for 10 minutes. Flip over, fill with cheddar and bacon, and bake for 8–10 minutes until cheese bubbles. Top with sour cream and chives.
- Why It Works: Wire rack elevation allows 360-degree heat circulation, preventing bottom soggy spots.
2. The Air Fryer Speed-Run
When kickoff is ten minutes away and your guests are already eyeing the snack table like hungry wolves, the air fryer is your best friend.
- How It Works: Preheat your air fryer to 390ºF. Place your oiled shells skin-side up in a single layer and cook for 5 minutes. Flip, load your toppings, and air fry for an additional 3 to 4 minutes until the cheese is bubbling.
- Why It Works: Rapid convection airflow strips surface moisture faster than a standard home oven, giving you crackling-crisp edges in record time.
DIY recipe
- Prep Time: 10 min (using microwaved par-cook) | Cook Time: 8–9 min | Yield: 4–8 skins (depends on basket)
- Settings: 390°F (200°C)
- Ingredients: Base prepared skins, 1 cup Colby Jack cheese (shredded), 4 strips cooked bacon (crumbled), sliced green onions, sour cream.
- Process: Place oiled shells skin-side up in a single layer for 5 minutes. Flip, load with cheese and bacon, and air fry for 3–4 minutes until bubbling. Finish with green onions and sour cream.
- Why It Works: Rapid convection airflow strips surface moisture in record time.
3. Deep-Fried Restaurant Style
Let’s be honest: restaurant potato skins taste so good because commercial kitchens love deep fryers. If you want true pub authenticity, this is the gold standard.
- How It Works: Heat a heavy pot of peanut or canola oil to 375ºF. Carefully submerge your par-cooked, hollowed potato skins for 3 to 4 minutes until golden brown. Drain on paper towels, immediately season with salt, fill with toppings, and flash under a broiler to melt the cheese.
- Why It Works: Direct oil immersion instantly sears the exterior skin, producing a shatteringly crisp texture that baked versions simply can’t match.
DIY recipe
- Prep Time: 15 min (plus par-cook) | Cook Time: 5 min total | Yield: 8 skins (serves 4)
- Settings: Deep pot with oil at 375°F (190°C) | Broiler on HIGH
- Ingredients: Base prepared skins, 4 cups peanut or canola oil (for frying), 1 1/2 cups cheddar cheese, 6 strips cooked bacon, sour cream, chives.
- Process: Submerge par-cooked shells in hot oil for 3–4 minutes until deep golden. Drain on paper towels, salt immediately, fill with cheese and bacon, and flash under the broiler for 1 minute to melt.
- Why It Works: Direct oil immersion instantly sears exterior skin into a shatteringly crisp texture.
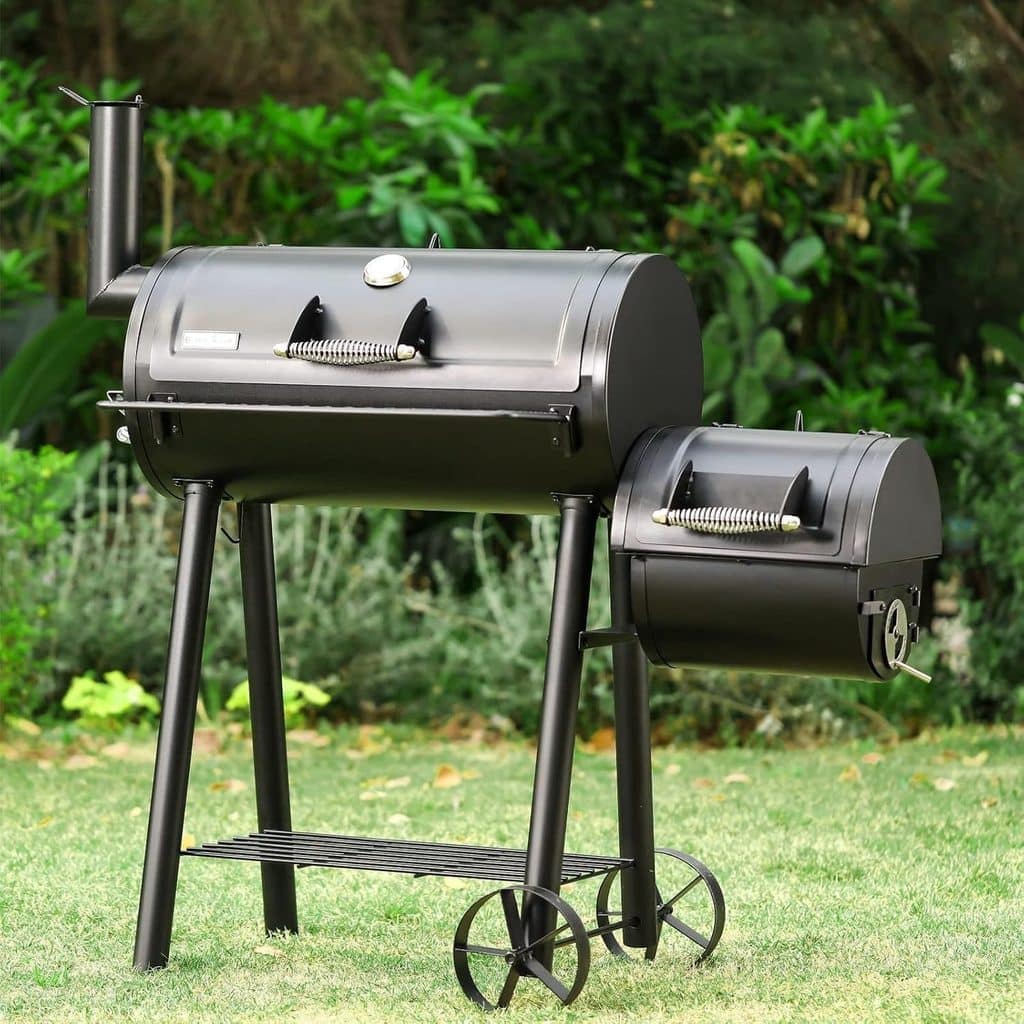
4. Smoked on the Outdoor Grill/Smoker
If you enjoy live-fire cooking, taking potato skins out to the patio smoker elevates a simple pub bite into a pitmaster masterpiece.
- How It Works: Fire up your smoker to 250ºF using hickory or applewood. Place your oiled shells flesh-side up on the grates for 45 minutes to absorb deep wood smoke. Load them with pulled pork or bacon and sharp cheddar, then bump the heat to 350ºF for 10 minutes to melt the cheese.
- Why It Works: Low-and-slow wood smoke penetrates the porous potato flesh, infusing rich, savory flavor throughout the entire shell.
DIY recipe
- Prep Time: 15 min (plus par-cook) | Cook Time: 55 min | Yield: 8–16 skins (serves 4–8)
- Settings: 250°F (120°C) initial (hickory or applewood), bump to 350°F (175°C)
- Ingredients: Base prepared skins, 1 1/2 cups smoked pulled pork (or brisket), 1 1/2 cups Monterey Jack cheese, sweet BBQ sauce, pickled jalapeño slices.
- Process: Smoke oiled shells flesh-side up directly on grates for 45 minutes. Load with pulled pork and cheese, increase temperature to 350°F, and heat for 10 minutes. Drizzle with BBQ sauce and top with jalapeños.
- Why It Works: Low-and-slow wood smoke deeply penetrates porous potato flesh.
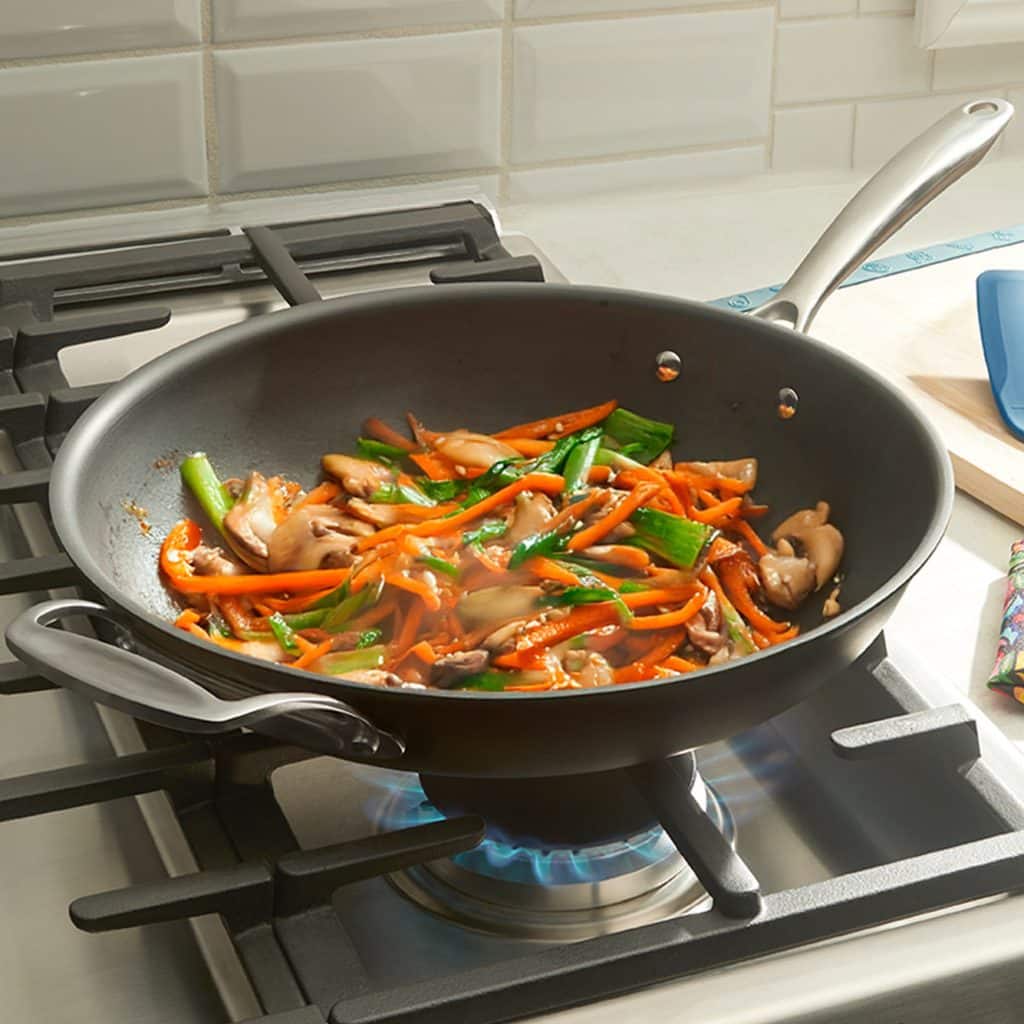
5. Cast Iron Skillet Stovetop Fry
No need to heat up the whole house or deal with pots of boiling oil. A heavy cast-iron skillet delivers incredible caramelization right on the stovetop.
- How It Works: Melt two tablespoons of butter (or leftover bacon grease) in a cast-iron skillet over medium-high heat. Place the hollowed skins side-down first, searing for 4–5 minutes until deep golden. Flip them over, add toppings, cover the pan with a lid, and drop the heat to low for 3 minutes until the cheese melts.
- Why It Works: Cast iron provides unbeatable direct heat retention, creating a crunchy, caramelized crust on the skin bottom.
DIY recipe
- Prep Time: 15 min (plus par-cook) | Cook Time: 7–8 min | Yield: 4 skins per batch (serves 2)
- Settings: Medium-high heat on stovetop | Pan lid required
- Ingredients: Base prepared skins, 2 tbsp butter (or bacon grease), 1 cup sharp cheddar, 4 strips cooked bacon, sour cream.
- Process: Melt butter/grease in skillet. Sear shells skin-side down for 4–5 minutes. Flip, add toppings, cover with lid, and lower heat to low for 3 minutes until cheese melts.
- Why It Works: Direct heat transfer from cast iron creates a caramelized, crunchy bottom crust.

6. Direct Charcoal/Gas Grill Sear
Summer cookouts demand food with a touch of open flame and fire-kissed flavor.
- How It Works: Set up a two-zone fire on your grill (high direct heat on one side, low indirect heat on the other). Sear the oiled skins over direct flame skin-side down for 2 minutes to achieve light char marks. Move them to the indirect side, load them up, close the grill lid, and let them bake for 8 minutes.
- Why It Works: The intense radiant heat creates smoky char spots that balance out rich, creamy cheese toppings.
DIY recipe
- Prep Time: 15 min (plus par-cook) | Cook Time: 10 min | Yield: 8–12 skins (serves 4–6)
- Settings: Two-zone grill setup (high direct heat / low indirect heat)
- Ingredients: Base prepared skins, 1 1/2 cups pepper jack cheese, 6 strips bacon, ranch dressing, chopped cilantro.
- Process: Sear oiled skins face-down over direct flame for 2 minutes for grill marks. Move to indirect heat zone, load with cheese and bacon, close lid, and bake for 8 minutes. Top with ranch and cilantro.
- Why It Works: Open flame produces smoky char spots that balance rich cheese.

7. Convection Oven Double-Bake
Feeding a full house? A convection oven allows you to blast multiple baking sheets at once without worrying about uneven hot spots.
- How It Works: Set your convection oven to 375ºF (the convection fan compensates for the lower temperature). Bake oiled shells skin-side down for 12 minutes, turn, fill, and bake for another 6 minutes.
- Why It Works: Continuous forced air prevents heat pockets, ensuring every single potato skin across three full pans crisps up identically.
DIY recipe
- Prep Time: 20 min | Cook Time: 18 min | Yield: 16–24 skins (serves 8–12)
- Settings: 375°F (190°C) convection fan ON
- Ingredients: 2x to 3x Base prepared skins, 3–4 cups cheddar cheese, 12 strips bacon, sour cream, chives.
- Process: Arrange oiled shells skin-side down on sheet pans and bake for 12 minutes. Flip, fill with toppings, and return to convection oven for 6 minutes.
- Why It Works: Active fan circulation eliminates hot spots across multiple pans at once.

8. Convection Toaster Oven (Small Batch)
Cooking for one or two people? Heating a giant kitchen oven for four potato skins feels absurd.
- How It Works: Set your toaster oven to its highest bake/convection setting (usually 400ºF. Place the prepared skins on the mini baking tray and cook for 10 minutes total, adding toppings during the last 3 minutes.
- Why It Works: The heating elements are situated mere inches from the food, delivering concentrated radiant energy without wasting time preheating a full-sized appliance.
DIY recipe
- Prep Time: 10 min | Cook Time: 10 min | Yield: 2–4 skins (serves 1–2)
- Settings: 400°F (200°C) Convection / Bake setting
- Ingredients: Base prepared skins (scaled to 1–2 potatoes), 1/2 cup cheddar, 2 strips cooked bacon, sour cream.
- Process: Place oiled skins skin-side down on toaster tray. Bake for 7 minutes, turn over, add toppings, and cook for 3 remaining minutes.
- Why It Works: Close proximity to heating elements delivers concentrated radiant heat without wasting power.
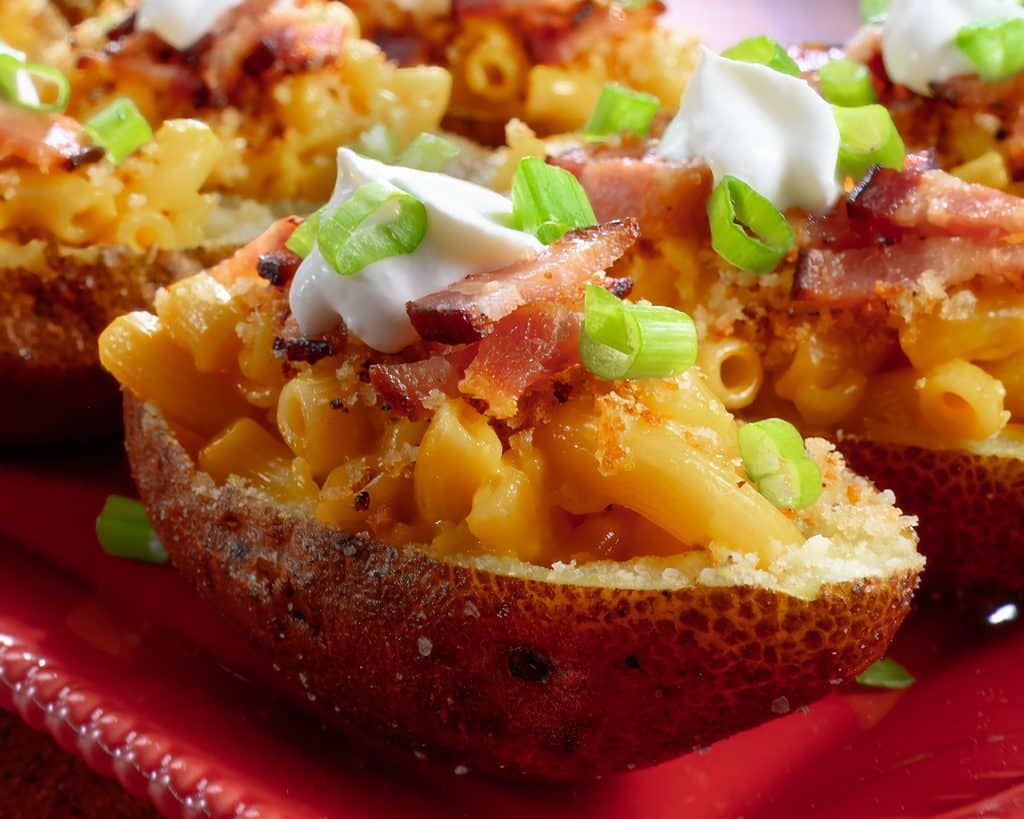
9. Broiler Blast Finish
This flash-cooking technique is tailored for those who crave blistered, dark-golden cheese with zero patience to wait.
- How It Works: Position your oven rack 4 inches below the top broiler element and set it to HIGH. Pre-crisp your oiled skins in a hot skillet or microwave first. Place them on a pan, pile high with toppings, and broil for 2 to 3 minutes. Keep your eyes glued to the oven window – broilers show no mercy.
- Why It Works: Direct, intense overhead heat blisters the cheese rapidly while crisping the top rim of the potato shell.
DIY recipe
- Prep Time: 10 min (with quick-cooked skins) | Cook Time: 2–3 min | Yield: 8 skins (serves 4)
- Settings: Broiler on HIGH | Rack 4 inches below heating element
- Ingredients: Base prepared skins, 1 1/2 cups shredded mozzarella and cheddar mix, 6 strips bacon, green onions.
- Process: Pre-crisp prepared skins in a pan or microwave first. Place filled skins on a tray and broil for 2 to 3 minutes, watching constantly to avoid burning.
- Why It Works: Overhead heat rapidly blisters cheese while crisping the rim.
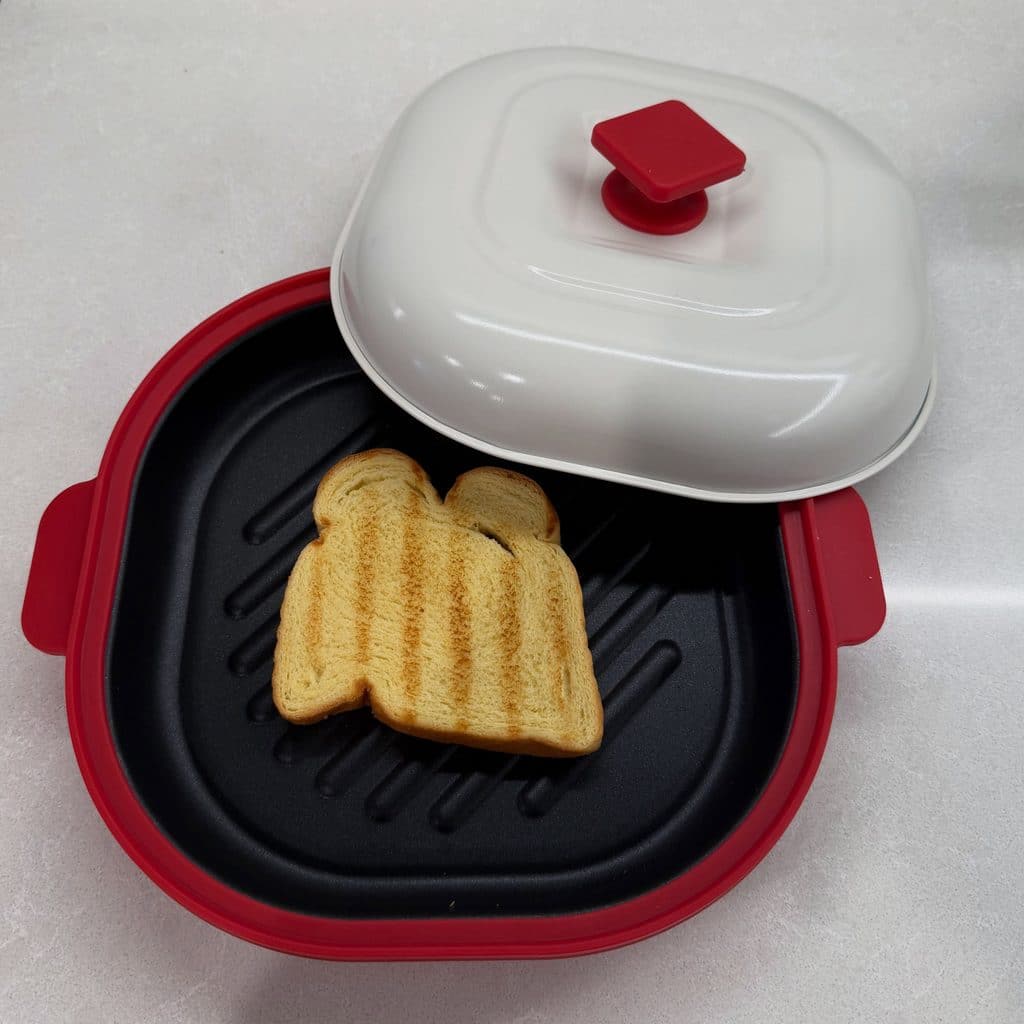
10. Microwave-to-Skillet Hybrid
When you need to know how to make potato skins fast from scratch without sacrificing crunch, this simple two-stage shortcut hits the mark.
- How It Works: Microwave raw, pricked whole potatoes for 6–8 minutes until soft. Slice, scoop, oil the skins, and immediately transfer them to a smoking-hot skillet with a touch of oil for 3 minutes per side to crisp up.
- Why It Works: The microwave handles the internal cooking speed, while the hot metal skillet delivers the essential external crispness.
DIY recipe
- Prep Time: 5 min | Cook Time: 12–14 min | Yield: 4–8 skins (serves 2–4)
- Settings: High Microwave Power | High Stovetop Heat
- Ingredients: Base ingredients (raw Russets), 2 tbsp vegetable oil for searing, 1 cup cheddar cheese, bacon, sour cream.
- Process: Microwave raw pricked potatoes for 6–8 minutes until tender. Slice, scoop, oil, and transfer to a smoking-hot skillet with oil for 3 minutes per side. Add cheese during final minute in pan.
- Why It Works: Microwave handles rapid internal cooking while the hot pan creates an external crunch.
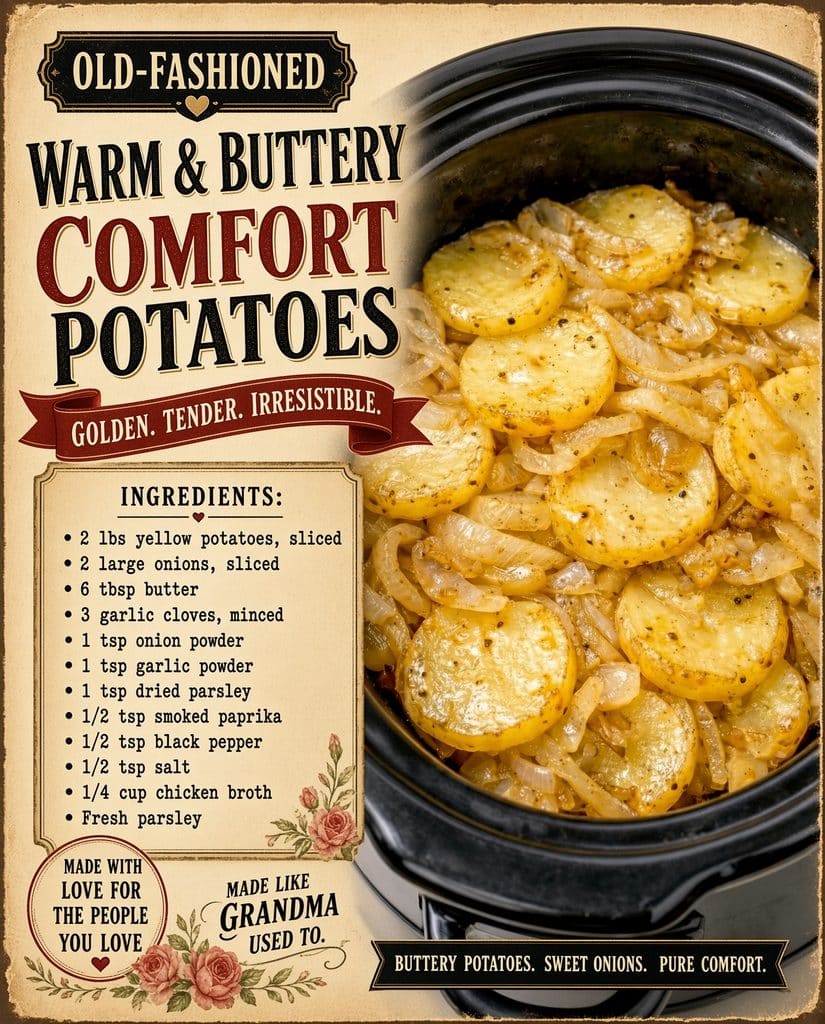
11. Slow Cooker Soft-and-Cheesy Skins
While this won’t produce a crackling skin like deep frying, it is an absolute game-changer for hosting parties where keeping food warm for hours is required.
- How It Works: Par-cook and hollow your potatoes, then sear the bottoms quickly in a skillet. Line your slow cooker with parchment paper, stack the skins vertically like record albums, stuff them with toppings, and set to LOW for 2 hours.
- Why It Works: It keeps the potato shells warm, structural, and brimming with steamy, ultra-melty cheese throughout long game-day watch parties.
DIY recipe
- Prep Time: 15 min (plus skillet sear) | Cook Time: 2 hours on LOW | Yield: 12–16 skins (serves 6–8)
- Settings: LOW setting | Parchment liner
- Ingredients: 2x Base prepared skins, 3 cups cheddar cheese, 10 strips bacon, sour cream, chives.
- Process: Par-cook, scoop, and quickly sear shell bottoms in a skillet. Line slow cooker with parchment paper, stack loaded skins vertically, and heat on LOW for 2 hours.
- Why It Works: Keeps skins intact, warm, and melty for long gatherings without drying out.
Creative Topping Ideas
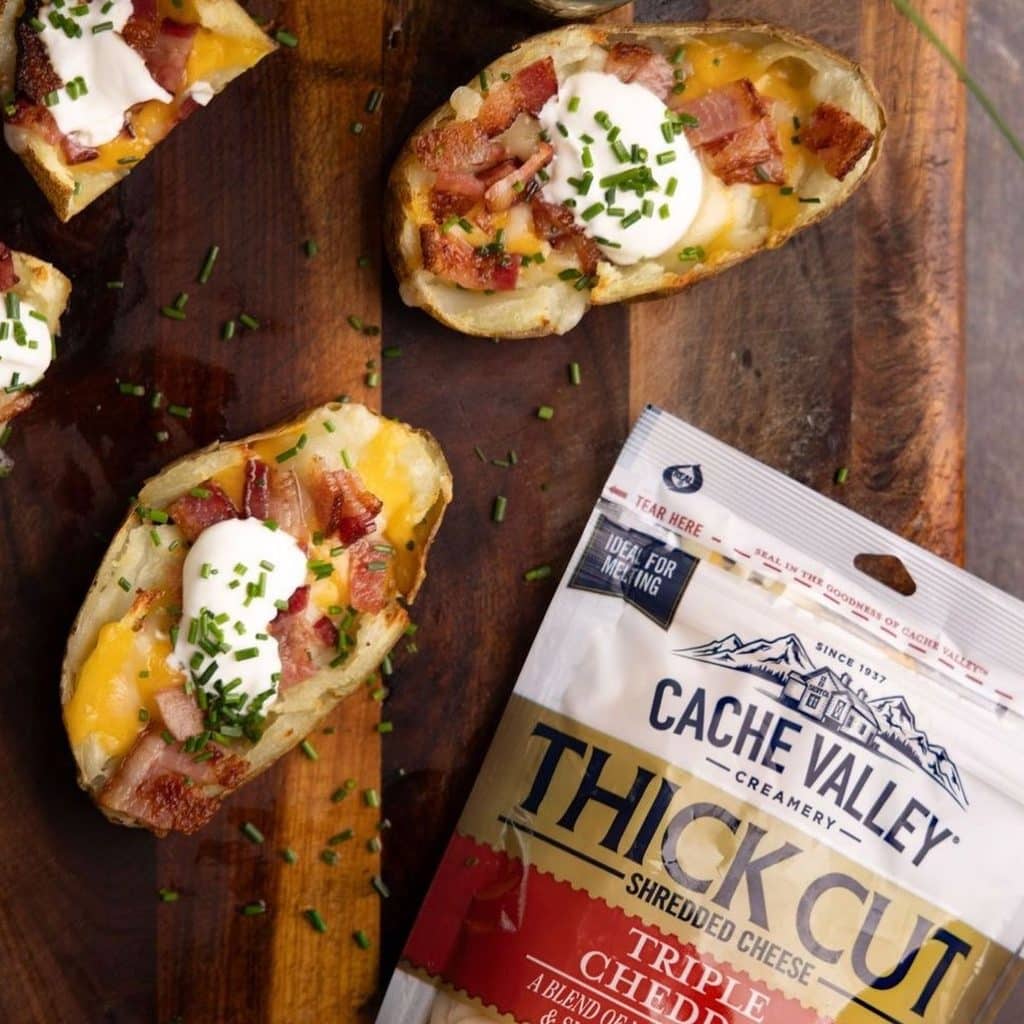
- The Classic: Sharp yellow cheddar, thick-cut hardwood smoked bacon, chopped chives, and a cold dollop of full-fat sour cream.
- The Backyard Pitmaster: Shredded smoked brisket or pulled pork, sweet BBQ sauce drizzle, pickled jalapeños, and Monterey Jack cheese.
- Tex-Mex Fiesta: Seasoned ground beef, queso blanco, fresh pico de gallo, and sliced avocado.
Pro-Tips for Maximum Crispiness
- Dry the Surface: After scooping out the potato flesh, pat the inside of the skins dry with a paper towel. Excess moisture is the sworn enemy of crunch.
- Season inside and out: Don’t just salt the inside boat; sprinkle kosher salt and garlic powder directly onto the oiled outer skin.
- Reheating Leftovers: Never put leftover skins back in the microwave unless you enjoy chewy rubber. Toss them into a 375ºF air fryer or oven for 4 minutes to completely restore their original crunch.
Featured image credit: ChatGPT
