
Travelling across Utah in a good friend’s RV years ago, we suffered a flat tire right before reaching our planned stopover point. Stranded on the side of the road, we ended up crossing paths with folks from two other passing RVs who were also out on vacation.
Before long, we set up camp together, fired up the grates, popped open a few cold beers, and turned a roadside breakdown into an impromptu feast.
One of the guys, Milton, took a bite of my Grilled Greek-Style Lamb Chops and practically stopped dead in his tracks. He swore up and down they tasted better than any lamb he’d ever eaten at a high-end restaurant.
I nodded wisely, smiled, and told him it was my trade secret as a cook – when in reality, I’d just slapped on a basic BBQ rub and a quick bottle marinade.
Great outdoor cooking doesn’t require culinary school secrets. But it does demand a fire that behaves itself.
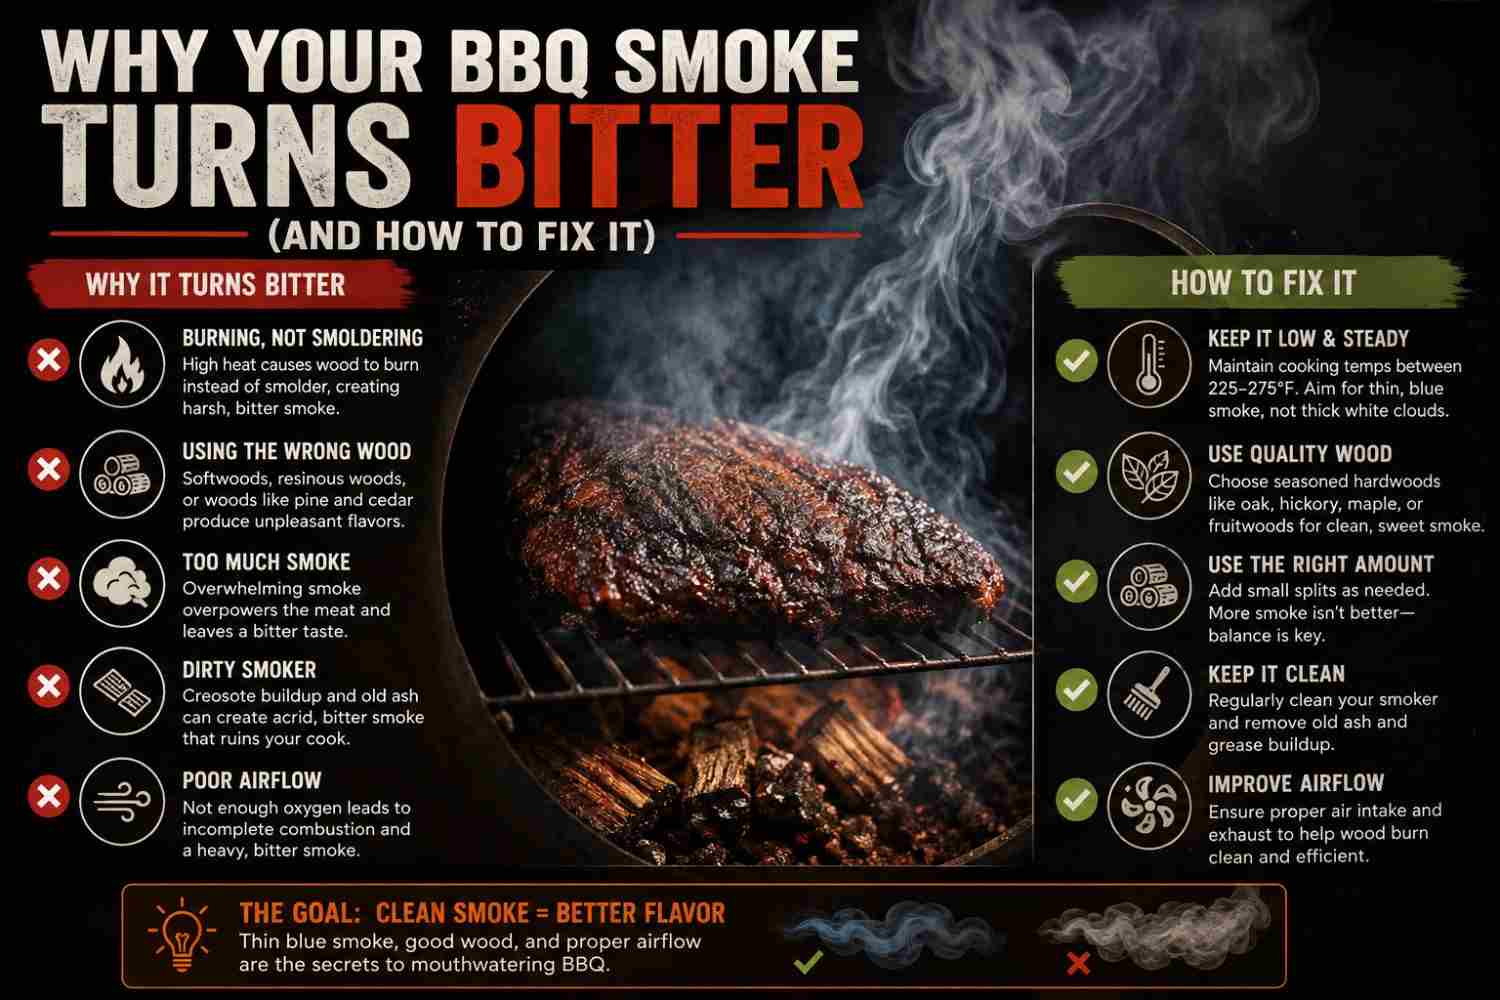
Bitter BBQ smoke is the dirty little secret of the backyard cooking world. Most weekend cooks assume that any smoke coming out of the chimney is a good thing.
They throw a few damp hickory logs onto a struggling bed of coals, watch giant white plumes billow toward the sky, and smile like a proud parent. Little do they know, that billowing white cloud is actively ruining their dinner.
Here is the cold, hard truth: bitter barbecue is almost never a meat problem. It isn’t pointlessly dry rub, it isn’t your marinade, and it certainly isn’t your expensive meat. It’s a chemical breakdown happening right inside your firebox.
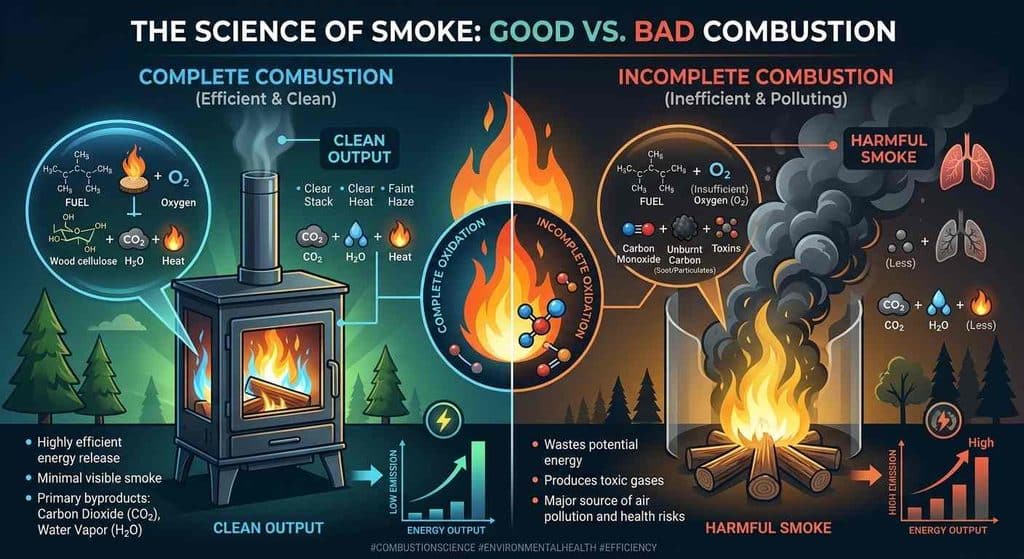
The Science of Smoke: Good vs. Bad Combustion
To stop your BBQ smoke from turning into a tongue-numbing disaster, you have to understand what smoke actually is. Smoke isn’t just gas – it’s a suspension of solid particles, liquid droplets, and invisible gases released when wood burns.
What Creates Ideal Smoke Flavor?
When wood heats up past 500°F, a complex compound inside the wood fiber called lignin begins to break down. As lignin thermal-cracks, it releases aromatic organic compounds known as guaiacol and syringol.
- Guaiacol delivers that classic, warm, woody, and savory taste we love.
- Syringol provides the rich, sweet aroma that makes your mouth water before you even take a bite.
When your fire burns hot and clean, these compounds break down into tiny aerosol particles – sub-micron sized, to be precise. Because these particles are so tiny, light bends around them, creating the legendary “thin blue smoke.”
If your smoke looks like a faint blue haze or is practically invisible to the naked eye, congratulations: you’ve hit the jackpot.
What Creates Bitter Smoke?
When your firebox doesn’t get enough oxygen or runs too cold, wood cannot burn cleanly. Instead of breaking down smoothly, the wood smolders.
Smoldering triggers incomplete combustion. Rather than producing light, sweet aromatics, the wood vents heavy tars, unburned carbon, and harsh volatile compounds. The absolute worst offender in this chemical soup is creosote.
Creosote is a thick, black, oily byproduct of unburned wood gas and moisture. When it floats through your cook chamber, it clings to the cold, moist surface of raw meat.
The physical result? Tongue bite. That sharp, medicinal, astringent sensation that leaves your mouth feeling dry, numb, and coated in a flavor that resembles a wet fireplace.
Primary Root Causes of Bitter BBQ Smoke
Fixing a bitter cook requires diagnosing where your combustion chain broke down. Ninety-nine percent of the time, the blame falls on one of these five culprits.
1. Oxygen Starvation (The “Choked Fire” Trap)
The most common rookie mistake is trying to lower cooker temperatures by shutting down the exhaust pipe or chimney damper.
When you choke the exhaust, air stops flowing through the cooker.
Fire needs oxygen to survive. Without a steady draft, live flames die out, leaving your fuel bed to smolder. The thermal energy inside the firebox plummets, and instantly, clean combustion turns into a heavy, white cloud of toxic creosote.
2. Burning Wet, Unseasoned, or Over-Soaked Wood
Using green wood – or soaking wood chips in water – is a fast track to disaster. Ideal smoking wood needs a moisture content between 15% and 20%.
If you throw green wood (over 30% moisture) or waterlogged wood chips onto hot coals, the fire has to spend immense thermal energy boiling that water off as steam before the wood can actually ignite.
That steam mixes with unburned wood vapor, creating a foul, heavy mist that deposits bitter creosote straight onto your brisket bark.
3. Dirty Cooker & Stale Creosote Buildup
Take a look inside your cooker lid or exhaust stack. Is it coated in a flaky, pitch-black glaze?
There is a huge difference between seasoned metal (a clean, smooth layer of polymerized oil) and stale creosote buildup (a thick, scaly, crusty residue).
As heat builds during a long cook, that old creosote on the roof of your smoker re-vaporizes and drips right down onto your fresh food.
4. Poor Temperature Management & Cold Fireboxes
Dropping a freezing cold, large log of wood onto a small, struggling coal bed instantly smothers the firebox ambient temperature.
This is known as Cold Log Syndrome.
The wood split sits on the coals, heating up slowly without catching fire, belching dirty white BBQ smoke for 15 to 20 minutes before it finally bursts into flame. That 20-minute window of smoldering is more than enough time to ruin your meal.
5. Adding Food Too Early During Ignition
Patience is a pitmaster’s greatest asset. When you first ignite a pile of charcoal briquettes or a bed of lump charcoal, the fuel undergoes an initial “dirty burn.”
Raw charcoal releases manufacturing binders, residual dust, and volatile compounds during its first 20 minutes of ignition. Throwing meat onto the grates while your charcoal is still coughing up thick gray smoke will instantly impart off-flavors to cold meat.
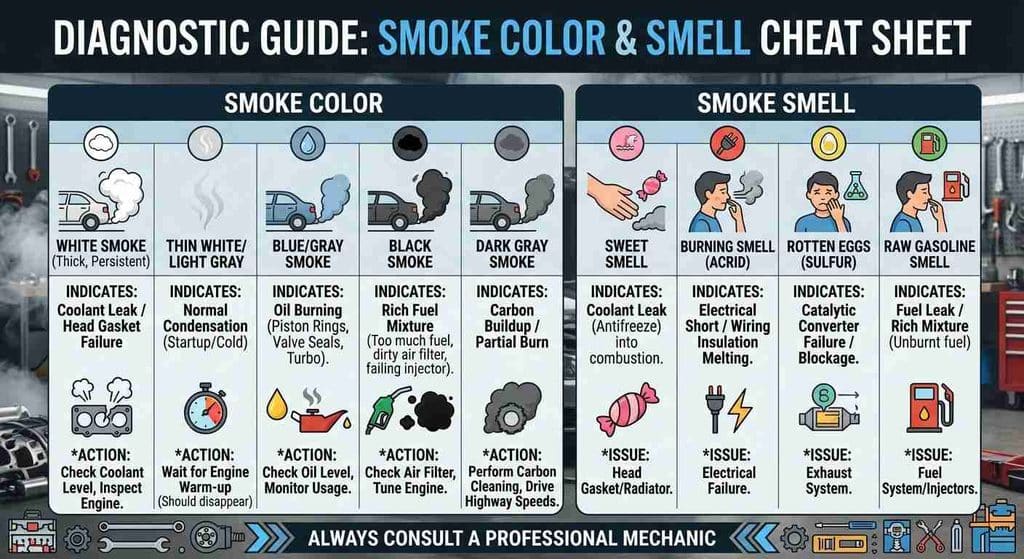
Diagnostic Guide: Smoke Color & Smell Cheat Sheet
Stop guessing whether your smoke is clean. Use this visual and olfactory guide to judge your combustion state in real time:
- Thick White / Billowing
o Odor: Acrid, sharp, chemical, eye-stinging.
o Status: Oxygen-starved, incomplete combustion.
o Action: Open your intake and exhaust vents immediately.
- Yellow / Gray-Green
o Odor: Sour, rotten, burning rubber.
o Status: Extreme creosote or chemical fire starter fumes.
o Action: Vent the cook chamber completely and clear blocked coal grates.
- Thin Blue / Transparent
o Odor: Sweet, warm campfire, nutty, deeply pleasant.
o Status: Clean combustion with balanced airflow.
o Action: Do nothing! Maintain your current setup.
- Invisible / Wispy
o Odor: Clean wood scent, very light warmth.
o Status: Optimal high-temperature combustion.
o Action: Sit back, grab a beverage, and let the fire work.
How to Fix It: Step-by-Step Airflow & Fire Control
If you want sweet, clean, rich flavors on your ribs and briskets every single time, build these four habits into your cooking routine.
Step 1: Master the Golden Rule of Vents
Keep your exhaust vent 100% open at all times during a cook.
Never use the chimney or exhaust damper to control your smoker’s internal temperature. The exhaust vent is the motor that pulls fresh air through your cooker.
Instead, adjust your temperature using only the intake damper on your firebox or charcoal bowl. Keeping the exhaust wide open ensures that any heavy gases pass over the meat quickly and exit the smoker before they have a chance to condense into creosote.
Step 2: Season Your Wood & Preheat Your Fuel
Invest in a cheap wood moisture meter. Check your wood splits – ensure they read below 20% moisture content.
Before throwing a new log onto your fire, set the wood split directly on top of your hot firebox or inside the warming rack for 10 minutes.
Preheating the wood raises its internal temperature so that when you drop it onto the hot coals, it catches fire instantly without smoldering for a single second.
Step 3: Wait for the Sweet Spot Before Loading Meat
Give your smoker at least 30 to 45 minutes to stabilize after lighting the initial fire.
Wait until the heavy white startup smoke clears out completely, leaving behind a glowing bed of red coals and a faint stream of thin blue BBQ smoke. Perform the olfactory test: lean over the exhaust chimney and smell the air.
If the smoke stings your eyes or smells like a burning tire, keep waiting. If it smells like a high-end steakhouse, load your meat.
Step 4: Deep Clean Your Firebox and Cook Chamber
Give your smoker a thorough spring cleaning at least twice a season:
- Scrape the Walls: Take a putty knife or stiff wire brush and scrape down the interior lid, walls, and exhaust stack to remove flaky creosote deposits.
- Clear the Ash: Scoop out old ash from under the coal grate before every single cook. Packed ash blocks intake vents and starves your coals of oxygen.
- Degrease the Floor: Scrape away pooled grease and burnt drippings so they don’t catch fire and scorch your meat with rancid grease smoke.
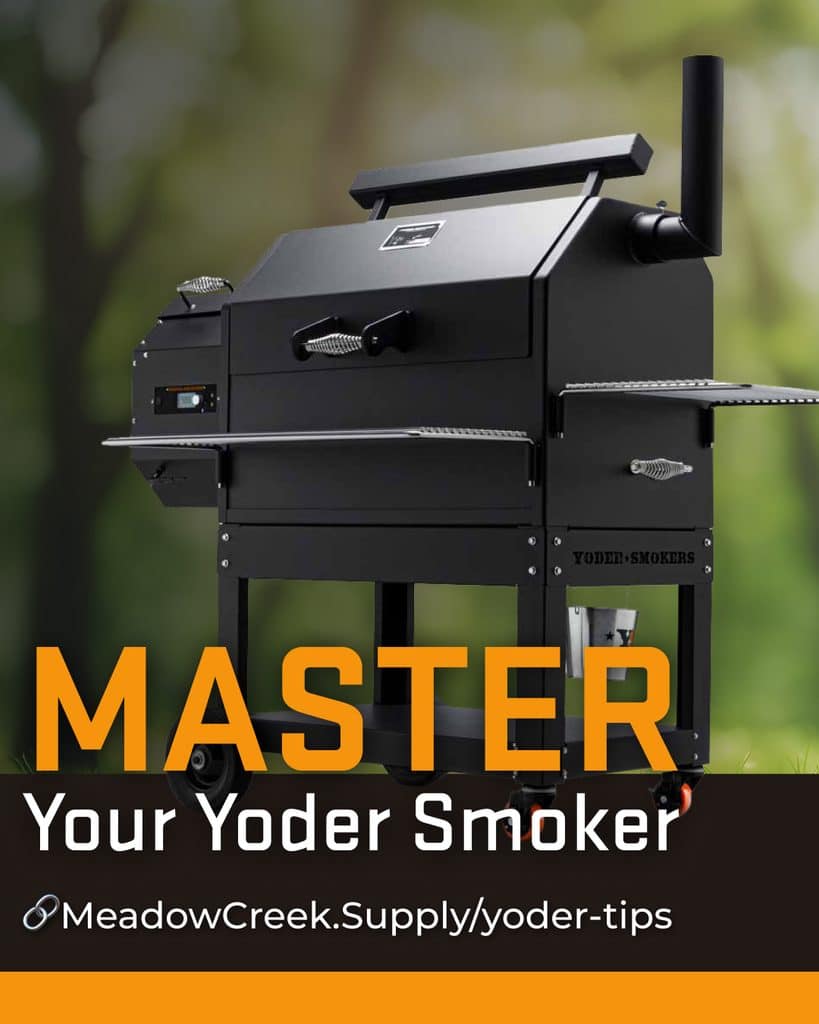
Smoker-Specific Troubleshooting
Different smokers suffer from different airflow problems. Here is how to fix dirty smoke on your specific rig:
Offset Stick Burners
- The Problem: Massive airflow demands and high fuel consumption.
- The Fix: Build smaller, hotter fires using small, split logs rather than giant full-sized logs. If your firebox door damper isn’t letting in enough air, leave the main firebox door cracked open half an inch to keep fresh oxygen surging over the coal bed.
Weber Kettle & Drum Smokers
- The Problem: Coal beds choking on their own falling ash.
- The Fix: Use the Minion Method or the Snake Method when arranging charcoal. These methods allow unlit coals to catch fire gradually from a small ignited source, ensuring a steady, clean burn. Shake down the bottom coal grates periodically to clear out restrictive ash.
Pellet Grills
- The Problem: Damp pellets or dust buildup in the burn pot.
- The Fix: Pellet fuel is made of compressed wood sawdust that acts like a sponge for ambient humidity. Store your pellets in airtight, moisture-proof buckets. Vacuum out the tiny fire pot after every two to three cooks to prevent smoldering ash beds.
Emergency Protocol: What to Do If Your Meat Is Already Bitter
You walk out to check your smoker three hours into a cook, and to your horror, your pork butt looks like a shiny ball of black asphalt.
You touch the bark – it feels sticky, greasy, and smells harsh. Don’t throw the meat in the trash just yet. You can still save dinner if you act fast.
Step 1: The Scrape and Trim
Remove the meat from the smoker immediately. Take a butter knife, a paper towel, or a sharp knife edge, and gently scrape off the top tacky layer of creosote-laden bark.
It won’t look pretty, but removing that outer layer strips away 90% of the bitter compounds before they sink deeper into the muscle fibers.
Step 2: Wrap Early
Wrap the meat tightly in a double layer of heavy-duty aluminum foil or unwaxed pink butcher paper. Add a splash of liquid – apple juice, beef broth, melted butter, or apple cider vinegar.
The liquid creates steam inside the wrap, which helps break down and wash away residual surface tars while softening the exterior.
Step 3: Finish in the Kitchen Oven
Once your meat is wrapped tightly in foil, stop wasting wood.
Transfer the wrapped protein directly into a 250°F kitchen oven. Wrapped meat cannot absorb any more smoke anyway, so finish the cooking process in a clean, temperature-controlled environment.
Your guests will never know how close you came to disaster.
The Altitude Trap: How Barometric Pressure Alters Smoke
Cooking at high elevations or during sudden barometric pressure shifts changes how air drafts through your smoker:
- Thinner, Oxygen-Poor Air: High altitudes directly slow down combustion rates. Without widening your intake vents, your firebox starves for oxygen, turning clean flames into a heavy, smoldering burn.
- Lower Water Boiling Point: Lower atmospheric pressure causes wood moisture to vaporize faster into dense, cool steam. This steam dilutes firebox temperatures and creates the ideal environment for volatile tars to condense into acrid creosote on cold meat surfaces.
Bark Mechanics: Why Sticky Rubs Attract Bitter Tars
The texture and moisture level of your initial bark play a massive role in how smoke compounds adhere to your protein:
- The Tacky Trap: High-sugar rubs and slather-heavy coatings form a gelatinous exterior as the meat warms, acting like a magnet for heavy aerosol condensates during dirty burns.
- Locked-In Off-Flavors: Once unburned tars bond with a wet sugar matrix, they form a thick, bitter crust that cannot evaporate off.
- The Fix: Let your rubs set until dry to the touch before loading the meat, preventing your bark from trapping bad smoke.
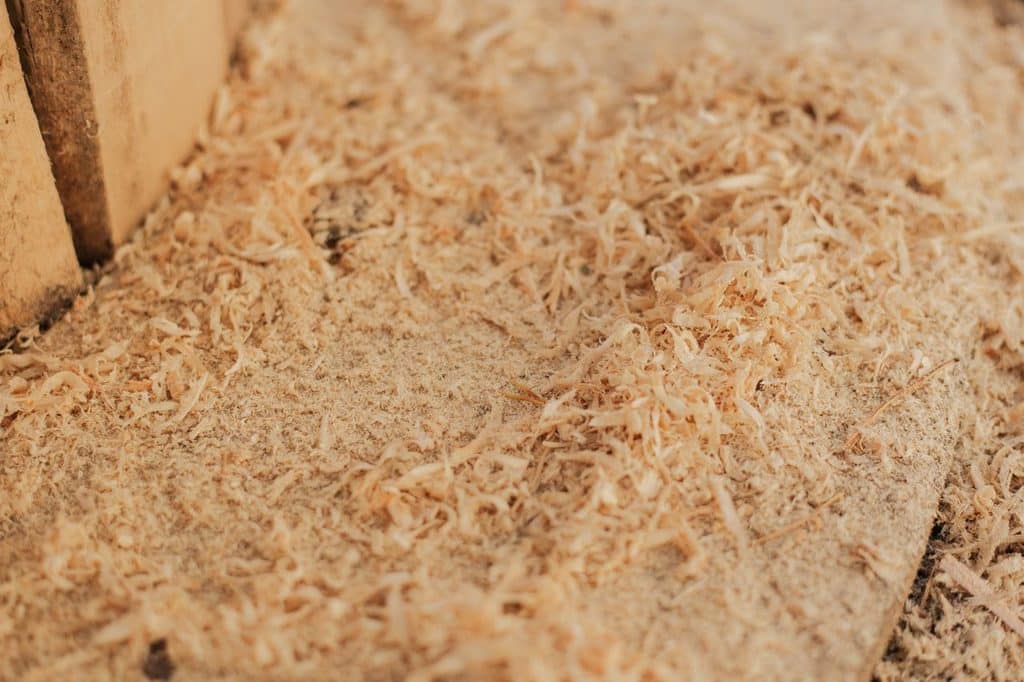
The Unsung Danger of Bark Dust and Sawdust
It isn’t just wood moisture that ruins a cook; physical wood debris completely disrupts clean combustion:
- Airborne Ash: Throwing wood splits covered in loose bark dust or chainsaw sawdust onto hot coals causes fine particles to float through the cook chamber and stick to your meat.
- Coal Bed Choking: Dense piles of sawdust clog the tiny gaps between hot coals, cutting off localized airflow.
- Micro-Starvation: This oxygen blockage forces surrounding wood to smolder instead of catch fire, instantly releasing harsh, lingering off-flavors into your draft.
Thermal Shock: The Dangers of Icy Cold Meat
Placing a raw, refrigerator-cold brisket directly onto the grates triggers a sudden thermal drop inside your cook chamber:
- Rapid Condensation: Warm, airborne moisture and wood vapor instantly liquidate the moment they hit freezing meat surfaces.
- Phenolic Accumulation: Any dirty smoke in your airflow will get pulled into that surface moisture, depositing bitter compounds straight onto the muscle fibers.
- Prevention: Let your meat sit at ambient room temperature for 30 to 45 minutes before cooking to prevent rapid creosote condensation.
Metal Radiance: How Smoker Geometry Distorts Combustion
The physical design and material thickness of your smoker dictate how heat reflects back into the fuel bed:
- Thin-Gauge Steel Losses: Inexpensive metal cookers lose thermal energy rapidly to cold outside winds, dropping firebox temperatures below the threshold needed for complete combustion.
- Localized Smoldering: Cold surrounding steel reflects less radiant heat, causing fresh wood splits to smolder even with wide-open vents.
- Thermal Retention: Heavy-gauge steel, ceramic walls, or insulated firebox baffles maintain high radiant firebox temperatures, ensuring wood splits vaporize completely regardless of harsh weather.
The Ultimate Clean-Smoke Checklist
Great barbecue isn’t magic – it’s managing combustion and airflow. Before you strike a match for your next big cook, run through this final pitmaster checklist:
- Dry Fuel: Is your wood seasoned under 20% moisture content?
- Clean Walls: Have you scraped away old creosote flakes from inside the cooker?
- Wide Open Exhaust: Is your chimney damper set to 100% open?
- Preheated Logs: Are your next wood splits sitting on the firebox getting warm?
- Thin Blue Smoke: Have you allowed the initial dirty startup smoke to clear completely?
Keep your fire hot, your wood dry, and your exhaust wide open. Master these simple steps, and you’ll never serve a bitter piece of barbecue again.
Final Thoughts
At the end of the day, producing sweet, mouthwatering barbecue isn’t about luck, fancy equipment, or guarded culinary secrets – it comes down to respecting the simple physics of combustion.
When you understand how airflow, temperature, and fuel moisture work together, you stop fighting your smoker and start controlling the cook.
The next time you fire up your grates, keep your vents open, let your wood catch hot and fast, and trust your eyes and nose to guide the draft.
Master that clean, wispy blue heat, and you will never have to worry about serving a bitter, creosote-slicked meal again.
Frequently Asked Questions (FAQ)
1. Is a little bit of white smoke okay, or does it always have to be thin blue?
A brief puff of white smoke when you first drop a fresh wood split onto hot coals is completely normal – that’s just the wood taking a few seconds to catch flame.
The problem arises when heavy, white, or gray smoke billows continuously for 10 minutes or longer, signaling that your wood is smoldering without enough air or thermal energy.
2. Can you fix bitter-tasting barbecue after it’s already finished cooking?
Once bitter creosote penetrates deeply into cooked meat, you cannot completely remove the flavor.
However, you can lessen the impact by trimming away the heavy, dark outer bark, discarding the surface fat layer, and tossing the remaining meat with a sweet or vinegar-based barbecue sauce to balance out the harsh acidity.
3. Does soaking wood chips or chunks in water prevent them from burning too fast?
No. Soaking wood in water is a myth that actually promotes bitter smoke. Wood does not absorb water quickly, so “soaked” wood simply generates steam when thrown onto coals.
This steam lowers your firebox temperature and carries unburned tars straight onto your meat as heavy creosote. Always burn dry, seasoned wood.
4. Why does my pellet grill produce bitter smoke even when set to a precise temperature?
Pellet grills can produce bitter smoke if hardwood pellets absorb ambient humidity and become damp, leading to incomplete combustion in the burn pot.
Additionally, a buildup of fine wood dust or unburned ash choking the tiny fire pot can cause pellets to smolder rather than burn cleanly.
5. How can I tell if my wood is seasoned enough to cook with?
Seasoned wood usually looks pale, has visible cracks or checks in the end grain, and feels significantly lighter than raw green wood.
The most accurate method is using a digital pin-type moisture meter: split a log in half and press the pins into the freshly exposed center – it should read between 15% and 20% moisture content.
Featured image credit: ChatGPT
