
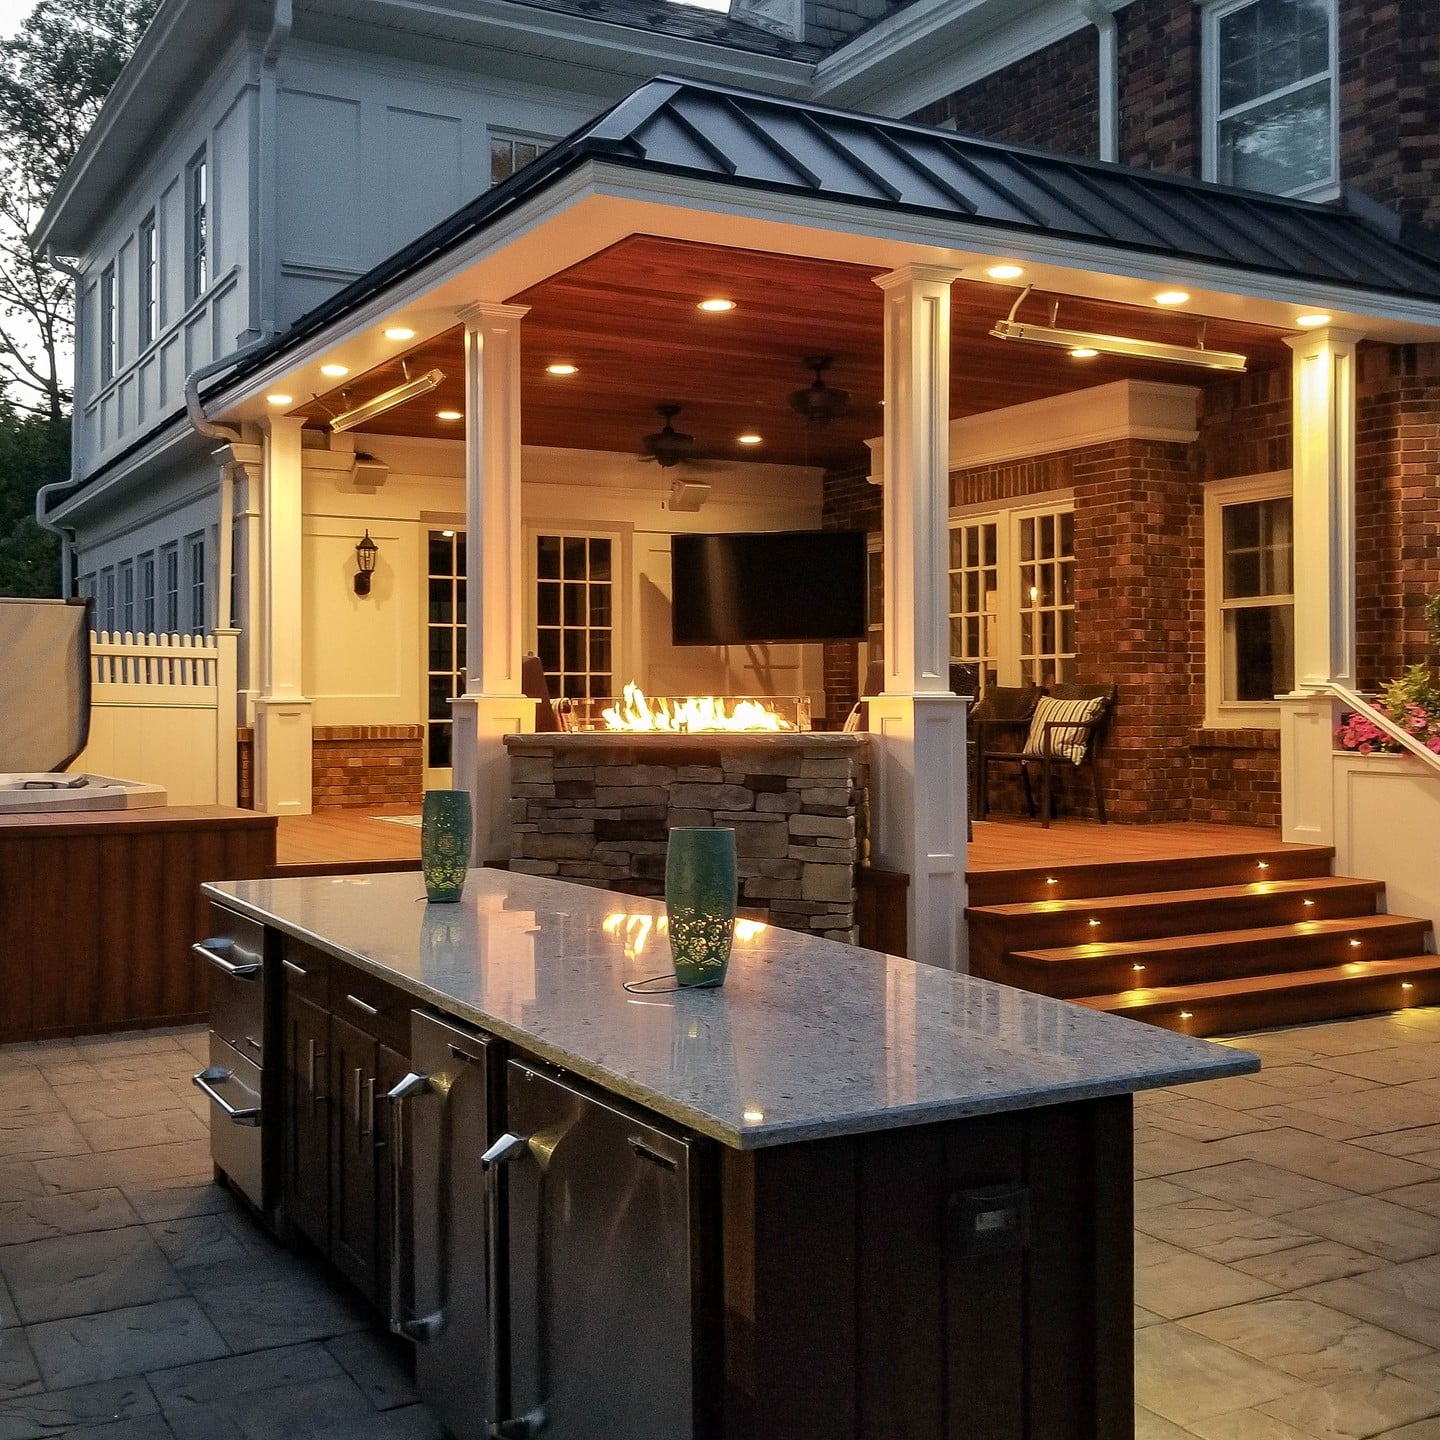
A backyard grill sitting alone on a concrete slab is not an outdoor kitchen. It is a grill that happens to have a good view.
The good news? You don’t need a contractor, a five-figure budget, or an entire summer of weekends to change that.
With the right design, DIY outdoor kitchen islands can add serious prep space, storage, seating, and personality to your backyard – and some can be built in a single weekend.
The trick is choosing a project that matches your cooking habits and your space. A compact rolling island might be perfect for a small patio, while a built-in grill island makes more sense for someone who treats Saturday barbecue like a competitive sport.
Before you start cutting lumber, though, remember one important rule: build around your cooking equipment, not the other way around. Grill dimensions, ventilation, heat clearances, weather exposure, and countertop materials all matter.
Ready to turn that lonely grill into a proper outdoor cooking station? Here are nine beautiful ideas worth putting on your weekend project list.
1. Simple Wood-Framed Outdoor Kitchen Island
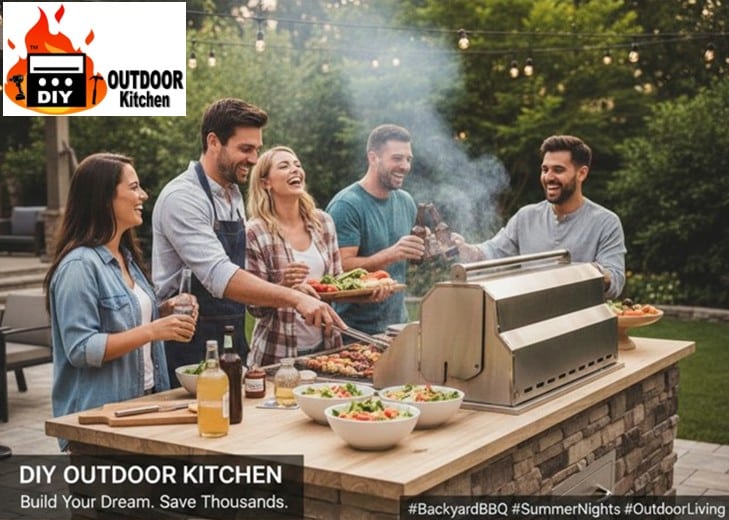
Sometimes the smartest design is also the simplest. A basic wood-framed island gives you a sturdy foundation without requiring complicated masonry skills.
Build a rectangular frame from weather-resistant lumber, then add exterior-grade panels or siding to create the finished sides.
A durable countertop on top instantly gives you a dedicated surface for chopping vegetables, resting trays, or holding the plate of burgers you absolutely did not eat while cooking.
Open shelving underneath keeps the project simple and provides room for grilling tools, cookware, and serving dishes. You can also add cabinet doors later when you’re ready for a more finished appearance.
Best for: Beginners who want a straightforward weekend build.
Key point: Use materials designed for outdoor exposure. Ordinary indoor plywood or untreated lumber may look fine on day one and look remarkably less impressive after several months of rain and sun.
A simple frame also makes future upgrades easier. Add hooks, drawers, a towel bar, or even a small beverage cooler once you’ve lived with the island for a while.
2. Concrete Block Outdoor Kitchen Island
Want something that feels substantial without learning how to lay a brick wall perfectly? Concrete blocks are your friend.
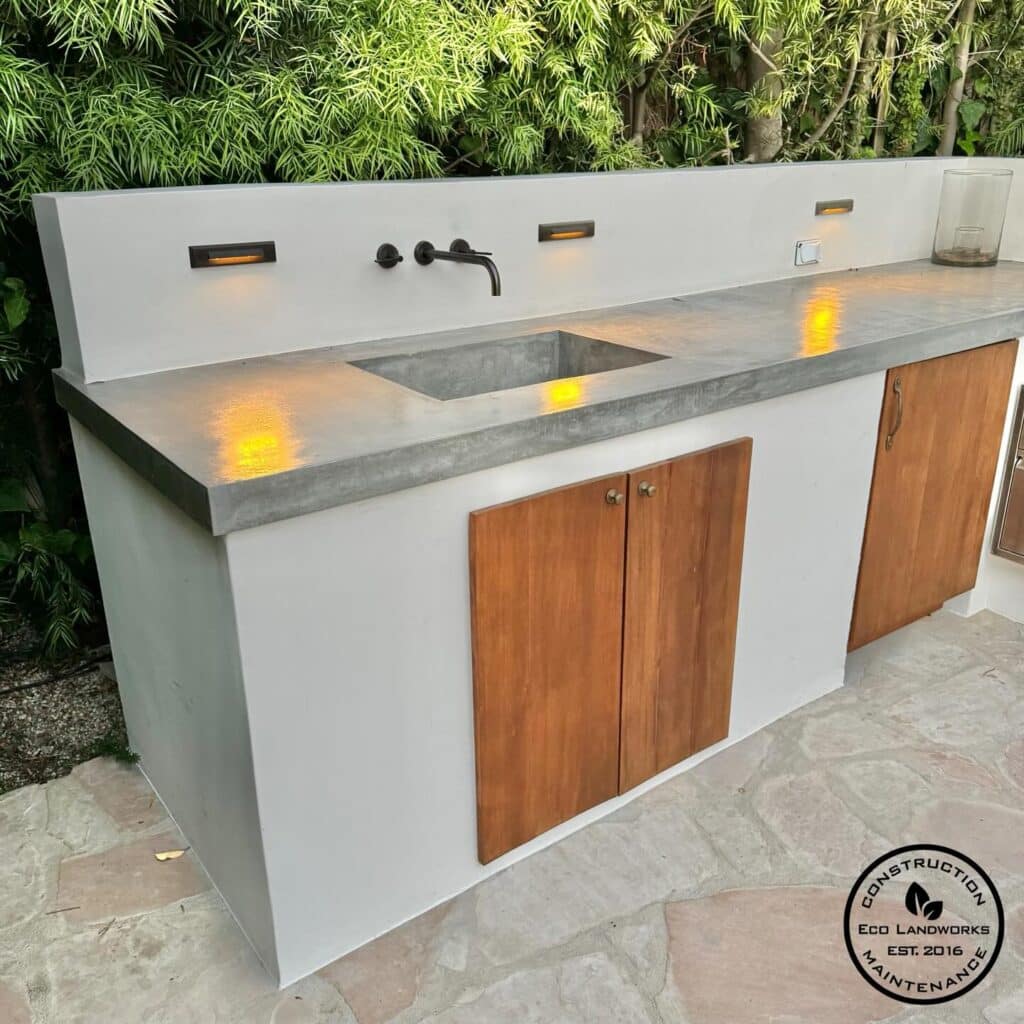
A concrete block island can create a surprisingly polished outdoor kitchen base with relatively little fuss. Stack the blocks into the desired configuration, secure them appropriately, and finish the exterior with stucco, tile, paint, or another outdoor-rated surface.
The real beauty is the combination of strength and simplicity. The block structure handles outdoor conditions well, while the finish determines whether the island looks rustic, modern, or somewhere in between.
Top it with a suitable outdoor countertop and you’ve got a cooking station that looks considerably more expensive than it needs to be.
Best for: Homeowners who prioritize durability and don’t mind a little heavy lifting.
Keep the design compact. A weekend project can quickly become a weekend-and-three-more-weekends project when you start building something the size of a small restaurant.
3. Pallet-Inspired Outdoor Kitchen Island
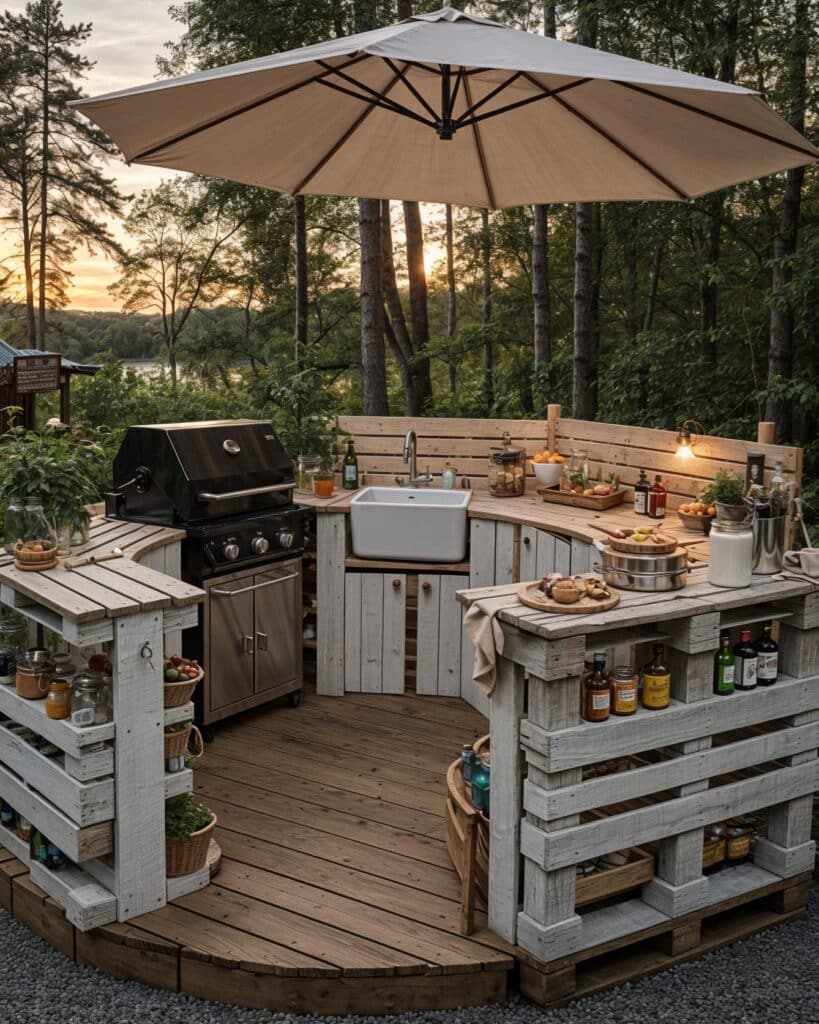
Reclaimed wood can give an outdoor kitchen island plenty of character without making it look like you bought a matching patio set from a catalog.
A pallet-inspired island uses the visual appeal of rustic timber while allowing you to customize the dimensions around your grill and cooking area. Add a sturdy countertop, lower shelving, and perhaps a few hooks for utensils.
For extra flexibility, install heavy-duty locking casters so the island can move when you’re cleaning the patio or rearranging the backyard.
One warning: don’t grab the first mysterious pallet you find behind a warehouse and assume it’s ready for your kitchen. Choose clean, suitable reclaimed wood and avoid materials with unknown chemical treatments or contamination.
Sand everything thoroughly, seal the wood with an appropriate exterior finish, and make sure the countertop is stable.
Best for: Rustic, farmhouse, or casual outdoor spaces.
The finished island should look intentionally weathered – not like it lost a fight with a shipping department.
4. DIY Outdoor Kitchen Island With Built-In Grill
For serious grill fans, this is the project that changes everything.
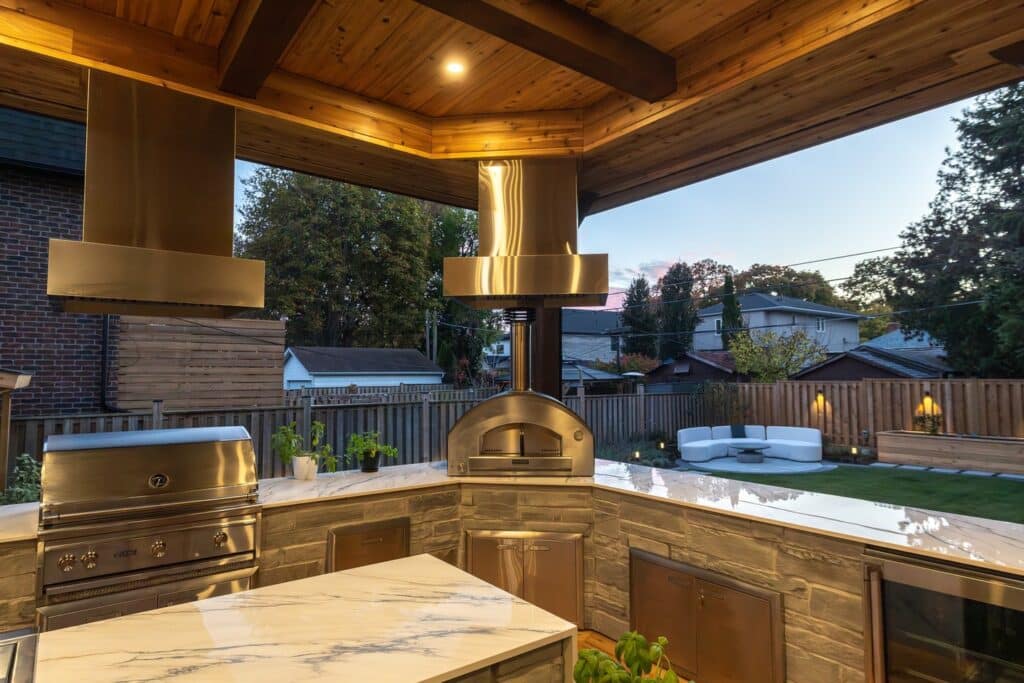
Instead of placing your freestanding grill beside an island, design the island around a built-in grill or compatible cooking appliance. The result is a more integrated cooking station with counter space on either side.
This design is especially useful because prep and cooking happen in one place. One side can hold raw ingredients, while the other becomes your landing zone for finished food.
No more carrying a sizzling tray halfway across the patio while hoping the dog doesn’t suddenly develop an interest in barbecue.
Before building, carefully check the grill manufacturer’s specifications for clearances, ventilation, combustible materials, and installation requirements. These details aren’t decorative suggestions; they’re safety requirements.
Add storage below for grilling tools, pans, fuel, and accessories. A small trash or recycling compartment can also make the cooking area much more efficient.
Best for: Dedicated grillers who want a permanent outdoor cooking station.
Important: Don’t improvise around gas or electrical connections. Get qualified help where required, particularly when your project involves permanent utility connections.
5. Outdoor Kitchen Island With Bar Seating
Why stop at cooking when your island can become the place everyone gathers?
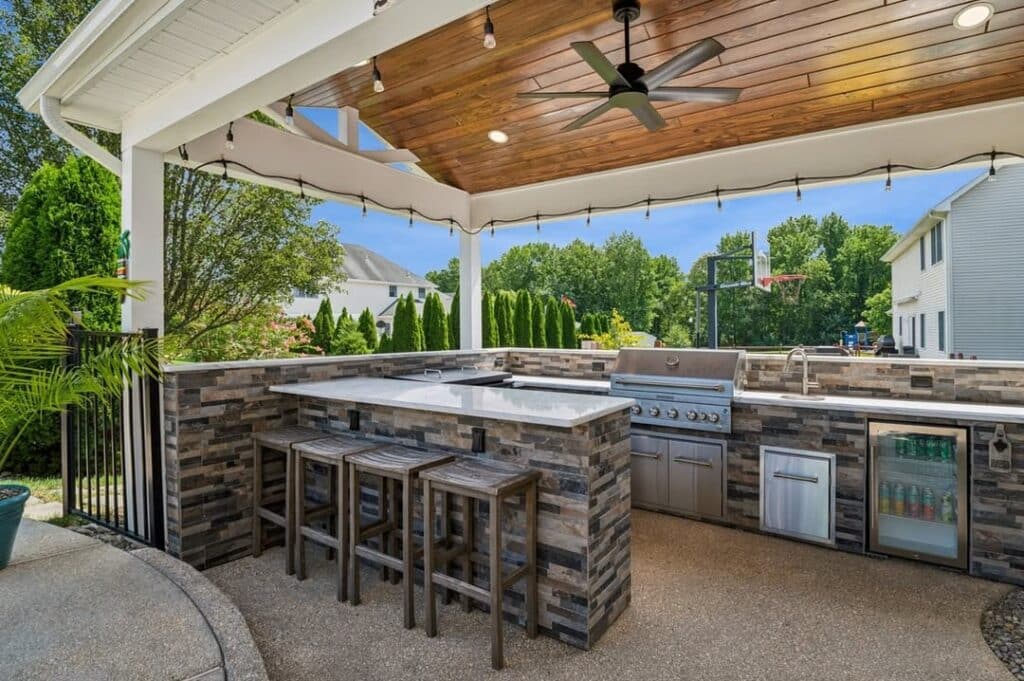
Adding a countertop overhang creates a natural breakfast bar or entertaining area. Suddenly, the person cooking isn’t isolated from everyone else. Guests can sit nearby, chat, grab a drink, and provide highly questionable advice about when the steaks are ready.
Build the main island at a comfortable working height, then extend one section of the countertop to create seating space. Choose outdoor-rated stools that can handle moisture and temperature changes.
The key is leaving enough legroom beneath the overhang. A beautiful countertop isn’t very useful when everyone sitting at it has to fold themselves into origami.
Best for: Families and homeowners who use the backyard for entertaining.
For maximum usefulness, position the seating opposite the cooking area rather than directly beside a hot grill. Your guests want dinner theater – not a complimentary heat treatment.
6. Stone-Look DIY Outdoor Kitchen Island
Want your backyard kitchen to look like a custom installation without spending custom-installation money?
A stone-look finish can do much of the visual heavy lifting.
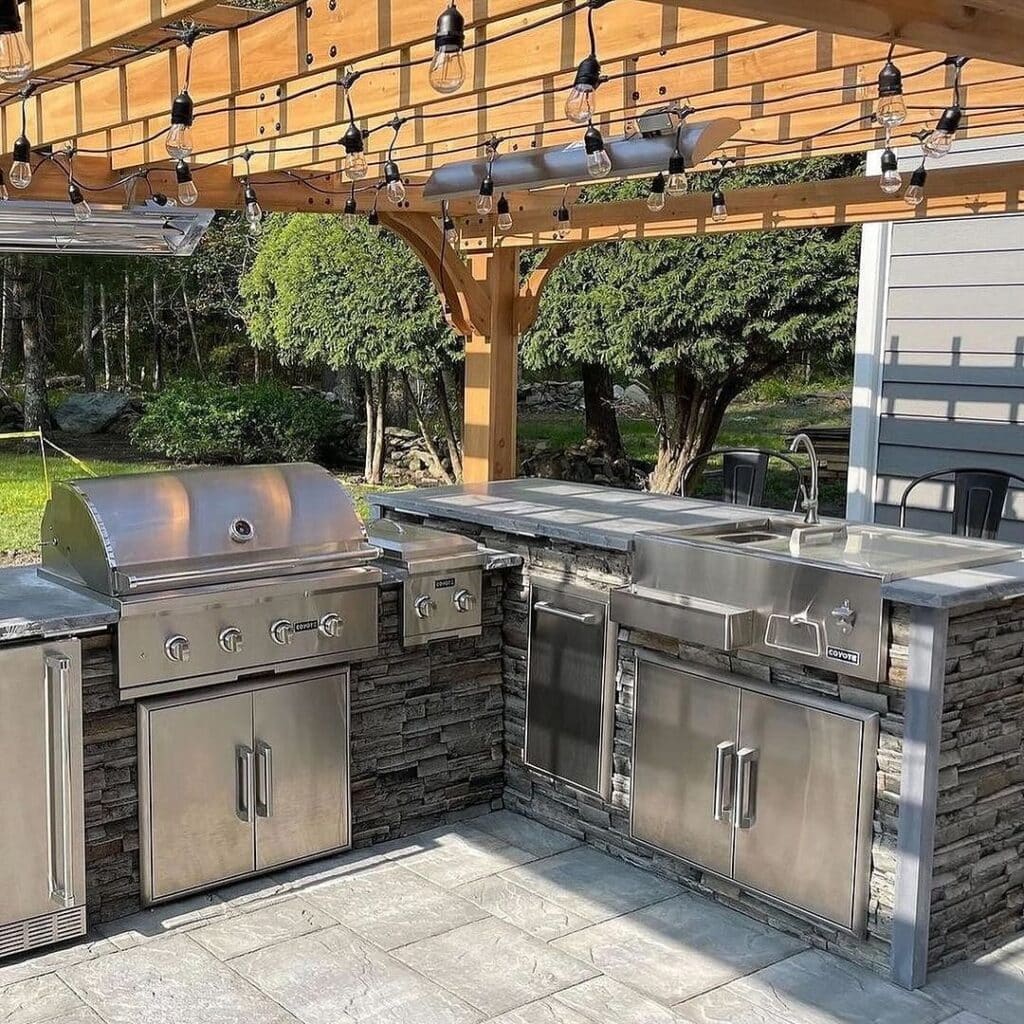
Start with a straightforward structural frame, then cover the exterior with an appropriate exterior stone veneer or weather-resistant finish. Pair it with a contrasting countertop for a more sophisticated look.
The advantage of this approach is that you don’t need to construct the entire island from heavy natural stone. The underlying structure handles the practical work while the finish provides the visual impact.
Keep the shape uncomplicated. A rectangular island with clean lines is much easier to complete over a weekend than a complicated structure filled with curves, corners, and architectural drama.
Best for: Anyone chasing a high-end appearance on a reasonable DIY budget.
A simple design with excellent finishing can look far more expensive than a complicated project that’s rushed.
7. Rolling Outdoor Kitchen Island
Small patio? Limited storage? No problem.
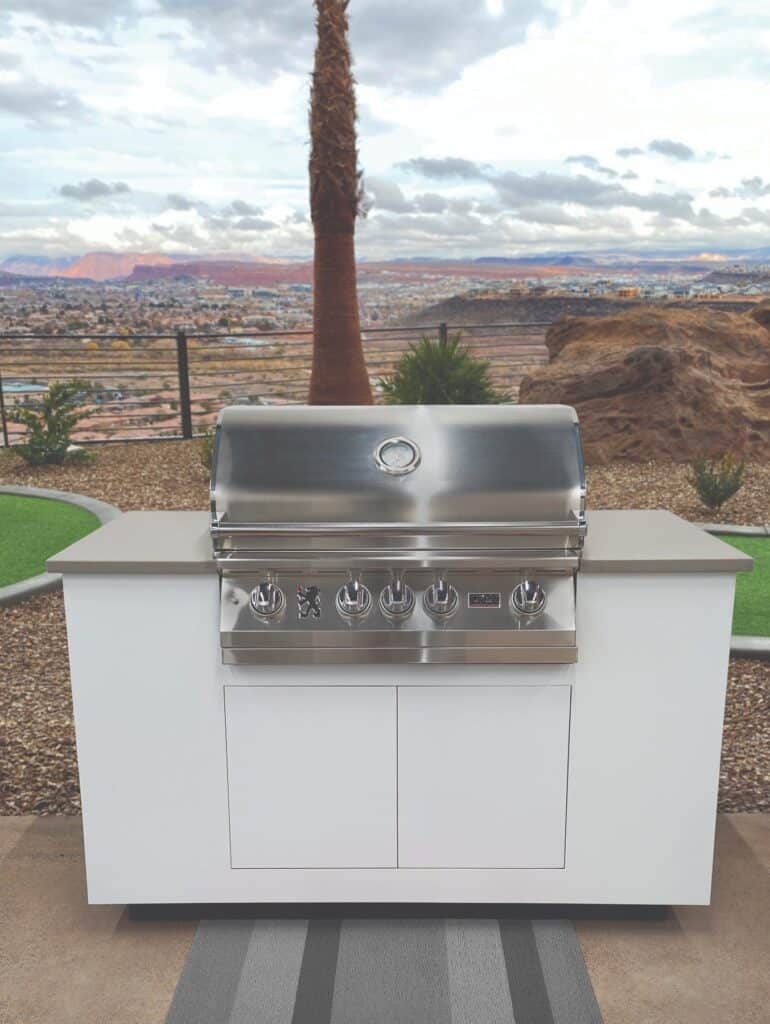
A rolling outdoor kitchen island gives you the benefits of a prep station without permanently claiming a large piece of real estate.
Build a compact frame, add a durable countertop, and install heavy-duty locking casters. You can roll it beside the grill when cooking, move it toward the dining area when serving, and push it out of the way when the patio needs cleaning.
Storage can be surprisingly generous. Add a lower shelf for cookware, hooks for tools, and a small enclosed compartment for items you don’t want sitting outside.
Just remember that mobility doesn’t mean instability. Use locking casters and make sure the island has a solid, balanced base.
Best for: Small yards, patios, decks, and flexible outdoor spaces.
This is also one of the best options for renters or anyone who doesn’t want to commit to a permanent outdoor kitchen.
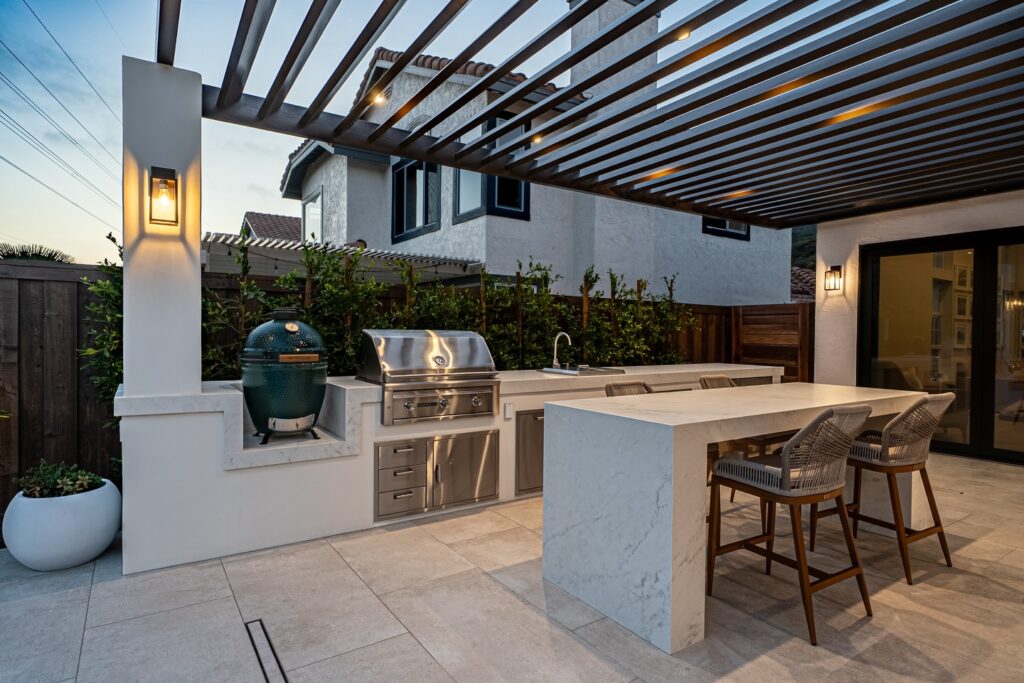
8. Budget-Friendly Outdoor Kitchen Island with Cabinets
Storage is one of those things you don’t appreciate until you’re carrying six grilling tools, three pans, paper plates, and a bag of charcoal across the yard.
A cabinet-based island solves that problem while keeping the cooking area organized.
Start with a simple weather-resistant base and incorporate outdoor-rated cabinet doors or storage compartments. Keep frequently used tools within easy reach and reserve enclosed storage for dishes, cookware, and accessories that need more protection from the elements.
You don’t need dozens of drawers to make the island functional. A couple of large storage compartments can be more useful than a complicated cabinet system.
Choose materials that can tolerate outdoor moisture and temperature swings. Indoor cabinets may not survive long-term exposure to the elements, no matter how attractive they look when installed.
Best for: Home cooks who value organization as much as cooking space.
A well-organized outdoor kitchen is one where you can find the tongs before the burgers become charcoal.
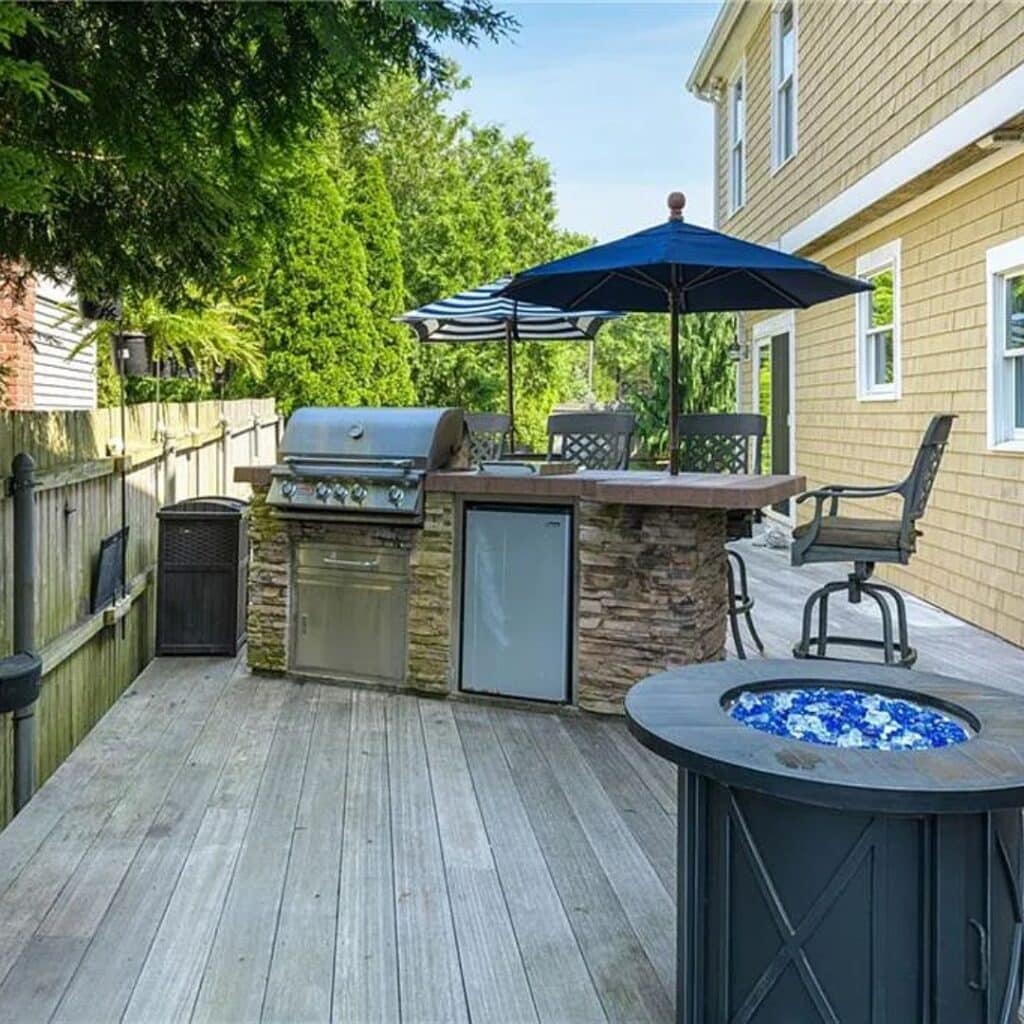
9. Small Outdoor Kitchen Island for a Compact Patio
Small spaces don’t have to mean small ambitions.
A compact island can combine prep space, storage, and cooking functionality without overwhelming a patio. The secret is designing vertically and giving every inch a job.
A narrow island can include a countertop for preparation, open shelving underneath, and hooks along the side for grilling tools. If space allows, you can position a compact grill or other outdoor cooking appliance nearby while keeping enough room for safe movement.
Think carefully about workflow. You want a logical sequence from storage to preparation to cooking to serving. Even a small island becomes frustrating when you have to walk around it every time you need a spatula.
Best for: Apartments, townhomes, balconies with suitable cooking arrangements, and compact patios.
Small doesn’t have to mean boring. With clean lines and a thoughtful layout, a compact island can look surprisingly sophisticated.
How to Build Your Outdoor Kitchen Island in a Weekend
The easiest way to finish a weekend project is to avoid turning Saturday morning into a trip to the hardware store every 45 minutes.
Prepare your materials and measurements beforehand, then divide the work into manageable stages.
Saturday morning: Build the base and establish the island’s final dimensions.
Saturday afternoon: Install shelving, cabinet components, supports, and other structural elements.
Sunday morning: Install the countertop and complete the exterior finish.
Sunday afternoon: Add hooks, hardware, storage accessories, and cooking equipment.
Some materials require curing, drying, or additional installation time, so don’t assume every project will be fully operational by Sunday dinner. Concrete, mortar, finishes, and utility work may require extra time.
What to Consider Before Building an Outdoor Kitchen Island
A good-looking island is only half the job. Outdoor durability and cooking safety should drive your material and layout decisions.
Before construction, consider:
- Weather: Choose materials that can handle sun, rain, humidity, and temperature changes.
- Countertops: Use surfaces appropriate for outdoor conditions and food preparation.
- Grill clearances: Follow the appliance manufacturer’s installation requirements.
- Ventilation: Built-in grills and certain appliances require proper ventilation.
- Utilities: Gas, plumbing, and electrical connections may require professional installation or permits.
- Drainage: Don’t position the island where standing water will become a permanent feature.
- Workflow: Keep preparation, cooking, storage, and serving areas logically connected.
And don’t forget the boring stuff. Check local building and fire-safety requirements before installing a permanent grill or connecting utilities. Nobody wants their dream outdoor kitchen to become the neighborhood’s most expensive garden ornament.
The Bottom Line
The best DIY outdoor kitchen islands aren’t necessarily the biggest or fanciest. They’re the ones that make cooking easier, keep essential tools within reach, and give everyone a reason to linger outside a little longer.
Start with a design that fits your space and skill level. Build the structure well, choose outdoor-rated materials, and leave the complicated utility work to the professionals when necessary.
By next weekend, that lonely backyard grill could have a proper home – and you might finally have a place to put the tongs.
Featured image credit: @deckremodelers
