
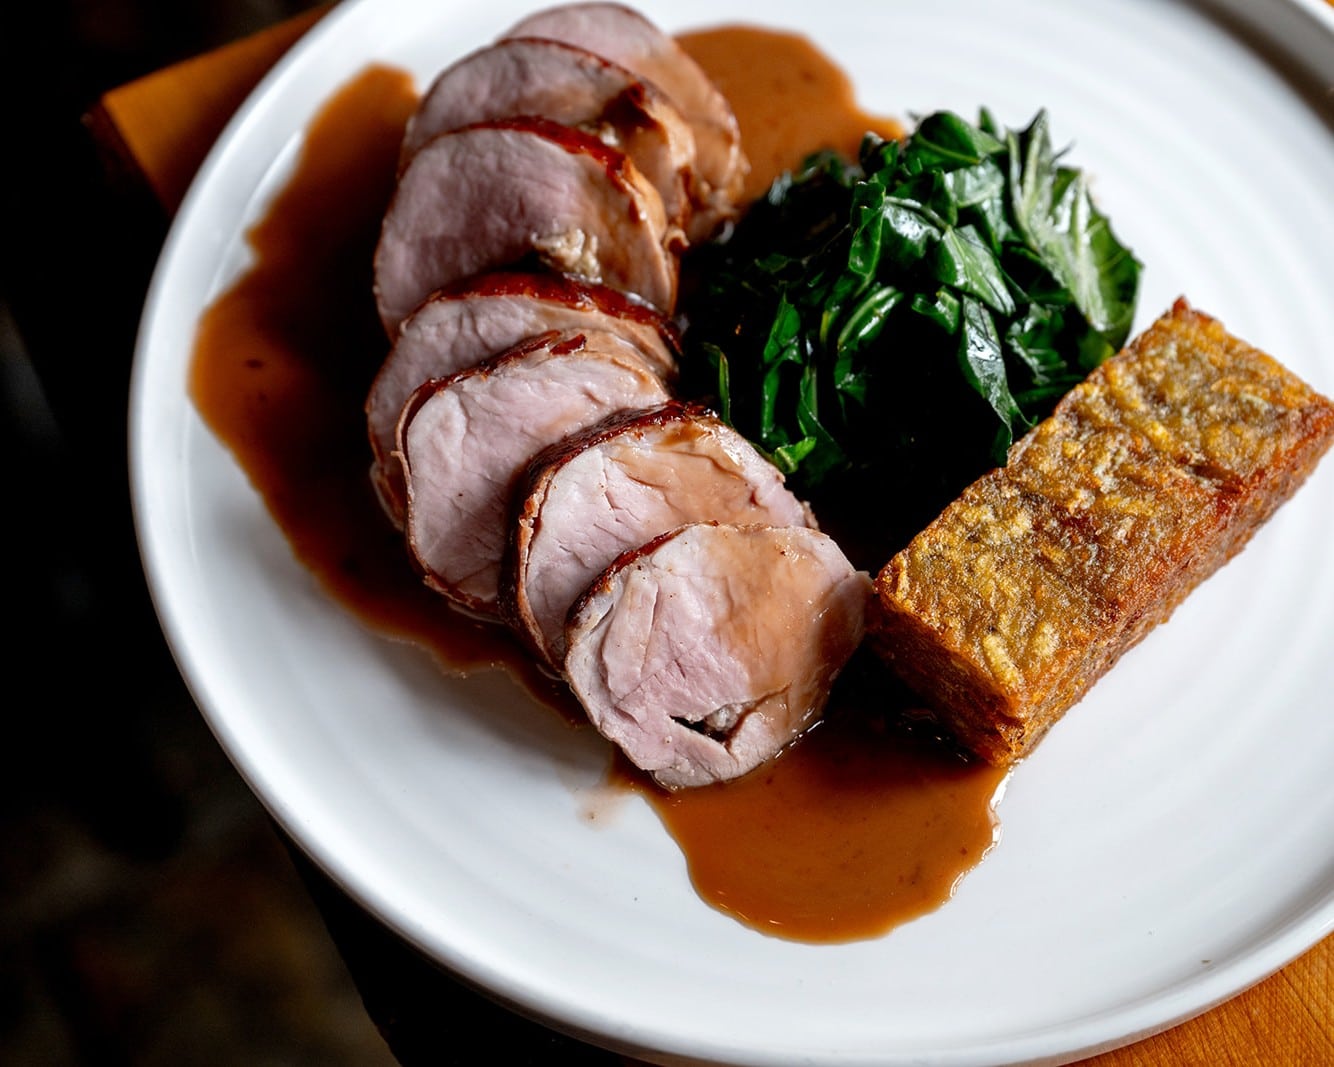
Nothing beats apple and sage stuffed pork tenderloin quite like this recipe we’ve prepared for you. Let the culinary mayhem begin!
Most backyard grillers treat pork tenderloin like a high-stakes game of culinary Russian roulette.
One minute you’re waiting for the meat to warm up, and the next, you’re trying to choke down something with the texture and moisture content of a dry sponge.
Pork tenderloin gets a bad rap for being boring and bone-dry, but the fault isn’t the pig – it’s how people cook it.
Drowning a lean muscle in bottled BBQ sauce and blasting it over direct flames is a crime against outdoor cooking.
Taking control of live fire changes the game entirely. When you master heat zones and pair lean pork with sweet, tart apples and earthy herbs, you stop serving chew toys and start serving legendary barbecue.
This apple and sage stuffed pork tenderloin is your ultimate crash course in real wood-fire roasting.

Setting Up the Wood-Fire Pit
Cooking over live wood is pure food chemistry, not magic. Because pork tenderloin carries almost zero intramuscular fat, your margin for error on temperature control is paper-thin.
- Select the Right Wood: Skip heavy woods like mesquite or hickory here. Their heavy smoke profile completely pulverizes the delicate flavor of pork and sage. Reach for applewood or pecan, which throw off a mild, sweet smoke profile that complements the fruit filling.
- Build a Two-Zone Fire: Pile your lit charcoal on one side of the kettle or smoker, leaving the other side completely clear. This gives you a high-heat direct zone for searing and a gentle indirect zone for roasting.
- Dial In the Pit Temp: Target a solid 375°F to 400°F inside the chamber. You want enough ambient heat to crisp the exterior and render the filling without drying out the meat.
Butterflying and Prepping the Meat
Before you start stuffing things, you need to prepare the canvas properly.
- Strip the Silver Skin: That shiny, blue-white membrane on the surface of the tenderloin won’t break down, no matter how long it cooks. Trim off all silver skin completely using a sharp boning knife. Leaving it on turns into a tough, chewy strip that pulls the meat out of shape.
- Butterfly with Precision: Lay the tenderloin flat on a cutting board. Hold your knife parallel to the board and make a long, horizontal cut down the center of the meat, stopping about a half-inch before cutting all the way through. Open the tenderloin like a book.
- Pound to Uniform Thickness: Cover the opened meat with plastic wrap and gently tap it with a meat mallet. Aim for an even half-inch thickness across the entire slab. Uniform thickness guarantees every bite cooks at the exact same rate.
- Season Inside First: Sprinkle coarse kosher salt and cracked black pepper over the inside face of the meat before adding filling. Salting the interior draws moisture in and seasons the core directly.
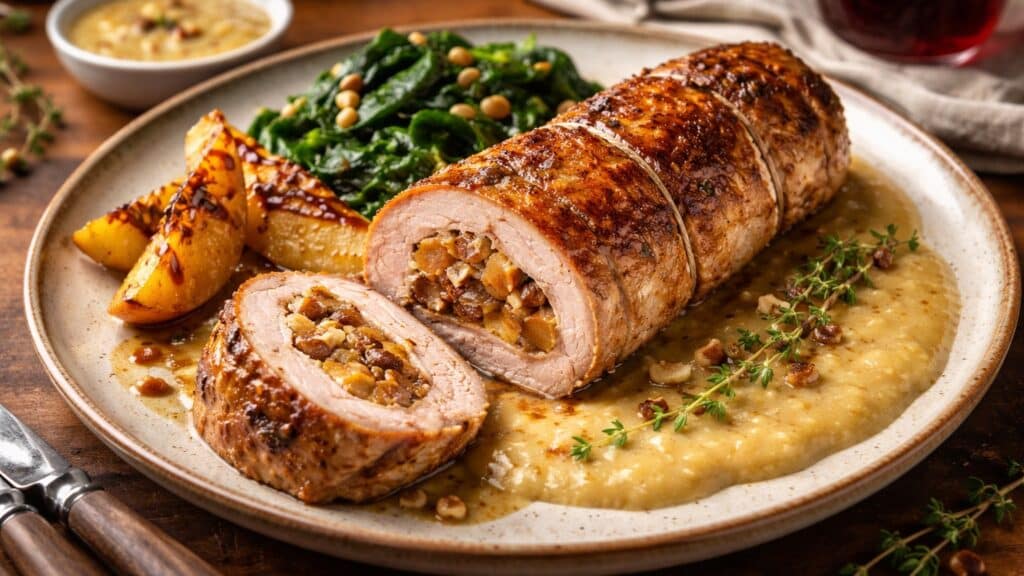
Building the Apple and Sage Filling
Raw apples rolled inside a pork loin will never cook through in time, leaving you with crunchy fruit wrapped in overcooked meat. Pre-cooking the aromatic filling is non-negotiable.
- Sauté the Base: Melt two tablespoons of butter in a skillet over medium heat. Sauté finely diced Granny Smith or Honeycrisp apples, minced shallots, and chopped fresh sage for about five minutes until the apples soften slightly.
- Bind the Ingredients: Stir in a handful of panko breadcrumbs and a dash of apple cider. The breadcrumbs soak up escaping juices during the cook, trapping moisture right inside the tenderloin.
- Roll and Tie Tight: Spread the cooled mixture evenly over the flattened tenderloin, leaving a half-inch border around the edges. Roll the meat tightly into a log, seam-side down. Space butcher’s twine every two inches along the roll and tie secure square knots to seal the filling inside.
Mastering the Cook: Step-by-Step
With the roll secured and the pit running hot, it is time to run the cook.
- Sear for Color: Place the tied tenderloin directly over the hot coals for roughly 90 seconds per side. Achieving a light golden crust early creates rich depth through the Maillard reaction.
- Shift to Indirect Heat: Move the tenderloin over to the cool side of the grill once seared. Position the meat so the thickest end faces toward the heat source.
- Close the Lid and Monitor: Shut the grill lid with the top vent positioned directly above the meat to draw clean applewood smoke over the pork.
- Pull at the Target Temp: Insert an instant-read probe thermometer straight into the center of the meat, avoiding the filling. Pull the pork at 140°F. Carryover heat will gently push the final internal temp to a juicy, perfectly safe 145°F as it rests.
Resting, Slicing, and Serving the Apple and Sage Stuffed Pork Tenderloin
The temptation to cut into the meat immediately will be strong, but slicing hot tenderloin straight off the grill is a quick way to dump every drop of juice onto your cutting board. Give the meat a full 10-minute rest under a loose tent of foil.
This allows the muscle fibers to relax, redistributing juices back into the core while letting the stuffed center set properly.
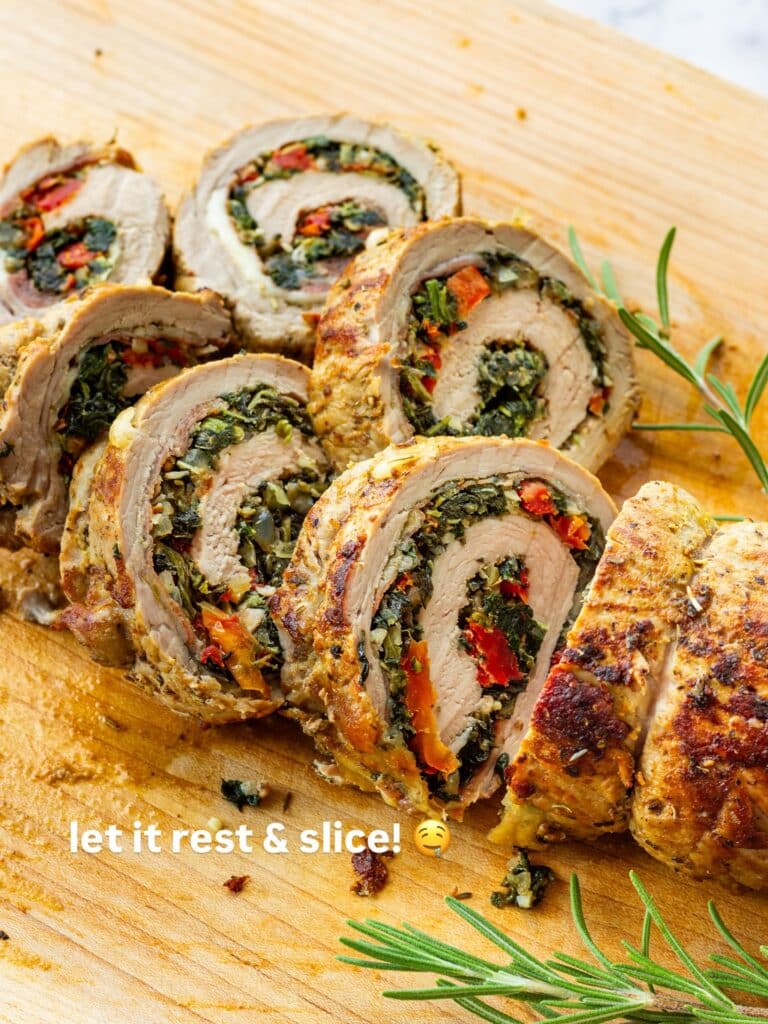
Use a razor-sharp chef’s knife to slice the tenderloin into thick pinwheels.
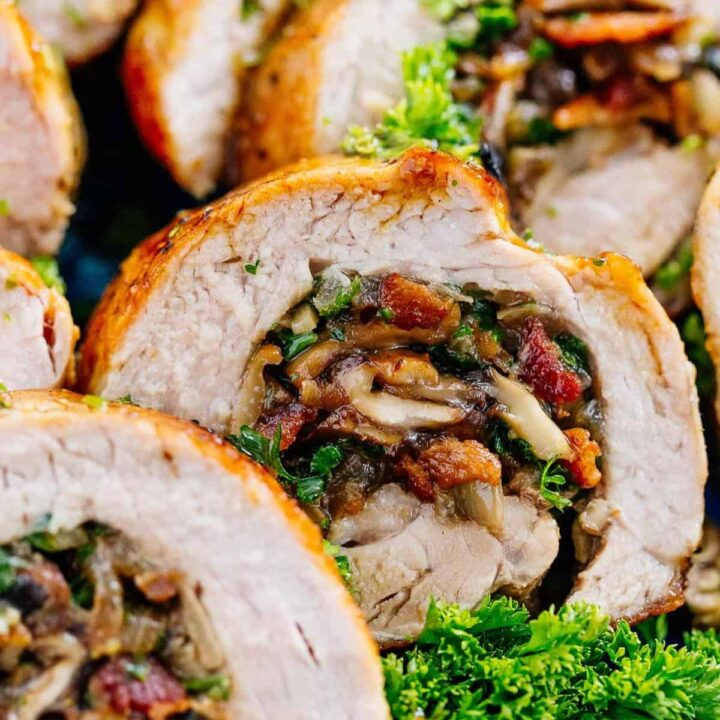
Each cross-section reveals spiraled layers of tender, rosy pork wrapped around golden apples and savory sage. Serve it alongside grilled vegetables or drizzled with a simple cider reduction for a fire-roasted dinner that leaves dry pork in the past for good.
Wood-Fired Apple & Sage Stuffed Pork Tenderloin
Image credit: @natashaskitchen
Ingredients
- The Pork & Seasoning
- 1 pork tenderloin (trimmed)
- Coarse kosher salt and freshly cracked black pepper (to taste)
- The Apple & Sage Filling
- 2 tbsp butter
- 1 Granny Smith or Honeycrisp apple, finely diced
- 1 shallot, minced
- 2 tbsp fresh sage, finely chopped
- 1/3 cup panko breadcrumbs
- 1–2 tbsp apple cider
- Equipment Needed
- Wood-fire grill or smoker (with Applewood or Pecan chunks)
- Boning knife & sharp chef's knife
- Meat mallet
- Plastic wrap
- Butcher's twine
- Instant-read digital thermometer
- Skillet
Instructions
1. Build the Apple & Sage Filling
- Melt butter in a skillet over medium heat.
- Add diced apples, minced shallots, and chopped sage. Sauté for about 5 minutes until the apples begin to soften slightly.
- Stir in the panko breadcrumbs and a splash of apple cider.
- Remove from heat and allow the mixture to cool completely before stuffing.
2. Prep & Butterfly the Pork
- Trim Silver Skin: Use a sharp boning knife to slice off the shiny blue-white membrane running along the tenderloin.
- Butterfly: Lay the tenderloin flat. Hold your knife parallel to the cutting board and slice horizontally through the center, stopping about ½-inch from the opposite edge. Open the meat like a book.
- Pound Flat: Cover with plastic wrap and gently tap with a meat mallet until the meat reaches a uniform ½-inch thickness.
- Season Interior: Generously sprinkle coarse salt and black pepper over the open inside face of the meat.
3. Stuff and Roll
Spread the cooled apple mixture evenly over the flattened pork, leaving a ½-inch border around all edges.
Roll the meat tightly into a log, finishing seam-side down.
Tie secure square knots using butcher's twine spaced roughly every 2 inches along the roll to lock in the filling.
4. Fire Up the Grill
- Set up your grill or smoker for two-zone cooking (all coals banked on one side, leaving the other side clear).
- Add applewood or pecan chunks to the coals.
- Dial in the chamber temperature to 375°F – 400°F.
5. Sear & Indirect Roast
- Sear for Color: Place the tied tenderloin directly over the hot coals for 90 seconds per side to develop a light golden crust.
- Shift to Indirect Heat: Move the pork to the cool side of the grill, placing the thicker end closer to the heat source.
- Smoke & Roast: Close the lid with the exhaust vent directly over the meat.
- Pull at Target Temp: Insert an instant-read thermometer into the thickest part of the meat (avoiding the filling). Pull the pork off the grill when it hits 140°F.
6. Rest & Serve
- Tent the tenderloin loosely with foil and let it rest for 10 minutes. Carryover heat will bring the final internal temperature up to a safe, juicy 145°F.
- Cut away the butcher's twine and slice into thick pinwheels using a sharp chef's knife.
Featured image credit: @tiger_inn
