

Steaming might be the go-to method for shellfish, but for our money, there’s nothing like the smoky flavor of food cooked over an open flame. Since it works so well for rich and savory meats, why shouldn’t it do the same for seafood?
In this guide, we’ll teach you how to grill crab legs to perfection. Aside from the basics, we’ve included one of our favorite–and most foolproof–recipes. The next time you invite friends over for a midsummer bash, you’ll be able to impress the socks off them with this elegant twist on tradition.
Tips On Grilling Crab Legs (Or Frozen Crab Legs)
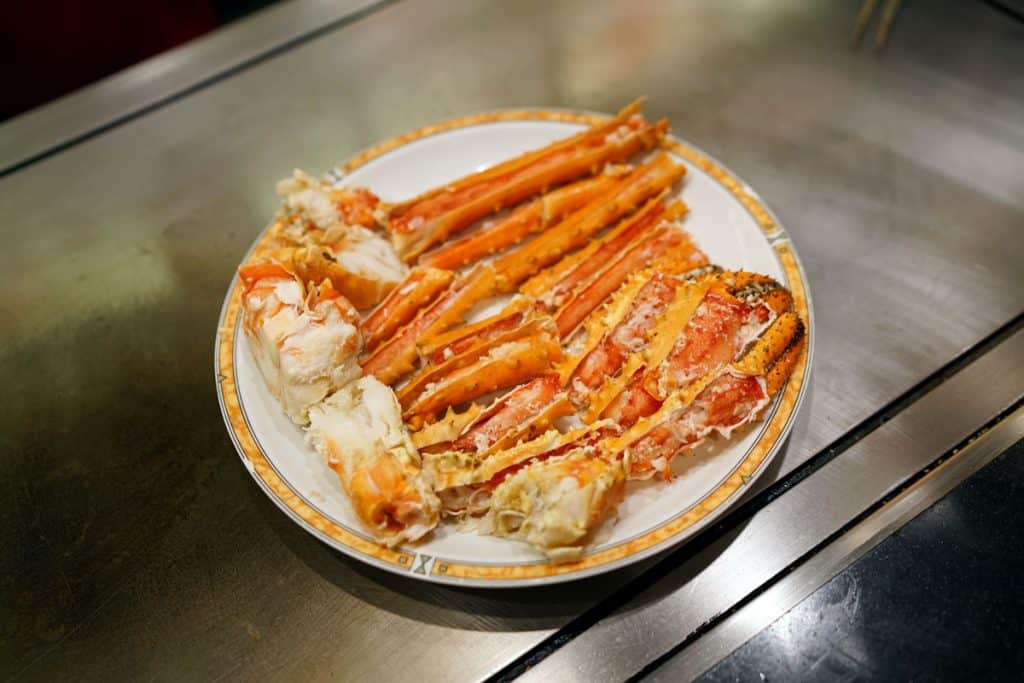
– The main thing to remember is that the crab legs you buy at the fish market have probably been cooked already. That means all you’ll have to do is heat them up.
If you aren’t sure whether or not they’ve been precooked, just look at the color. Crab shells don’t turn red until after they’re cooked due to changes in the pigmentation that are brought on by exposure to heat. So if the shells are bright red, you’ll just be defrosting them if they were purchased frozen, then putting them on the grill to heat.
– Thaw frozen crab for at least 2 hours, preferably overnight. If you need to thaw them quickly, place them in a sealed zip-top back and set the bag in a sink of cold water. Don’t be tempted to speed the process along by using hot water, as this could promote the growth of dangerous bacteria. Change the water every half hour or so until the crab legs have thawed. It should take 1-2 hours, depending on their size.
– When it comes to grilling crab legs, you have two options: Either wrap them in aluminum foil and heat them in these makeshift packets, or place them directly on the cooking grates. While we prefer the carefree nature of the latter method, grilling them in foil packets allows you to experiment with different flavor combinations. Try adding handfuls of herbs and dashes of lemon juice to the foil along with the crab.
If you do choose to place the legs directly on the grill, the flesh will have a meatier texture and more smoke flavor. They’ll also stay warm longer.
– Don’t be tempted to oil the crab legs beforehand. Some chefs will take this extra step, but we’ve found that the crab shells are hard enough to make the move unnecessary. The only reason to oil them would be to prevent sticking, but we’ve never had a problem in this regard.
– Keep the small tips of the legs as far from the direct heat as possible to keep them from drying out. These will get enough residual heat from the claws and thicker segments.
– As soon as you take the crabs off the grill, either place them in a pre-warmed pan or wrap them in foil. This will help keep them from cooling off too much before you’re ready to serve them.
– Unless you’re using the foil packet method, don’t bother to add any seasoning to the crab legs until you’re ready to take them off the heat. Most of it will end up falling to the bottom of the grill anyway, so you’re better off just mixing it in with the melted butter.
– Individual crab legs will always cook faster than legs that are still grouped together by the lower segment of the body.
– Like most grilled meats, the crab will continue to cook after it’s been removed from the heat. Don’t be tempted to leave the legs on the fire too long. As a precaution, make sure everything else is ready before you start to heat the crab legs.
– Melt the butter in advance and keep it over low heat to keep the crab from cooling off in the meantime.
Grilled Alaskan King Crab Legs Recipe
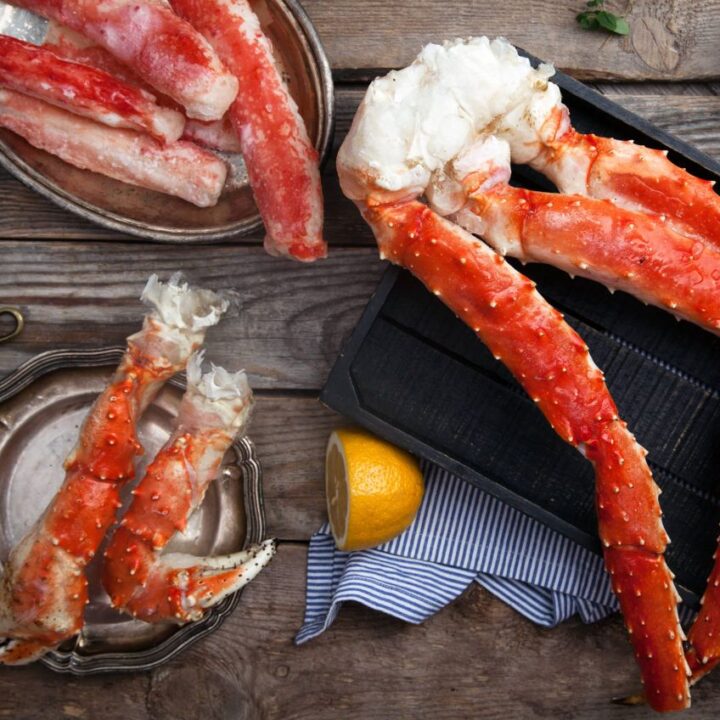
Grilled Crab Legs Recipe
Image credit: Bradley’s Fish
Ingredients
- 3 pounds Alaskan king crab legs, precooked and thawed
- 1/2 cup (1 stick) butter
- 1 teaspoon Old Bay seasoning
- Pinch freshly ground black pepper
- 2 lemons, cut into quarters
Instructions
1. Build a hot fire in a charcoal grill, or set a gas grill to high. If you opt to use a pellet grill, set the temperature to 450 degrees Fahrenheit. Use a mild wood like alder so as not to overwhelm the delicate crabmeat.
2. In a medium saucepan, melt the butter. Add the Old Bay seasoning and the black pepper. Set the mixture aside over low heat.
3. When the fire is ready, place the crab legs directly on the heated grill grates. Make sure they’re in a single layer, but don’t worry if they overlap in certain areas. The key is to make sure they heat evenly, with no cold spots. Depending on the size of your grill, you may need to cook them in two separate batches.
4. Cook for 4-8 minutes over direct heat, using a pair of sturdy tongs to turn them every 2 minutes. The smaller the legs, the less time they’ll take to heat up, so make sure to pay attention.
5. Once the shells are blackened, they should be finished. The important thing to remember is that the crab is already cooked, so there’s no danger of undercooking them–you just don’t want to overdo it, or the meat will be too dry.
6. Remove the crab from the grill and serve immediately with the seasoned butter and the lemon wedges. To store leftovers, place the legs in an airtight container and refrigerate for up to 4 days.
Choose the Right Crab Legs for Better Flavor
The type and quality of crab you choose can make a noticeable difference once it hits the grill. Snow crab has thinner legs and sweet, delicate meat, making it a great choice for lighter seasonings.
King crab, on the other hand, has thicker legs and richer meat that stands up well to garlic butter, herbs, and other bold flavors.
When shopping for crab legs, keep a few things in mind:
- Look for shells that are firm, moist, and free of strong odors.
- Avoid frozen packages covered in excessive ice crystals, which can indicate poor storage.
- Choose larger legs if you want meatier portions that stay moist on the grill.
- Check the label for the crab species and harvest location when possible.
Choosing quality crab from the start gives you a much better foundation for a flavorful grilled meal.
Build a Two-Zone Fire for Precise Control
Crab legs don’t need blazing heat to develop delicious flavor. In fact, moderate, controlled heat is usually the better approach because excessive heat can dry out the delicate meat before it is warmed through.
Try setting up your grill with two distinct cooking areas:
- A hot zone for adding a little color and smoky character.
- A cooler zone for gently warming the crab and escaping flare-ups.
On a charcoal grill, simply pile the coals toward one side. With a gas grill, keep one burner higher and another at a lower setting. Preheat the grates before adding the crab, then keep the lid closed as much as possible.
If the shells start becoming excessively dark before the meat is hot, move the legs to indirect heat. This simple technique gives you much more control over the cooking process.
Add Smoke Without Overpowering the Crab
One of the biggest advantages of grilling crab is the opportunity to introduce a subtle smoky flavor. However, crab meat is naturally sweet and delicate, so too much smoke can quickly overpower its character. Think of smoke as a seasoning rather than the main attraction.
For a charcoal grill, try adding a small piece of mild smoking wood, such as:
- Apple wood for a light, fruity aroma
- Cherry wood for gentle sweetness
- Alder wood for a clean, delicate smoke
Avoid using strongly flavored woods in large quantities, as they can make the crab taste bitter. On a gas grill, a smoker box or foil pouch filled with wood chips can provide a similar effect.
For another layer of aroma, add rosemary, bay leaves, or citrus peels near the heat. A small amount of smoke is all you need to give grilled crab an irresistible outdoor-cooked character.
Serve Crab Legs without Losing the Fun
Grilled crab is meant to be enjoyed with your hands, so make the experience as easy and inviting as possible.
Instead of piling the legs onto individual plates, arrange them on a large serving platter surrounded by lemon wedges and small bowls of warm dipping butter.
Before serving, consider using kitchen shears to carefully split the shells, especially along the thicker sections. This gives guests easier access to the meat without having to fight through the shell at the table.
Don’t forget the essentials:
- Crab crackers for stubborn shells
- Seafood picks for reaching smaller pieces of meat
- Plenty of napkins or finger bowls
- Warm garlic butter or seasoned dipping sauces
- A separate bowl for discarded shells
Round out the platter with grilled corn, a crisp salad, or slices of toasted bread. With a little preparation, the crab becomes more than just dinner – it becomes the centerpiece of a relaxed, hands-on feast.
It goes without saying that we prefer to cook outdoors, but in this case, the results are particularly impressive. Once you’ve learned how to grill crab legs, you might never reach for the steamer basket again.
Happy grilling!
