
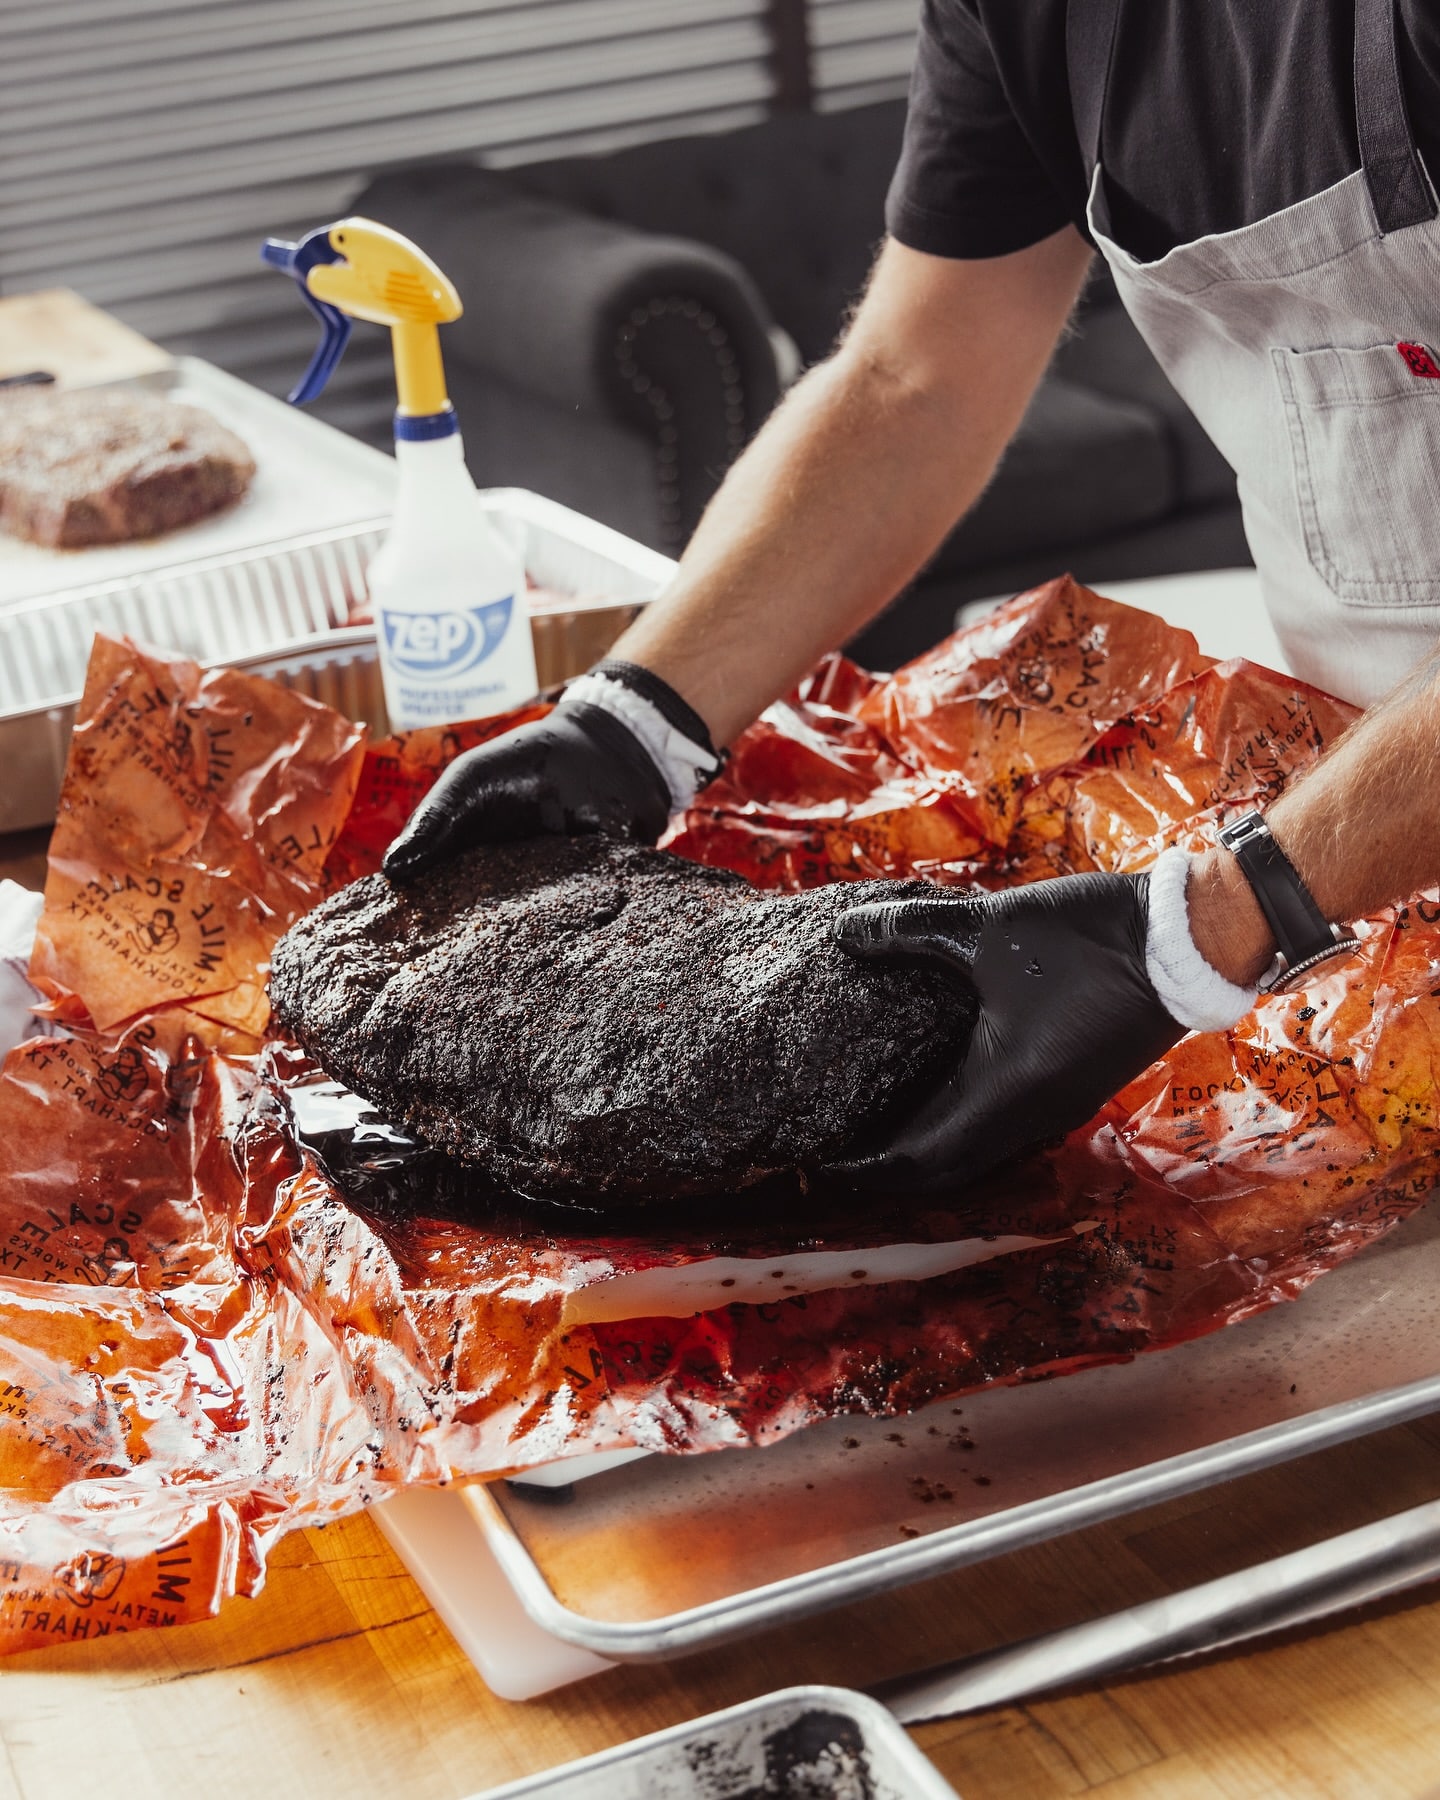
“Good barbecue comes from experience, and experience, well, that comes from poor barbecue,” legendary pitmaster Aaron Franklin once said.
Nothing proves that point quite like slicing into a fifteen-hour brisket investment, expecting buttery perfection, and getting a slab of leather that feels like a shoe sole on the outside and chew-toy rubber in the middle.
It is the ultimate backyard tragedy: a piece of meat so simultaneously parched and tough that you begin contemplating whether to serve it to your guests or use it to patch a leaky roof.
How can a cut of meat be completely stripped of its moisture while somehow remaining raw and unrendered in its thickest center?
This specific disaster is one of the most maddening paradoxes in low-and-slow cooking. The good news is that your smoker isn’t possessed, and you haven’t been cursed by the barbecue gods.
Understanding why your brisket is dry on the outside while undercooked inside comes down to basic thermodynamics, meat science, and time management.
The Science of Smoking Brisket: Collagen, Fat, and Muscle
Cooking a brisket isn’t like grilling a ribeye. You aren’t just searing the surface and warming up the center; you are navigating a delicate chemical transformation across a massive, uneven muscle group.
Muscle Fiber Contraction vs. Collagen Hydrolysis
A full packer brisket is composed of two primary muscles: the lean flat (pectoralis profundus) and the fatty point (pectoralis superficialis). These muscles are bound together by dense connective tissue, primarily collagen.
- 120°F – 140°F: Muscle fibers begin to contract tightly, squeezing out their water content like a wrung-out sponge.
- 160°F – 205°F: Dense collagen slowly hydrolyzes, melting down into rich, silky gelatin.
Here is the kicker: Muscle proteins lose their water long before collagen transforms into tenderness.
If you apply heat too aggressively, you squeeze every drop of moisture out of the outer layers while the core never spends enough time in the magic gelatin-converting window (160°F – 200°F).
The result? A bone-dry exterior masking a tough, unrendered interior.
How Heat Affects Brisket Layers
- Outer Layer (Overcooked): Sitting above 170°F too fast. Water is squeezed out completely and surface collagen gets toasted.
- Inner Core (Undercooked): Sitting below 160°F. Muscle fibers remain tightly bound with rubbery, tough collagen.
Rendered Fat vs. Moisture Loss
Many pitmasters confuse fat with moisture. Raw fat isn’t juicy; it’s waxy. Rendered fat and gelatin provide the luscious, melt-in-your-mouth feel, not residual water.
When a cook goes sideways, the meat loses its water content early, but the fat inside the thickest part of the brisket never reaches the thermal threshold required to render into a liquid lubricant.
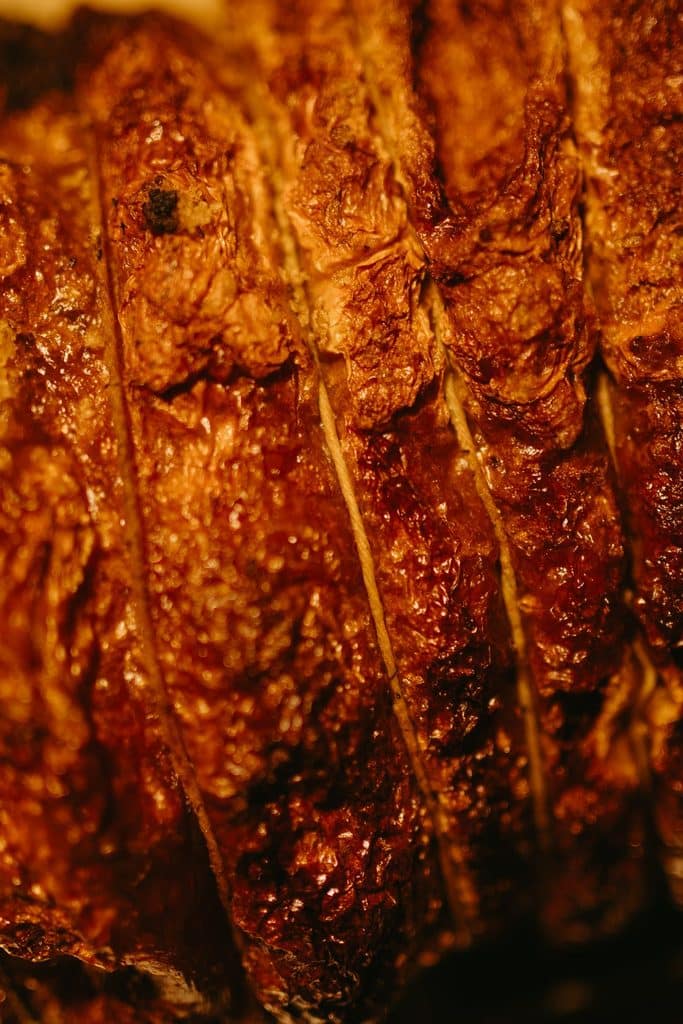
Top Causes: Why Brisket Ends Up Dry Outside, Tough Inside
Reason 1: Cooking at Too High a Temperature (“Hot and Fast” Missteps)
Running your smoker at 300°F or higher seems like a great way to save five hours, but high ambient heat creates a massive thermal gradient.
- The heat blasts the outer edges, forcing the exterior muscle fibers to contract violently and dump their moisture.
- Meanwhile, heat penetrates wood and dense meat very slowly. By the time the internal core finally reaches 150°F, the outer three-quarters of the flat is sitting at an overcooked, bone-dry 210°F.
Reason 2: Pulling the Brisket Based on Internal Temperature Instead of Tenderness
Relying strictly on an instant-read thermometer hitting 203°F is a common mistake.
- Fat Pockets: If your probe hits a pocket of rendering point fat, it might read 203°F, while the surrounding muscle tissue in the core is barely 180°F.
- Rushed Time: If you cooked too fast, hitting 203°F doesn’t mean the collagen had enough time to break down. Collagen conversion is a function of time at temperature, not just reaching a peak number.
Reason 3: Mismanaging the Stall (Evaporative Cooling)
Between 150°F and 170°F, moisture sweats out of the meat and evaporates, cooling the brisket and freezing its internal temperature progression. This is known as the stall.
If your smoker’s airflow is roaring and humidity is low, the stall can drag on for five or six hours.
That endless convective airflow acts like a hairdryer on the outside of your brisket, completely baking out its moisture while the center sits stalled and undercooked.
Reason 4: Poor Trim and Uneven Thickness
A raw packer brisket looks like a wedge. The flat end might be an inch thick, while the point end swells to four inches.
- Poor Trim: Uneven heat distribution causes the thin flat tail to overcook and burn long before heat reaches the center of the point.
- Uniform Trim: Shaping the brisket into a balanced block allows heat to penetrate evenly across the entire muscle.
Reason 5: Skipping or Rushing the Rest Period
Cutting into a brisket twenty minutes after pulling it off the pit is a fast way to ruin hours of work.
The outer layers are scorching hot and tight, while the internal core is still completing its carryover cook. Without a proper rest, the hot internal juices immediately evaporate onto your cutting board, leaving behind a dry, tough slice.
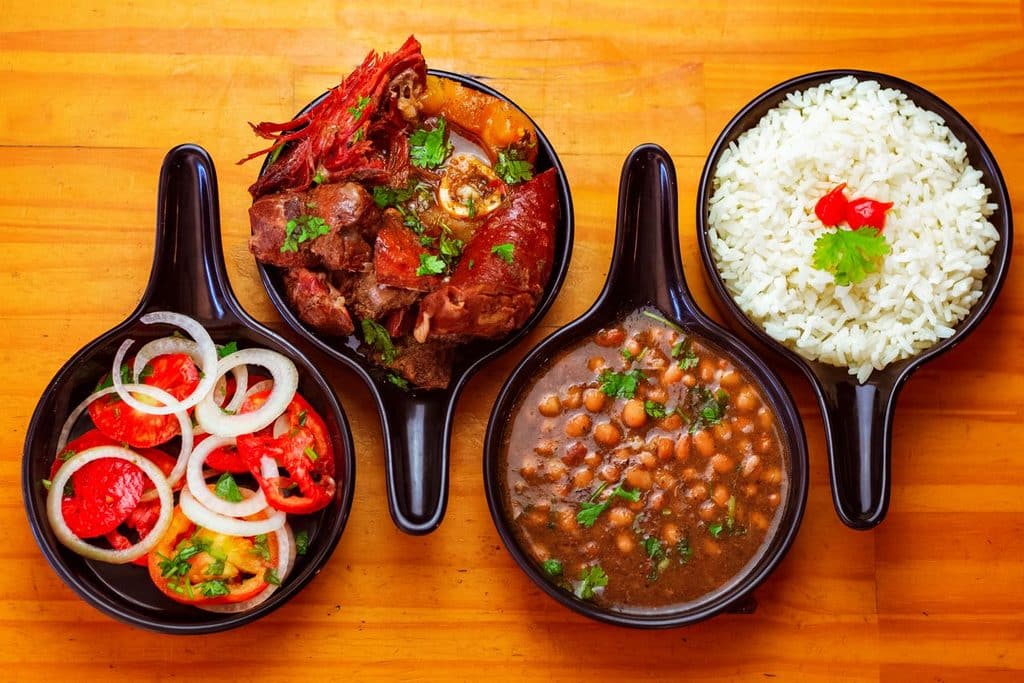
How to Prevent a Dry, Undercooked Brisket (Step-by-Step)
Step 1: Prep and Trim for Thermal Consistency
- Trim the flat so it maintains a uniform thickness of at least 1.5 to 2 inches across the entire muscle.
- Square off thin, sharp corners that will catch excess heat and char into dry bark.
- Leave a smooth, even 1/4-inch fat cap across the top. This acts as a thermal shield, insulating the lean muscle underneath from direct heat.
Step 2: Pit Temperature and Airflow Management
Maintain a stable pit temperature between 225°F and 250°F.
- Use a Water Pan: Place a pan of warm water in the smoker near the heat source. This raises ambient humidity, slowing down surface evaporation during the early stages of the cook and keeping the bark supple.
- Keep Airflow Clean: You want thin, translucent blue smoke. White, billowing smoke creates a bitter coating that traps heat unevenly on the surface.
Step 3: Wrapping at the Right Time (The Texas Crutch)
Wrapping eliminates evaporative cooling, pushing you through the stall while locking in surface moisture.
- Butcher Paper: Preserves bark, remains breathable, and slightly softened the meat surface.
- Aluminum Foil: Provides maximum heat retention, blasts through the stall, but can “boil” the exterior bark if used improperly.
- When to Wrap: Wrap when your bark is set (it shouldn’t rub off when scraped gently with a finger) and the fat cap has softened, usually around 165°F – 170°F.
Step 4: The Probe-Test Method
Forget relying solely on a digital readout. Use a probe as a feeler gauge.
- Where to Probe: Insert the temperature probe into the thickest section of the flat, entering from the side rather than top-down.
- What to Feel For: The probe should slide into the meat like a hot knife into warm butter. If you feel resistance – a rubbery “pop” as the probe pushes through – the collagen in the center hasn’t fully rendered, regardless of what temperature the screen shows.
Step 5: The Extended Warm Hold
The secret weapon of top-tier barbecue joints isn’t a secret rub; it’s the long hold.
- Once the brisket passes the probe test, pull it off the pit.
- Vent the wrap for 10 minutes to stop the active cooking process.
- Re-wrap tightly, add a few tablespoons of warm beef tallow, and place it into a cooler insulated with towels (or an oven set to 145°F – 150°F).
- Hold the meat for 4 to 12 hours. This low, gentle temperature allows remaining connective tissue to continue melting into gelatin without overcooking or drying out the muscle fibers.
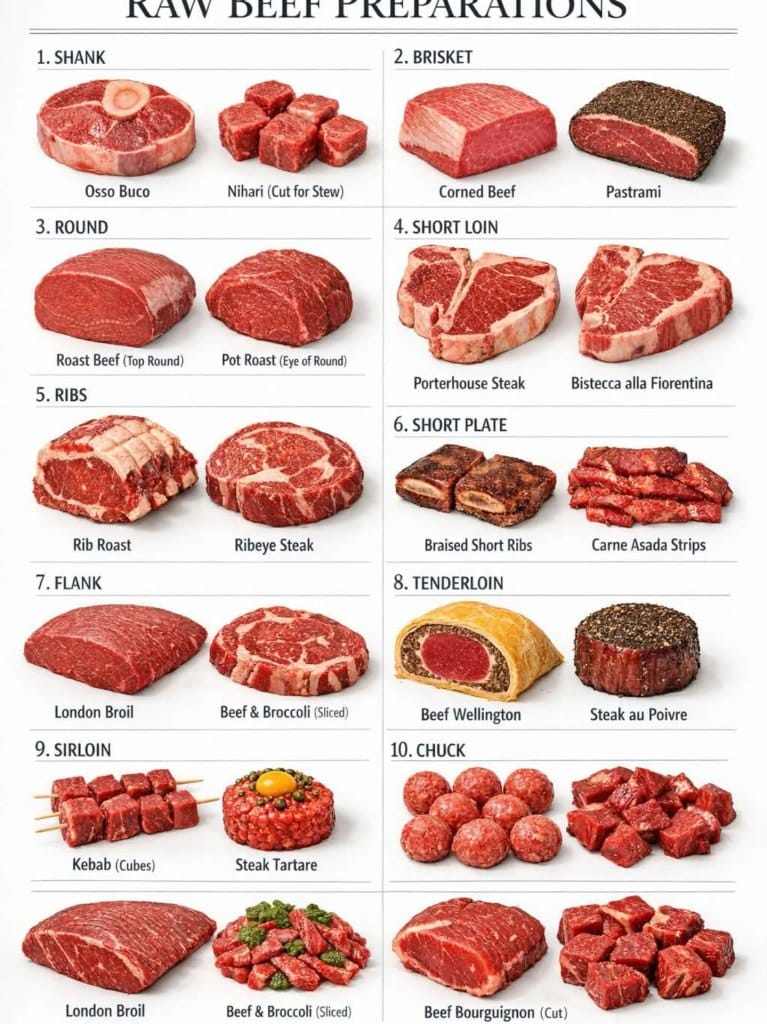
The Role of Meat Quality and Aging
Not every brisket enters the smoker with the same potential. The quality of the beef matters because marbling, aging, thickness, and even packaging can influence how the meat responds to hours of heat.
A brisket with more intramuscular fat has an advantage during a long cook. As that fat gradually renders, it contributes to a richer texture and helps create the tender, succulent bite barbecue lovers are chasing.
When choosing your brisket, pay attention to:
- Beef Grade: Prime generally contains more marbling than Choice, which can improve richness and tenderness.
- Marbling: Look for consistent white flecks of fat running through the muscle rather than relying solely on the fat cap.
- Aging: Wet-aged and dry-aged beef undergo different changes in moisture and protein structure.
- Thickness: An unusually thin flat can dry out long before the thicker sections become tender.
- Packaging: The way the brisket has been stored can affect its moisture content before cooking even begins.
If your technique is solid but the brisket repeatedly comes out dry, the problem may have started before you ever lit the smoker.
Why Smoker Placement Can Make or Break Your Brisket
A smoker displaying a perfect 250°F doesn’t necessarily mean every inch inside the cooking chamber is actually 250°F. Smokers naturally develop hot and cool zones, and those differences can have a dramatic effect during a twelve- to fifteen-hour cook.
Brisket positioned too close to a firebox, exhaust, or direct radiant heat may cook much faster on one side. Meanwhile, another section could remain significantly cooler.
Before your next long cook, identify your smoker’s temperature map:
- Near the firebox: Often exposed to stronger radiant heat.
- Near the exhaust: Can experience different airflow and temperature patterns.
- Center of the grate: May provide more consistent cooking, depending on the smoker.
- Directly above heat sources: Can create localized overcooking.
Use multiple ambient probes if possible rather than trusting the lid thermometer alone. Once you know where your smoker’s hot spots live, position the brisket accordingly. A small placement adjustment can prevent the frustrating combination of burnt edges and an undercooked center.
How Slicing Technique Can Turn Good Brisket Bad
You can spend fifteen hours cooking the perfect brisket and still make it seem tough with a bad knife technique. Once the meat is tender, how you slice it matters almost as much as how you cooked it.
The most important rule is simple: slice against the grain. Cutting across the muscle fibers shortens them, making each bite noticeably easier to chew. But brisket has a catch – the grain direction can change between the flat and the point.
For better slices:
- Identify the grain before cooking so you know which direction the fibers run.
- Adjust your cutting angle when moving between the flat and point.
- Use a long, sharp slicing knife to avoid crushing the meat.
- Slice only what you plan to serve rather than exposing the entire brisket to air.
- Aim for slices that are thick enough to hold together but thin enough to bite through easily.
Remember, even a perfectly rendered brisket can seem dry or chewy if it is sliced with the grain or left exposed too long.
Reading the Brisket’s Bark as a Cooking Signal
Your brisket’s bark is more than a delicious crust – it can serve as a visual progress report throughout the cook. Learning to recognize its changes can help you understand what’s happening beneath the surface without constantly opening the smoker.
Early in the cook, the brisket may look wet, glossy, and pale as moisture moves toward the surface. As the cook progresses, evaporation slows, the seasoning dries, and the bark gradually becomes darker and more structured.
Look for these signals:
- Wet and glossy: The surface is still losing significant moisture.
- Darkening and drying: The bark is beginning to develop.
- Firm and set: The seasoning has formed a stable crust that shouldn’t easily rub away.
- Soft or muddy: The surface may have too much moisture or may have been wrapped prematurely.
- Blackened patches: Could indicate direct heat or a smoker hot spot rather than superior bark.
The goal isn’t simply to create the darkest bark possible. You’re looking for a bark that is developed, flavorful, and firmly attached without becoming burnt. Your brisket is giving you clues throughout the cook – you just have to learn how to read them.
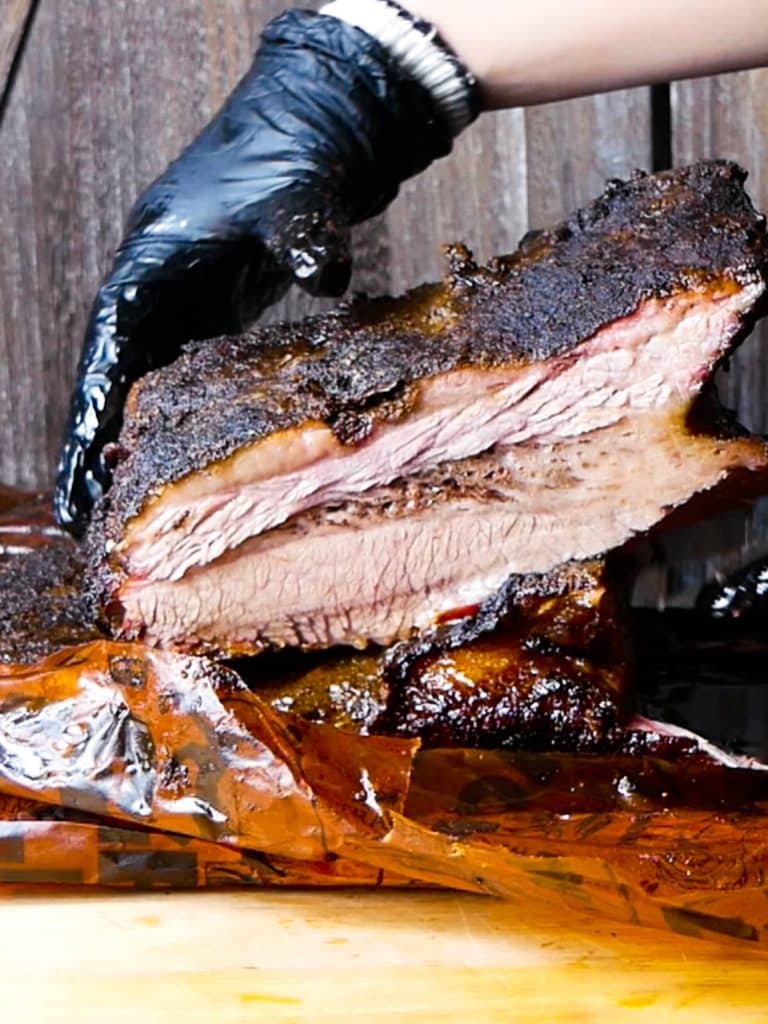
How to Save a Brisket That Is Already Dry and Undercooked
If you slice into a brisket and realize the core is tough while the exterior is dry, don’t throw it in the trash. Here is how to salvage it.
Option 1: The Braise/Tallow Recovery Method
Slice or chop the problematic sections.
- Lay the sliced meat in a foil pan.
- Drizzle generously with melted beef tallow, beef broth, or a mixture of both.
- Cover the pan tightly with aluminum foil.
- Place it in a 250°F oven for 45 to 60 minutes. The trapped steam and fat will soften the tough fibers and restore moisture.
Option 2: Re-wrapping and Holding
If you realize the mistake before slicing the entire brisket:
- Slather the meat in beef tallow or butter.
- Wrap it tightly in a double layer of foil.
- Place it back into a 225°F oven until the core probes tender, then transfer to a warm hold at 145°F for a few hours.
Option 3: Repurposing the Meat
When all else fails, pivot gracefully. Dry, undercooked brisket can still be transformed into incredible meals:
- Texas Chili: Dice the center core into small cubes and simmer low-and-slow in a chili base until tender.
- Chopped Sandwiches: Chop the dry flat finely, toss with warm barbecue sauce and rendered tallow, and pile onto toasted brioche buns.
- Brisket Tacos: Crisp up chopped brisket bits in a skillet with lard and Mexican spices for tacos.
Troubleshooting Matrix
| Symptom | Primary Root Cause | Immediate Fix / Prevention |
| Dark, crispy bark; core feels like rubber | Pit temp too high (>275°F) | Lower heat to 225°F, wrap tightly in foil with tallow, and return to heat. |
| Flat is dry; center is completely tough | Uneven trim / Rushed cook time | Trim flat to uniform thickness; cook to probe tenderness rather than clock time. |
| Bark is wet, meat is chalky | Wrapped too early with too much liquid | Wait for bark to set firmly before wrapping; avoid over-sousing the wrap. |
| Tough center despite probe reading 203°F | Probe hit fat seam; collagen unrendered | Extend the warm hold period at 145°F for at least 4 hours. |
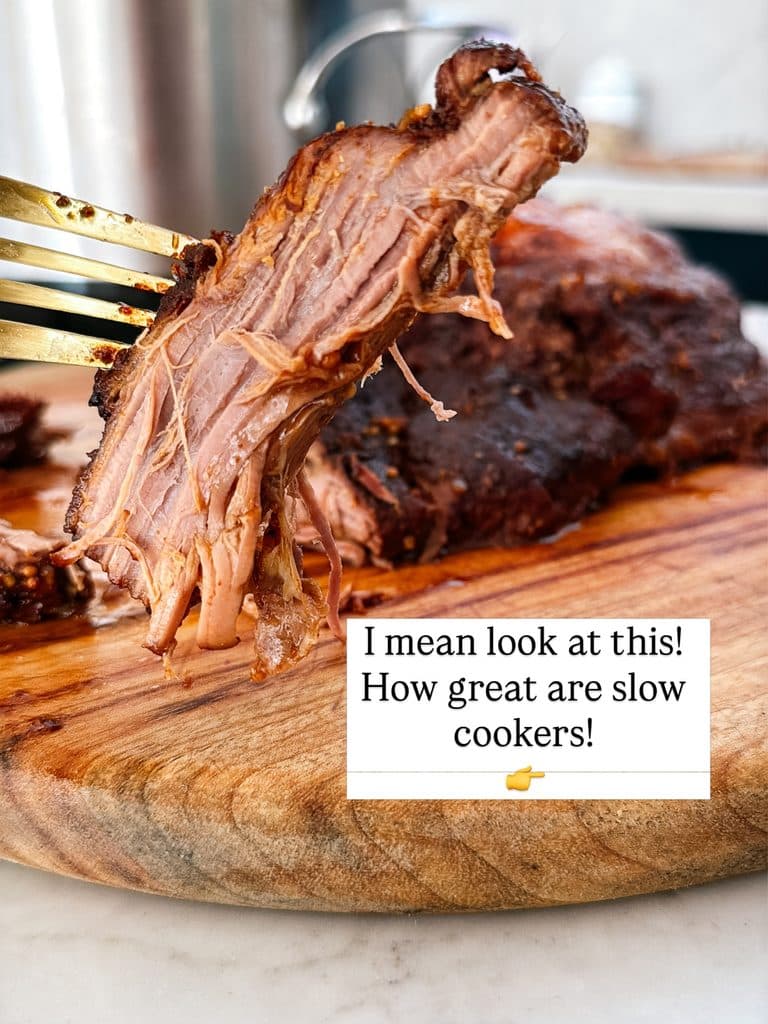
Master the Process
Fixing a dry, undercooked brisket comes down to managing the balance between heat, moisture, and time.
Keep your pit temperature low and steady, trim for uniform heat penetration, wrap when your bark sets, and never rush the rest. Master these fundamentals, and your days of serving rubbery, dry beef will be well behind you.
Frequently Asked Questions
1. Why is my brisket dry on the outside but tough and undercooked inside?
This usually happens when the outside cooks too quickly while heat takes much longer to reach the thickest part of the brisket.
High smoker temperatures, excessive airflow, uneven trimming, and prolonged exposure during the stall can all contribute.
The exterior loses moisture and becomes overcooked while the center doesn’t spend enough time at temperatures where collagen can properly break down.
2. What temperature should I cook brisket at to prevent it from drying out?
For a traditional low-and-slow cook, aim for a steady smoker temperature of around 225°F to 250°F.
More important than chasing an exact number is maintaining a stable cooking environment. Avoid dramatic temperature swings, monitor hot spots, and use a reliable probe to track both the smoker and brisket temperatures.
3. Can I fix a brisket that is dry outside but undercooked inside?
Yes. If you haven’t sliced the entire brisket, wrap it tightly in foil, add a small amount of beef tallow or broth, and return it to a low-temperature oven or smoker until the center becomes probe-tender.
If it’s already sliced, place the pieces in a covered pan with tallow or broth and gently reheat them. Severely dry brisket can also be repurposed into chili, tacos, or chopped barbecue sandwiches.
4. Should I pull brisket at 203°F?
Not necessarily. 203°F is a guideline, not a finish line. Briskets can become tender at different internal temperatures depending on their size, composition, and cooking conditions.
Instead of relying solely on the thermometer, test the thickest part of the flat with a probe. When it slides in with very little resistance, the brisket is generally ready to come off the heat.
5. How long should I rest a brisket after smoking?
A proper rest gives the brisket time to stabilize and allows its connective tissues to continue developing tenderness.
After cooking, briefly vent the brisket to release excess heat, then rewrap it and place it in a safe warm holding environment.
A longer hold of several hours can improve texture, but the brisket should remain safely hot rather than sitting at room temperature. Avoid cutting it immediately after removing it from the smoker.
Featured image credit: @_cmckenna_
