
“Good barbecue is not about showing off. It’s about knowing when to leave the lid alone.”
That might not be a famous pitmaster quote, but anyone who has stood beside a charcoal grill at midnight while nursing a stubborn fire knows the truth behind it.
Rotisserie cooking rewards patience, punishes impatience, and makes you look like a backyard genius when the meat finally comes off the spit.
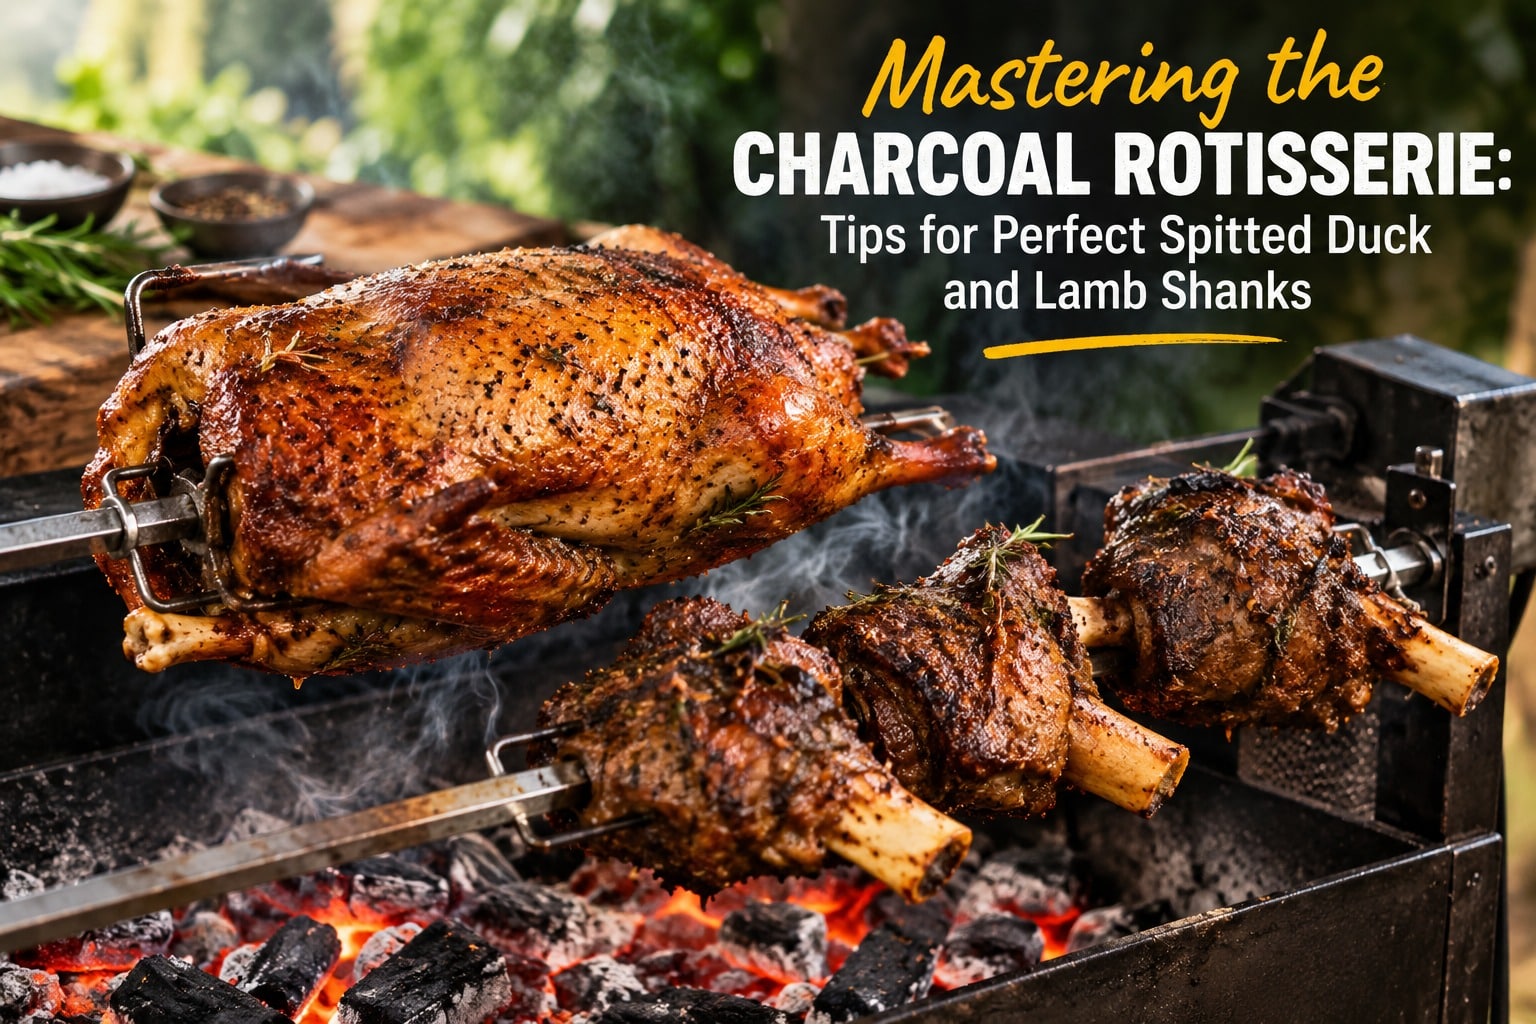
Few things demonstrate that better than spitted duck and lamb shanks. Duck brings rich fat, crisp skin, and plenty of opportunities for spectacular flare-ups.
Lamb shanks bring connective tissue, deep flavor, and a level of toughness that can make a steak look emotionally available.
The good news? You don’t need a restaurant kitchen or a competition-grade pit to get them right.
You need steady charcoal heat, a balanced rotisserie, good seasoning, and a willingness to let the fire do its job.
Master those four things, and the rotisserie becomes less of a contraption and more of a cooking advantage.
Understanding the Charcoal Rotisserie
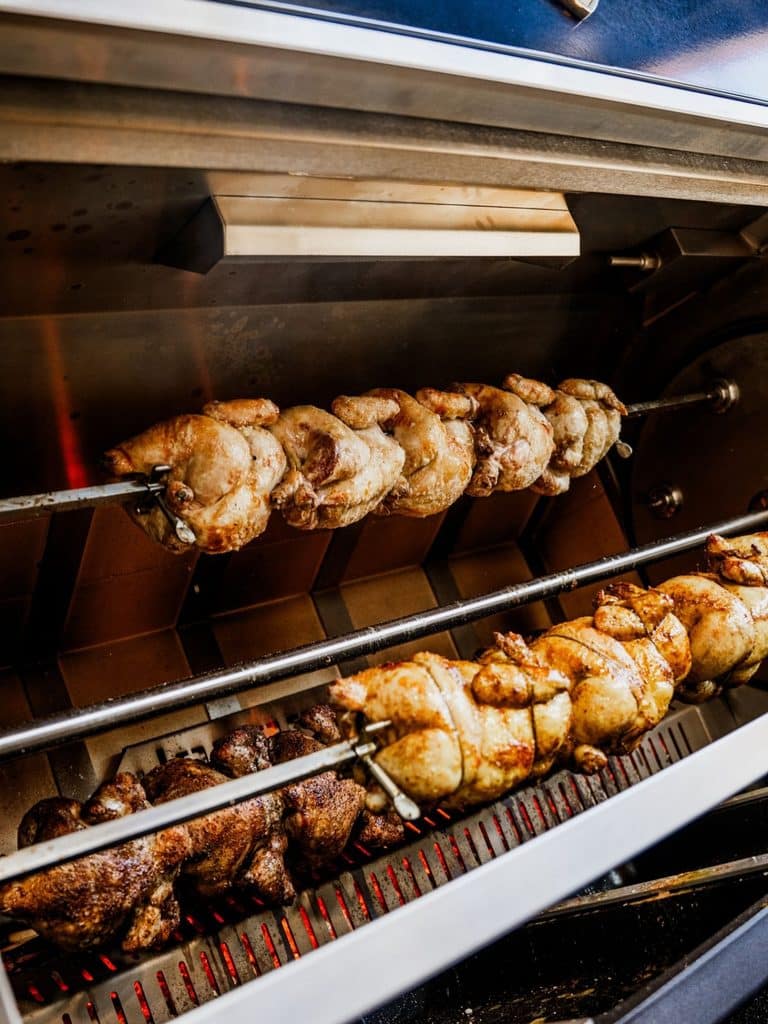
A charcoal rotisserie is wonderfully simple. Meat is secured to a metal spit, a motor slowly rotates it, and charcoal provides the heat and smoke.
The rotation is the clever part.
Instead of one side of the meat sitting directly over the heat for several minutes, the spit continually turns. This creates more even browning and helps the meat baste itself with its own juices and rendered fat.
That makes a rotisserie particularly useful for larger or awkwardly shaped cuts.
Duck is a perfect example. As it rotates, the fat slowly renders from the skin and runs across the surface. The result can be beautifully browned skin with smoky flavor underneath.
Lamb shanks benefit from the same steady movement, although the cooking strategy is different. Shanks contain plenty of connective tissue, so they need gentle heat and time to become properly tender.
Why Charcoal?
Gas can cook meat. Charcoal can give it personality.
Hot charcoal produces radiant heat and, depending on the fuel and cooking setup, a subtle smoky character that works especially well with rich meats.
The goal isn’t to bury your food in smoke. You want smoke to be an ingredient, not the entire meal.
Essential equipment
Keep your setup practical:
- A sturdy charcoal grill with a compatible rotisserie
- Rotisserie spit and heavy-duty forks
- A reliable grill thermometer
- Instant-read meat thermometer
- Drip pan
- Long-handled tongs
- Heat-resistant gloves
- Charcoal chimney
- Enough charcoal for the entire cook
One piece of equipment deserves special attention: the thermometer.
A thermometer is not a sign that you don’t trust your cooking instincts. It’s a sign that you know meat doesn’t care about your instincts.
Preparing the Charcoal Fire
A great rotisserie cook starts long before the meat touches the spit.
The charcoal arrangement determines how the meat cooks, how quickly the fat renders, and whether your evening ends with dinner or a small-scale fire investigation.
Build a Two-Zone Fire
For most rotisserie cooking, arrange the charcoal so the meat is not sitting directly over a massive pile of coals.
Place the coals to the sides or in another configuration that allows the meat to cook primarily through indirect heat.
Put a drip pan underneath the meat.
This setup gives you three advantages:
- More controlled cooking
- A place to catch rendered fat and juices
- A buffer against flare-ups
The third point becomes particularly important with duck.
Duck contains a generous amount of fat. Once that fat starts rendering, it can drip onto hot charcoal and produce flames that look impressive for about three seconds and then become deeply inconvenient.
Control the Airflow
Charcoal needs oxygen. Your grill vents control how much oxygen reaches the fire. Open vents generally encourage a hotter fire. Closing them restricts airflow and lowers the temperature.
Make small adjustments rather than constantly chasing the thermometer.
The goal is a stable cooking environment, not a temperature roller coaster.
Give the grill time to respond after making an adjustment. Charcoal doesn’t read instructions instantly.
Balance the Spit
Before cooking, rotate the empty spit by hand. Then secure the meat and rotate it again. Does it turn smoothly? Or does the motor suddenly sound like it’s trying to tow a truck?
An unbalanced piece of meat can strain the rotisserie motor and cause uneven cooking.
Take a few minutes to balance the meat properly. Your motor – and your dinner – will thank you.
Preparing Duck for the Rotisserie
Duck and rotisserie cooking are almost suspiciously well matched.
The skin contains plenty of fat, and the rotating spit encourages that fat to render gradually while the exterior browns.
But crispy duck skin doesn’t happen by accident.
Start with Dry Skin
Pat the duck thoroughly dry with paper towels. Moisture on the surface has to evaporate before the skin can brown effectively. Dry skin is one of the simplest steps toward crisp skin.
For even better results, season the duck and leave it uncovered in the refrigerator for several hours, or ideally overnight, provided your food-storage conditions are appropriate.
This helps dry the surface while allowing the seasoning to penetrate.
Keep the Seasoning Simple
Salt does most of the heavy lifting.
You can add black pepper, garlic, herbs, citrus zest, five-spice, paprika, or other seasonings depending on the flavor profile you’re after.
The important thing is not to bury the duck beneath a thick coating that can burn before the skin has properly rendered.
Help the Fat Escape
Duck skin contains a lot of fat, so carefully pricking or scoring the skin can help that fat render.
Focus on fatty areas and avoid cutting deeply into the meat.
The goal is to open pathways for the fat – not carve the duck before you’ve even cooked it.
Truss the Duck
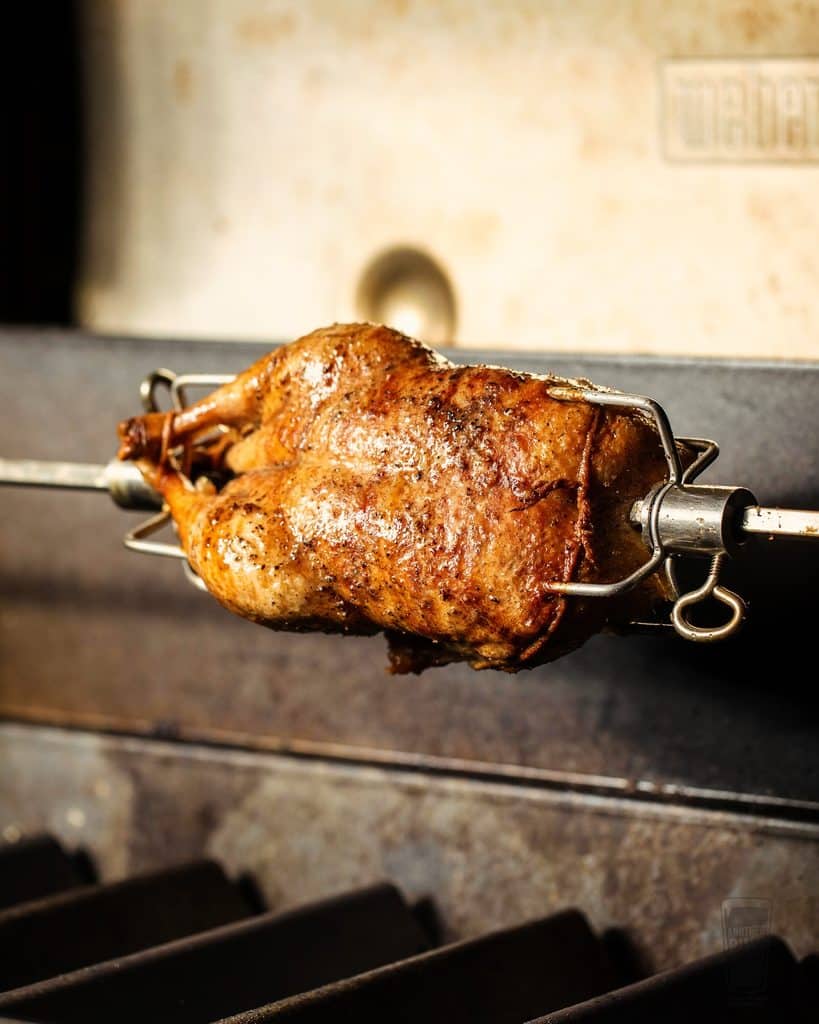
Secure the legs and wings close to the body.
Loose wings can burn. Flapping legs aren’t exactly a problem once the bird is cooked, but they can make the rotisserie unbalanced while it’s turning.
A compact duck also rotates more evenly.
Finally, secure it firmly between the rotisserie forks and check the balance before starting the motor.
How to Cook Spitted Duck Over Charcoal
Now comes the fun part.
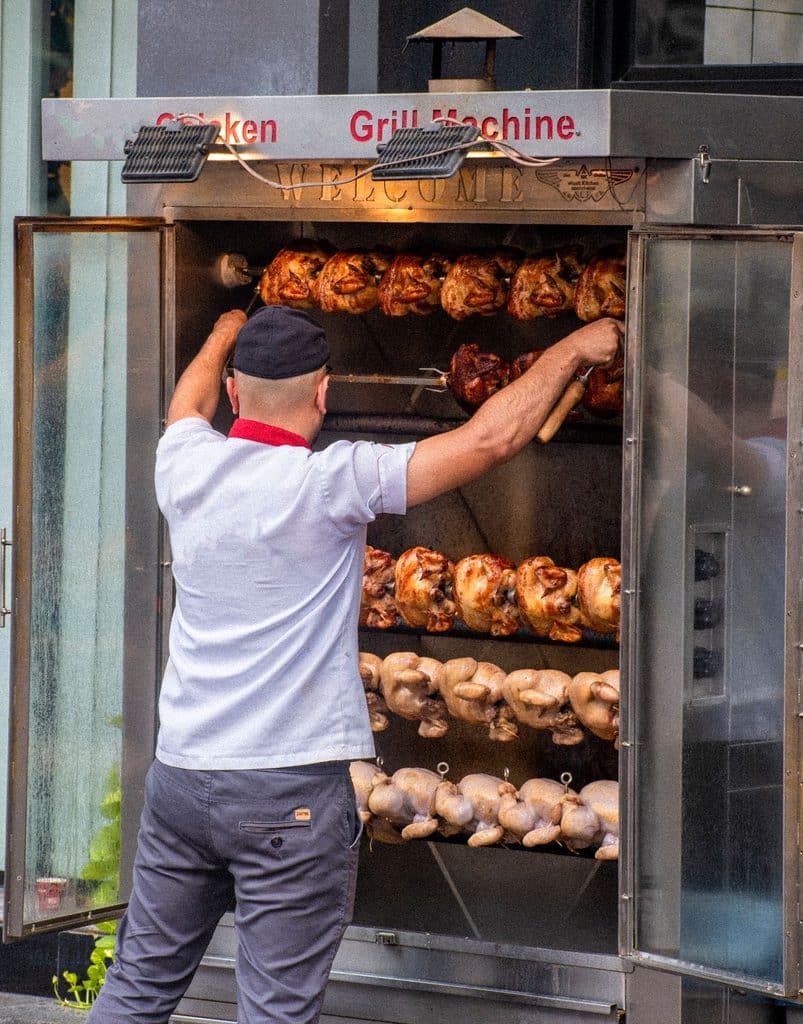
Mount the duck, start the rotisserie, close the lid, and let the charcoal begin its work. The temptation at this stage is to stare through the vents every 90 seconds.
Resist it.
Rotisserie cooking works best when you monitor the fire without constantly interfering with it.
Start with Controlled Heat
Begin with moderate indirect heat.
You want the duck to cook while the fat gradually renders. Starting with aggressive direct heat can brown the skin too quickly while leaving the interior behind.
As the cook progresses, the rendered fat will help develop that deep golden exterior.
Keep an eye on the charcoal and watch for flare-ups.
A drip pan helps tremendously, but it isn’t magic. If grease starts igniting, temporarily reduce the heat or move the charcoal away from the hottest area.
Crisp the Skin Toward the End
Once much of the fat has rendered and the duck is approaching doneness, you can finish with higher heat to encourage deeper browning.
This is where patience pays off.
Crispy skin is about rendering first and browning second.
Trying to accomplish both with maximum heat from the beginning is a reliable way to produce burnt skin and an unhappy cook.
Check the Temperature
Use an instant-read thermometer in the thickest part of the meat without touching bone. Don’t rely exclusively on cooking time.
A duck’s size, starting temperature, charcoal intensity, weather, grill design, and airflow can all change how quickly it cooks.
The clock tells you how long the duck has been cooking. The thermometer tells you what is actually happening inside it.
Once the duck is cooked to the appropriate safe temperature and the skin has reached the texture you want, remove it from the rotisserie and let it rest before carving.
Preparing Lamb Shanks for the Rotisserie
Lamb shanks are a completely different animal – literally and technically.
They’re flavorful, but they’re loaded with connective tissue. Cook them too quickly and you’ll spend dinner chewing like you’re preparing for a jaw-strength competition.
Cook them patiently and the transformation is remarkable.
The secret to lamb shanks is not speed. It’s time.
Season the shanks generously with salt, then add aromatics such as garlic, rosemary, thyme, black pepper, coriander, cumin, or other spices that suit your recipe.
A dry brine can also help build flavor before cooking.
Secure the Shanks Carefully
Lamb shanks are irregularly shaped and can be heavier on one side.
Position them securely on the spit and check the balance before switching on the motor. You want smooth rotation.
If the meat wobbles dramatically, reposition it before cooking. A few extra minutes here are much easier than trying to repair a problem once the grill is hot.
Cooking Lamb Shanks Over Charcoal
Lamb shanks demand a different approach from duck.
Rather than chasing a crisp exterior quickly, your goal is to slowly soften the connective tissue until the meat becomes deeply tender.
Use steady indirect charcoal heat and keep the temperature controlled. The longer cooking period gives the collagen time to break down.
This is also why lamb shanks shouldn’t be judged by appearance alone. A beautifully browned shank can still be stubbornly tough inside.
Keep the Environment Moist
Place a drip pan beneath the lamb.
The pan catches juices and can help create a more forgiving cooking environment.
Depending on your recipe, you can occasionally baste the lamb with its own juices or a prepared mixture of herbs, oil, stock, or marinade.
Don’t overdo it.
Every time you open the grill, you lose heat.
A little basting is useful. Turning the grill into a revolving door is not.
Cook for Tenderness
Temperature is useful, but texture matters enormously with lamb shanks.
As collagen breaks down, the meat becomes softer and easier to pull away from the bone. Near the end of cooking, you can increase the heat briefly to deepen the exterior color. Watch closely.
You want caramelization – not charcoal-flavored lamb.
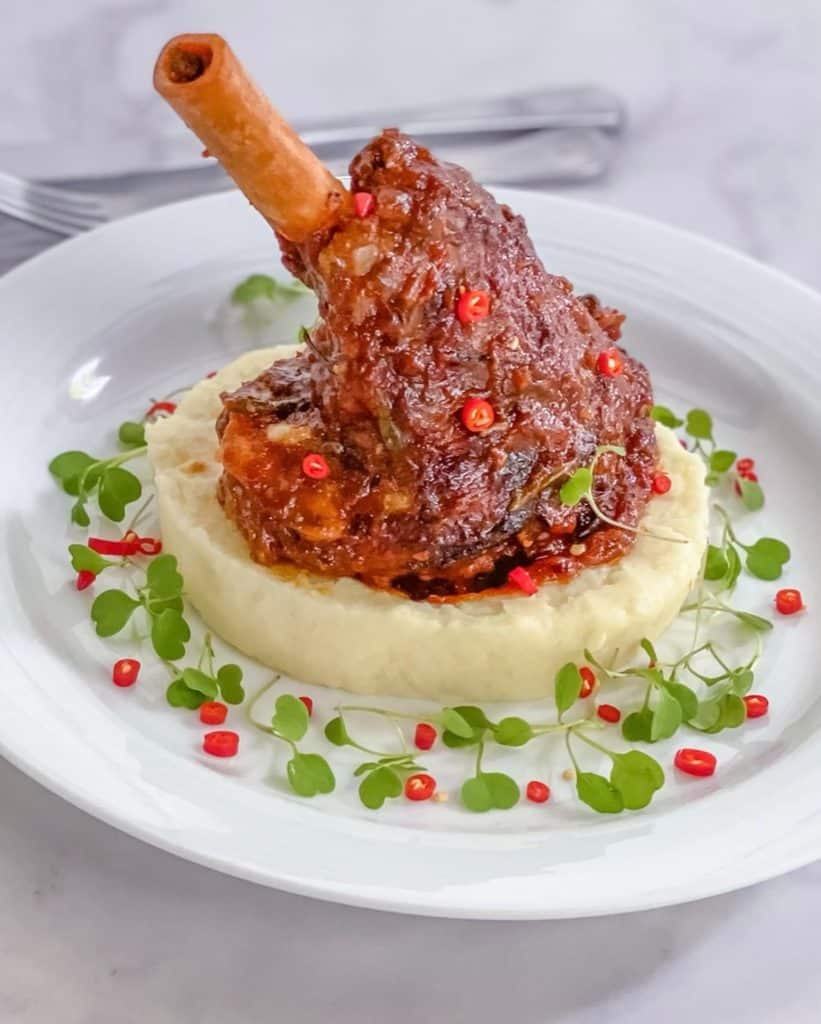
Spitted Duck and Lamb Shanks: Two Meats, Two Strategies
The same rotisserie can produce dramatically different results depending on how you manage the fire.
| Cooking Factor | Spitted Duck | Lamb Shanks |
| Main challenge | Rendering fat | Breaking down connective tissue |
| Heat approach | Moderate, controlled heat | Low, steady heat |
| Biggest concern | Flare-ups | Toughness |
| Key technique | Dry skin and gradual rendering | Slow cooking |
| Finishing approach | Crisp the skin | Brown the exterior |
| Best doneness clue | Temperature and texture | Temperature and tenderness |
The important lesson is simple:
Don’t use one cooking strategy just because both meats happen to fit on the same spit.
Duck rewards careful fat management. Lamb shanks reward patience. The rotisserie provides the movement. You provide the judgment.
Basting and Building Flavor
Basting can add another layer of flavor, but it needs to be used intelligently. For duck, heavy basting early in the cook can add moisture to the skin when you’re trying to dry it out.
Save wet glazes or finishing sauces for later in the process. Lamb is more forgiving. A mixture of herbs, garlic, oil, pan juices, or a suitable marinade can be brushed over the shanks during the latter stages of cooking.
Think in layers:
Season → smoke → render → brown → finish.
That’s how you build complexity without drowning the meat in sauce. And remember that charcoal already brings a powerful flavor of its own.
You don’t need twelve ingredients to prove you know how to cook.
Common Charcoal Rotisserie Mistakes
Even experienced grillers make mistakes. The trick is not repeating the same ones every Saturday.
Using too Much Heat
A roaring fire looks impressive but isn’t necessarily useful.
High heat can burn the outside before the center is ready.
Failing to Balance the Meat
An uneven load makes the motor work harder and can create inconsistent cooking.
Opening the Lid Constantly
Every peek costs heat. Check the fire and meat when necessary, but don’t treat the grill like a television.
Ignoring Flare-Ups
Duck fat can ignite quickly. Keep a cooler zone and drip pan ready, and never assume a small flame will automatically disappear.
Cooking Strictly by Time
A recipe saying “cook for two hours” is a guideline, not a contract. Meat size, charcoal temperature, wind, grill design, and starting temperature all matter.
Skipping the Thermometer
Color is useful. A thermometer is better.
Carving Immediately
Freshly cooked meat needs time to settle. Cutting into it immediately can release juices that you’d rather keep in the meat.
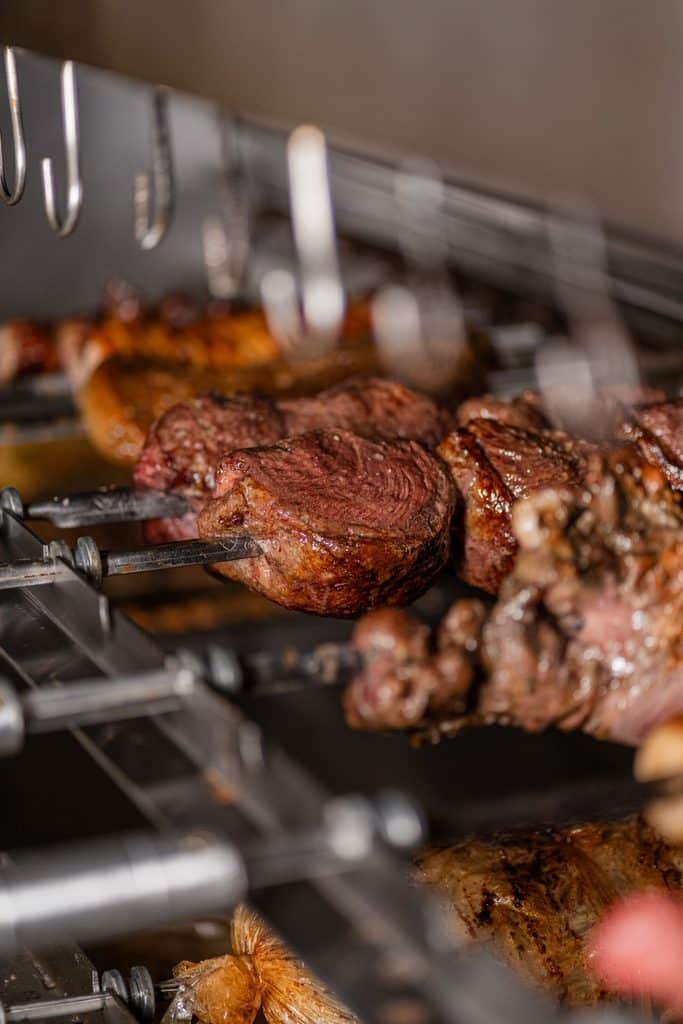
How to Know When the Meat Is Done
A good rotisserie cook uses several signals rather than relying on one.
For duck, check the internal temperature at the thickest part of the meat without touching bone.
For lamb shanks, temperature gives you useful information, but tenderness is the real destination.
The meat should become noticeably softer as the connective tissue breaks down.
You can test this carefully with a thermometer probe or another suitable utensil.
Remember that safe cooking temperature and preferred texture aren’t exactly the same thing.
Food-safety guidance should always take priority for minimum internal temperatures. Beyond that point, different cuts may need additional cooking to reach the texture you’re looking for.
Resting, Carving, and Serving
The fire has done its job. Now leave the meat alone for a few minutes. Resting gives the juices time to redistribute and makes carving easier.
For duck, remove the legs and breasts before slicing the meat into manageable portions. Keep that crisp skin intact whenever possible. That’s one of the rewards for all the careful fire management.
Lamb shanks can be served whole, especially when you want that dramatic bone-in presentation.
Spoon over some of the flavorful juices collected beneath the rotisserie. For sides, keep the supporting cast simple.
Roasted potatoes, grilled vegetables, fresh herbs, flatbreads, grain salads, or something bright and acidic can balance the richness of both duck and lamb.
Rich meat loves a fresh sidekick.
Master the Fire, and the Rotisserie Does the Rest
Great rotisserie cooking isn’t about complicated tricks.
It’s about controlling the fire, balancing the meat, managing the fat, and knowing when to stop fiddling with everything.
Spitted duck rewards careful rendering and a hot finish for crisp skin. Lamb shanks demand a slower approach that gives collagen enough time to break down and the meat enough time to become tender.
The rotisserie itself is only part of the equation. The real skill is learning what the fire is telling you. Is it running too hot? Adjust the vents.
Are the coals flaring? Control the fat and move the heat. Is the meat browning too quickly? Reduce the intensity.
Is the lamb still tough? Give it more time.
Once those instincts become second nature, charcoal rotisserie cooking stops feeling intimidating.
You put the meat on the spit, settle the charcoal into a steady rhythm, close the lid, and let heat, smoke, time, and rotation work together.
That’s when a simple charcoal grill becomes something special – and dinner becomes the kind of meal people remember long after the fire goes out.
Frequently Asked Questions
Can you cook a whole duck on a charcoal rotisserie?
Yes. A whole duck is well suited to rotisserie cooking because the constant rotation encourages even browning and gradual fat rendering. Use indirect heat, secure the bird firmly, and monitor for flare-ups.
How long does duck take on a charcoal rotisserie?
Cooking time varies according to the duck’s size, grill temperature, charcoal arrangement, weather, and starting temperature. Use internal temperature rather than time alone to determine doneness.
Can lamb shanks be cooked on a rotisserie?
Yes, provided the shanks are securely attached and the rotisserie can safely handle their weight. Use controlled indirect heat and allow plenty of time for the connective tissue to soften.
What charcoal should you use?
Both lump charcoal and briquettes can work. The most important factors are consistent heat, adequate fuel, and good airflow control.
How do you prevent duck fat from causing flare-ups?
Use a drip pan, position the coals away from the main drip area, and maintain a cooler zone. Keep the fire controlled rather than letting fat drip directly onto an intensely hot charcoal bed.
Should you baste rotisserie meat?
Yes, but strategically. Basting can add flavor and moisture, but excessive basting can interfere with browning and requires repeatedly opening the grill.
Featured image credit: ChatGPT
