Set the stage: The late afternoon sun is dipping below the horizon, your friends are unwinding on the patio with ice-cold drinks, and a beautiful tray of fresh burgers and marbled ribeyes is primed for the fire.
Everyone is hungry, their stomachs are actively composing a symphony of growls, and you are standing over your backyard grill like a desperate wizard casting an unsuccessful spell.
You have piled up your coals, lit a match, and now you are just standing there, blowing on a tiny wisp of smoke, praying to the gods of fire that today isn’t the day you starve your guests.
We have all been caught in that maddening waiting game where the fire simply refuses to take off.
In a moment of pure panic, it is incredibly tempting to reach for that big, plastic bottle of chemical lighter fluid. You squeeze it generously over the charcoal, throw a match, and enjoy the sudden, dramatic explosion of theatrical flames.
But a few minutes later, the performance dies down, and you are left with two tragic outcomes: charcoal that still isn’t fully lit, and a thick, chemical stench that guarantees your expensive steaks will taste exactly like a gas station pump.
Using lighter fluid is the ultimate backyard sin. It ruins your food, ruins your grill, and alerts the entire neighborhood that you don’t know how to handle live fire.
Enter the charcoal chimney starter: the single greatest piece of low-tech engineering ever built for outdoor cooking. If you own one, you already know it is superior to a bottle of chemicals.
But here is the secret that separates the weekend hobbyists from true pitmasters: most backyard cooks only use about ten percent of their chimney’s true potential. To them, it is just a simple metal bucket to hold charcoal while it slowly catches fire.
In reality, that metal cylinder is an incredibly versatile, highly manipulable thermal tool.
With the right set of chimney starter hacks, you can cut your waiting time in half, extract restaurant-quality sears, save massive amounts of money on fuel, and turn your kettle grill into an advanced convection oven.
Let’s break down the rules of thermal dynamics and dive into the nine essential hacks that will completely revolutionize your next cookout.
A charcoal chimney isn’t just a container; it’s a jet engine for your backyard grill. If you learn how to steer the airflow, you control the fire.
The Anatomy of a Chimney Starter & Why It Works
Before we can hack the system, we need to understand how the machine actually functions. A chimney starter works entirely on a fundamental principle of physics known as the stack effect, or thermal buoyancy.
- The Physics: Hot air is less dense than cold air, meaning it naturally wants to rise.
- The Ignition: When you ignite a fire at the absolute bottom base of the chimney, the heat travels upward into the tightly packed cylinder of charcoal.
- The Vacuum: As that air heats up and rushes out of the top opening, it creates a powerful localized vacuum inside the cylinder.
- The Intake: This vacuum aggressively draws cold, fresh, oxygen-rich air through the large ventilation holes surrounding the bottom of the device.
This continuous, self-sustaining loop creates a highly concentrated thermal draft. The fresh oxygen constantly feeds the fire at the bottom, forcing it to burn white-hot, while the rising heat rapidly bakes the charcoal stacked above it.
It is a brilliant design that relies completely on natural airflow rather than mechanical fans or chemical accelerants.
When you understand that the chimney is essentially a concentrated wind tunnel, you can start using clever tricks to manipulate this airflow, intensify the heat, and use the device for tasks that the original manufacturers never even dreamed of.
The 9 Essential Chimney Starter Hacks

1. The Newspaper “Donut” Method
The standard, factory-recommended way to start a chimney is to take a couple of sheets of old newspaper, crumple them up into loose balls, and stuff them into the bottom cavity. However, this approach is incredibly inconsistent:
- Too loose: The paper burns out in thirty seconds before the bottom coals even catch.
- Too tight: You pack the bottom chamber solid, choking out vital airflow and smothering the flame.
The Fix:
- Roll a single sheet of newspaper tightly from corner to corner into a long, dense paper rope.
- Wrap that rope into a continuous circle, tucking the ends into each other to form a solid donut shape with an open hole in the center.
- Place it flat in the bottom chamber and light the inner edge.
- The hole acts as a mini-chimney, preserving a perfect, uninhibited airway that pulls oxygen straight through the center to accelerate startup times.

2. The Cooking Oil Boost
Newspaper is an excellent tinder material, but it burns exceptionally fast. In dry or windy conditions, the paper can incinerate completely before the dense charcoal briquettes absorb enough thermal energy to catch fire.
The Fix:
- Raid your kitchen pantry for cheap vegetable oil, canola oil, or leftover bacon grease.
- Drizzle 1 to 2 tablespoons of oil directly onto your paper donut before lighting (do not soak it entirely).
- The oil transforms the paper into a heavy-duty candle wick, replacing a quick flash with an intense, steady, minutes-long burn that guarantees your bottom layer of charcoal ignites on the first attempt.

3. The “Afterburner” Searing Method
When a chimney starter is fully loaded and firing at maximum capacity, the concentrated stack effect creates a localized heat zone that can easily surpass 900°F (480°C) – matching the power of high-end, commercial infrared steakhouses.
The Fix:
- Leave the fully lit, glowing chimney standing upright on your grill grate instead of dumping it.
- Place a small, round cast-iron cooking grate directly over the chimney’s top opening.
- Toss a thick steak or tuna steak directly onto this surface.
- The concentrated jet-engine heat will instantly sear the exterior, creating a deep, professional crust in less than 60 seconds per side without overcooking the interior.

4. The Upside-Down Hack for Small Cooks
Filing a standard chimney starter entirely for a small meal (like a single pork chop or a couple of hot dogs) wastes a massive amount of expensive fuel.
But a small handful of charcoal at the bottom of a normal upright chimney sits too far from the flame to light consistently.
The Fix:
- Flip the chimney upside down. The bottom chamber (for paper) is shallow, while the top chamber (for charcoal) is deep.
- Place your wax starter cube or newspaper into the now-inverted, deep top section.
- Scatter a small handful of charcoal briquettes into the shallow bottom chamber.
- Because the charcoal is packed tightly right above the flame, it ignites almost instantly using a fraction of the fuel.

5. The Charcoal Bag Tinder Trick
If you find yourself with no newspaper, junk mail, or paper towels, look closely at the very bag your charcoal came in. Almost every brand uses thick, multi-layered kraft paper designed to resist moisture and handling.
The Fix:
- Tear off the top paper sealing strips or cut a few wide strips from the top edge of the bag.
- Roll these strips up and give them a light twist to expose the fibrous edges.
- Use them exactly like traditional newspaper. Because industrial kraft paper is thicker and denser, it burns much slower and hotter than standard paper.

6. The Wax Fire Starter Trifecta
As newspaper burns down under an intense draft, tiny, glowing flakes of white paper ash get blown into the air, landing on clothes, furniture, and food.
The Fix:
- Switch to commercial wax fire starters (paraffin cubes or compressed wood tumbleweeds).
- Place 1 or 2 of these compact starters on your grill’s bottom grate, light them, and set the chimney over them.
- The Benefits: They produce zero flying ash, are completely odorless, are highly water-resistant, and will burn steadily even in heavy winds.

7. The “Vortex” Indirect Smoking Setup
Finding the balance between crispy skin and juicy meat on chicken wings can be tough. Direct heat causes flare-ups that char the outside, while indirect heat can leave the skin rubbery.
The Fix:
- Fill and fully light your chimney starter.
- Place the upright, hot chimney right in the absolute center of your grill’s lower charcoal grate (do not dump it).
- Place your main cooking grate on top and arrange your chicken wings in a circle around the outer perimeter of the grill.
- Put the grill lid on with vents wide open. The chimney forces intense radiant heat straight up, which hits the curved lid and deflects downward, creating a powerful convection current that crisps the skin evenly with zero flare-ups.

8. The Dual-Zone Distribution
True live-fire mastery requires a dual-zone setup: a high-heat direct zone for searing, and a lower-heat indirect zone for gentle baking, warming, and resting meat.
The Fix:
- Direct Zone (75%): Intentionally dump roughly 75% of the blazing hot coals onto one specific side of the grill, packing them tightly together.
- Transition Zone (25%): Scatter the remaining 25% of the coals thinly toward the center.
- Indirect Zone (0%): Leave the opposite side of the grill completely empty.
- This calculated layout gives you an immediate thermal gradient, letting you move food instantly between intense and gentle heat zones.

9. The Rubble Foundation (Mixing Lumps & Briquettes)
Briquettes burn long, steady, and predictably, but take longer to ignite. Natural lump charcoal catches fire fast and burns hot, but the bottom of the bag is often filled with small, broken fragments that slip through the grates.
The Fix:
- Gather the small, broken fragments of charcoal rubble from the bottom of your lump bag.
- Pack these small pieces into the bottom third of your chimney starter, directly above the ventilation grates.
- Fill the remaining top two-thirds with large, uniform briquettes or premium lump chunks.
- The small rubble pieces ignite almost instantly due to their high surface area, forming a blazing hot ember bed that acts as a thermal booster to catch the larger coals above much faster.
Crucial Safety Rules for Chimney Starters
Because chimney starters are wildly effective at concentrating thermal energy, they require strict situational awareness:
- Protect Your Hands: Never attempt to handle a hot chimney using a standard cloth kitchen oven mitt or bare hands. Always invest in a high-quality, heavy-duty, heat-resistant leather BBQ glove that extends well up your forearm.
- Designate a Landing Pad: An empty metal chimney remains hot enough to melt plastic, ignite dry grass, or scorch wood. Never set a hot chimney down on a lawn, wooden table, or plastic cooler. Always place it back inside the grill on the lower grate, or keep a concrete paver block nearby as a dedicated fireproof parking spot.
- Expect the Spark Shower: When you invert a full chimney to pour the coals, the sudden rush of movement and oxygen causes loose sparks and embers to fly upward. Stand back as far as possible, extend your arms fully, and pour slowly and deliberately rather than shaking the chimney aggressively. Ensure no children, pets, or flammable liquids are downwind before making the dump.
Reclaim Control over Time, Fuel, and Flavor: Master the Chimney
The humble charcoal chimney starter is far more than a simple metal bucket designed to replace lighter fluid.
It is the ultimate Swiss Army knife of live-fire cooking, a tool capable of transforming your entire backyard culinary game when wielded with a bit of tactical know-how.
By implementing these nine essential chimney starter hacks – from the oxygen-boosting donut method to the blazing heat of the afterburner sear – you reclaim total control over time, fuel, and flavor.
You will never have to keep hungry guests waiting around a cold grill again. Fire up your chimney, ditch the chemical smells forever, and step up your game to true pitmaster status.
Which of these hacks are you going to test out during your next weekend cookout? Let us know, and happy grilling!
Troubleshooting & FAQ
Q: Why does my chimney starter keep going out before the top coals light?
A: This is almost always caused by oxygen starvation at the base. If you cram your newspaper too tightly into the bottom cavity, you block the airflow holes.
Air cannot enter, the vacuum effect fails, and the fire smothers. Switch to the donut method or use a wax starter cube to keep the ventilation paths completely clear.
Q: How do I know exactly when the coals are ready to be dumped into the grill?
A: Look at the top layer of charcoal in the cylinder.
Your chimney is fully ready when the coals at the absolute top have turned a light ash-gray color around the edges and you can see active, glowing red heat down in the center.
If you dump them while the top layer is still completely black, you will end up with an uneven, dropping temperature curve during your cook.
Q: How long do chimney starters usually last before needing replacement?
A: It depends entirely on materials and storage. A basic, inexpensive galvanized steel chimney will typically last two to three seasons before the intense heat causes the metal to rust out.
If you step up to a premium, heavy-gauge stainless steel chimney and keep it sheltered from rainwater, it can easily last a lifetime of heavy backyard cooking.
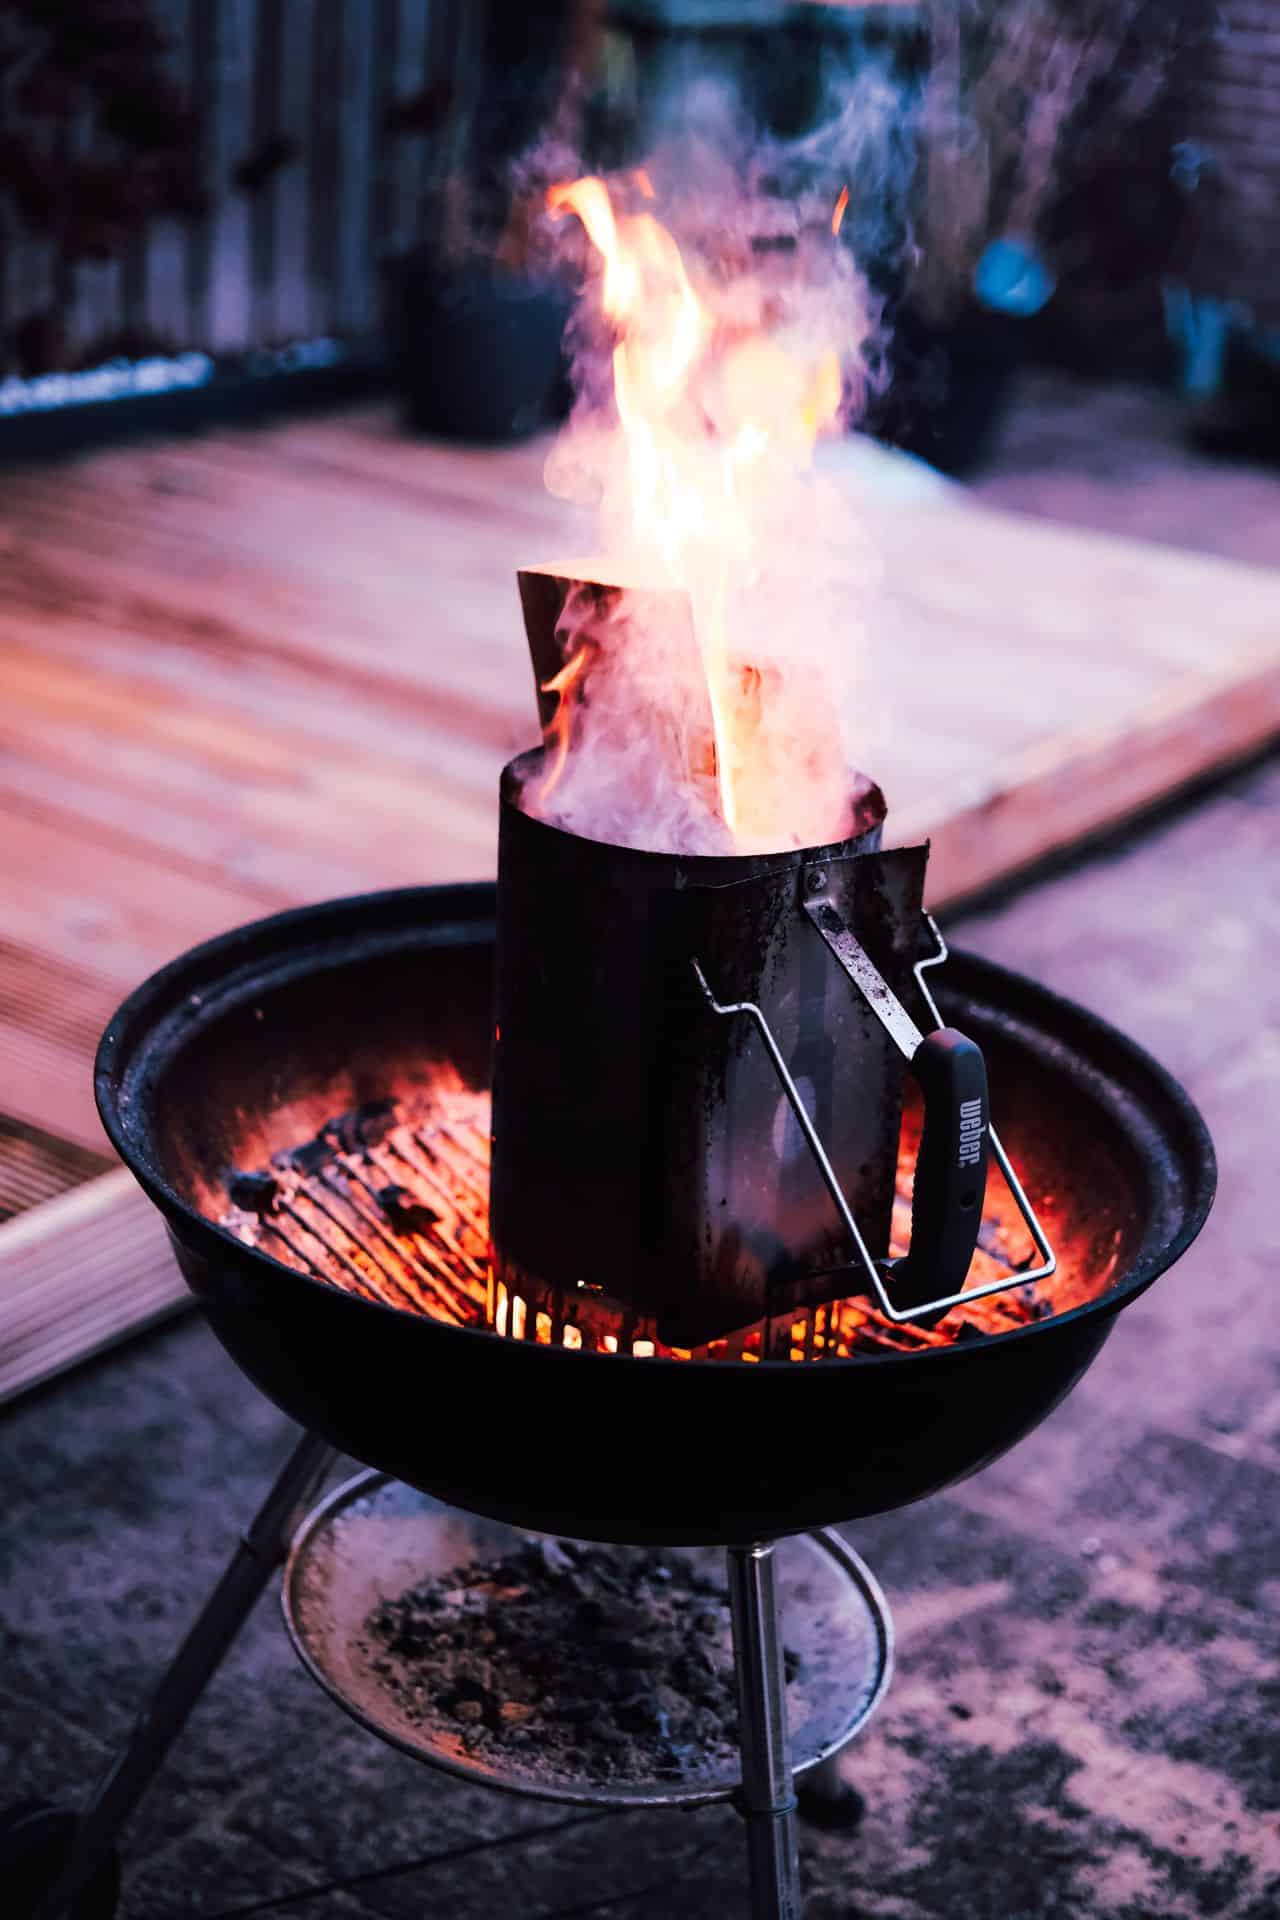
Featured image credit: Stefan Maritz