
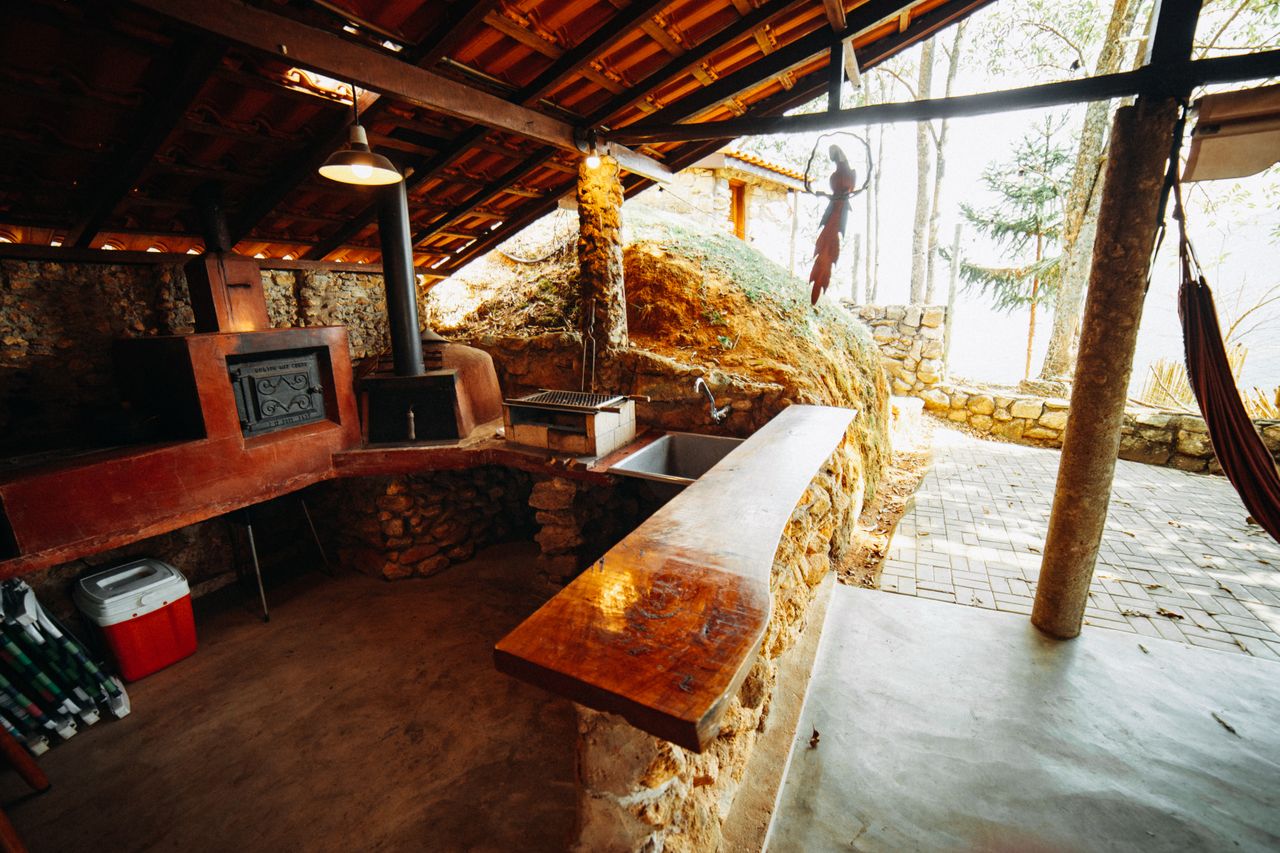
An outdoor kitchen can look incredible and still be frustrating to cook in.
Maybe you’ve got an expensive grill but nowhere to set down your ingredients. Or a beautiful island that requires you to walk back into the house every time you need something.
These problems usually come down to one thing: designing the kitchen around appliances instead of how you’ll actually use them.
Before choosing equipment or finalizing a layout, learn how to plan an outdoor kitchen based on the meals you enjoy preparing outside. A family that grills a few evenings a week needs something different from someone who spends entire weekends smoking brisket.
Here’s how to plan a space that works for your cooking habits.
Start With the Meals You Actually Cook
Think about your last few cookouts. What did you prepare, how many people were eating, and what equipment did you use?
Those answers should guide your decisions more than any showroom display when you plan an outdoor kitchen.
| How You Usually Cook | What to Prioritize |
| Burgers, steaks, and weeknight dinners | Reliable gas grill, prep counter, basic storage |
| Brisket, ribs, and slow barbecue | Dedicated smoker, workspace, fuel storage |
| Breakfast, smash burgers, and vegetables | Flat-top griddle, generous counter space |
| Large gatherings with several dishes | Multi-burner grill, additional prep and serving space |
You don’t have to limit yourself to one cooking style. But there’s little reason to dedicate half your kitchen to a pizza oven if you only make pizza twice a year.
Start with the equipment you’ll use regularly. You can always leave room for additions as you plan an outdoor kitchen layout.
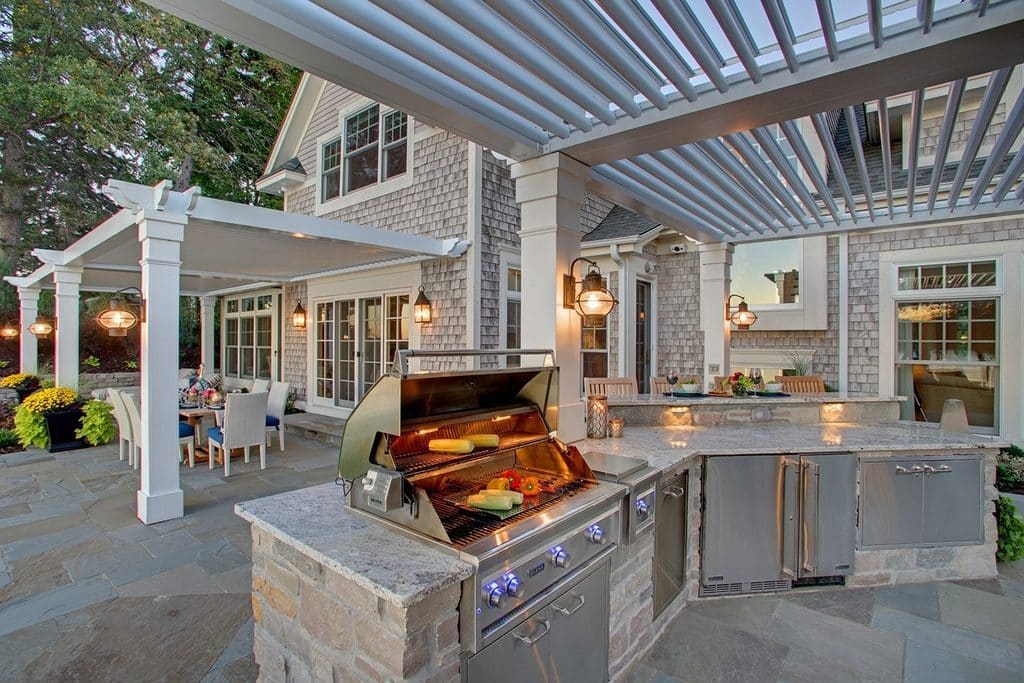
Arrange the Layout Around Preparing a Meal
Imagine you’re grilling chicken and vegetables for six people.
You bring everything outside, season the food, preheat the grill, and start cooking. Once the chicken is ready, you need a clean platter and somewhere to finish preparing the meal.
Now imagine doing all of that without counter space beside the grill. That’s why the layout matters just as much as the equipment when you plan an outdoor kitchen.
A practical outdoor kitchen should accommodate three activities:
- Preparation: Space for ingredients, cutting boards, seasonings, and utensils.
- Cooking: Easy access to your grill and other appliances.
- Serving: A clean surface for finished food and plates.
These areas don’t need to be large. Even a compact kitchen can work well when the counter space is positioned thoughtfully.
There’s a safety benefit, too. The USDA’s grilling safety guidance recommends keeping separate utensils and platters for raw and cooked foods to prevent cross-contamination.
Having enough workspace makes that much easier.
Where Should the Grill Go?
The grill is usually the centerpiece of an outdoor kitchen, but its position shouldn’t be determined by appearance alone as you plan an outdoor kitchen .
Think about smoke, wind, nearby seating, and how people move around the patio.
For example, positioning the grill directly beside your dining table might seem convenient until smoke starts blowing toward everyone during dinner.
Safety matters as well.
The U.S. Fire Administration recommends keeping grills away from combustible materials, including siding, deck railings, and overhanging branches.
For built-in grills, always check the manufacturer’s installation requirements. Different models have specific clearances, ventilation needs, and countertop cutout dimensions.
It’s worth settling on your grill model before finalizing the surrounding cabinetry.
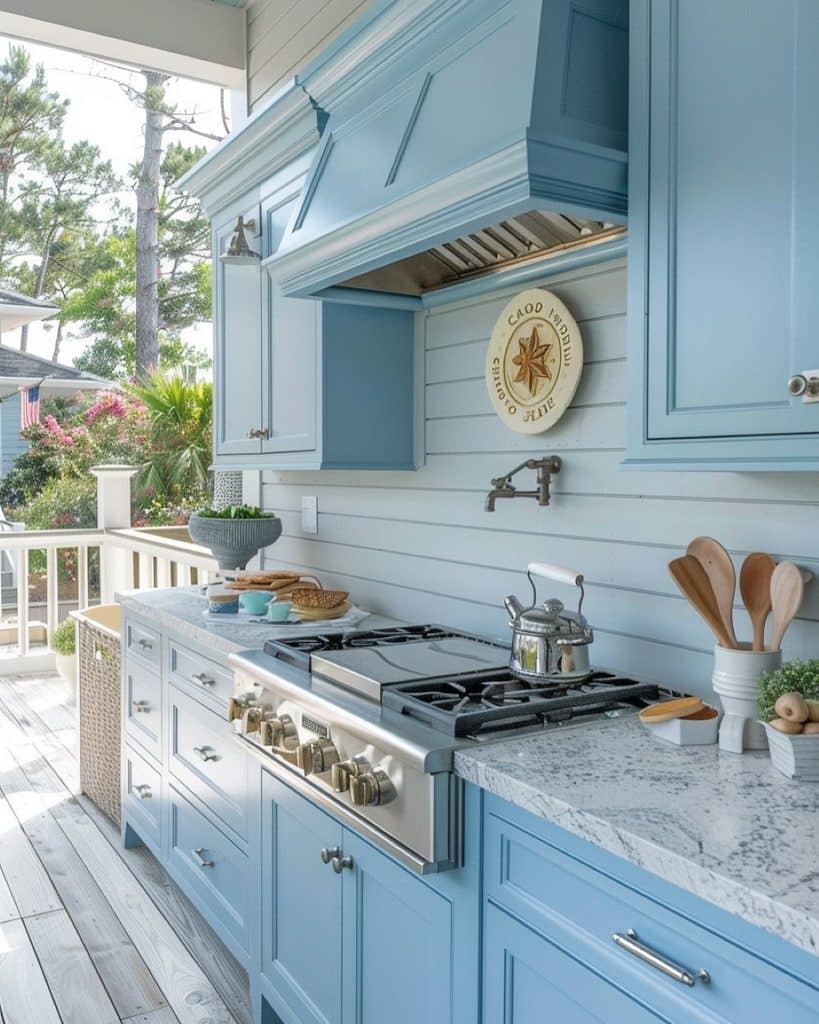
Which Extras Are Actually Worth Having?
Outdoor refrigerators, sinks, and side burners can be useful, but not everyone needs them.
An outdoor refrigerator makes sense if you frequently entertain or your cooking area is far from the house. If your indoor refrigerator is only a few steps away, additional counter space might be more valuable.
A sink is convenient when you’re preparing entire meals outside. But if most of your preparation happens indoors, installing the necessary plumbing might not be worth the expense.
A side burner is useful for sauces, boiling vegetables, or preparing dishes alongside whatever’s on the grill.
Ask yourself whether you’ll use these features during a normal week, not just when hosting a large party.
Don’t Forget About Cleaning and Maintenance
One detail that’s often overlooked when you plan an outdoor kitchen is post-installation maintenance.
Grills accumulate grease, burners occasionally need replacement, and outdoor appliances require regular care.
Before building everything into permanent cabinetry, make sure you can access grease trays, gas connections, shutoff valves, and components that need cleaning or replacement.
The U.S. Fire Administration also recommends regular grill cleaning to remove grease that can contribute to fires.
If you’re planning a permanent installation, working with experienced outdoor kitchen builders can help you work through equipment selection, layout, and maintenance access before construction begins.
A little planning here can prevent some frustrating problems later.
Designing for After-Dark Cooking and Ambience
Cooking doesn’t stop when the sun goes down, yet task lighting is frequently forgotten during the initial design phase. Relying solely on patio string lights leaves you grilling in your own shadow.
- Task Lighting: Install under-hood grill lights or heat-resistant LED downlights directly over your prep zone so you can accurately gauge food readiness and internal temperatures.
- Ambient Lighting: Integrate low-voltage LED strip lighting beneath countertop overhangs and toe-kicks. This subtle illumination outlines your island’s structure, preventing trips in the dark while creating a warm, inviting atmosphere for guests.
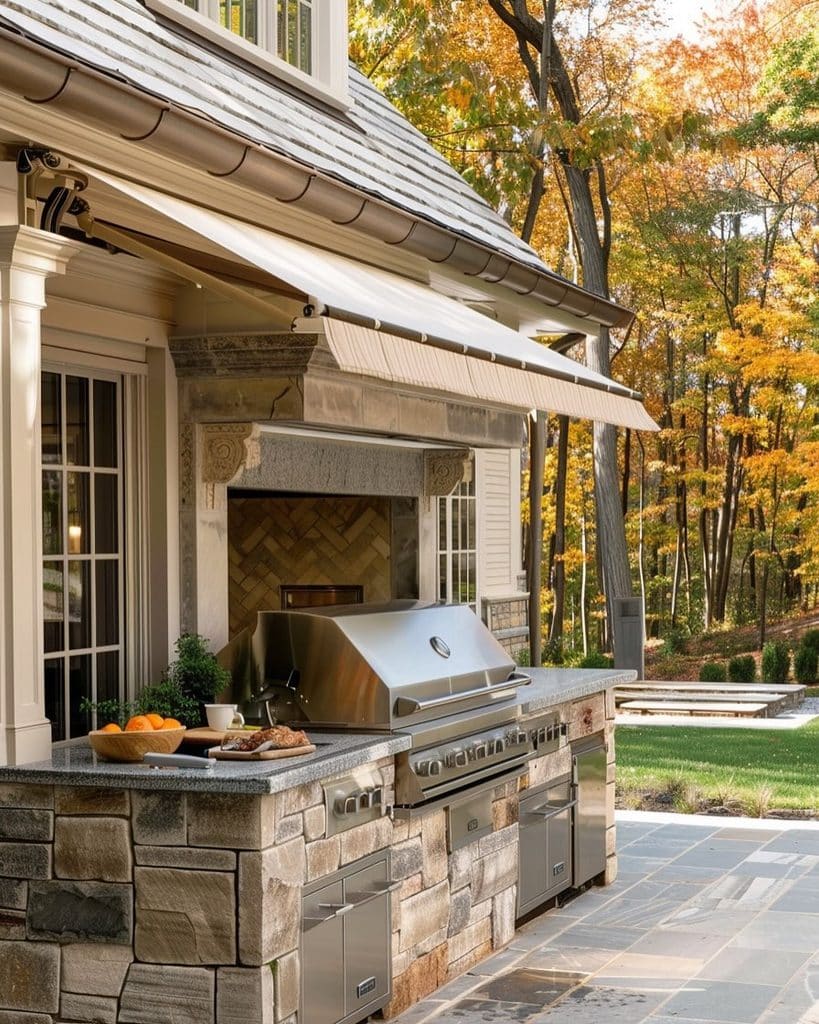
Tackling Year-Round Weather Protection
An outdoor cooking space should be functional across multiple seasons, not just warm summer weekends. Protecting your investment requires planning for wind, rain, and temperature swings.
- Overhead Protection: Install sheltering structures like pergolas, solid roof overhangs, or retractable awnings to shield appliances from rain, snow, and sun.
- Wind Deflectors: Use decorative privacy windbreaks or outdoor drop-down shades to keep smoke moving away from dining areas and prevent gusts from disrupting burner flames.
- Durable Materials: Choose waterproof cabinetry—such as marine-grade polymer or stainless steel—that endures freeze-thaw cycles without warping, rotting, or growing mold.
Mastering Smart Storage and Organization
Running back inside for a forgotten spatula or clean towel ruins the flow of outdoor cooking. True functionality requires weather-tight cabinetry designed to keep items dry and pest-free year-round.
- Deep Pull-Out Drawers: Store heavy cast-iron skillets, grilling planks, and oversized tongs right where you use them instead of using basic open shelves.
- Dedicated Zones: Create designated spots for sealed dry-goods pantries, tilt-out trash bins, and condiment racks.
- Clean Tool Staging: Reserve dedicated space for clean linens, paper towels, and grilling tools to keep your setup fully autonomous.
Planning Electrical Utility and Power Needs
Modern outdoor cooking relies heavily on a robust outdoor electrical framework rather than just burning charcoal.
- Outlet Placement: Install GFCI-protected outlets along your backsplash and island perimeter for high-draw appliances like rotisserie motors, pellet grills, warming drawers, and blenders.
- Guest Amenities: Embed pop-up charging ports near seating areas so guests can plug in their devices without running extension cords across the patio.
- Electrical Capacity: Consult a licensed electrician early to ensure your main panel can handle the total load, keeping your setup safe and code-compliant.
Creating an Ergonomic Landing and Flow Zone
Countertop layout isn’t just about total square footage; it’s about establishing continuous ergonomic landing zones on both sides of every primary heat source.
- Immediate Counter Space: Reserve at least 12 to 18 inches of uninterrupted, heat-resistant surface beside your grill or oven to set down hot pizza pans and heavy skillets safely.
- Smart Traffic Flow: Design a layout that keeps guests and children away from hot cooking surfaces while keeping beverage stations easily accessible.

Integrating Waste Management and Quick Cleanup
Nothing ruins outdoor entertaining faster than overflowing trash bags or sticky counter spills. Integrated cleaning solutions keep your workspace hygienic as you cook.
- Concealed Waste Units: Install dual trash and recycling pull-outs directly under your main prep counter to keep scraps out of sight and deter pests like flies and raccoons.
- Low-Maintenance Surfaces: Pair your setup with non-porous counters like engineered quartz or sealed granite that resist tough grease splatters.
- Quick Sanitation: Keep paper towels and a sanitation wipe drawer within arm’s reach for fast, on-the-fly cleanups.
Choosing Durable, High-Heat Countertop Materials
Indoor countertop materials don’t always translate well outdoors, where direct sunlight, intense heat, and freezing weather can quickly cause damage.
- Recommended Options: Choose UV-stable porcelain slabs, sealed granite, or high-density concrete to withstand harsh elements year-round.
- Materials to Avoid: Skip quartz surfaces containing synthetic resins, as direct UV light can yellow the binder over time.
- Thermal Resistance: Ensure surfaces placed adjacent to built-in gas burners or ceramic smokers offer high thermal resistance to prevent cracking from extreme heat.
Building an Entertainment and Social Hub
Cooking outdoors is inherently social, so your island design should encourage conversation without putting guests in harm’s way.
- Two-Tiered Seating: Build a bar-height counter to create a safe buffer between hot cooking surfaces and seated guests while allowing interactive experiences like cocktail mixing.
- Sightlines: Position prep stations facing toward guest seating or views—rather than a blank wall—so you stay engaged in the party.
- Atmosphere: Add discreet weatherproof audio speakers and ambient bar lighting to transform your cooking triangle into a multi-functional entertainment epicenter.
Managing Smoke, Heat, and Ventilation
Failing to account for airflow can turn an expensive outdoor kitchen into a smoky, uncomfortable environment. Properly directing heat and exhaust keeps cooks and guests comfortable throughout the entire meal.
- Vent Hood Installation: Install a commercial-grade outdoor vent hood if your grill is positioned under a covered patio or pavilion to pull smoke away safely.
- Airflow Clearance: Position your primary heat sources so prevailing winds carry smoke away from dining areas rather than trapping it against walls or under rooflines.
- Combustion Spacing: Maintain required safety clearances around built-in gas appliances to prevent excessive heat buildup and protect surrounding cabinetry from heat damage.
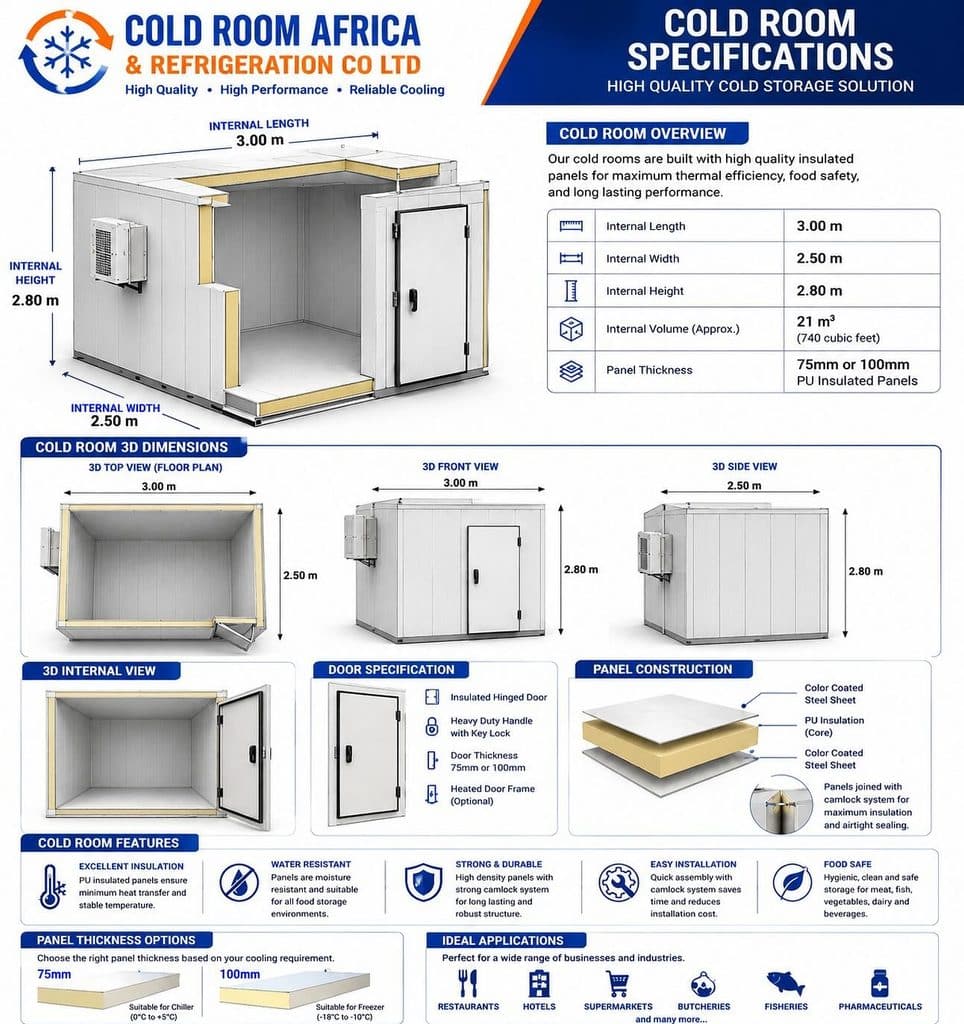
Incorporating Integrated Cold Storage Solutions
Keeping fresh ingredients and cold drinks within arm’s reach prevents constant trips inside and maintains a smooth cooking workflow.
- Refrigeration Options: Install an outdoor-rated under-counter refrigerator to keep raw meats, dairy, and perishables safely chilled at FDA-recommended temperatures until you’re ready to cook.
- Beverage Centers: Separate food storage from drinks with a dedicated beverage center or built-in ice bin so guests can grab drinks without invading your prep space.
- Pest and Weather Defense: Choose marine-grade stainless units with weather-tight door seals to protect contents from severe weather, insects, and humidity.
Designing Smart Fuel Supply and Storage Access
A well-planned fuel system ensures you never run out of gas or charcoal mid-cook while keeping utility lines safely hidden.
- Hardwired Fuel Lines: Hook up built-in gas grills directly to your home’s natural gas line to eliminate the hassle of swapping heavy propane tanks during dinner.
- Propane Tank Storage: If using propane, build a dedicated vented tank cabinet with a smooth pull-out slider for quick, effortless tank swaps.
- Dry Fuel Bins: Reserve sealed, moisture-proof storage drawers for wood pellets, charcoal bags, and smoking chips to keep your fuel dry and ready to burn.
Selecting All-Weather Low-Maintenance Flooring
The floor beneath your outdoor kitchen takes a beating from grease splatters, foot traffic, and heavy appliances, requiring materials built to endure heavy use.
- Slip Resistance: Choose non-glazed tiles, textured paver stones, or stamped concrete with high slip resistance to keep cooks safe around hot grease and water spills.
- Stain Prevention: Apply a high-performance penetrating sealer to natural stone or concrete surfaces so oil and marinade drips don’t leave permanent marks.
- Structural Support: Ensure your patio floor or deck framing is rated to support the immense dead weight load of masonry islands, stone countertops, and heavy metal appliances.
Test the Layout Before You Build
Before committing to your design, try walking through a typical meal in the proposed space.
You can even use painter’s tape to mark out the island’s dimensions on your patio.
Imagine carrying ingredients outside, preparing everything, cooking, and bringing the finished food to the table.
Is there enough counter space? Can you move comfortably? Will guests be walking through your cooking area?
You might discover that you need more preparation space, a different grill position, or simply a shorter island.
Those changes are much easier to make before construction starts.
Build a Kitchen You’ll Actually Enjoy Using
A great outdoor kitchen doesn’t need every appliance available. It needs the right equipment, enough workspace, and a layout that makes cooking comfortable.
As you plan an outdoor kitchen, start with the meals you prepare most often and design around those real habits.
The goal isn’t just to create something that looks impressive when guests arrive. It’s to have a kitchen you’ll genuinely enjoy using, whether you’re hosting a summer barbecue or simply grilling dinner on a Tuesday.
Frequently Asked Questions
1. How do I plan an outdoor kitchen for a small space or budget?
Focus on the essentials: a reliable grill, basic storage, and dedicated counter space right next to the cooking area for prep and serving. Prioritize functional layout over expensive add-ons like sinks or refrigerators, which can significantly increase plumbing and electrical costs.
2. How much counter space do I need when I plan an outdoor kitchen?
Ideally, aim for at least 24 to 36 inches of usable, unobstructed counter space on at least one side of your grill (preferably both). This ensures you have safe, distinct zones for food preparation, seasoning, and resting cooked foods without risk of cross-contamination.
3. What is the most important factor in choosing an outdoor kitchen layout?
Workflow. When you plan an outdoor kitchen, arrange the layout around the three core stages of making a meal: Preparation (cutting/seasoning), Cooking (grill/appliances), and Serving (clean platters/plating). Keep these zones close together to avoid constant trips back to the indoor kitchen.
4. Are outdoor sinks and refrigerators really necessary?
It depends on distance and entertaining habits. If your outdoor kitchen is far from your indoor house kitchen or you entertain large groups often, a sink and fridge add huge convenience.
If your indoor kitchen is just a few steps away, that space and budget are often better spent on additional prep counters or storage.
5. How can I test my outdoor kitchen design before construction starts?
Use painter’s tape to outline the full dimensions of your planned countertops, grill, and island directly on your patio.
Walk through the motions of cooking a full meal—bringing out raw ingredients, prepping, grilling, and serving—to check if traffic flow feels natural and counter space is sufficient.
Featured image credit: Matheus Bertelli
