
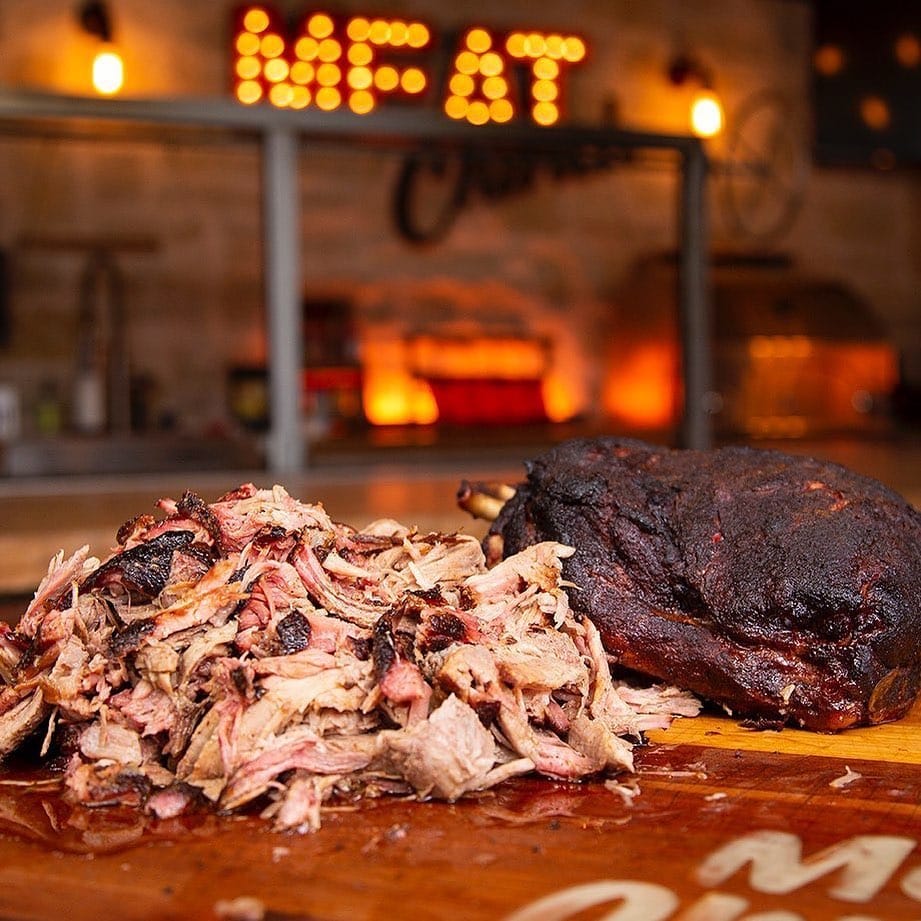
Is barbecue a culinary science, or is it just an excuse for adults to stand around a fire drinking cold beer at ten o’clock in the morning? In 1292, King Ramkhamhaeng the Great of the Sukhothai Kingdom famously carved onto a stone pillar,
“In the water there are fish; in the fields there is rice.”
It was a simple, ancient celebration of effortless abundance. Fast-forward a few centuries, add a pork shoulder and some hardwood smoke to the equation, and that exact same principle holds true for your backyard setup.
Yet, for anyone stepping up to a smoker for the first time, the entire endeavor feels less like a relaxed weekend activity and more like preparing to defend a doctoral thesis in thermodynamics.
The internet will tell you that a single degree temperature spike will ruin your lunch, or that using the wrong wood split will taint your soul. Ignore them. The dirty little secret of the barbecue world is that pork shoulder is virtually indestructible.
It is the ultimate forgiving meat, packed with enough internal fat and connective tissue to survive almost any beginner mistake short of dropping it directly into live coals.
Mastering smoked pulled pork for beginners isn’t about stress or perfection; it’s about learning a few basic principles, leaning into the low-and-slow rhythm, and enjoying the process.
Here is your comprehensive blueprint for turning a tough slab of meat into melt-in-your-mouth perfection this weekend.
Choosing the Right Cut: Pork Butt vs. Pork Picnic
Walking up to the butcher counter can spark instant confusion. You are looking for a pork butt, which, in a bizarre twist of meat nomenclature, has absolutely nothing to do with the pig’s rear end.
Boston Butt (Pork Butt)
- The upper part of the pig’s front shoulder.
- Features high internal marbling and a uniform rectangular shape.
- Ideal for pulled pork.
Picnic Shoulder (Pork Picnic)
- The lower part of the animal’s front arm or leg.
- Contains thick skin and lean muscle.
- Features a tapered, triangular shape.
- Great for crackling or roasting, but less uniform than the butt.
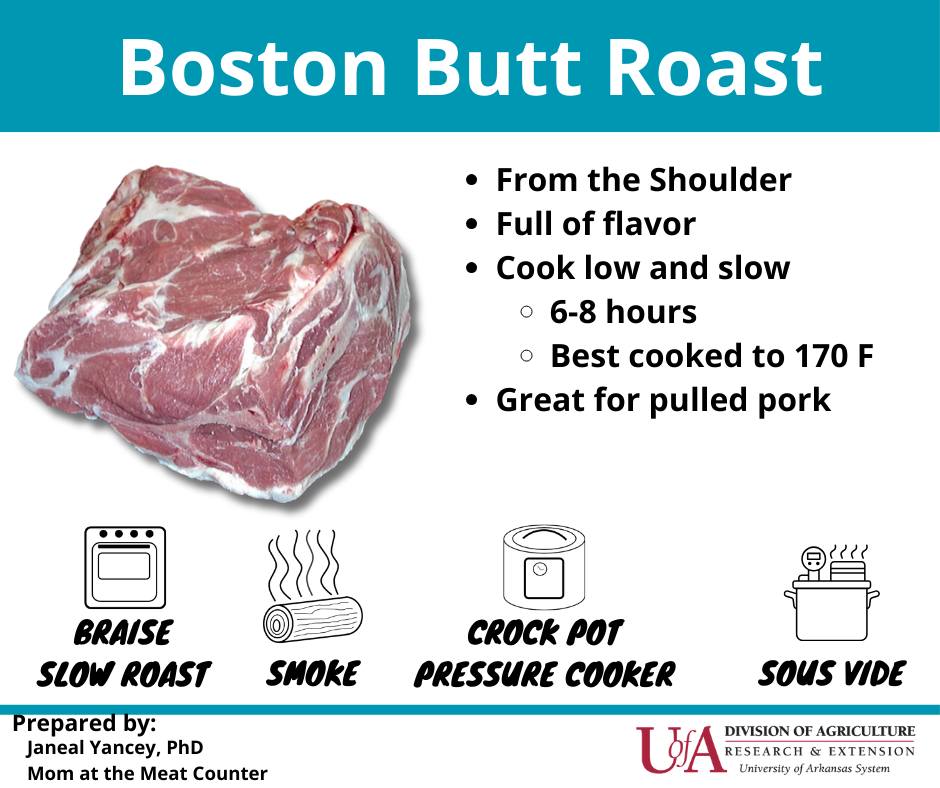
Anatomy Lesson: Demystifying the Boston Butt
The cut referred to as the Boston Butt (or pork shoulder roast) comes from the upper section of the pig’s front leg, right around the shoulder blade.
Colonial New England butchers used to pack these less desirable pork cuts into wooden barrels called “butts” for storage and transport. The name stuck, and home cooks have been confused ever since.
Bone-In vs. Boneless: The Moisture Guarantee
Always buy a bone-in pork butt when available. The internal shoulder blade acts as a natural heat conductor, helping the center cook evenly.
More importantly, that bone keeps the thickest section of the roast juicy and provides an infallible test for doneness later in the cook. If you can pull the bone out with zero resistance, dinner is served.
Weight, Yield, and Marbling
Aim for a roast weighing between 7 and 9 pounds.
- The Shrinkage Factor: Pork shoulder loses about 30% to 40% of its total weight during the long cooking process as fat renders out and moisture evaporates. An 8-pound butt yields roughly 5 pounds of finished, shredded meat.
- Marbling: Look for white flecks of fat distributed throughout the reddish-pink meat, not just a massive slab of fat sitting on one side. Intramuscular marbling equals tender meat.
Equipment Essentials: Keeping It Simple
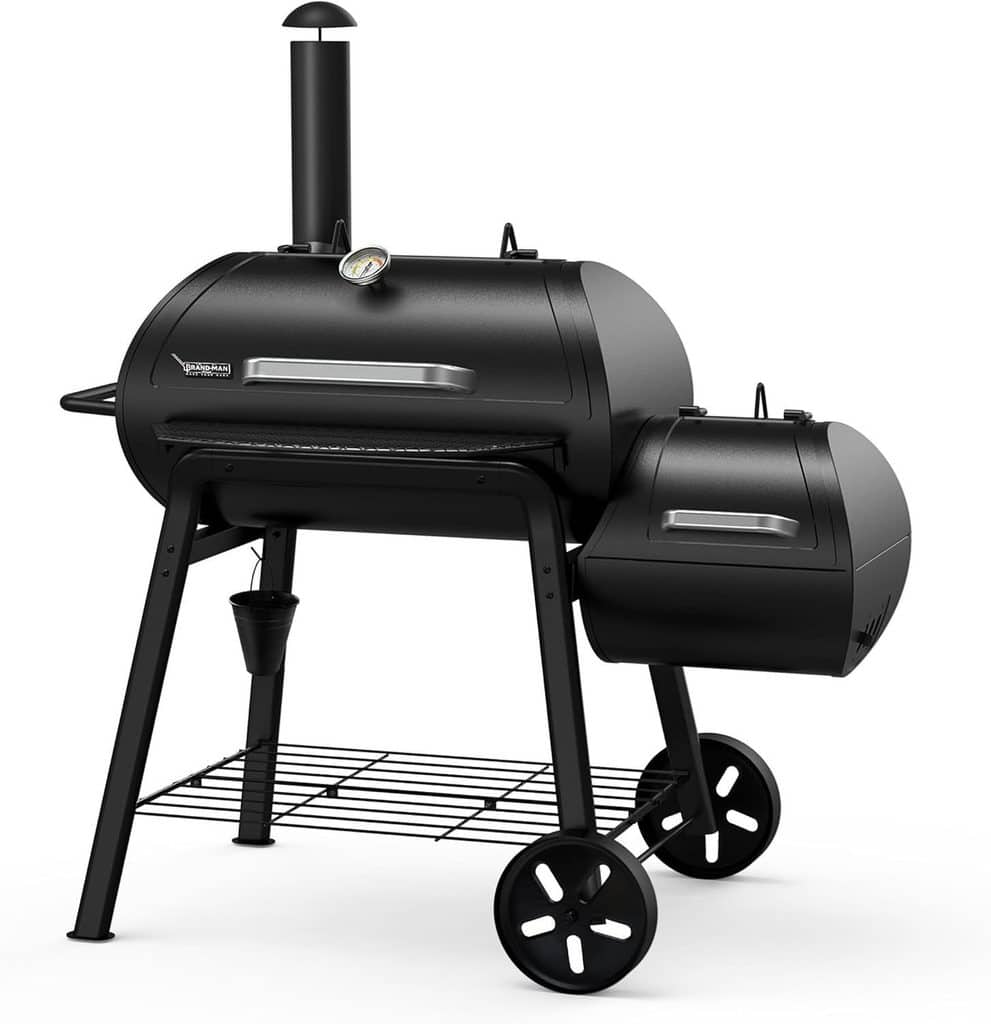
You do not need a three-thousand-dollar custom offset smoker to make competition-worthy barbecue. Whether you own a pellet grill, a classic kettle grill, a bullet smoker, or an offset rig, the physics remain identical.
1. Wood Selection: Flavor over Firepower
Beginners often over-smoke their meat by treating the firebox like a campfire. Pork loves sweet, subtle hardwoods.
- Fruitwoods (Apple and Cherry): Produce a mild, sweet smoke and give the meat a gorgeous mahogany color.
- Pecan: Delivers a rich, nutty profile that adds depth without overwhelming the meat.
- Avoid Mesquite: It burns hot and delivers an intense, bitter smoke that can easily ruin a long cook.
2. The Non-Negotiable Tools
Cooking by time is the fastest way to ruin barbecue. You must cook by internal temperature and feel.
- Digital Dual-Probe Thermometer: One probe monitors the smoker’s ambient temperature, while the second stays buried in the deepest part of the pork.
- Heavy-Duty Aluminum Foil or Pink Butcher Paper: Essential for the wrapping stage.
- Spray Bottle: A basic food-grade spray bottle filled with apple juice, apple cider vinegar, or water keeps the surface moist.
Smoked Pulled Pork for Beginners Guide
Step 1: Prep, Trim, and Binder
Prep work takes less than fifteen minutes, but it sets the foundation for your bark – that glorious, caramelized crust on the outside of high-quality smoked meat.
Trimming the Fat Cap
Flip the pork butt over to find the thick white fat cap. Trim this down to a uniform 1/4-inch thickness. Leave too much fat, and your dry rub will stick to fat that never renders out, sliding right off in the smoker.
Trim it all off, and you lose a protective barrier against direct heat. Flip the roast over and trim off any hard, leathery silver skin or loose bits of meat that will burn during the cook.
The Great “Binder” Debate
A binder is simply a wet coating applied to the raw meat so the dry rub adheres to the surface.
- Yellow Mustard: The industry standard. It will not make your meat taste like mustard; the vinegar breaks down during the cook, leaving only sticky enzymes behind.
- Alternatives: Olive oil, hot sauce, or plain water work just as well.
The Ultimate Beginner Dry Rub Blueprint
Avoid over-complicating your rub. You want a balance of sweet, savory, salty, and spicy.
- Dark Brown Sugar: 1/2 cup
- Coarse Kosher Salt: 1/4 cup
- 16-Mesh Coarse Black Pepper: 1/4 cup
- Smoked Paprika: 2 tablespoons
- Garlic Powder: 1 tablespoon
- Onion Powder: 1 tablespoon
- Ground Mustard or Chili Powder: 1 teaspoon each
Apply the rub liberally from about 12 inches above the meat to get an even layer.
Do not rub the spices into the meat – despite the name, patting the seasonings gently into the wet binder ensures a smooth, even surface for bark formation.
Let the seasoned roast sit at room temperature for 30 minutes while you light the smoker.
Step 2: Firing Up and Setting the Zone
Consistency is key when managing a smoker. Your target pit temperature range is 225°F to 250°F (107°C to 121°C).
Understanding Heat and Clean Smoke
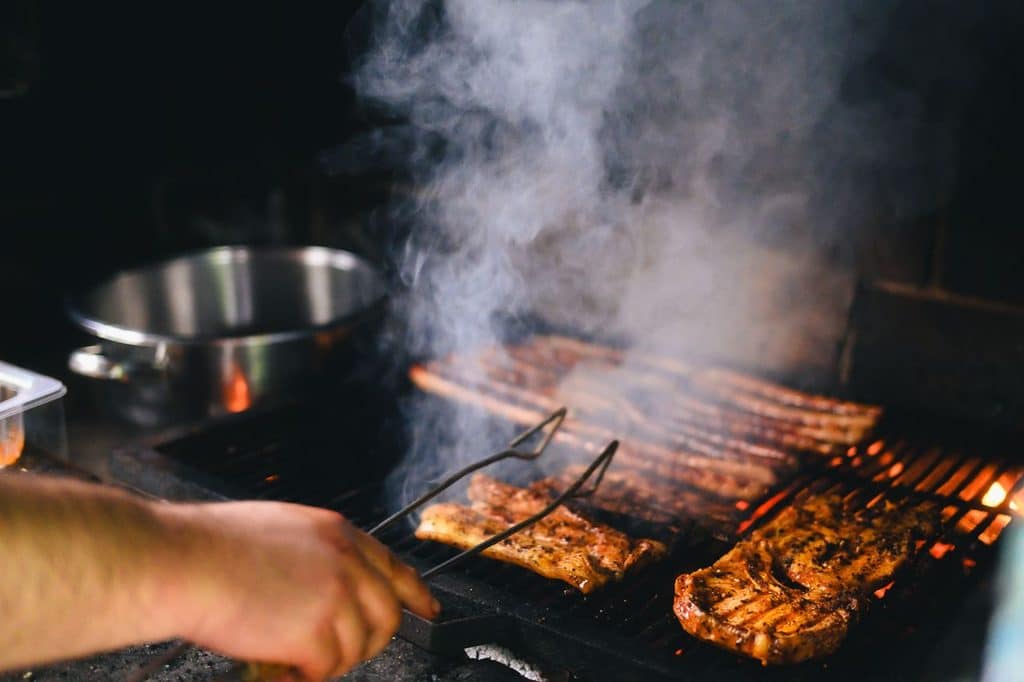
Thick, puffy white smoke spewing from your chimney is a sign of incomplete combustion. It deposits bitter creosote onto your food, making your mouth feel like you chewed on an ash tray.
You are aiming for “thin blue smoke” – a faint, almost invisible stream of pale blue vapor drifting gently out of the stack.
Placing the Meat
Place the pork butt on the grate with the fat cap facing your heat source. If your smoker’s heat originates from below (like a drum or kettle grill), place the fat cap down to protect the meat.
If your heat drifts over the top from an offset firebox, place the fat cap up. Close the lid, step away, and resist the urge to peek for at least three hours. If you’re lookin’, you ain’t cookin’.
Around hour five or six, your internal temperature probe will steadily rise to roughly 150°F–170°F (65°C–77°C), and then… it will completely stop. It may sit at 162°F for three hours without moving a single degree.
What Causes the Stall?
Beginners often panic here, assuming their fire went out or their smoker broke. The stall is caused by evaporative cooling. As the meat cooks, it contracts and pushes moisture to the surface.
That moisture evaporates, cooling the exterior of the meat at the exact same rate the heat source is trying to warm it up. It is the culinary equivalent of sweating on a hot day.
Pushing Through: To Wrap or Not to Wrap?
You have three choices when managing the stall:
- The Texas Crutch (Aluminum Foil): Wrap the pork butt tightly in two layers of heavy-duty foil with a splash of apple juice or butter. This traps moisture, eliminates evaporative cooling, and powers through the stall rapidly. Trade-off: It softens your bark.
- Pink Butcher Paper: Wrap tightly in breathable butcher paper. It speeds up the cook while allowing excess steam to escape, preserving a firm, dark bark.
- The Naked Route: Do nothing. Leave the meat unwrapped and add an extra two to three hours to your total cook time. This method yields maximum bark texture.
Testing for Doneness: The Probe Test
Ignore time entirely. Your pork is done when the internal temperature reaches 203°F (95°C), but temperature is only a guideline. Insert a digital probe into the thickest part of the meat; it should slide in and out with zero resistance, like warm butter.
Step 4: The Rest and The Shred
Pulling meat directly from the smoker onto a cutting board and shredding it immediately is the single biggest mistake first-time cooks make.
The internal juices are hot, thin, and under pressure; tearing the muscle fibers open immediately causes those delicious juices to spill across your counter, leaving you with dry pulled pork.
The Cooler Method (Faux Cambro)
Wrap your foiled or paper-wrapped pork butt in two clean bath towels. Place it inside an empty, clean insulated ice cooler (do not add ice!). Close the lid tight.
Allow the pork to rest inside the cooler for at least 1 to 2 hours. The insulation slows the cooling process down gently, allowing the muscle fibers to relax and reabsorb all the rendered gelatin and moisture.
A pork butt held in a warm cooler will stay safe, steaming hot, and delicious for up to four hours.
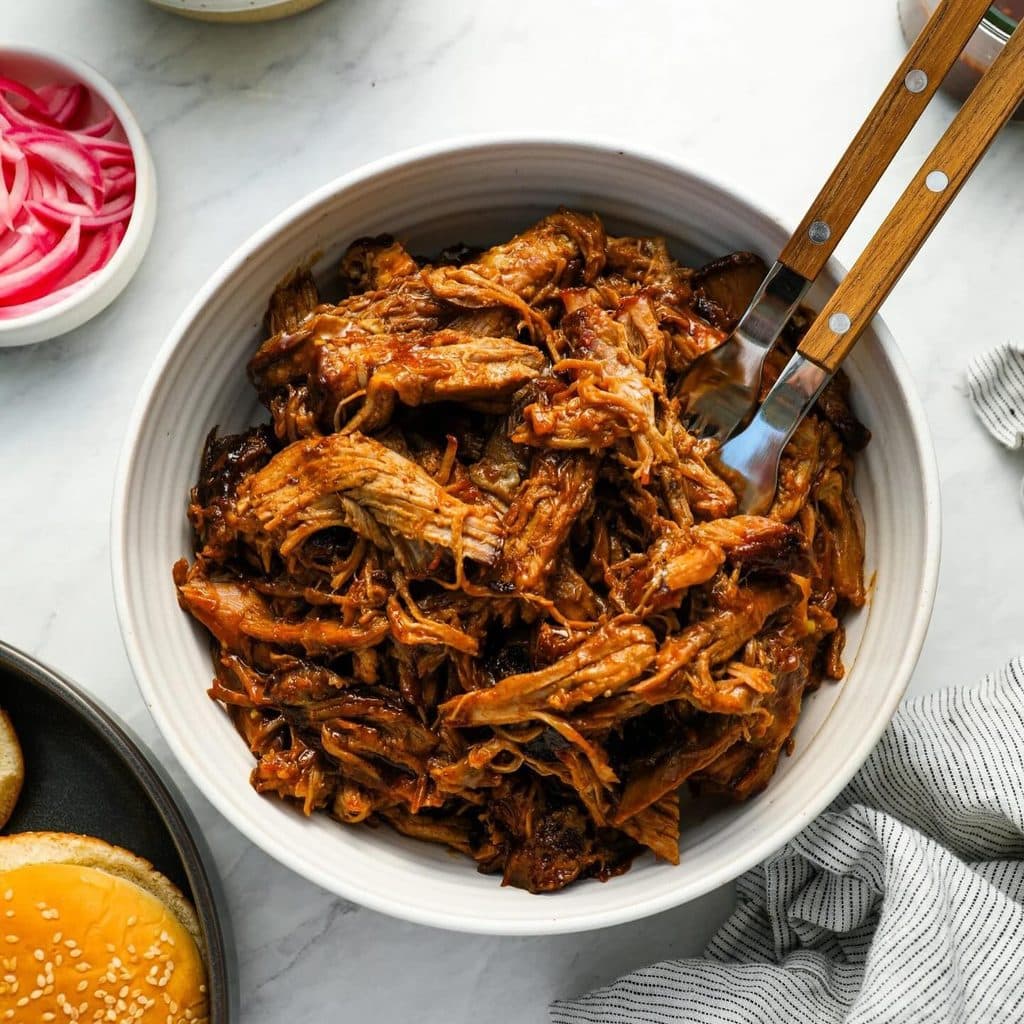
The Shred and Finishing Touches
Set the pork butt into a large, deep aluminum pan. Unwrap it carefully, taking care to save all the dark juices pooling at the bottom of the wrapper.
- Remove the Bone: Grab the bone and pull gently. It should slide out completely clean without taking any meat with it.
- Shred the Meat: Use meat claws, two large forks, or heat-resistant gloved hands to pull the roast into coarse chunks and shreds. Discard any unrendered chunks of hard white fat.
- Reintegrate the Juices: Pour the reserved liquid drippings back over the shredded meat and toss gently.
- The Finishing Sauce: Toss the meat with a light splash of apple cider vinegar mixed with a touch of red pepper flakes and brown sugar. This cuts through the heavy fat and brightens the overall flavor profile without drowning out the smoke.
Troubleshooting Common Beginner Mistakes
Even on a forgiving cut like pork butt, small mistakes happen. Here is how to handle them on the fly.
“My Pork is Tough and Hard to Pull”
- The Cause: You pulled it off the smoker too early based on time rather than internal temperature and feel. Collagen breaks down into gelatin starting around 195°F (90°C).
- The Fix: If you caught it early, wrap it tightly with a half-cup of liquid and place it into a 275°F (135°C) oven until it passes the probe-tender test.
“My Bark is Black and Bitter”
- The Cause: Dirty smoke (creosote) or burnt sugar from applying rub with high sugar content too early in direct heat.
- The Fix: Pick off burnt sections, shred the rest, and mix thoroughly with a sweet, tomato-based barbecue sauce to balance out the bitterness.
“The Cook is Taking Way Longer Than Expected”
- The Cause: A thick stall, lower-than-expected smoker temperatures, or a stubborn cut of meat.
- The Fix: Never hesitate to wrap the pork butt in foil and crank your pit (or indoor kitchen oven) up to 275°F–300°F (135°C–149°C). Once meat is wrapped, smoke no longer affects it, so an oven performs the exact same function as a high-end smoker.
Serving Ideas: Building the Ultimate Backyard Spread
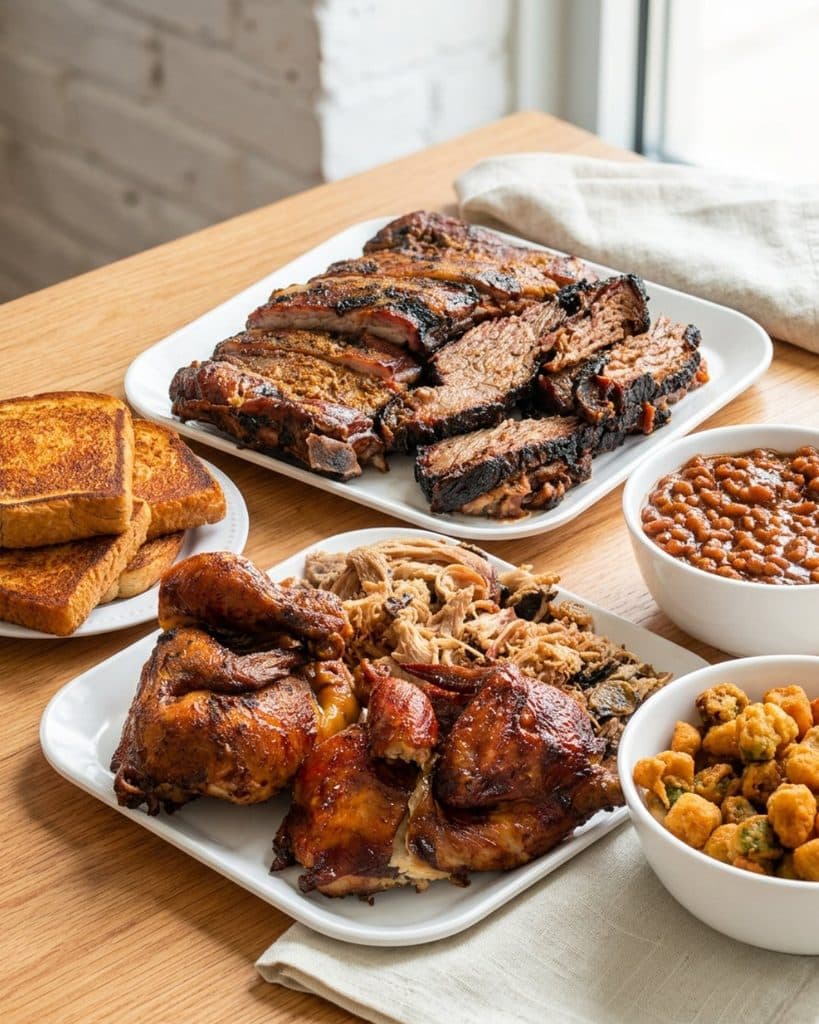
Classic pulled pork is endlessly versatile. While most people naturally default to piling it high on a bun, you can easily turn a single 8-pound roast into multiple meals across a weekend.
- The Classic Sandwich: Pile high on a toasted brioche bun with sweet pickle chips and crunchy coleslaw.
- Street Tacos: Wrap in warm corn tortillas and top with diced red onion, fresh cilantro, and a squeeze of lime.
- Loaded BBQ Spud: Split an open-baked potato and layer it with shredded cheese, sour cream, and hot pulled pork.
- Backyard Nachos: Scatter tortilla chips across a sheet pan, melt queso over the top, and layer with leftover pulled pork.
Whether you serve it traditional-style on a toasted bun with a side of creamy coleslaw or build loaded pulled pork nachos for Sunday football, the result is the same: incredible flavor achieved with minimal stress.
Barbecue isn’t about rigid timelines or high-stakes culinary precision. It’s about patience, low heat, and understanding how fat transforms over time.
Grab a pork shoulder, light your smoker, trust the process through the stall, and let the meat do the heavy lifting for you.
Frequently Asked Questions
1. How long does it take to smoke an 8-pound pork butt?
Plan for roughly 1.5 hours per pound at 225ºF to 250ºF (107ºC to 121ºC). For an 8-pound shoulder, the total cook time usually ranges from 10 to 12 hours, plus at least 1 hour of resting time.
Because every piece of meat cooks differently, always gauge doneness by internal temperature and feel rather than strict clock time.
2. Can I smoke a pork shoulder the day before and reheat it?
Yes! Pork shoulder reheats exceptionally well due to its high fat content. After shredding the meat, let it cool completely and store it in an airtight container with its reserved natural juices.
Reheat it covered in a 250ºF (121ºC) oven with a splash of apple juice or broth until warm.
3. Do I really need to wrap the meat during the stall?
Wrapping isn’t mandatory, but it is highly recommended for beginners.
Wrapping in foil or pink butcher paper speeds up the cooking process, keeps the meat moist, and pushes through the temperature stall quickly.
Leaving it unwrapped gives you a crunchier, darker bark, but adds 2 to 3 extra hours to your cook.
4. What if my meat is done way earlier than dinner time?
You can safely hold a whole wrapped pork shoulder hot for up to 4 hours using the “Faux Cambro” cooler method.
Keep the pork wrapped in foil or butcher paper, wrap it in two clean bath towels, and place it inside a clean, dry ice cooler.
The insulation keeps the meat steaming hot, tender, and safe to eat until you’re ready to shred and serve.
Featured image credit: @meatchurch
