
“Structure without ventilation is like a house without windows – it traps the very element meant to sustain it.”
While Benjamin Franklin was usually busy tinkering with lightning rods and constitution drafts, his obsessions with airflow and wood-stove efficiency hit on a universal truth: fire needs a escape route, and so does its smoke.
Building an outdoor kitchen with custom coverings and pergolas seems like the ultimate backyard flex.
That is, until your stunning wooden cedar beams turn into a soot-stained chimney and your guests start weeping – not from the sheer beauty of your smoked brisket, but from the cloud of eye-stinging grease trapped under the roof.
Grilling under an overhead structure is a delicate dance between luxury and self-sabotage. Standard patio covers love to trap heat, carbon monoxide, and billowing clouds of smoke right where your head usually sits.
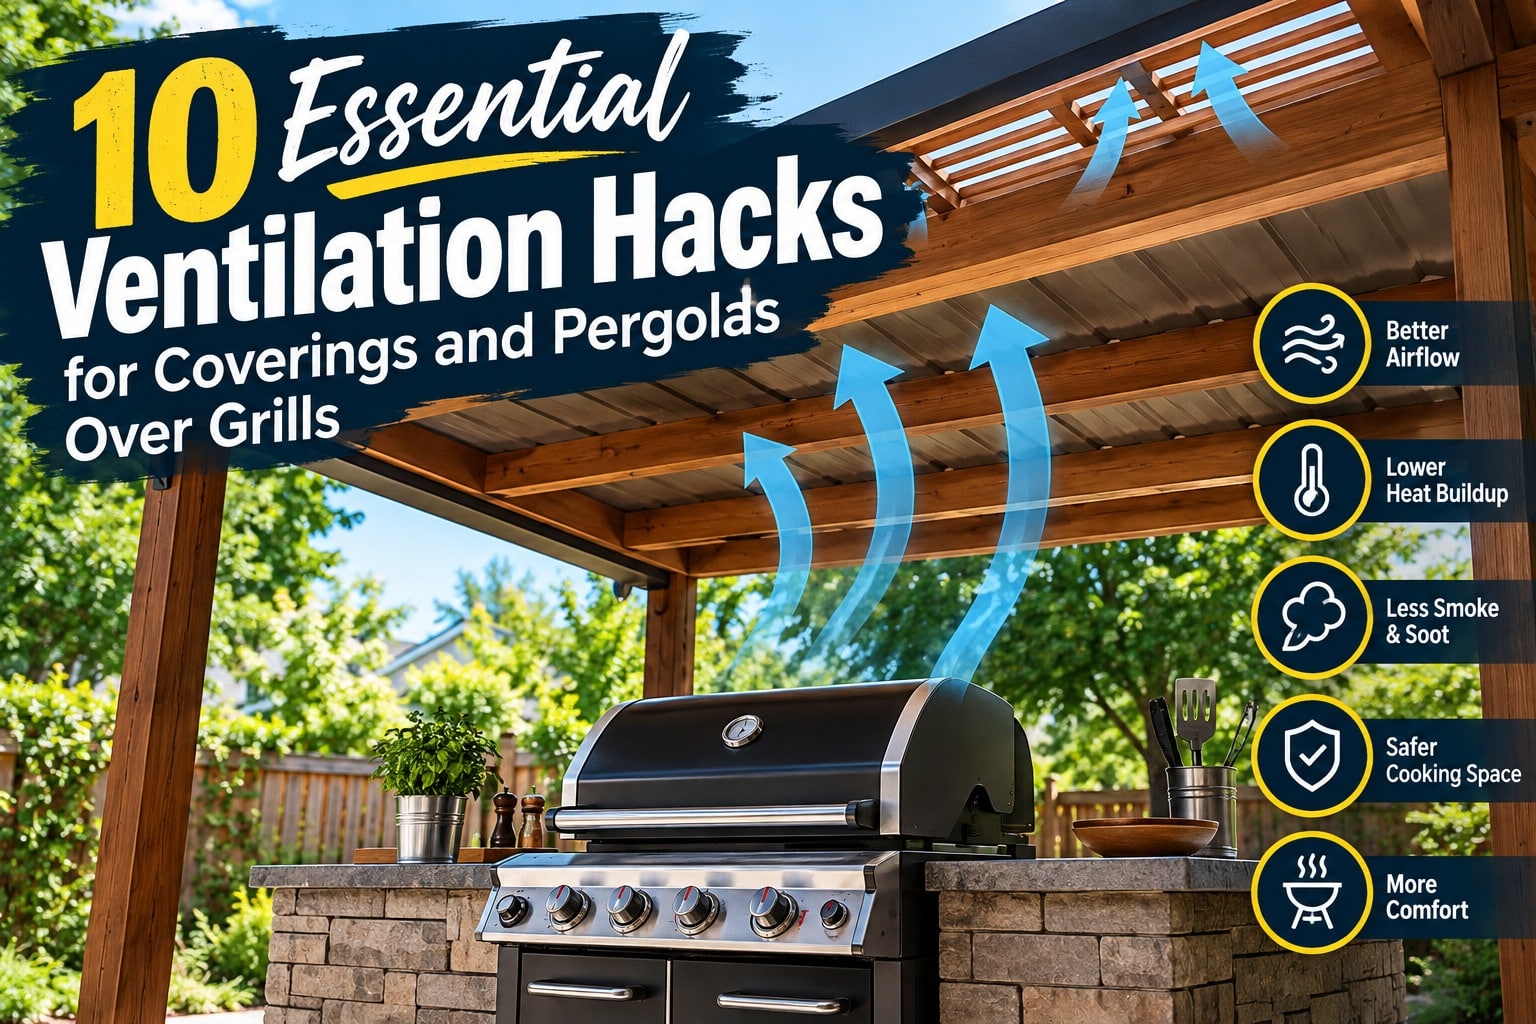
Before you turn your gorgeous outdoor pavilion into a low-yield carbon smoker, here are 10 game-changing ventilation hacks to clear the air, protect your investment, and keep the barbecue flowing rain or shine.
1. Install an Outdoor-Rated Stainless Steel Vent Hood
The active airflow powerhouse for ultimate smoke removal.
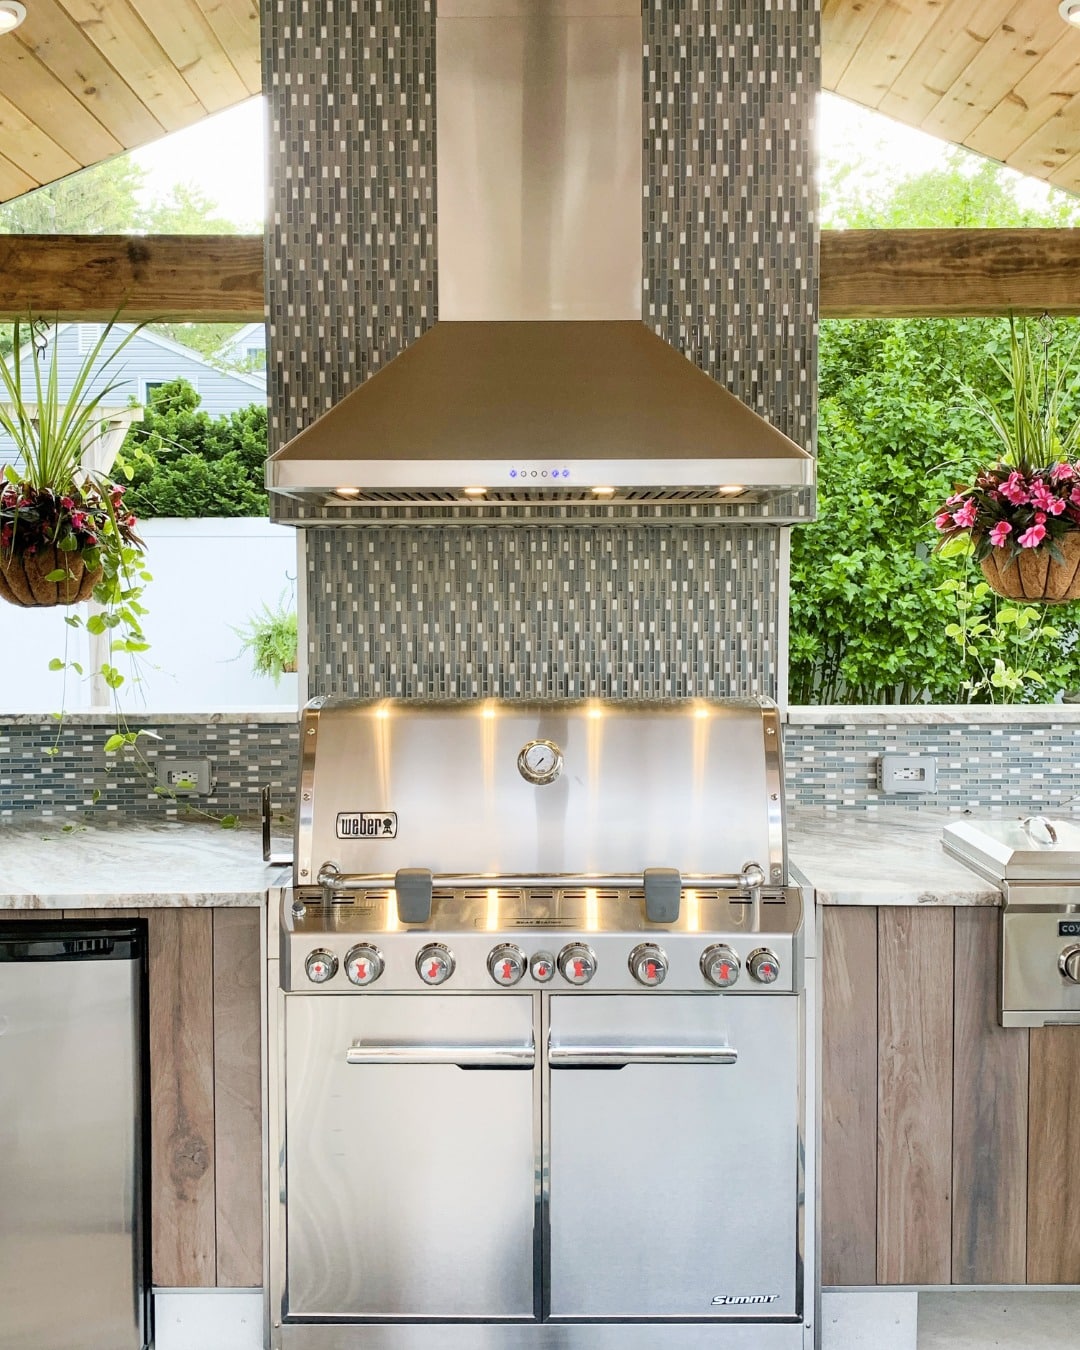
When passive airflow isn’t cutting it, mechanical ventilation is your absolute best friend. Standard indoor kitchen hoods won’t survive a single season outdoors; you need a heavy-duty, marine-grade 304 or 316 stainless steel outdoor vent hood.
- Aim for high CFM: Look for an exhaust fan rated for at least 1,200 CFM (Cubic Feet per Minute). High-heat searing and fatty cuts of meat spit out massive volumes of aerosolized grease and heavy smoke that require raw pulling power.
- Size it right: The hood should extend 3 to 6 inches wider than your grill surface on both sides to catch rising plumes before they spill into your pergola space.
- Ducting matters: Route rigid metal ductwork up through the roof structure, directing smoke out and away from high-traffic seating areas.
2. Harness Prevailing Winds with Smart Grill Positioning
Let Mother Nature do the heavy lifting for free.
Installing a grill without checking local wind patterns is like throwing a boomerang into a gale-force wind – you’re going to get hit in the face. Before bolting down a grill island under coverings and pergolas, observe how breezes naturally flow through your backyard.
- Position downwind: Align the back of the grill so natural winds sweep smoke away from adjacent dining zones and house entryways.
- Avoid dead zones: Placing a grill directly in a corner bounded by two solid patio walls creates an airflow eddy that locks smoke into a swirling vortex.
- Maintain cross-breezes: Ensure at least two sides of the structure remain unobstructed to allow natural drafts to clear out stagnant air continuously.
3. Upgrade to an Adjustable Louvered Pergola Roof
Architectural flexibility that lets smoke escape on demand.
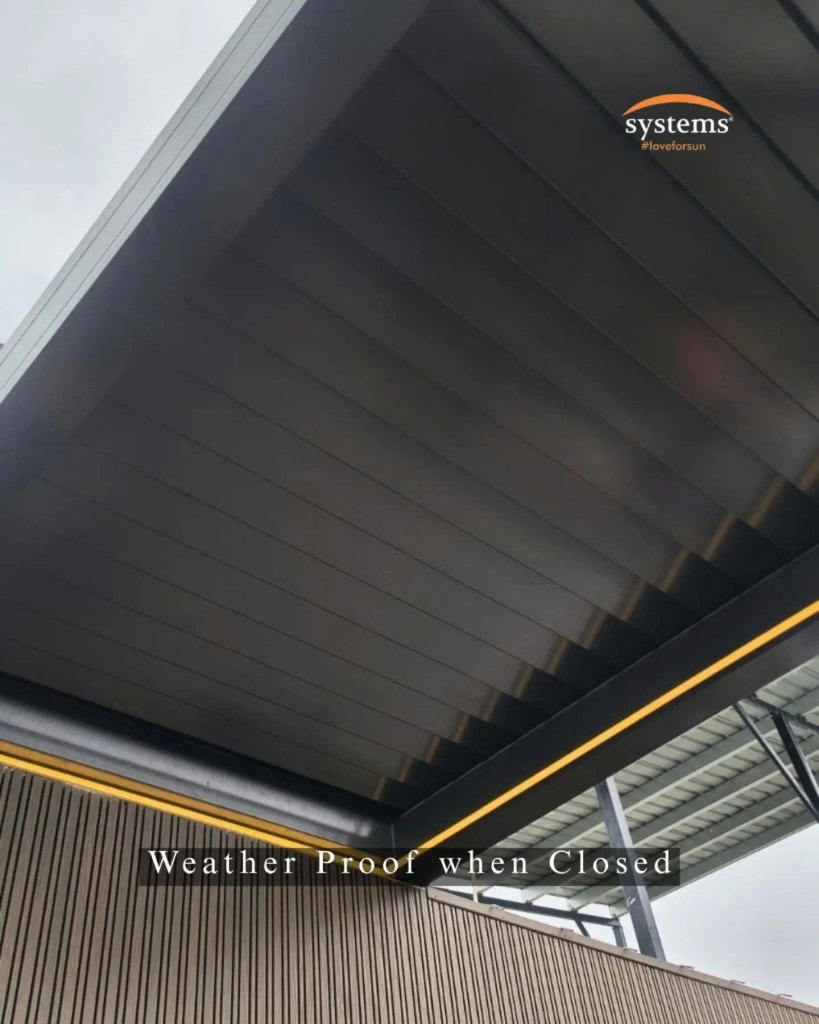
Fixed wooden slats look charming, but they act like a ceiling trap when grease fires kick up. Adjustable louvered roof systems allow you to tilt overhead louvers from fully closed (watertight protection) to open angled louvers at a moment’s notice.
- The chimney effect: Angling louvers at a 45-degree to 60-degree angle vents rising heat and smoke straight through the top while still shielding the cooking surface from light rain or harsh sun.
- Motorized convenience: Many modern aluminum louver systems come with remote controls or smartphone apps, allowing you to tweak airflow without stepping away from the tongs.
4. Deploy Strategic High-CFM Outdoor Fans
Targeted air directional movement without blowing out your flame.
If a $2,000 commercial vent hood isn’t in the budget, a well-placed outdoor fan setup provides exceptional smoke clearance for a fraction of the cost.
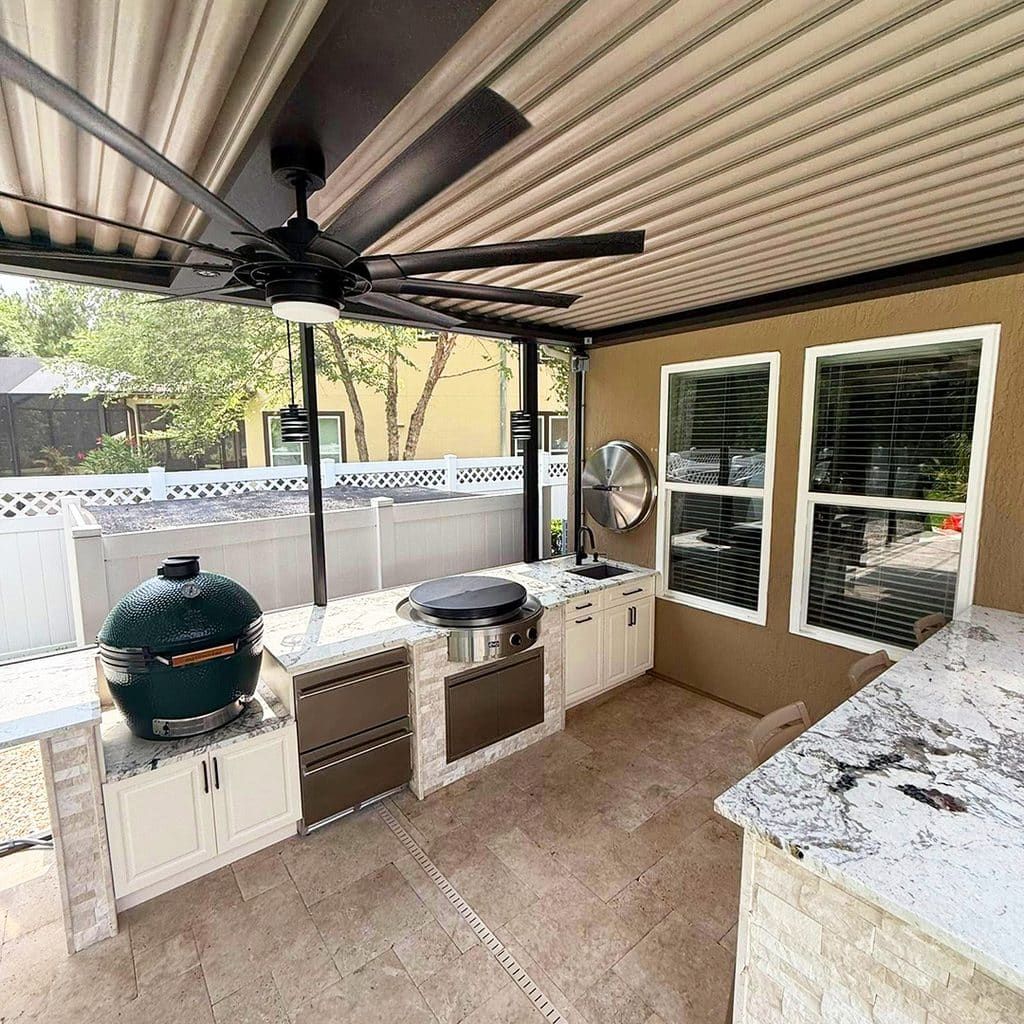
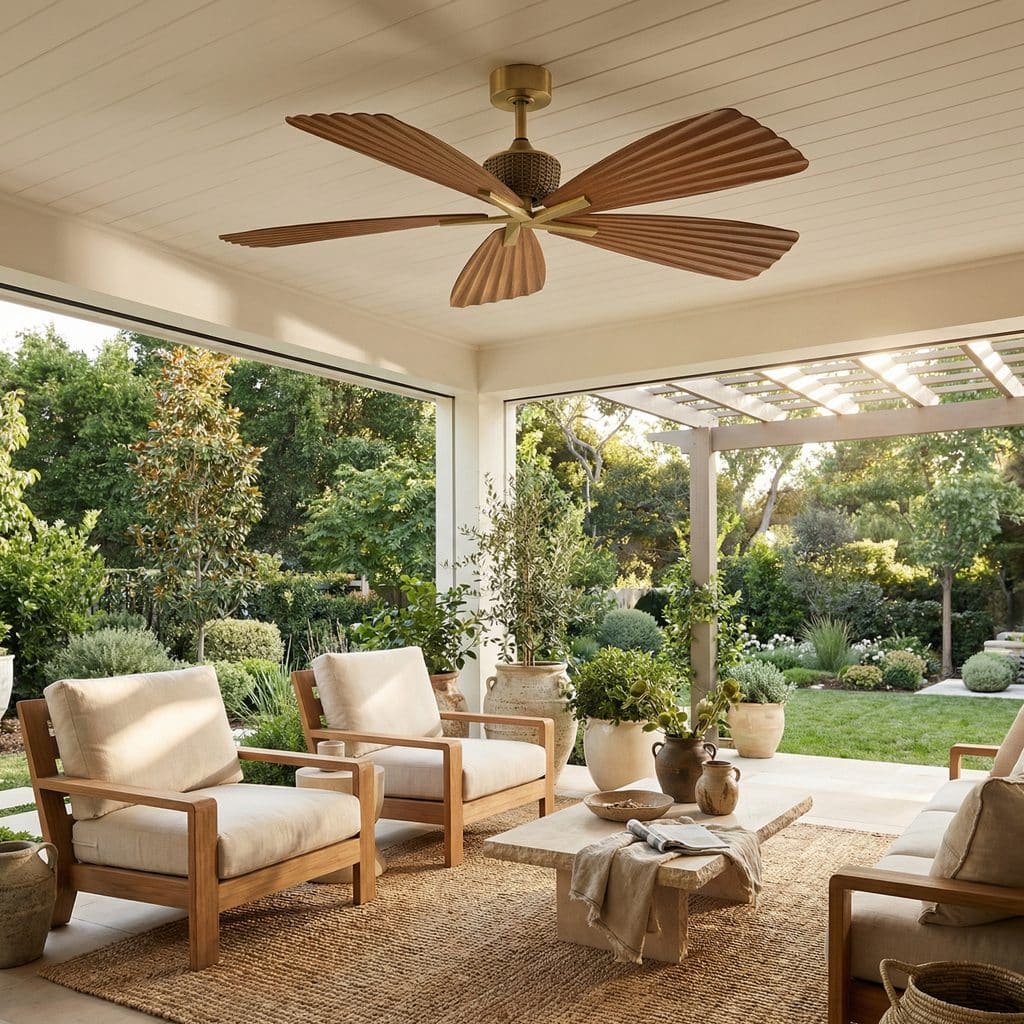
- Wet-rated ceiling fans: Mount a damp- or wet-rated ceiling fan directly above the seating zone – not directly over the grill – to create a gentle downward positive pressure that pushes smoke outward toward the open sides.
- Oscillating wall fans: Install a heavy-duty, commercial-grade oscillating wall fan behind or to the side of the grill station. Set it on low to create a steady directional push that sweeps smoke out of the structure without blowing out gas burners or scattering charcoal ash.
5. Maintain Critical Overhead & Lateral Clearances
Giving smoke room to breathe before it strikes overhead materials.
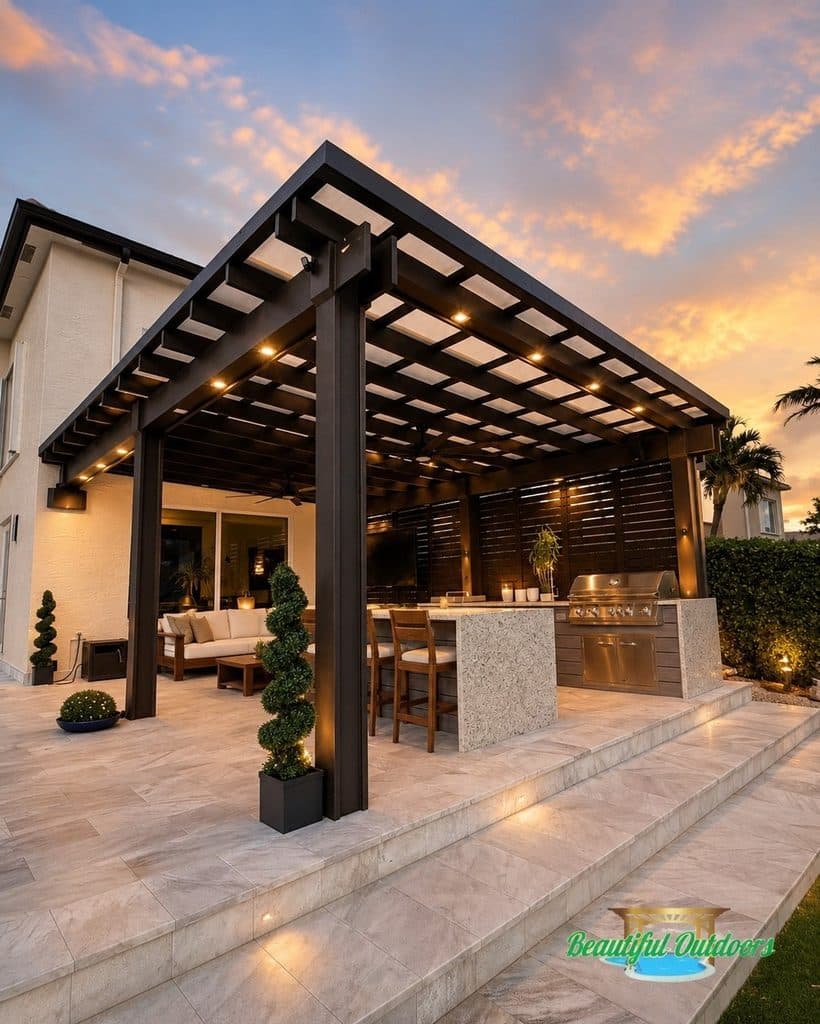
Tucking a grill tightly under low-hanging beams is a quick way to char your structure instead of your steaks. Heat and smoke need physical space to expand, cool down, and dissipate horizontally.
- Vertical distance: Maintain a minimum clearance of 30 to 36 inches from the top of the grill hood (when open) to any combustible pergola ceiling material.
- Lateral breathing room: Keep at least 12 to 18 inches of open space on the sides and back of the grill to prevent heat build-up against walls or posts.
- Higher is safer: Raising the roof profile over the cooking zone inherently creates a natural thermal buffer zone where hot air can pool harmlessly until it escapes.
6. Retrofit Overhead Heat Deflectors and Baffle Plates
Shielding wooden and vinyl structures from scorching thermal plumes.
Grilling directly beneath timber or vinyl coverings and pergolas subjects overhead beams to intense radiant heat spikes. Over time, this dries out wood, melts vinyl, and leaves dark, sticky grease resin behind.
- Install stainless baffles: Mount polished stainless steel or heavy-gauge aluminum baffle plates onto the underside of rafters directly above the grill.
- Create an air gap: Spacers should leave a 1-inch air gap between the metal plate and the wooden ceiling. This air pocket acts as a thermal break, preventing heat from transferring into the structure.
- Easy cleanup: Smooth metal plates wipe clean far easier than rough-sawn cedar, saving hours of scrub time down the road.
7. Add a Cupola or Raised Ridge Vent to Solid Roofs
Passive convection technology that works 24/7.
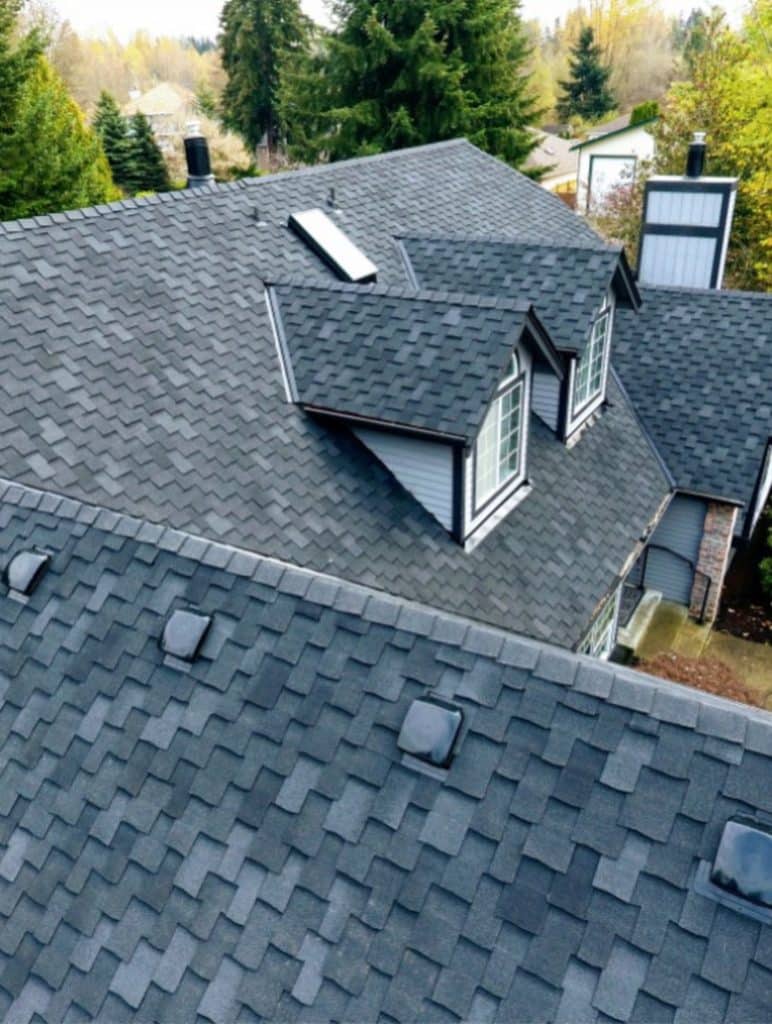
For gazebos, pavilions, or solid-roof patio covers, installing a raised ridge vent or architectural cupola creates a continuous, power-free exhaust escape route.
- Convection physics at work: Hot air and smoke naturally rise. A cupola perched at the highest point of a hip or gabled roof captures this rising thermal column and vents it outside naturally.
- Incorporate pest screens: Ensure all cupola louvers or ridge openings are lined with fine stainless steel mesh to keep birds, wasps, and squirrels from nesting in your exhaust corridor.
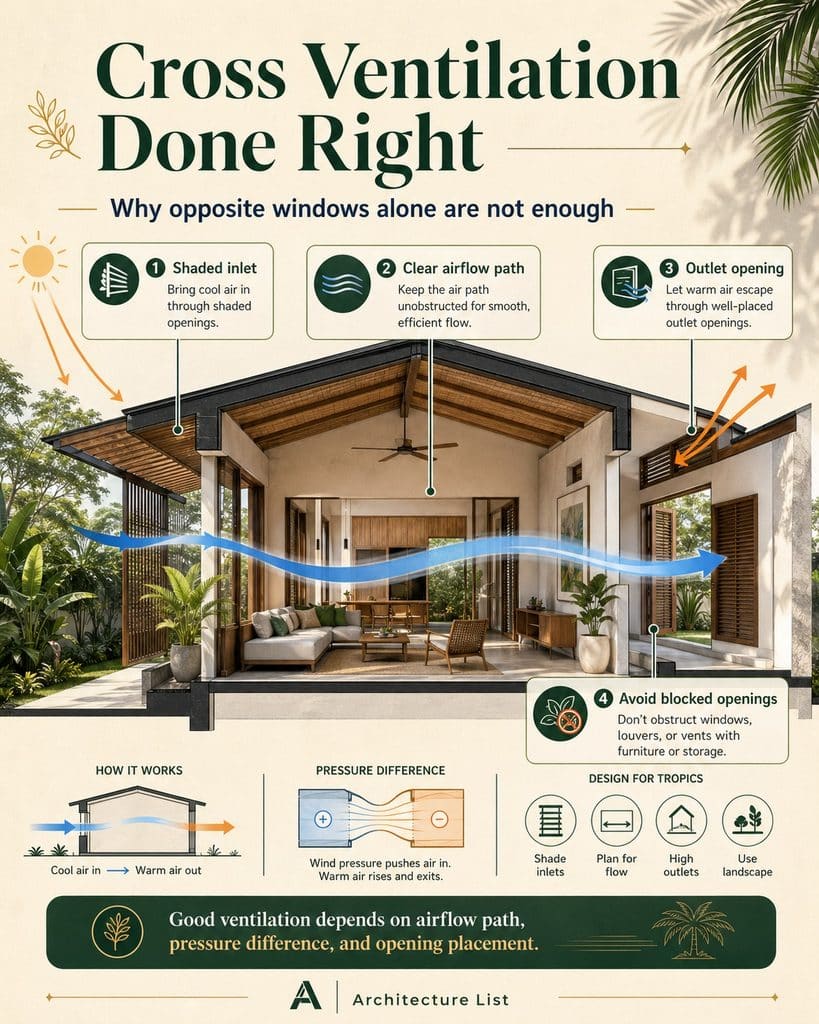
8. Design Open-Side Cross-Ventilation Corridors
Maximizing perimeter airflow without sacrificing outdoor comfort.
Walls are the enemy of good outdoor ventilation. Enclosing a covered grill area with solid privacy screens turns an outdoor patio into a gas chamber.
- The 50/50 rule: Keep at least 50% to 75% of the total perimeter space wide open to surrounding outdoor air.
- Breathable privacy: If privacy is essential, swap out solid wood walls for slotted timber louvers, open lattice panels, or breathable outdoor mesh curtains that block line-of-sight while letting breezes pass right through.

9. Switch to Low-Smoke Fuels & Practice Clean Cooking
Stop smoke before it even starts at the source.
The cleanest way to handle smoke under coverings and pergolas is simply producing less of it. Thick, acrid white smoke isn’t a sign of great flavor; it’s a sign of incomplete combustion and dirty equipment.
- Burn clean fuel: Ditch cheap, additive-heavy charcoal briquettes in favor of 100% natural hardwood lump charcoal. Lump charcoal burns hotter, cleaner, and produces significantly less ash and heavy smoke.
- Scrape the grease drip pan: Rancid grease buildup at the bottom of a grill accounts for the vast majority of foul-smelling flare-ups. A clean grill cooks better food and keeps overhead structures pristine.
10. Install Non-Combustible Canopy Liners & Spark Arrestors
Essential protective layers for fabric covers and wood-fired setups.
If your outdoor kitchen relies on canvas canopies, sail shades, or wood-fired smoker stacks, fire protection requires active management.
- Fire-retardant sprays: Treat overhead canvas and fabric awnings with heavy-duty outdoor fire-retardant treatments to prevent accidental ignition from rising heat sparks.
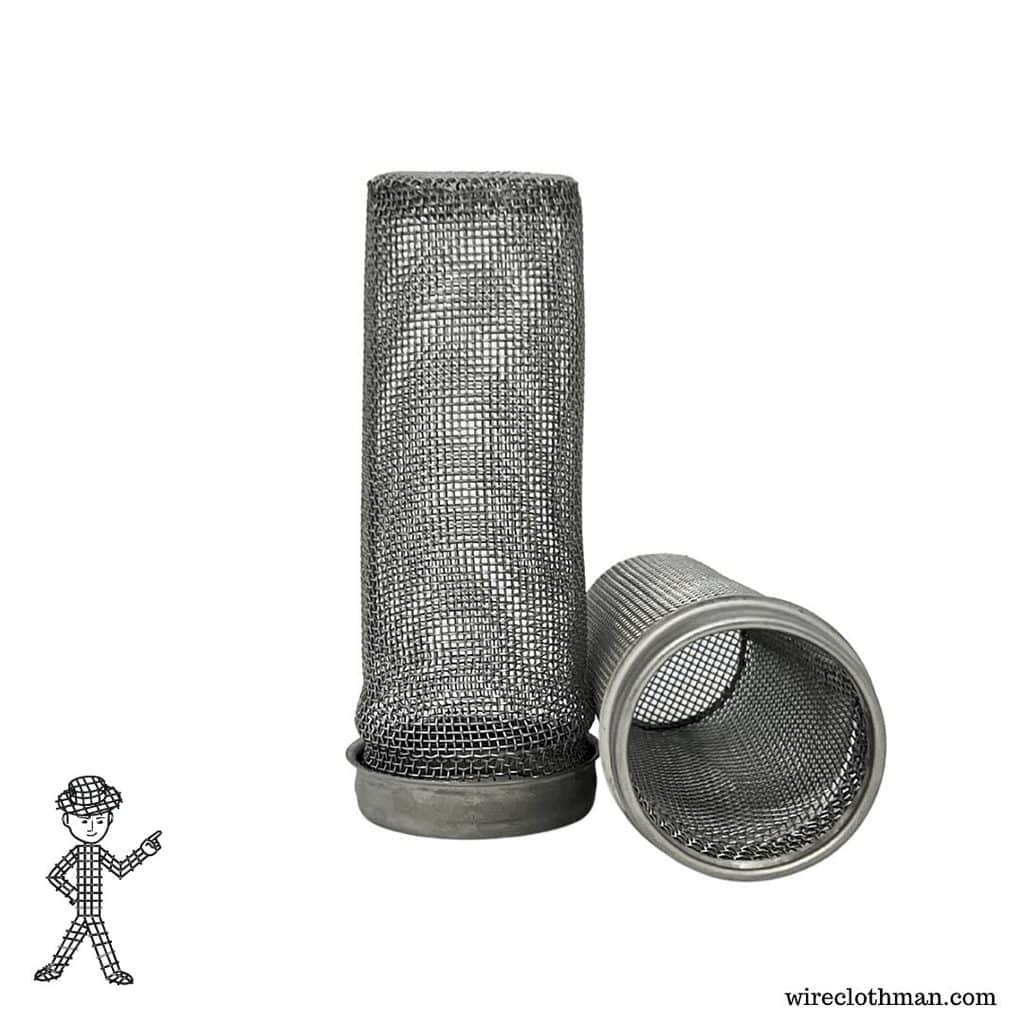
- Spark arrestors: If you operate an offset smoker, kamado, or wood-fired oven under a cover, always cap the chimney stack with a fine mesh spark arrestor screen to catch floating embers before they hit overhead rafters.
Summary Checklist for a Smoke-Free Grill Station
| Ventilation Hack | Best Suited For | Primary Benefit |
| Outdoor Vent Hood | Enclosed/Semi-enclosed kitchens | Active high-CFM smoke extraction |
| Louvered Roof Systems | Custom pergola builds | On-demand overhead venting & rain protection |
| High-CFM Wall/Ceiling Fans | Budget-friendly retrofits | Directional airflow that clears seating zones |
| Ridge Vents / Cupolas | Solid-roof pavilions & gazebos | Passive, power-free convection venting |
| Heat Baffle Plates | Low-clearance wooden structures | Thermal protection & easy grease cleanup |
Mastering backyard ventilation isn’t just about protecting your cedar structure or keeping your outdoor kitchen looking fresh – it’s about enjoying every minute of the cook. Implement a few of these practical airflow hacks, pop a cold beverage, and enjoy a smoke-free outdoor grilling season!
Featured image credit: ChatPGT
