
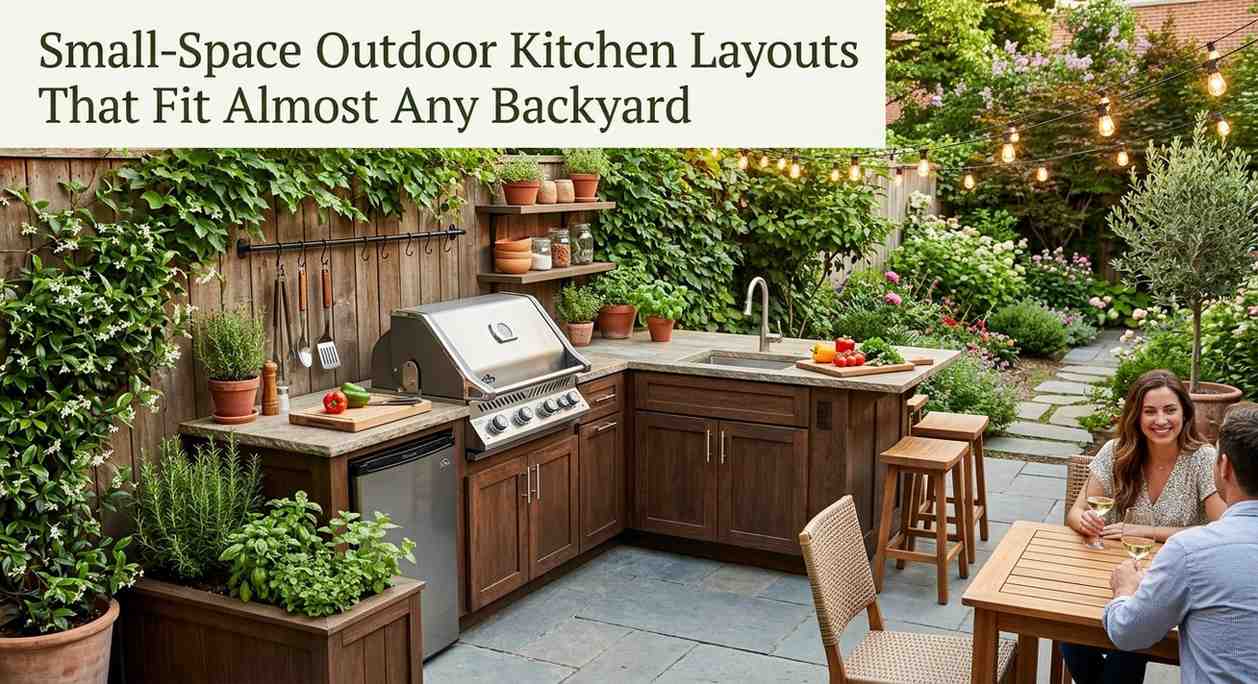
You don’t need a sprawling ten-acre estate or a backyard that looks like a luxury resort to cook world-class food outdoors.
For years, the outdoor living industry tried to convince everyone that a real setup requires a massive stone island, a built-in kegerator, a pizza oven, and enough seating for a minor league baseball team.
That is complete nonsense. I’ve cooked on everything from a rusted drum grill in the rain to a custom backyard setup that looked like it belonged in a home design magazine, and I can tell you firsthand: great food comes from good workflow, not raw square footage.
Urban townhomes, narrow side yards, and modest suburban patios can all accommodate incredible cooking hubs.
By choosing smart small-space outdoor kitchen layouts, leaning into clever spatial zoning, and picking hardware that pulls double duty, you can turn a tight footprint into a high-performance culinary station.
Key Factors to Consider Before Choosing a Compact Outdoor Kitchen Layout
Before slinging mortar or buying stainless steel modules, you need to map out your space with the precision of a seasoned line cook. Cooking in a tight area means margin for error vanishes quickly. If your setup isn’t practical, you won’t use it.
- The Golden Triangle (Adapted for Outdoors): Indoor kitchens rely on the classic sink-fridge-stove triangle. Outdoors, simplify this down to Prep, Fire, and Landing Zone. You need a clear path from where you set down raw meat, to where it cooks, to where the finished product rests before serving.
- Clearance and Heat Safety: Fire needs breathing room. Placing a high-BTU gas grill or charcoal cooker directly against vinyl siding or wooden trim is a fast track to calling the fire department. Maintain proper clearances from combustible walls, or invest in non-combustible heat shielding and insulated jackets.
- Traffic Flow: Nobody enjoys searing a batch of ribeyes while dodging family members reaching into a cooler for soda. Keep your main foot-traffic paths away from your cooking station.
- Utility Reality Checks: Running gas lines, 220V electrical circuits, and winterized plumbing underground adds thousands to a budget. In compact layouts, think critically about whether you truly need a plumbed sink or if a quick-connect hose hookup or proximity to your indoor kitchen makes more sense.

1. The Straight-Line (I-Shape) Island
The straight-line layout is the absolute champion of efficiency. It takes up minimal depth – usually requiring just 24 to 30 inches from front to back – and sits comfortably against an exterior wall, along a deck railing, or down a narrow side patio.
Layout Workflow
Prep Counter (18-24″ space) ➔ 28-32″ Built-In Grill ➔ Landing Zone (12-18″ space)
Why It Works
It keeps all your tools, heat, and prep space along a single linear plane. You move left to right (or right to left) without ever turning your back on the grill or stepping out of your workspace.
Essential Components
- A Compact 28” to 32” Built-In Grill or Griddle: You don’t need a monster 48-inch six-burner grill to feed a crowd. A tight 30-inch unit provides plenty of thermal surface area while preserving precious counter space.
- Undercounter Storage Access Doors: Hides your propane tank, wood pellets, or grilling tools while keeping the visual footprint clean.
- Flanking Landing Space: You must have counter space on both sides of your main burner. Aim for a minimum of 18 to 24 inches on your primary prep side and at least 12 to 18 inches on the other for resting hot pans and platters.
Pro Tip: If your I-shape island sits against your house wall, install stainless steel backsplashes or stone tile to protect your siding from grease splatters and heat discoloration.
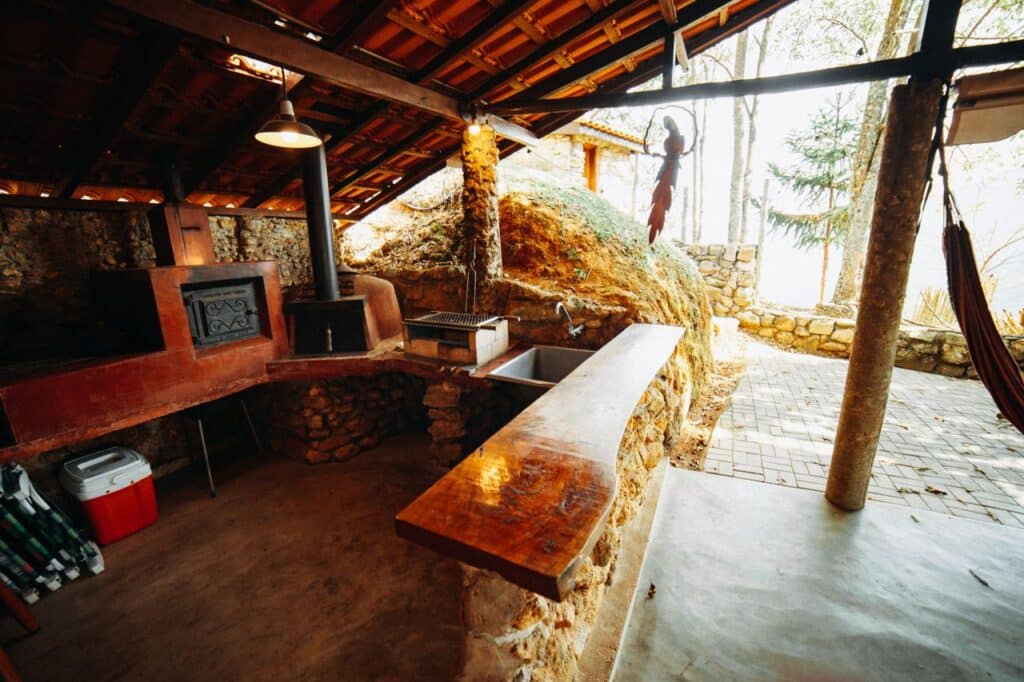
2. The Compact L-Shaped Corner Setup
Corners are notorious dead zones in small yards. An L-shaped layout turns awkward 90-degree patio bends into a powerhouse station by creating two distinct functional zones without eating into the center of your lawn or deck.
Why It Works
By bending the kitchen around a corner, you naturally separate the Hot Zone (where you are searing and generating smoke) from the Cold/Prep Zone (where you assemble ingredients, chop garnishes, or hold cold drinks).
This setup gives you two surfaces to work on without requiring you to walk back and forth along a long counter.
Essential Components
- Corner Cabinet Module: Connects the two legs of the L while providing deep internal storage for bulky items like bags of lump charcoal or cast-iron Dutch ovens.
- Cooker on the Short Leg: Position your grill on the outer edge to blow smoke away from guests.
- Prep and Refrigeration on the Long Leg: Place a mini-fridge or prep counter on the perpendicular side, keeping drinks accessible without putting guests in your cooking bubble.
Pro Tip: Never place your grill directly in the inside corner of the “L.” You’ll end up pinned against the counter with nowhere to set down hot tongs or platters. Keep the cooktop at least 12 inches away from the inside seam.
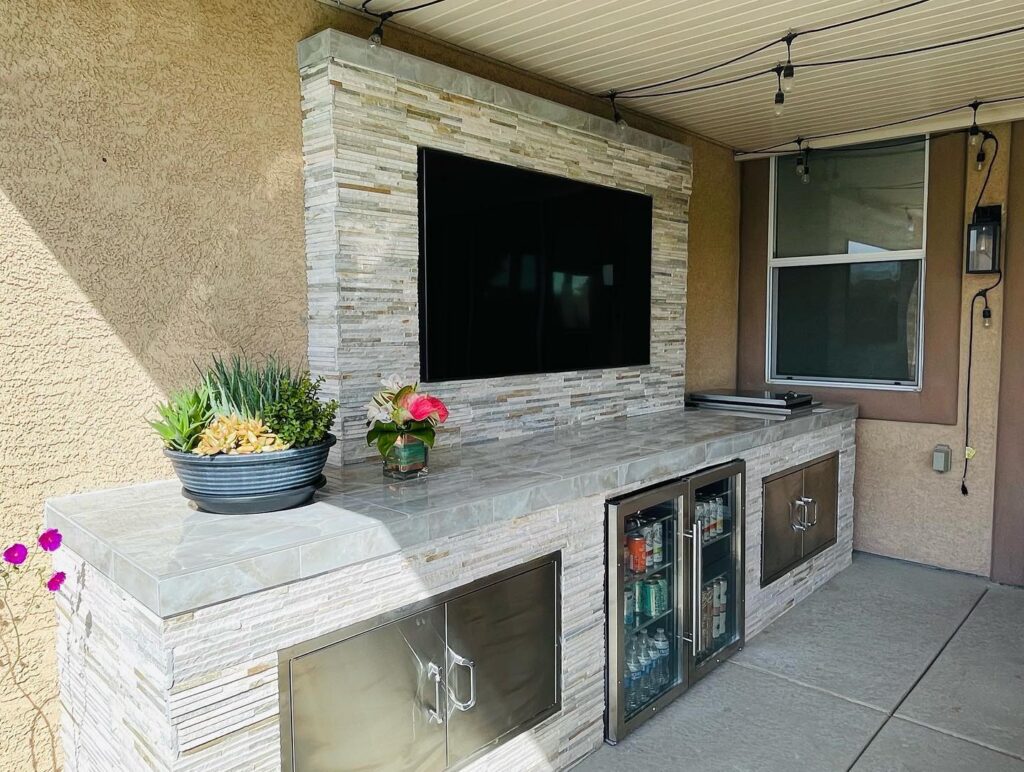
3. The Flush Wall-Mounted / Recessed Station
For townhome owners, condo dwellers, or anyone working with an ultra-narrow patio, building out into the yard isn’t an option.
The flush wall-mounted station utilizes the vertical plane of your home, garage, or retaining wall to construct a high-functioning kitchen that sticks out only a foot or two from the wall.
Why It Works
This approach prioritizes floor space above everything else. By mounting shelving, tool racks, and even folding counter extensions directly to a structural wall, you keep the walkway entirely open when you aren’t actively cooking.
Essential Components
- Wall-Mounted Floating Prep Ledges: Fold-down stainless steel or teak butcher-block tables that drop flat against the wall when not in use.
- Vertical Storage Panels: Heavy-duty pegboards, magnetic knife bars, and floating stainless shelves keep seasonings, thermometers, and spatulas organized at eye level.
- Compact Grill Unit: A low-profile grill mounted on a shallow masonry base or supported by a wall bracket system.
Pro Tip: Pay close attention to overhead soffits or roof overhangs. If your wall-mounted station sits under a covered porch, you must install an outdoor-rated vent hood to evacuate smoke and prevent oil buildup on your ceiling.
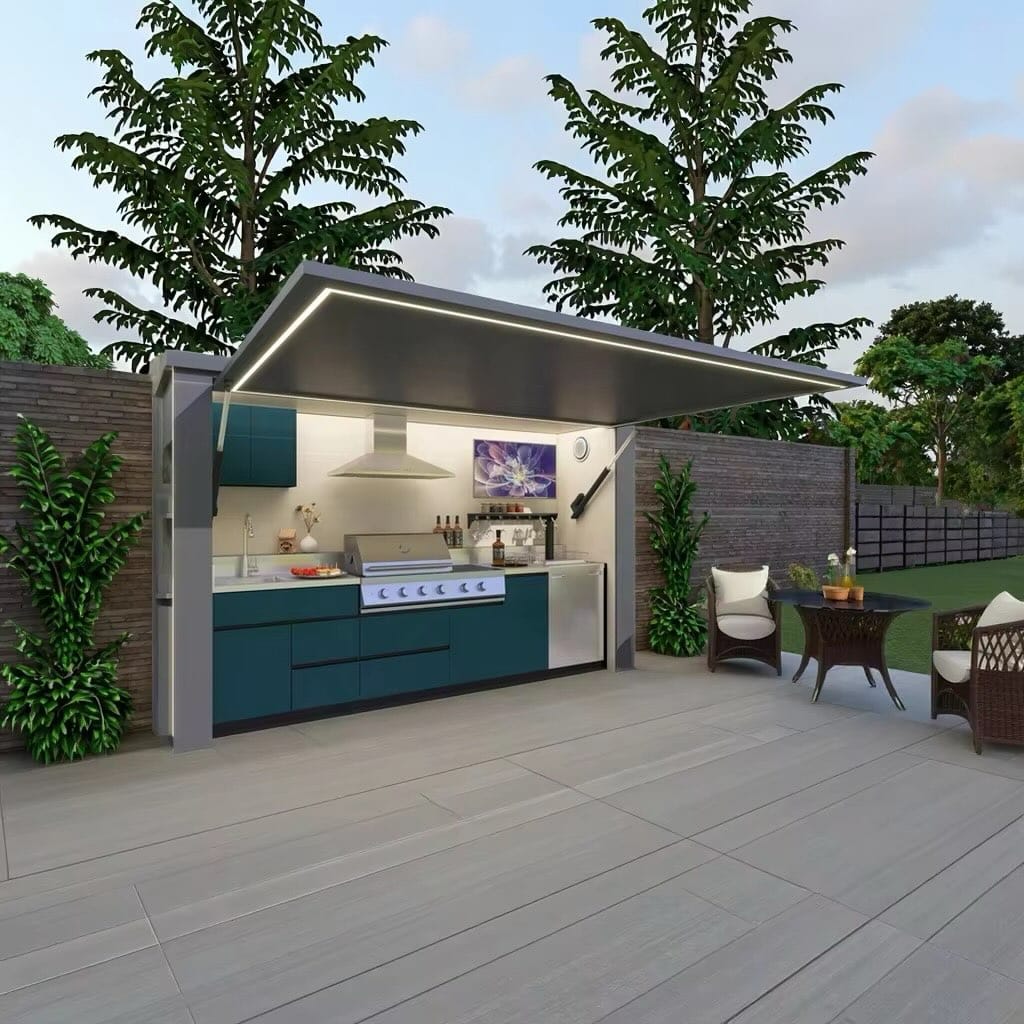
4. The Mobile / Modular Wagon System
Not every great outdoor kitchen has to be cemented into the ground. If you rent your home, live in an HOA with strict permanent-structure rules, or like to reconfigure your patio depending on the season, a mobile modular setup is a game-changer.
Layout Workflow
Roll-Away Prep Cart (with locking casters) ⟷ Cart Grill or Griddle ⟷ Cooler & Beverage Station
Why It Works
Instead of committing to a fixed footprint, you use heavy-duty, weather-resistant mobile carts that interlock or sit side-by-side. Cook a feast on Saturday, wheel the components back into the shed or along the fence on Sunday, and enjoy your open patio all week long.
Essential Components
- High-End Cart-Style Cooker: A standalone stainless steel gas grill, flat-top griddle, or pellet smoker equipped with heavy-duty locking casters.
- Stainless Steel Utility Cart: Acts as your mobile island, complete with drawers, paper towel holders, and drop-leaf side tables.
- Weatherproof Quick-Connects: Modular units that can be latched together for stability during cooking, then detached effortlessly when it’s time to pack up.
Pro Tip: Don’t skimp on the wheels. Cheap plastic casters will crack or stick on patio pavers. Look for heavy-duty, polyurethane locking wheels rated for at least 150 pounds each.
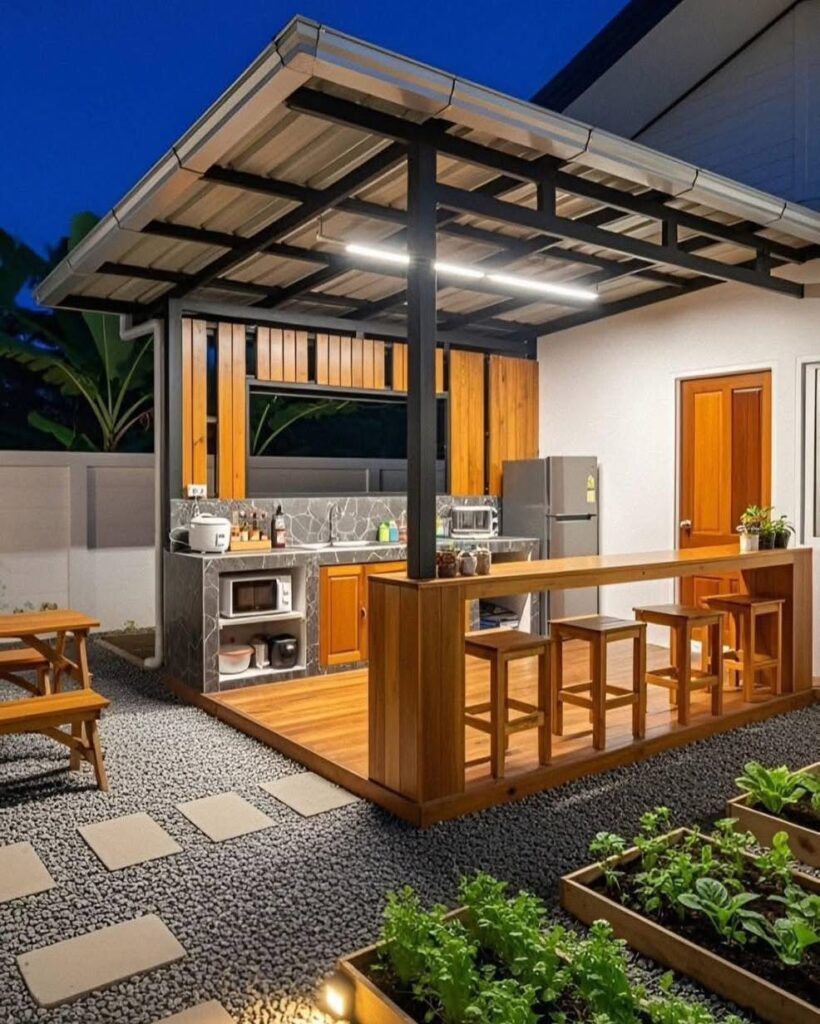
5. The Galley (Parallel) Micro-Kitchen
Common in professional restaurant lines, the galley layout features two parallel runs of counters facing each other across a central walkway.
While usually reserved for larger spaces, scaling this down into a micro-galley works wonders for narrow breezeways, enclosed courtyards, or rectangular urban decks.
Why It Works
It offers maximum surface area in a tight corridor. You can spin around on your heel from your cooking station directly to your prep station or serving bar without taking a single step.
Essential Components
- The Primary Cooking Line: A narrow island against one wall housing your grill, fuel storage, and primary heat-safe counters.
- The Secondary Serving Line: A parallel low-profile counter against the opposite wall or deck railing that serves as a prep station, buffet line, or casual drink bar.
Walkway Spacing Rule
Maintain at least 36 to 42 inches of clear clearance between the two parallel runs. Anything tighter will make you feel trapped when opening grill hoods or cabinet doors; anything wider loses the quick-turn efficiency that makes galley layouts so great.
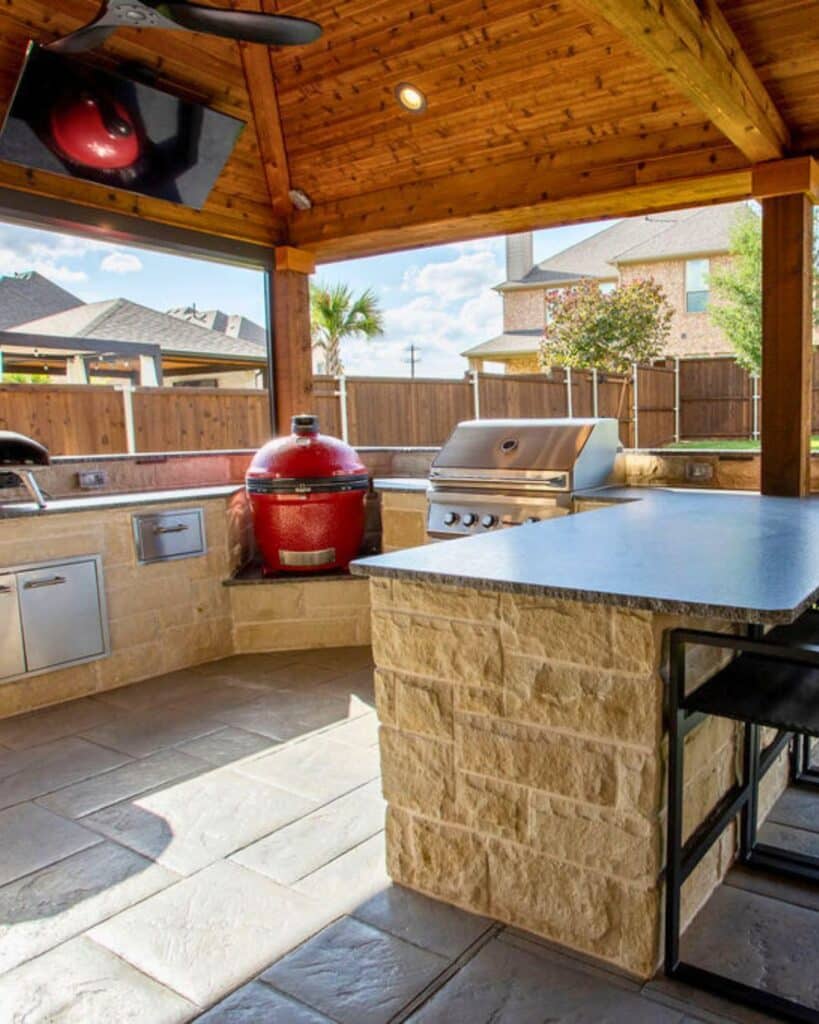
6. The Perimeter Bar & Grill Combo
When space is tight, combining your cooking center and your guest seating into a single multi-height island saves massive amounts of patio real estate. You eliminate the need for a separate outdoor dining table while keeping guests involved in the action.
Dual-Height Structure
- Top Tier (42″ Height): Raised bar-height counter for guest seating and drinks.
- Bottom Tier (36″ Height): Standard cooking surface housing the 30″ built-in grill, prep space, and storage.
Why It Works
By utilizing a two-tier counter design, you create a physical barrier between the hot cooking zone and the seating zone while maximizing vertical space.
Essential Components
- Lower Cooking Counter (36-inch height): The standard height for grilling and prep work.
- Raised Rear Bar Top (42-inch height): Overhangs the back or side of the cooking island by 12 to 15 inches, providing a comfortable space for barstools.
Pro Tip: The raised bar ledge acts as a natural splash guard and heat shield, keeping hot grease splatters away from your guests’ drinks while hiding the messy prep work on your lower counter.
3 Essential Smart-Design Tricks for Small Outdoor Kitchens
Regardless of which layout you pick, space will always be at a premium. Integrate these three spatial tricks to squeeze every square inch of performance out of your footprint:
- Go Vertical with Tool Storage: Stop sacrificing drawer space for tongs, grill brushes, and aprons. Use magnetic tool strips, wall hooks, and vertical shelving to store gear high and dry.
- Choose Multi-Functional Hardware: Invest in equipment that does more than one job. A high-quality flat-top griddle can cook breakfast, sear steaks, and smash burgers. A sink basin with a drop-in cutting board lid transforms from a washing station into usable prep space in one second.
- Incorporate Slide-Out Storage: Deep cabinets are black holes where grilling gear goes to die. Install full-extension slide-out drawers for your propane tanks, trash cans, and wood chip bins to keep everything accessible without cluttering your floor.
Big Flavor, Small Footprint for Small-Space Outdoor Kitchen Layouts
Building a great outdoor cooking space isn’t about flexing how much concrete you can pour – it’s about engineering a smart, efficient workspace that makes cooking outside a joy.
Whether you roll out a flexible modular wagon system or tuck a sleek I-shaped island along your back wall, the right layout turns even the smallest patio into an exceptional backyard kitchen.
Measure your space, respect your heat clearances, keep your workflow simple, and get ready to cook some incredible food.
Featured image credit: Google Gemini
