Thinking of building an outdoor cooking space in 2025? Great – but before you pick out a grill, you need to know what you’re really signing up for.
he outdoor kitchen cost can swing wildly based on size, materials, and how serious you are about your barbecue cred.
As a pitmaster who’s seen both DIY throw-together grills and restaurant-level backyard kitchens – I’m here to break it down, piece by piece, with straight talk, helpful advice, and a few laughs along the way.
Quick Overview – What You’ll Spend (Usually)
Here’s a rough idea of what you might pay, depending on ambition and budget:
| Tier | Typical Cost Range | What You Get (Roughly) |
| Basic / Entry-Level | US $5,000–15,000 | Simple grill setup, minimal countertop, modular base, basic prep area |
| Mid-Range | US $15,000–35,000 | Built-in grill, decent countertop, cabinetry or storage, sink/plumbing or gas hookup, modest finishing touches |
| High-End / Custom | US $35,000–75,000+ | Fully customized layout, premium stone or tile finishes, pizza oven or smoker, lighting, utilities, seating/bar area – basically a full outdoor cooking and entertaining area |
These ranges are guidelines. Final cost depends heavily on your selections: materials, layout, appliances, and local labor and permit costs.

What Drives Up Outdoor Kitchen Cost – And What’s Worth It
Before you start picking glitzy appliances, know what really moves the dial on price.
Size & Layout
- A small grill station tucked next to the house costs far less than a sprawling U-shaped kitchen with bar seating.
- More surface area = more materials, more labor, more finishing. If your dream outdoor kitchen is bigger than your actual indoor kitchen … expect the price to close in fast.
Materials Used
- Stainless steel cabinetry and modular units: relatively affordable and durable.
- Masonry, stone, granite, tile: looks great, lasts longer – but costs more up front.
- Quality of appliances also matters. A $800-grill feels very different from a $4,000 commercial-grade unit.
Utilities & Infrastructure
- Running gas or propane, water, electricity means plumbing, wiring, permits – not cheap.
- Add lighting, ventilation, drainage – that adds up. These are the invisible costs a lot of first-timers forget.
Labor & Skilled Work
- DIY builds save money – but only if you know what you’re doing.
- Hiring professionals for masonry, gas line installation, or proper electrical work improves safety and durability … but lifts the overall cost.
Bottom line: saving a little on materials can feel good now – until you’re replacing cracked countertops or rusty cabinets in a few years. Investing wisely saves headaches.
Component-by-Component Cost Breakdown
Here’s a closer look at each major piece of your outdoor kitchen, with rough cost considerations and what to watch out for:
Grills & Cooking Equipment
- Basic built-in grill: Affordable, decent for burgers and typical grilling – but you get what you pay for.
- Premium grills, side burners, smokers, pizza ovens: These are the showpieces. Prices climb fast.
- Tip: Choose your grill based on how you cook, not just how it looks. A good grill that heats evenly and lasts five years is worth far more than a flashy one that sputters.
Countertops & Surfaces
- Concrete, tile, granite, or porcelain: Durable, heat-resistant, and weather-ready.
- Cost per sq. ft. varies quite a bit: Concrete is budget-friendly; granite or stone tiling pushes prices up.
- Consider maintenance: Porous materials might need sealing; tile grout can stain. Low-maintenance surfaces are often worth the extra spend.
Cabinets & Storage
- Stainless steel, polymer, masonry – those are your major options.
- If you want weather resistance, durability, and look, stainless or weather-rated polymer wins.
- Cabinets add value because they turn a grill station into a functional kitchen – good prep space, storage, and a cleaner finish.
Flooring or Patio Base
- Your outdoor kitchen sits on something. Pavers, stamped concrete, tile, or stone all work, but with different costs.
- A clean, stable base lets your build last; a flimsy or low-quality floor leads to cracks, uneven surfaces, and water problems.
Utilities: Gas, Water, Electricity, Lighting
- Running gas or propane for the grill, water for sinks or fridges, and electricity for lighting or small appliances adds to final cost.
- Permit, installation, safety checks – these are invisible but real expenses.
- Pro tip: Build near existing gas/water lines or utilities to reduce cost. Moving lines or extending plumbing can double or triple installation expense.
Ventilation & Cover (if roofed)
- If your kitchen is under a cover, proper ventilation matters – especially when you’re grilling or smoking meat.
- Vent hoods, exhaust fans, smoke vents – add these if you want a safe, pleasant cooking zone, especially in a covered patio or pergola setup.

Prebuilt vs. Custom-Built: Which Route Fits Your Budget?
| Build Type | Typical Cost | Best For | Pros | Cons |
| Modular / Prebuilt Units | US $4,000–20,000 | Rental homes, small spaces | Quick installation, lower cost | Limited layout and style |
| Semi-Custom Builds | US $15,000–40,000 | Most homeowners | Good balance – decent finishes, customization | Moderate cost, limited extras |
| Fully Custom Kitchens | US $40,000–75,000+ | Long-term homes, entertainment spaces | Tailored design, high-end finishes, max functionality | High cost, long build time |
Why go modular? If you’re renting, just want a decent grill area, or plan to move in a few years.
Why go custom? If you want something that lasts decades – built for family gatherings, dinner parties, or regular BBQ nights.
Location & Climate Impact on Cost
Where you build your outdoor kitchen can change costs by a lot:
- Coastal or humid regions: need weatherproof materials (rust-resistant metal, sealed stone, weather-rated cabinets). That costs more but protects your investment.
- Cold or freeze-prone areas: need freeze-resistant plumbing, drainage, and frost-proof materials — increases base cost.
- Remote or high-labor-cost areas: labor and permit fees jump. Even materials can cost more due to shipping and transport.
Pro tip: Check local climate, weather patterns, and building codes – and build for durability from day one.
Upgrades & Extras – The Spark That Burns the Budget (But Worth It)
Once the basics are covered, many homeowners add features that turn a grill corner into an entertainment hub. Here are common upgrades and their rough added cost:
- Outdoor refrigerator or mini-fridge – keeps drinks and prepped food chill
- Pizza oven / smoker stack – gives you versatility beyond burgers, adds real value
- Fire pit or outdoor fireplace – adds ambiance, doubles for roasting marshmallows
- Pergola, awning, or covered patio roof – protects from rain or sun, extends kitchen life
- Outdoor lighting & smart accessories (LED, dimmers, speakers) – turns dinner into a full experience
- Built-in bar or seating area with stools – makes the kitchen a social hub
“This is where your outdoor kitchen goes from ‘nice backyard setup’ to ‘dinner-party central.’”
Each upgrade adds cost – sometimes significantly. But if you want the full lifestyle (cook, dine, lounge, entertain), many of these extras pay off in usability and enjoyment.

Budget-Smart Strategies – Big Look, Smaller Cost
Want a killer outdoor kitchen without breaking the bank? Here are effective ways to cut costs smartly:
✅ Start with a modular or semi-custom base
Get a quality grill and prep station – then upgrade over time as budget allows.
✅ Build in phases
First, get the grill + prep zone working. Later, add storage, sink, lighting, or extras. This spreads cost and gives flexibility.
✅ Use durable mid-range materials
You don’t always need granite or imported stone. Quality concrete, porcelain tile, or weather-resistant plywood can look sharp and hold up well.
✅ Stay close to existing utilities
Building next to a wall with gas/water/electricity lines reduces trenching, plumbing, and wiring work – big savings.
✅ Watch for sales & off-season deals
Off-season grills, leftover countertop slabs, or clearance materials can cut big chunks off your budget.
With some planning and strategy, you can get excellent value without sacrificing longevity or appearance.
Outdoor Kitchen Maintenance & Long-Term Costs
A solid build is just the start – long-term care matters too.
A beautiful outdoor kitchen deserves proper care if you want it to last more than a few grilling seasons. Different materials age differently outdoors – stainless steel resists rust, stone needs sealing, and plumbing must be winterized in cold climates.
A little yearly maintenance goes a long way in protecting your investment. Think of it like a grill: keep it clean and covered, and it’ll reward you with great performance for years.
- Sealing countertops and stone surfaces to avoid stains or cracking
- Cleaning stainless steel and protecting against corrosion
- Winterizing plumbing lines in cold climates
- Expected lifespan of different appliances and materials
Budget a little yearly maintenance so your kitchen looks brand new for years.
Permit & Code Requirements Every Homeowner Should Know
Red tape isn’t fun, but it’s unavoidable in many locations.
Permits may not be the fun part of the project, but they’re your ticket to a safe and legal outdoor kitchen. Local building codes affect everything from gas line routing to electrical setup, especially if you’re adding a roof or utilities.
Skipping permits can lead to major fines – or even having to tear out your new build. Handle the paperwork now, and you’ll cook with peace of mind later.
- When you need permits (gas lines, electrical, structures, drainage)
- Local code requirements that may influence design
- Why a licensed contractor can save you from costly redo work
Skipping permits can lead to fines – or worse, having to tear things out.

DIY vs. Contractor Builds: Which Actually Saves More?
Sometimes DIY saves big – but sometimes it creates bigger costs later.
DIY can save you a nice chunk of cash, but not all parts of an outdoor kitchen are beginner-friendly (looking at you, gas and electrical work).
The smartest plans often mix DIY with professional help – build what you can, hire experts for safety-critical tasks.
A solid build isn’t about how many YouTube tutorials you watched – it’s about reliability and safety. When the steaks are sizzling and the fridge is humming perfectly, you’ll thank yourself for choosing wisely.
- DIY-friendly elements (grill carts, countertops, prefab modules)
- When pros are mandatory (gas connections, electrical wiring)
- Hidden mistakes that can impact safety and insurance
A hybrid approach – DIY the finishing touches, hire pros for utilities – often gives the best value.
Is the Outdoor Kitchen Cost Worth It? The ROI & Enjoyment Factor
Here’s the truth: this isn’t just about dollars. It’s about lifestyle.
- Home value boost: Outdoor kitchens can add appeal for resale, especially in regions where outdoor living is common.
- Entertainment upgrade: Instead of hosting one meal a year, you end up hosting BBQ nights, brunches, fireworks-watch parties, or summer cocktails.
- Long-term durability: A well-built kitchen lasts for decades. Cheap materials might need replacements, costing more over time.
As a pitmaster, I’ll tell you: once you fire up that grill under the stars, with a cold drink in hand and friends around – you won’t remember the last time you spent $2,000 on a flat-screen TV.
This is the kind of investment that pays off in memories, not just dollars.
FAQ: Outdoor Kitchen Cost & Planning Questions
How much does a basic outdoor kitchen cost in 2025?
Most homeowners spend between $5,000 and $15,000 for a starter setup – usually a built-in grill, a small countertop, and minimal storage. Costs go up quickly if you add utilities like gas, water, or electricity.
Is it cheaper to build or buy a modular outdoor kitchen?
Modular or prefab units are typically cheaper upfront and easier to install. Custom builds cost more but allow you to design exactly what you want and usually last longer.
Do outdoor kitchens increase home value?
Yes – especially in warm climates where outdoor living is expected. A well-designed outdoor kitchen can offer a strong return on investment by boosting appeal and resale value.
Do I need a permit to install an outdoor kitchen?
Often yes – especially if you’re adding gas lines, plumbing, or electrical work. Requirements vary by city, so check local codes before starting construction.
What’s the most expensive part of an outdoor kitchen?
Running utilities and installing high-end appliances are usually the biggest ticket items. Materials like stone or granite can also drive up the budget.
Can I build an outdoor kitchen on a deck?
You can – but the deck must be properly reinforced to handle heavy appliances and stone surfaces. A contractor can evaluate load capacity and safety needs.
How do I keep outdoor kitchen appliances from rusting?
Choose weather-rated stainless steel, use covers, and perform regular cleaning. If you live near the coast, corrosion-resistant materials are essential.
Do outdoor kitchens work in cold climates?
Absolutely – you just need freeze-proof plumbing and durable, weather-resistant materials. Many cold-weather homeowners use patio heaters and roof covers to extend outdoor cooking season.
Can I build an outdoor kitchen in phases?
Yes – and it’s a smart budget strategy. Start with a grill and prep area, then add storage, sinks, bar seating, or a roof as your budget allows.
How long does it take to build an outdoor kitchen?
Modular kitchens may take a few days to a couple of weeks. Custom masonry builds with utilities often take 4–8 weeks, depending on complexity and permit timing.

Final Thoughts & How to Start Your Outdoor Kitchen Project
- Define your goals – what do you really want? A winter-proof grill zone, a full dining setup, or occasional grilling?
- Make your budget range – and plan for upgrades. Know what you’ll spend now, and what you might invest later.
- Choose materials and layout wisely. Balanced design + durable materials = long-term happiness.
- Get permits, talk to professionals for utilities. Gas, water, electricity – done right, keeps you safe and saves headaches.
- Don’t rush. Build in stages if needed. A phased plan keeps finances manageable and lets you fine-tune as you go.
Once that first steak hits the grill and you hear sizzle under the open sky – you’ll know exactly where your money went. And every dollar will feel worthwhile.
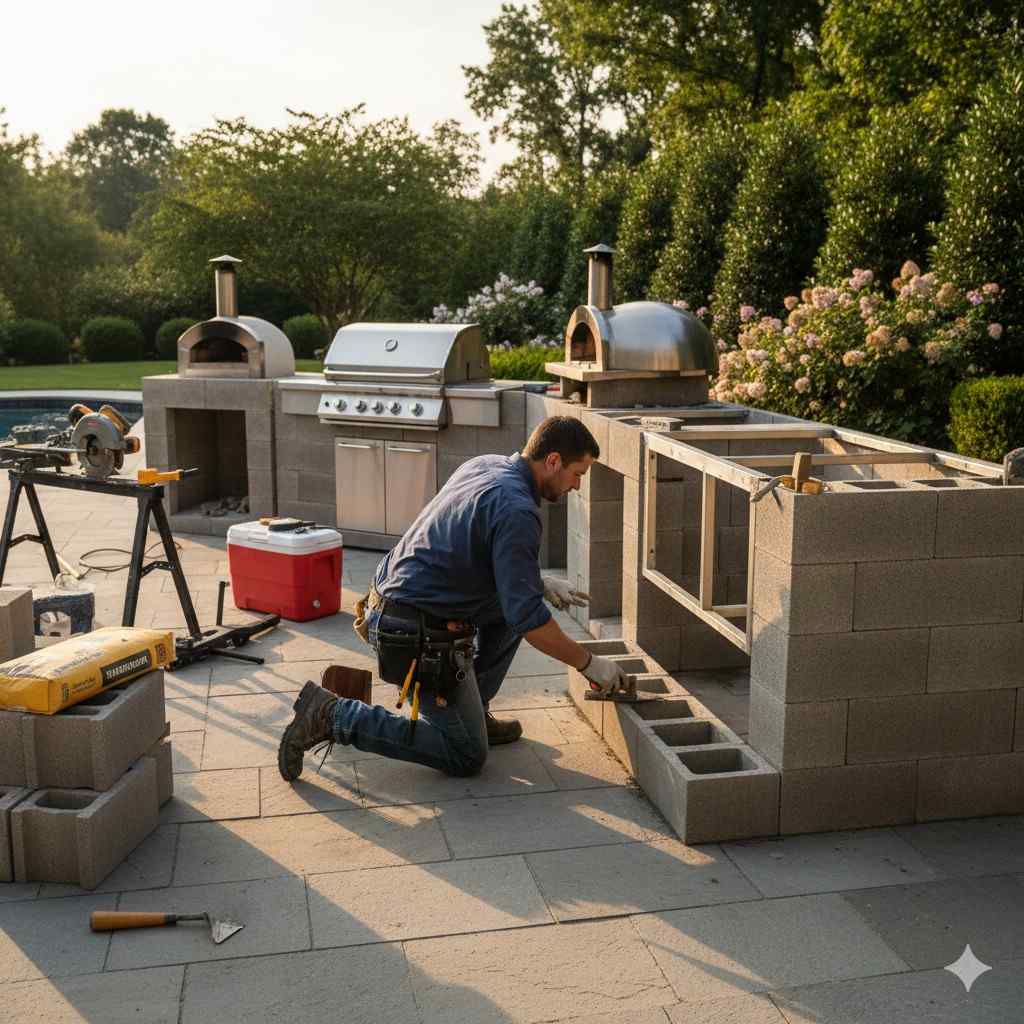
Featured image credit: Google Gemini