
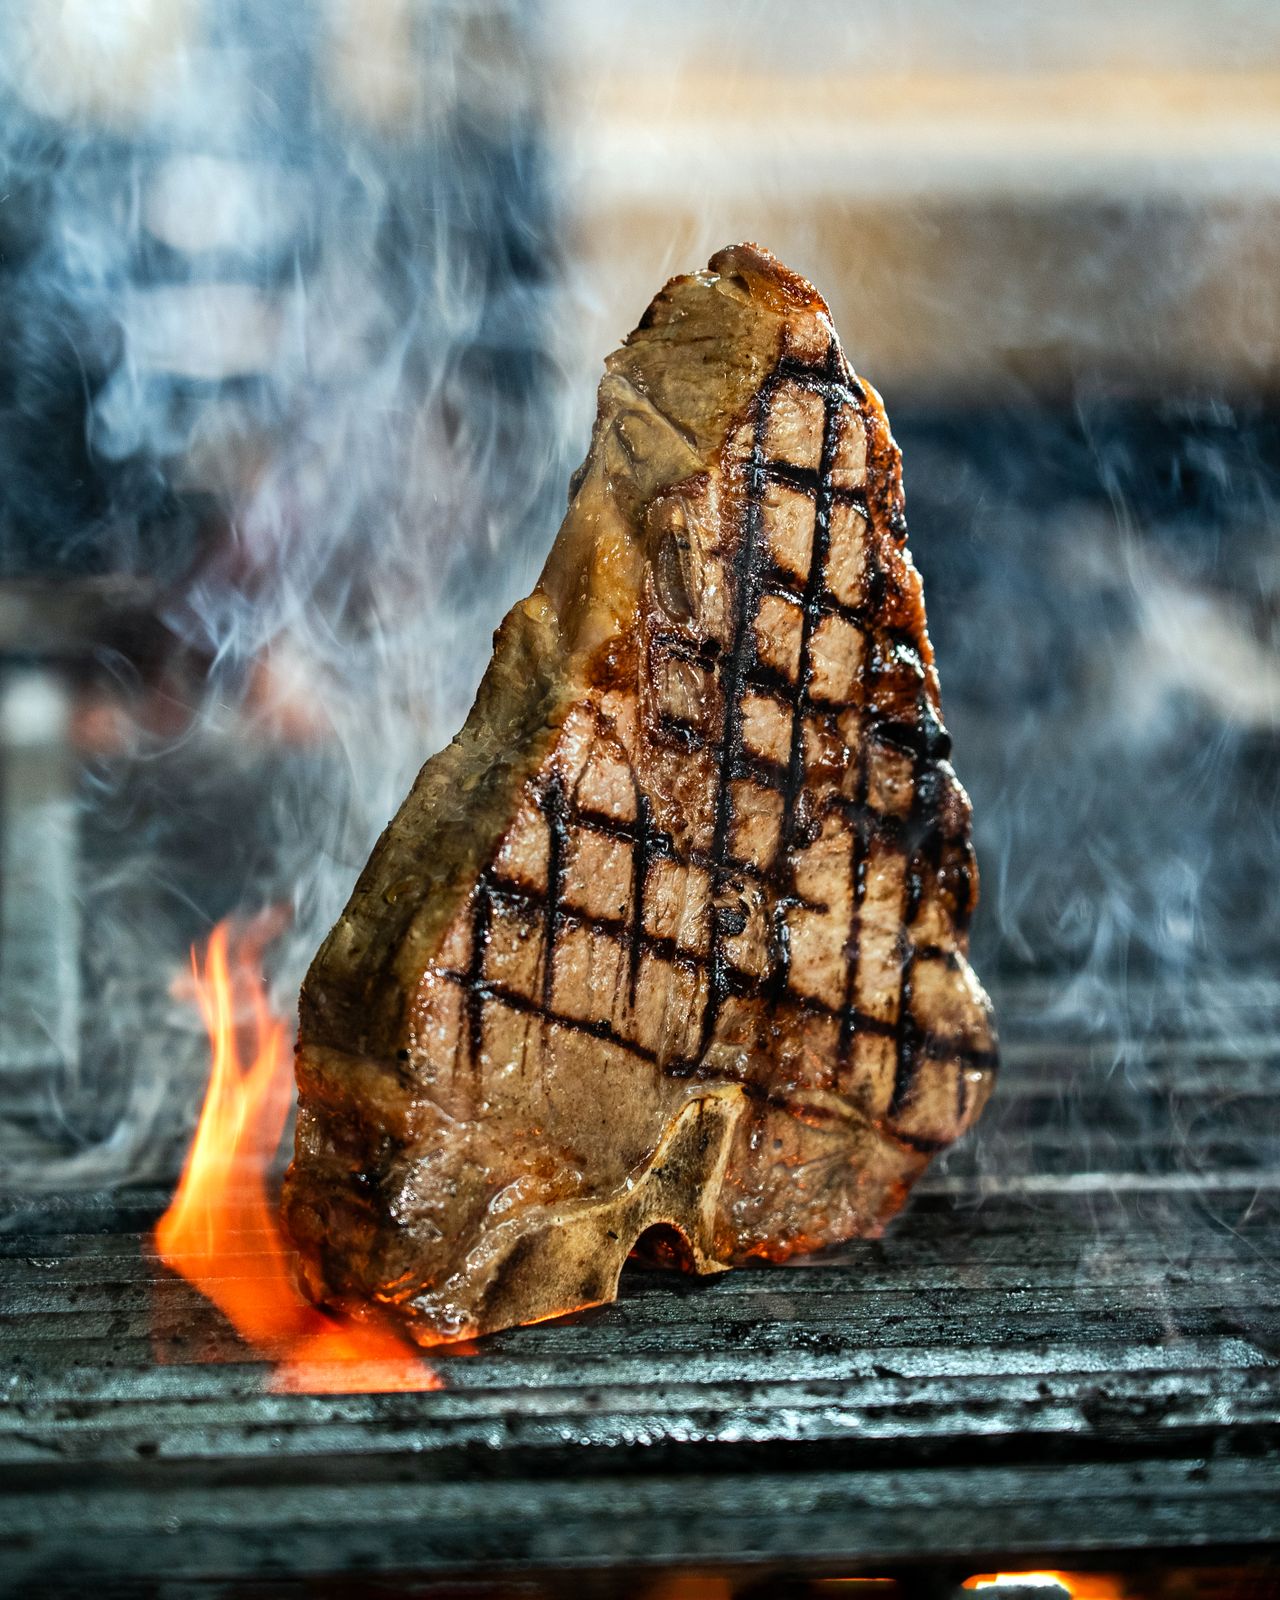
Why spend a small fortune at a steakhouse when you can create a beautifully seared, buttery, restaurant-quality steak right in your own kitchen?
A great bone-in rib-eye steak doesn’t need a fancy dining room, white tablecloths, or a waiter explaining the difference between medium-rare and medium like it’s a college lecture. It needs good beef, serious heat, proper seasoning, and a little patience.
The rib-eye is already a spectacular cut, thanks to its generous marbling, rich beefy flavor, and naturally tender texture. Give it a screaming-hot skillet, a golden-brown crust, and a finishing baste of garlic, butter, and fresh herbs, and you’ve got something special.
The goal is simple: a deeply caramelized exterior, a juicy center, and steakhouse flavor in every bite. Let’s get that skillet working.
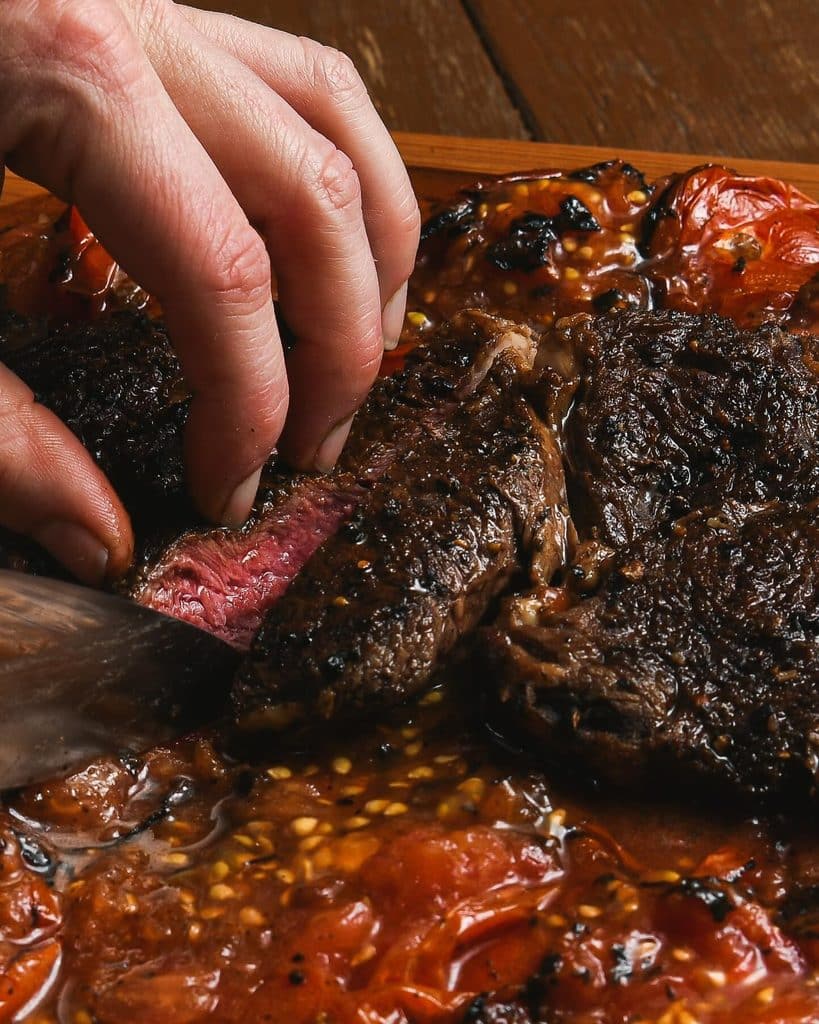
Why You’ll Love This Bone-In Rib-Eye Steak Recipe
The rib-eye is one of the most flavorful cuts of beef for a reason. Its beautiful marbling melts during cooking, creating a rich, buttery mouthfeel that’s difficult to beat.
Keeping the bone attached gives the steak its impressive presentation and helps protect the meat around the bone during cooking.
This recipe keeps things straightforward, focusing on technique rather than complicated marinades or unnecessary ingredients. You’ll develop a gorgeous crust, finish the steak with aromatic butter, and use a thermometer to achieve your preferred doneness.
It’s perfect for date night, weekend dinners, special celebrations, or whenever an ordinary meal needs a serious upgrade.
The Magic of Dry Brining for Next-Level Crust
Unlocking the ultimate steak crust starts a day before your skillet even touches the stove by dry brining – generously salting your bone-in rib-eye 12 to 24 hours in advance.
Here is how this simple process fundamentally transforms your meat:
- Deep Flavor Absorption: The salt draws out surface moisture, dissolves into a concentrated brine, and gets reabsorbed into the muscle fibers, seasoning the beef throughout rather than just coating the exterior.
- Surface Dehydration: Resting uncovered on a wire rack in the refrigerator allows the dry, cold air to dehydrate the outer layer, creating a thin, dry skin.
- Maximum Sear: When this bone-dry surface hits screaming-hot oil, it instantly ignites the Maillard reaction, producing a deeply caramelized, shatteringly crisp crust that seals in lush, unyielding juiciness.
Cast Iron vs. Stainless Steel: Choosing Your Heavyweight Pan
Your choice of cookware dramatically impacts heat retention and searing efficiency. Skip thin nonstick pans that warp and lose heat instantly, and opt for one of these heavyweight options:
- Cast Iron Skillet: The undisputed titan of steak cooking. Cast iron retains immense thermal energy, preventing drastic temperature drops when a cold, thick cut hits the surface and creating a thick, uniform mahogany crust.
- 5-Ply Stainless Steel Pan: Offers superior heat distribution and reacts faster to burner adjustments, preventing butter from scorching during basting. Stainless steel excels at building delicious pan fond – those caramelized browned bits stuck to the bottom – making it the superior choice for building a rich skillet pan sauce.
Decoding Beef Grades: Select, Choice, and Prime Explained
Navigating the butcher counter requires understanding how USDA beef grading impacts flavor and texture:
- USDA Prime: Represents the top 2% of American beef, boasting abundant intramuscular marbling—the delicate white flecks of fat woven directly through the meat. This marbling melts during cooking to render an extraordinarily rich, buttery texture and intensely savory flavor.
- USDA Choice: Offers slightly less marbling but remains high quality, making it an accessible, budget-friendly option for weeknight luxury.
- USDA Select: Much leaner, lacking the deep marbling required to keep a high-heat rib-eye moist.
Investing in Prime or upper-Choice cuts guarantees that luscious, mouthwatering steakhouse mouthfeel that makes a bone-in rib-eye worth every penny.
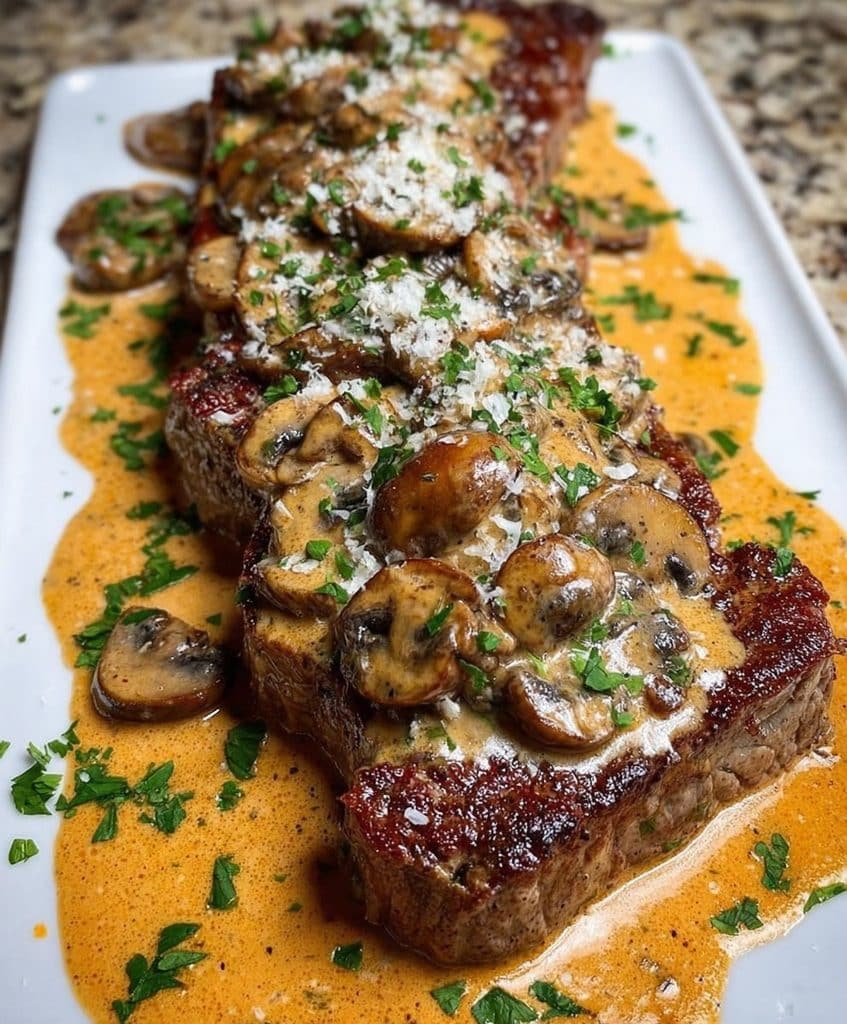
Crafting the Ultimate Pan Sauce from Skillet Fond
Never let the goldmine left behind in your skillet go to waste after removing your steak to rest. As the beef cooks, it leaves behind savoury fond – browned, concentrated proteins packed with intense beef flavor.
Follow these simple steps to build a silky, glossy pan sauce:
- Prep the Pan: Pour off any excess cooking oil and return the skillet to medium heat.
- Deglaze: Add a splash of dry red wine or beef stock, using a wooden spoon to scrape up every bit of caramelized crust from the bottom.
- Simmer & Season: Reduce the liquid by half, then stir in a dash of Dijon mustard and fresh thyme.
- Emulsify: Off the heat, whisk in cold, cubed butter until smooth to elevate your steak to fine-dining status.
Steak Doneness Guide: Getting the Perfect Center
Steak doneness is personal. Some people love a warm red center, while others prefer a more thoroughly cooked steak. Knowing the temperature targets makes it easier to get consistent results.
| Doneness | Final Internal Temperature |
| Rare | 120–125°F |
| Medium-rare | 130–135°F |
| Medium | 140–145°F |
| Medium-well | 150–155°F |
| Well-done | 160°F+ |
These are approximate temperatures after resting. Remove the steak a few degrees below your desired final temperature to account for carryover cooking.
For food safety, the USDA recommends cooking whole beef steaks to 145°F with a three-minute rest. Keep this recommendation in mind when choosing your preferred doneness.
Expert Tips for a Restaurant-Quality Crust
Want to take your steak from decent to downright impressive? Pay attention to these small but important details:
- Dry the steak thoroughly: Surface moisture is one of the biggest obstacles to proper browning.
- Preheat the skillet: A properly heated pan creates a stronger, more even crust.
- Use high-smoke-point oil: It handles intense cooking temperatures better than many everyday oils.
- Avoid overcrowding: Give the steak enough room to sear properly.
- Don’t constantly move the meat: Allow direct contact with the skillet to develop caramelization.
- Baste toward the end: Adding butter too early can cause it to burn.
- Rest before slicing: Give the meat time to settle before serving.
One final tip: don’t trim away every bit of exterior fat. The fat surrounding the rib-eye contributes to its signature flavor and can become deliciously rendered when properly seared.
What to Serve with Bone-In Rib-Eye Steak
A rich, beautifully seared rib-eye deserves sides that complement its bold flavor without stealing the spotlight.
Here are a few steakhouse favorites:
- Garlic mashed potatoes: Creamy, buttery, and perfect for soaking up the pan juices.
- Roasted asparagus: Adds freshness and balances the richness of the beef.
- Creamed spinach: A classic steakhouse side with plenty of comforting flavor.
- Crispy roasted potatoes: Brings texture and crunch to the plate.
- Grilled mushrooms: Their earthy flavor pairs naturally with beef.
- Simple arugula salad: Offers a peppery, refreshing contrast.
Finish the plate with a spoonful of garlic-herb butter and a sprinkle of flaky salt. Sometimes, the simplest finishing touches make the biggest difference.
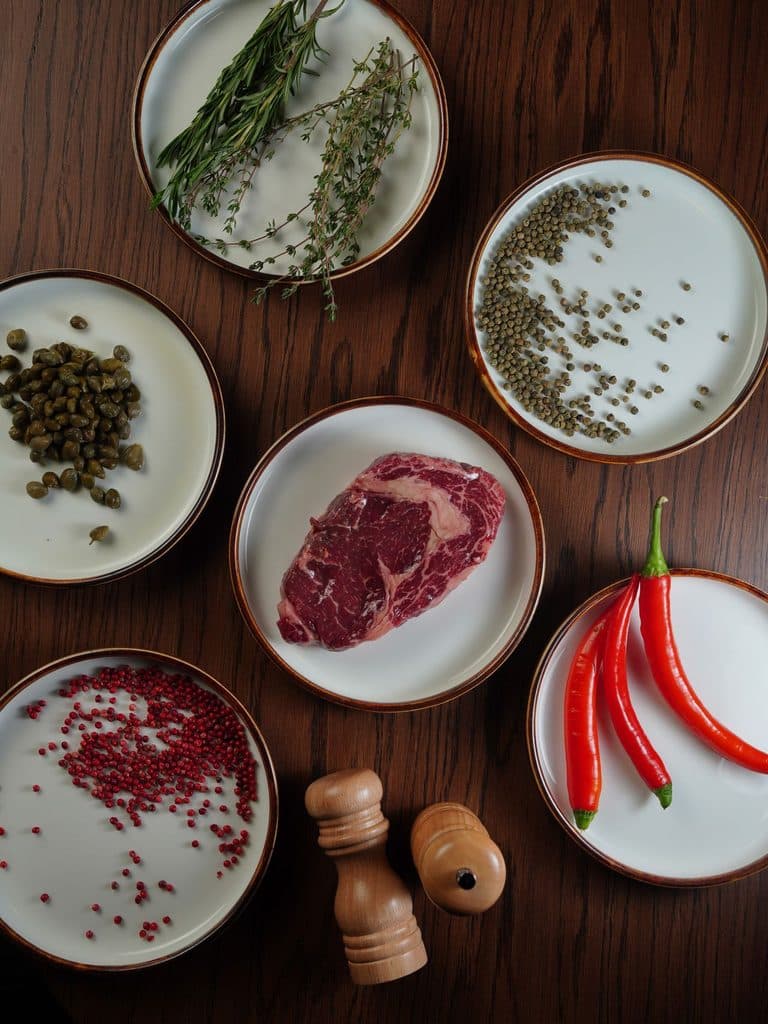
Final Thoughts: Steakhouse Quality Starts with the Basics
A perfectly seared bone-in rib-eye steak doesn’t require complicated techniques, expensive equipment, or a professional kitchen. It comes down to choosing quality beef, seasoning it properly, building a beautiful crust, and keeping a close eye on the temperature.
Master those fundamentals, finish with garlic-herb butter, and give the steak time to rest. The result is a rich, juicy, beautifully browned centerpiece worthy of any steakhouse menu.
And the best part? No reservation required.
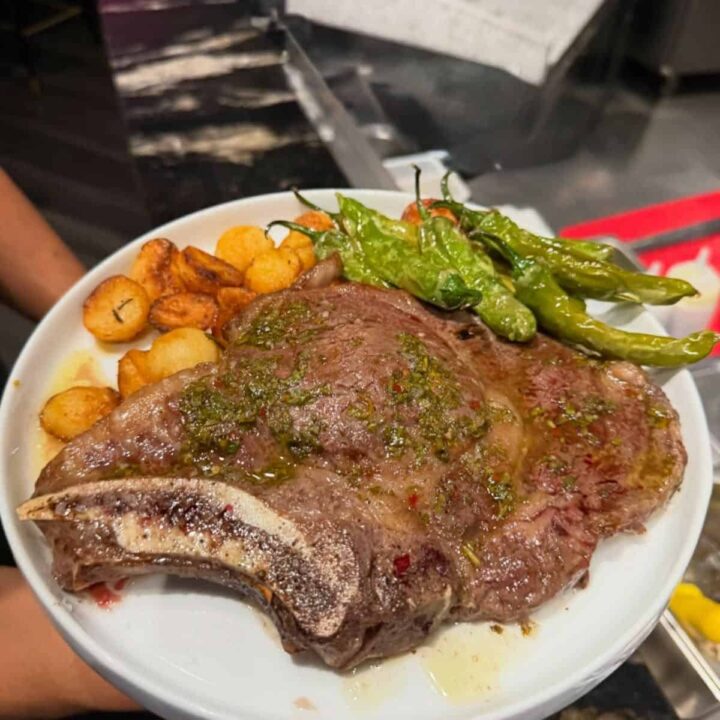
Perfectly Seared Bone-In Rib-Eye Steak
Image credit: @seenkitchenlounge
Ingredients
- 1 bone-in rib-eye steak (1½–2 inches thick)
- 1–2 tablespoons avocado or grapeseed oil
- Kosher salt, to taste
- Freshly ground black pepper, to taste
- 2 tablespoons unsalted butter
- 2–3 garlic cloves, crushed
- 2–3 sprigs fresh rosemary or thyme
Instructions
- Remove the steak from the refrigerator 30–45 minutes before cooking. Pat completely dry and season generously with salt and pepper.
- Heat a cast-iron skillet over medium-high to high heat. Add the oil once the skillet is hot and shimmering.
- Place the steak in the skillet and sear for approximately 2–3 minutes per side until a deep golden-brown crust develops.
- Use tongs to brown the edges and fat cap.
- Reduce the heat to medium. Add butter, garlic, and fresh herbs.
- Tilt the skillet and continuously spoon the melted garlic-herb butter over the steak.
- Check the internal temperature using an instant-read thermometer. Cook to your preferred doneness, following safe temperature recommendations.
- Transfer the steak to a cutting board and rest for 5–10 minutes.
- Slice against the grain, spoon over the garlic-herb butter, and serve immediately.
Notes
Cooking times are estimates and depend on steak thickness, starting temperature, and skillet heat. Always use an instant-read thermometer for accurate results. For food safety, whole beef steaks should reach 145°F followed by a three-minute rest.
Featured image credit: Mohamed Olwy
