The smoke gets in your blood after a while, and suddenly, that outdoor kitchen feels more like home than the living room. A bad one? It feels like cooking in a parking lot with commitment issues.
I’ve seen folks drop serious cash chasing that backyard dream – only to end up redoing half of it within a year. And most of the time, the culprit isn’t bad luck. It’s avoidable DIY outdoor kitchen mistakes.
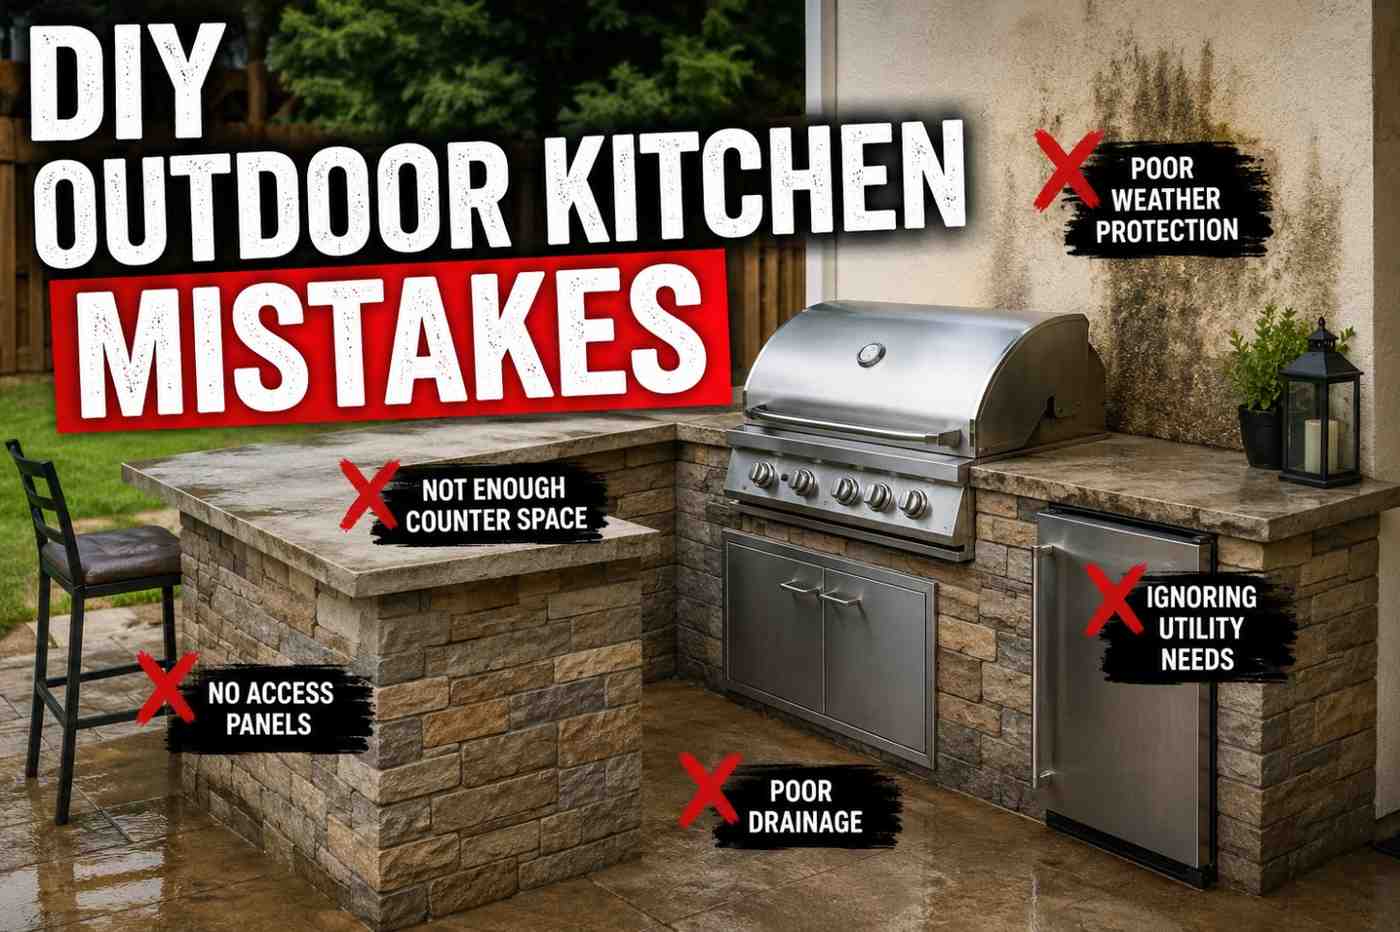
So before you start laying bricks or ordering that shiny grill, let me walk you through the 10 biggest mistakes that can quietly drain your wallet – and how to dodge them like a pro.
 1")
1. Skipping a Real Plan
I get it – you’re excited. You’ve got Pinterest boards, a vision, maybe even a cold drink in hand. But jumping in without a plan? That’s like firing up a brisket without trimming it first. Messy.
The biggest issue I see is people building as they go. No layout, no workflow, no measurements – just vibes. That leads to wasted materials, awkward spacing, and constant do-overs.
Key point: A kitchen needs flow. Prep → Cook → Serve. If you’re walking laps around your yard just to grab a spatula, something went wrong.
Pro tip: Sketch your layout – even a rough one. Mark where everything goes before you build anything.
 2")
2. Ignoring Permits and Local Codes
Nothing kills the backyard BBQ mood faster than a city inspector showing up uninvited.
Skipping permits might seem like a shortcut, but it can backfire hard. I’ve seen entire setups torn down because they didn’t meet code – especially when gas lines or electrical work are involved.
Important phrase: Cutting corners here can cost you the entire kitchen.
This isn’t just red tape. It’s about safety – yours and everyone eating your food.
Pro tip: Check local requirements early. It’s cheaper than rebuilding from scratch later.
 3")
3. Choosing the Wrong Location
Let me paint you a picture: your grill is in a perfect spot… except the wind blows smoke straight into your guests’ faces. Every time.
Location matters more than people think. Too far from the house? You’ll hate carrying food back and forth. Too exposed? Sun, rain, and wind will ruin the experience.
Key point: Comfort and convenience are just as important as aesthetics.
I once saw a beautiful setup that became unusable every afternoon because it sat directly under blazing sun. Looked great. Cooked terribly.
Pro tip: Spend time in your yard at different times of day before deciding.
 4")
4. Using Indoor Materials Outdoors
This one hurts because it’s so common – and so expensive.
Indoor cabinets, countertops, even appliances might look great at first. But throw in rain, humidity, and UV rays, and suddenly everything starts warping, rusting, or cracking.
Important phrase: Outdoor kitchens demand outdoor-grade materials.
You’re not building a showroom. You’re building something that lives outside 24/7.
Pro tip: Stainless steel, stone, and weather-resistant materials are your best friends here.
 5")
5. Forgetting About Ventilation
Smoke has a personality. And that personality is: “I go wherever I want.”
If your setup traps smoke – especially under a roof or enclosure – you’re going to have a bad time. It gets uncomfortable fast, and in some cases, unsafe.
Key point: Airflow isn’t optional – it’s essential.
I’ve cooked in spaces where the smoke just lingers like an awkward guest who won’t leave. Not fun.
Pro tip: Keep things open or install proper ventilation if you’re building a covered kitchen.
 6")
6. Underestimating Utility Needs
Water, gas, electricity – these aren’t “nice-to-haves.” They’re the backbone of a functional kitchen.
A lot of DIY builds ignore this until the last minute. Then comes the expensive part: tearing things up to run lines.
Important phrase: Retrofitting utilities is where budgets go to die.
You don’t want extension cords snaking across your patio or propane tanks awkwardly shoved in corners.
Pro tip: Plan utility access from day one – even if you bring in a pro for the hookups.
 7")
7. Blowing the Budget on the Wrong Things
Everyone wants the flashy grill. I get it – I love good equipment as much as anyone.
But I’ve seen people spend 80% of their budget on one appliance… and then cut corners everywhere else.
That’s how you end up with a premium grill sitting on a questionable foundation.
Key point: Balance your budget across the entire kitchen.
Common hidden costs include:
- Delivery fees
- Tools you didn’t know you needed
- Extra materials for mistakes (and yes, there will be some)
Pro tip: Add a 15–20% buffer to your budget. Trust me, you’ll use it.
 8")
8. Not Planning Enough Storage
Here’s a quick test: where are you putting your tongs?
If you don’t have an answer, you’ve got a problem.
Lack of storage turns cooking into a scavenger hunt. You’ll be running inside constantly, breaking your rhythm – and your patience.
Important phrase: A cluttered kitchen kills efficiency.
Cooking should feel smooth, not chaotic.
Pro tip: Plan space for:
- Utensils
- Fuel (charcoal, propane)
- Cleaning supplies
 9")
9. Taking On More Than You Can Handle
There’s DIY… and then there’s “I watched one video and now I’m an expert.”
Some parts of an outdoor kitchen are forgiving. Others – like gas and electrical work – are not.
I’ve seen DIY mistakes that didn’t just cost money… they created serious safety risks.
Key point: Know your limits.
There’s no shame in calling in a professional when needed. In fact, it usually saves money in the long run.
Pro tip: Do what you’re confident in, outsource what you’re not.
 10")
10. Ignoring Maintenance from the Start
Here’s the truth nobody tells you: your outdoor kitchen will age faster than your indoor one.
Rain, grease, heat – it all adds up.
If you don’t plan for maintenance, things break down quickly. And repairs? They’re never cheap.
Important phrase: Low-maintenance choices save money long-term.
I’ve seen setups fall apart in two years just because they weren’t designed to handle the elements.
Pro tip: Choose finishes and materials that are easy to clean and built to last.
Bonus Subtopics
Overbuilding (Yes, That’s a Thing)
I’ve seen folks go all-in on features they think they need – pizza ovens, side burners, warming drawers, even sinks they never turn on. It turns into a backyard version of a gadget graveyard.
Here’s the truth: more equipment doesn’t make you a better cook. It just gives you more things to maintain, clean, and eventually replace.
Key point: Function beats flash every single time.
If you mainly grill burgers, ribs, and the occasional steak, you don’t need a full commercial lineup. I once met a guy with a gorgeous pizza oven… who admitted he used it twice in two years. That’s an expensive decoration.
Pro tip: Build around how you actually cook, not how you imagine cooking on your best day. Your future self (and wallet) will thank you.
Forgetting About Lighting (Until it’s Too Late)
Everything looks great – until the sun goes down and suddenly you’re flipping steaks in the dark like it’s a survival challenge.
Lighting is one of the most overlooked DIY outdoor kitchen mistakes, and it shows up at the worst possible time: mid-cook.
Important phrase: Bad lighting = bad cooking decisions.
You need to see your food – color, texture, doneness. Otherwise, you’re guessing. And guessing leads to overcooked meat, undercooked chicken, and disappointed guests.
Ambient lighting is nice for atmosphere, sure – but task lighting is what saves dinner.
Pro tip: Focus on:
- Direct lighting over the grill
- Prep area visibility
- Safe walkway lighting
Good lighting doesn’t just make your kitchen usable – it makes it feel like a proper cooking space, not a campsite.
Ignoring Seating and Social Flow
An outdoor kitchen isn’t just about cooking – it’s about people. And if your setup doesn’t account for that, it can feel awkward fast.
I’ve cooked in spaces where guests had nowhere to sit, nowhere to gather, and no reason to stick around. So they drift back inside… and suddenly your “outdoor experience” disappears.
Key point: A great outdoor kitchen invites people in – it doesn’t push them away.
Think about how people move, where they stand, and how they interact with you while you cook. You don’t want guests hovering in your workspace or feeling like they’re in the way.
Pro tip: Create a natural flow:
- A small seating area nearby
- A clear boundary between cooking and hanging out
- Easy access to food and drinks
Because let’s be honest – the best meals aren’t just about food. They’re about the moments around it.
 11")
The Difference Between a Good Build and a Great One
Building your dream outdoor kitchen should feel exciting – not like a slow leak in your bank account.
The good news? Most DIY outdoor kitchen mistakes are completely avoidable. With the right planning, smart material choices, and a little humility about what you can (and can’t) DIY, you can build something that lasts for years.
And when it’s done right? There’s nothing better than firing up the grill, serving great food, and knowing your kitchen works with you – not against you.
Now go build something worth cooking on.
FAQs
1. What are the most common DIY outdoor kitchen mistakes?
The biggest DIY outdoor kitchen mistakes usually come down to poor planning and overconfidence. Think: skipping a layout, ignoring utilities, using indoor materials, and underestimating costs.
Key takeaway: Most expensive problems start as small shortcuts.
If you rush the foundation – design, location, and materials – you’ll end up paying for it later, sometimes twice.
2. Is it really cheaper to build your own outdoor kitchen?
It can be – but only if you avoid major mistakes.
DIY saves on labor, sure. But one wrong move – like misplacing a gas line or choosing the wrong materials – can wipe out those savings fast.
Important phrase: DIY is cheaper only when done right.
I’ve seen folks spend more fixing mistakes than they would’ve hiring help from the start.
3. How much should I budget for a DIY outdoor kitchen?
A basic setup can start around a few thousand, but costs climb quickly depending on size, materials, and appliances.
Key point: Always add a 15–20% contingency budget.
Hidden costs (tools, delivery, extra materials) sneak up on you like flare-ups on a fatty steak – fast and unforgiving.
4. What materials are best for outdoor kitchens?
You want materials that can handle heat, moisture, and time.
Top choices include:
- Stainless steel (for durability)
- Stone or concrete (for structure and counters)
- Weather-resistant finishes
Important phrase: If it wouldn’t survive a storm, don’t build with it.
5. Do I need a professional for certain parts of the build?
Yes – and this is where a lot of DIY projects go sideways.
Gas, electrical, and plumbing work are not areas to “figure it out as you go.”
Key point: Know your limits before they cost you.
Bringing in a pro for critical parts can save money, time, and headaches long-term.
6. Where is the best place to put an outdoor kitchen?
Close enough to your house for convenience, but with enough space for ventilation and comfort.
Avoid:
- Strong wind paths
- Direct, harsh sun exposure
- Tight or awkward layouts
Important phrase: Location can make or break your cooking experience.
7. How do I make sure my outdoor kitchen lasts for years?
It comes down to three things:
- Smart material choices
- Proper installation
- Regular maintenance
Clean it, cover it when needed, and don’t ignore small issues.
Key takeaway: A well-built kitchen still needs care – it’s not “set it and forget it.”
8. What’s the biggest mistake beginners make?
Trying to do too much, too fast.
They go big on features, skip the basics, and end up overwhelmed (and over budget).
Important phrase: Start simple, build smart, upgrade later.
Even the best pitmasters didn’t start with a full outdoor kitchen – they built their way up.
Featured image credit: ChatGPT