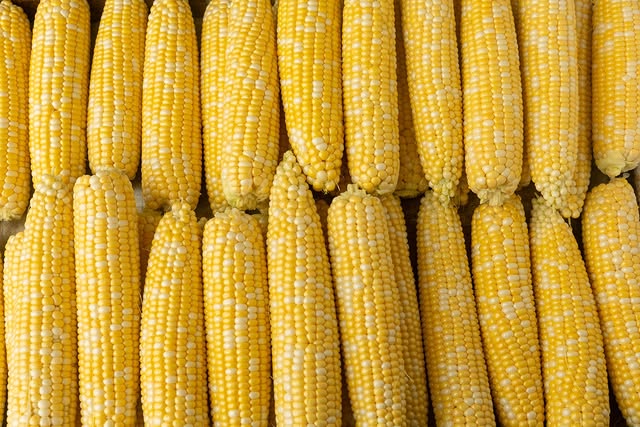
When you’ve been around a smoker as much as I have, you learn one thing fast—flavor fades if you don’t treat it right. The same goes for corn.
Fresh summer corn is like a sweet gold nugget: juicy, crisp, and gone in a blink once the season ends.
The good news? Freezing corn on the cob is the best way to hold on to that sweetness. But do it wrong and you’ll end up with rubbery kernels that taste like freezer dust.
Let’s keep it simple, smart, and pitmaster-approved—you’ll get corn that still pops with flavor months from now.
1. Why Freeze Corn on the Cob?
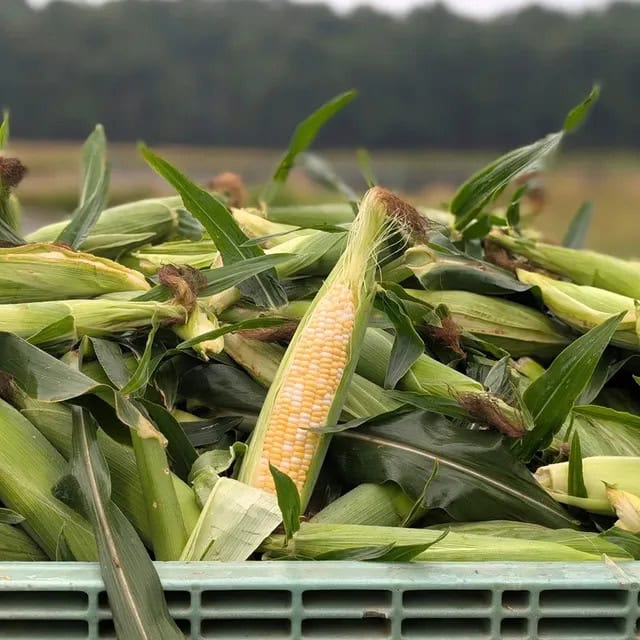
Ask anyone who’s tried it—corn loses its magic fast once it’s picked. Sugars turn into starch. That buttery sweetness dulls. Freezing buys you time, locking in the corn’s natural flavor while it’s still at its peak.
There’s also a money angle. Buying corn in bulk during summer is cheap. Paying for out-of-season corn? That’s like ordering brisket at a gas station—you’re overpaying for something that won’t satisfy.
And here’s the kicker: frozen corn holds onto more nutrients than canned corn. You’re not just saving flavor; you’re saving vitamins too. It’s like bottling summer sunshine for later use.
2. Choosing the Best Corn for Freezing
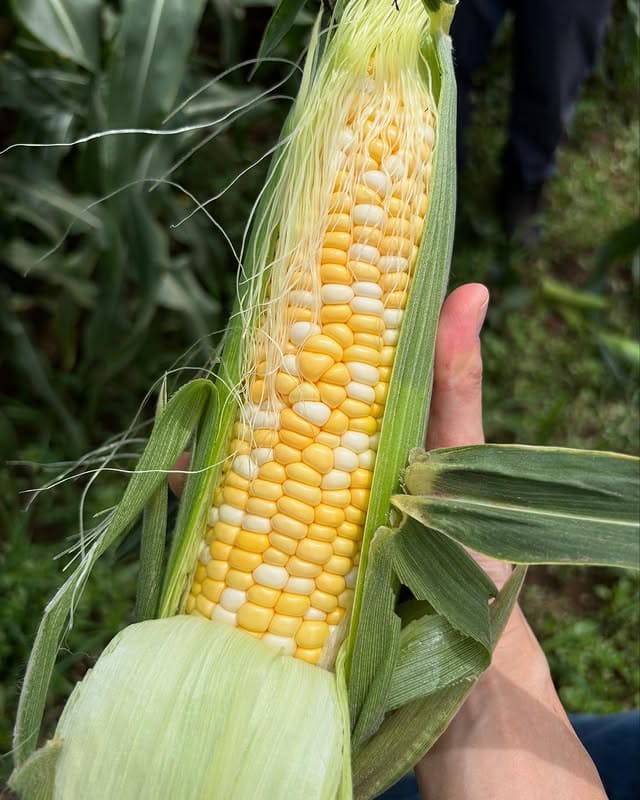
You can’t polish a dull knife, and you can’t fix bad corn. Start with the freshest cobs you can find. Look for bright green husks, plump kernels, and silks that are golden, not brown and dry.
Pro tip from a pitmaster who’s burned a few cobs in his day: the sooner you freeze after harvest, the better the flavor sticks around. That’s why farm stand corn is king. Grocery store corn may have already lost a step before you get it home.

3. Preparing Corn for Freezing
Freezing corn isn’t just toss-it-in-the-freezer-and-pray. You’ve got to do a little prep work. First, husks and silks off. Nobody wants to chew through husk scraps in February chili.
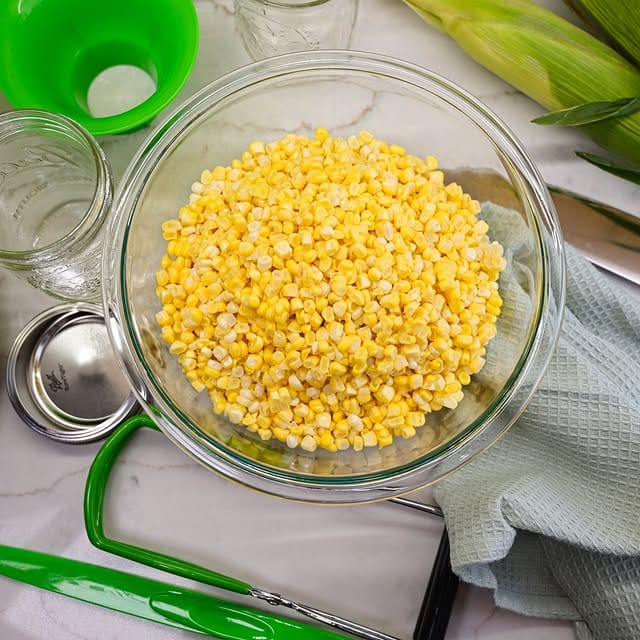
Give the cobs a quick rinse. Then decide—whole cob or kernels off? Whole cobs are great for summer-style meals in winter. Kernels off give you versatility—soups, chowders, skillet sides.
Tools? Keep it simple: sharp knife, cutting board, freezer bags, airtight containers. If you’re fancy, a vacuum sealer makes a world of difference.
4. To Blanch or Not to Blanch?
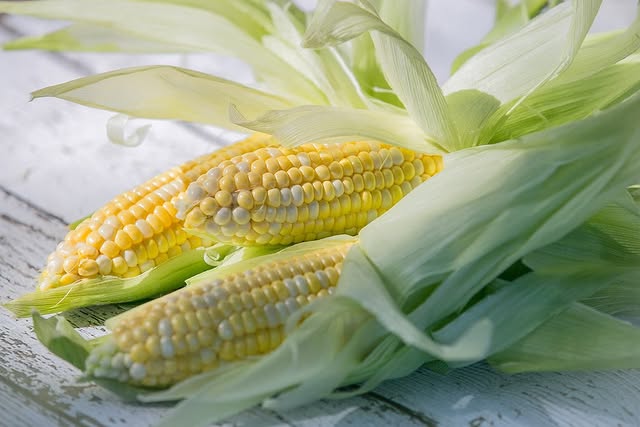
Here’s where folks get hung up. Blanching means giving the corn a quick boil, then shocking it in ice water. Sounds extra, but it matters.
Why? Because corn has enzymes that don’t quit after harvest. If you skip blanching, those enzymes keep working, turning your corn dull and starchy even in the freezer. A quick blanch shuts them down, keeping color, crunch, and flavor intact.
Timing:
- Whole cobs → boil for about 4 minutes.
- Kernels only → boil for about 3 minutes.
Then plunge into an ice bath—yes, like you’re shocking ribs after a hot smoke.
Now, I’ll level with you: If you’re only freezing corn for a couple of months, you can skip blanching. But for long-term storage? Blanch it or regret it.
5. How to Freeze Corn on the Cob (Step-by-Step)
Let’s break it down pitmaster style:
- Prep the cobs: husk, silk, rinse.
- Blanch: boil → ice bath.
- Dry completely: water left on corn = ice crystals = freezer burn.
- Pack smart: use freezer bags or vacuum seal. Push out air if you don’t have a sealer.
- Label with the date. Six months from now, you’ll thank yourself when you’re not playing corn roulette.
Whole cobs or kernels—it’s up to you. Just remember: less air = more flavor preserved.
6. How Long Can Frozen Corn Last?
Here’s the shelf life rundown:
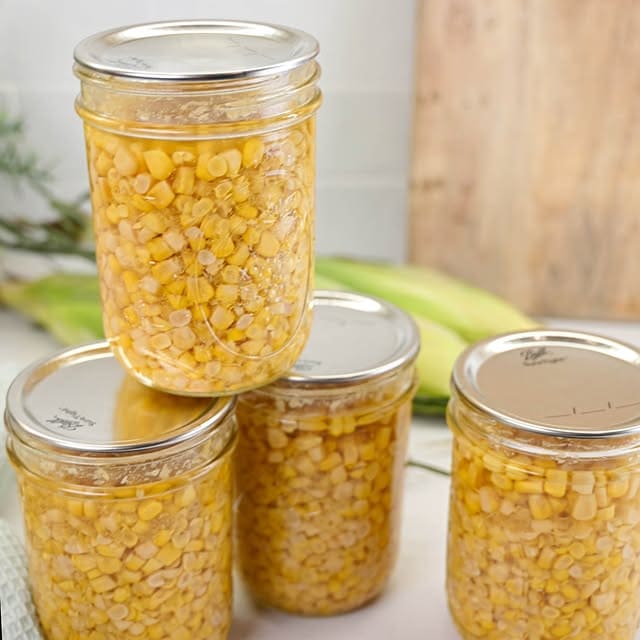
- Whole cobs: up to 8 months.
- Kernels off the cob: up to 10–12 months.
If you notice frost inside the bag or dull, icy kernels, that’s freezer burn. It won’t hurt you, but it’ll taste like disappointment.
7. Tips for Preserving Flavor
Think of your freezer like a smoker—temperature matters. Keep it cold and steady.
- Freeze corn quickly after harvest.
- Don’t over-blanch or you’ll soften the kernels.
- Vacuum sealing beats bagging every time.
- Store in the coldest part of the freezer, not in the door where temps swing.
This is the difference between corn that tastes like July and corn that tastes like cardboard.
8. How to Cook and Enjoy Frozen Corn
Here’s the payoff. You’ve done the work; now it’s time to eat.
- Boil or steam frozen cobs—straight from the freezer, no need to thaw. Slather with butter, sprinkle with smoked paprika, and you’ve got a summer side in January.
- Drop kernels into soups and chowders—they’ll thaw as they cook.
- Grill frozen corn on the cob—yes, it works. Brush with oil, hit it with high heat, and let the char do its thing.
- Quick skillet sauté—frozen kernels + butter + garlic = side dish that beats any can.
Corn isn’t just filler; it’s a star if you treat it right.
Locking in Summer’s Freshness by Freezing Corn on the Cob
So, here’s the short of it: Freezing corn on the cob the right way keeps the sweetness, the crunch, the whole summer vibe alive for months. Blanch when you need to, freeze it smart, and label it so you don’t play guess-the-cob later.
I tell folks all the time—you can’t fake fresh flavor, but you can preserve it. Do this right, and when you bite into corn in the middle of winter, you’ll swear you can still hear the sizzle of the grill.
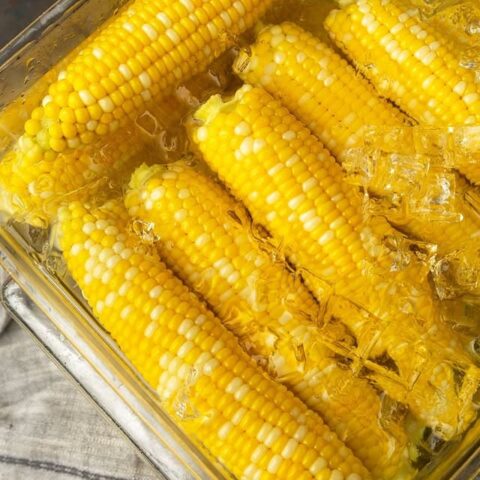
How to Freeze Corn on the Cob
Image credit: @foodiewithfam
Ingredients
- Fresh corn on the cob (as many ears as you want to freeze)
- Large pot of water
- Ice water bath (big bowl filled with ice + cold water)
- Freezer-safe bags or containers
Instructions
- Choose the Corn – Select fresh, sweet corn at peak ripeness. Husks should be green and tight, and kernels plump and milky. The fresher the corn, the better it will taste once frozen.
- Prep the Corn – Husk the corn: Peel away husks and remove all silk strands.
Rinse the cobs under cold water to clean them. - Blanch the Corn – Bring a large pot of water to a rolling boil. Place 3–5 ears of corn in the pot at a time (don’t overcrowd). Boil: a) small ears: 4 minutes, b) medium ears: 6 minutes, and c) Large ears: 7 minutes. Blanching stops enzymes that cause corn to lose flavor and texture in the freezer.
- Cool Quickly – Transfer blanched corn immediately to the ice water bath. Let it chill for the same amount of time it was boiled (4–7 minutes). Drain thoroughly on clean kitchen towels.
- Package for Freezing – Whole cobs: Wrap each ear tightly in plastic wrap or foil, then place in freezer bags. Cut kernels: Slice kernels off the cob with a sharp knife, spread them on a baking sheet to flash freeze for 1–2 hours, then transfer to freezer bags. Remove as much air as possible before sealing to prevent freezer burn.
- Label and Freeze – Write the date on each bag. Store in the freezer for up to 12 months for best quality.
Featured image credit: Credit: @foodiewithfam

