Smoked Baby Back Ribs Recipe
Preparing this Smoked Baby Back Ribs Recipe is actually not rocket science. There’s a tried and tested way to do it, and it’s called the 3-2-1 method. Employing this method guarantees you get tender, smoky, fall-off-the-bone baby backs almost every single time.
It’s simple, proven to work 99% of the time, and perfect for both beginners and backyard pitmasters.
Let’s break it down.
 1")
What Is the 3-2-1 Method?
The name of this method derives from the way the Baby Back Ribs Recipe is prepared, which includes 3 hours of smoking, 2 hours wrapped, and1 hour unwrapped.
Here’s how this Smoked Baby Back Ribs Recipe works:
- 3 hours: The smoke creeps into the ribs and starts to build a flavorful bark.
- 2 hours: The ribs are cooked in their own juices, turning tender due to being tightly wrapped with either a pink/peach butcher paper or aluminum foil.
- 1 hour: The ribs are unwrapped and placed on the grill. This is done in order to firm up the bark and match the sauce to get that perfect flavor.
That’s it. Six hours of patience for this Smoked Baby Back Ribs Recipe that taste like you worked way harder than you actually did.
 2")
Why Does This 3-2-1 Method Work?
The genius of this method is balance.
- Building the smoky flavor and bark during the first 3 hours.
- The ribs become tender and juicy in the next step after the 2-hour wrap.
- Setting the sauce and texture happens in the final hour of the smoking process, to prevent the ribs from falling apart in your hands.
It’s so easy, there’s no way that you’ll make a mistake. This is why it’s one of the favorite smoking methods of casual grillers and pitmasters alike.
Choosing the Right Ribs
When it comes to this Smoked Baby Back Ribs Recipe, quality matters. Baby back ribs come from the upper part of the ribcage, near the spine, and are leaner and more tender than spare ribs.
Look for ribs with even marbling and minimal surface fat – this ensures flavor without excessive greasiness.
The meat should be pink and fresh-looking, not gray or dry. Avoid pre-marinated or pre-seasoned ribs since they can interfere with your own rub and smoke absorption.
If your local butcher is an option, ask for ribs with the membrane intact so you can remove it yourself for cleaner prep.
Remember, the foundation of great barbecue starts long before the smoker – it begins with the meat you select. Investing in quality ribs means you’re halfway to achieving that perfect balance of tenderness, smoke, and flavor that defines true BBQ mastery.
The Role of Wood and Smoke
The wood you choose directly influences the final taste of your ribs in this Smoked Baby Back Ribs Recipe. For baby backs, fruitwoods like apple, cherry, or peach deliver a mild, sweet smoke that complements pork beautifully.
Hickory or oak add a deeper, more traditional barbecue flavor, while mesquite can easily overpower if used too heavily. The key is balance – combine fruitwood with a touch of hickory for complexity without bitterness.
Maintaining a consistent thin blue smoke, rather than thick white clouds, is essential. Thick smoke can make your meat taste acrid. Always preheat your smoker and let the wood burn cleanly before adding the ribs.
Think of smoke as a seasoning, not the main ingredient. When done right, it infuses the meat with a subtle, aromatic flavor that mingles perfectly with the rub and sauce during each stage of the 3-2-1 process.
 3")
Crafting the Perfect BBQ Rub
A great rub transforms ribs from good to unforgettable. The rub acts as a dry marinade, creating a flavorful crust that locks in juices and enhances smoke absorption.
A classic blend includes brown sugar for sweetness, paprika for color, salt and pepper for balance, and a hint of cayenne for heat.
Add garlic and onion powder for depth, or a pinch of mustard powder for tang. The trick is layering – apply a light coat of yellow mustard as a binder, then generously coat the ribs with your rub.
Let it sit for at least 30 minutes before smoking so the flavors penetrate the meat.
You can also experiment with different sugar levels or spices to suit your taste. The goal is to build flavor without overpowering the natural pork goodness. A well-balanced rub guarantees that each bite bursts with smoky, savory satisfaction.
Common Mistakes to Avoid
Even with a foolproof method like 3-2-1, small missteps can derail your ribs. The most common mistake? Opening the smoker too often. Every peek drops the temperature and releases precious smoke.
Another is over-seasoning – too much rub can create a salty crust that masks the meat’s flavor. Also, resist rushing the wrap stage; this is where tenderness develops. Overcooking, on the other hand, can make ribs mushy and cause the bones to slide out.
Keep your smoker steady at 225°F and trust the process.
Avoid heavy smoke, as thick plumes can make the ribs bitter. Finally, don’t skip the resting period after cooking – this allows juices to redistribute and gives you that perfect bite. Mastering these details separates the weekend griller from the seasoned pitmaster.
 4")
Elevate Your BBQ Game
Once you’ve nailed the 3-2-1 method, the fun really begins. Try experimenting with flavor layers – use different wood combinations, regional rub styles, or unique sauces. Kansas City-style sauces are sweet and thick, while Carolina versions emphasize tangy vinegar notes.
You can also finish your ribs over a charcoal grill for extra char and texture. Pair them with smoked beans, pickled onions, or even a bourbon glaze for a gourmet twist.
Hosting a backyard BBQ? Serve your ribs on a wooden board with homemade cornbread and slaw for that rustic, crowd-pleasing presentation.
The 3-2-1 method is more than a recipe – it’s a foundation you can customize endlessly. Once you’re confident, you’ll find yourself tweaking, tasting, and perfecting your personal signature ribs that everyone will remember long after the smoke clears.
Serving Your Smoked Baby Back Ribs
By now, I’m sure that your guests’ palates are eager to savor the smoked ribs as you take them out of the smoker. However, allow it to rest for approximately 10 minutes before slicing the portions.
Cut them with a sharp boning knife to minimize effort and serve as is (it’s already flavorful when you add the rub), or use a BBQ sauce of your preference.
If you’re going for the classic backyard vibe, then pair them with cornbread, coleslaw, or grilled corn. Or just eat them straight off the board, I won’t judge.
Final Thoughts
If you’ve ever been nervous about smoking ribs, the 3-2-1 method takes away the guesswork. What do you get for it? Perfect baby back ribs – smoky, sticky, tender, and packed with flavor. A little patience on your part and a cold drink while waiting for your magnum opus-ish smoked ribs wouldn’t hurt.
 5")
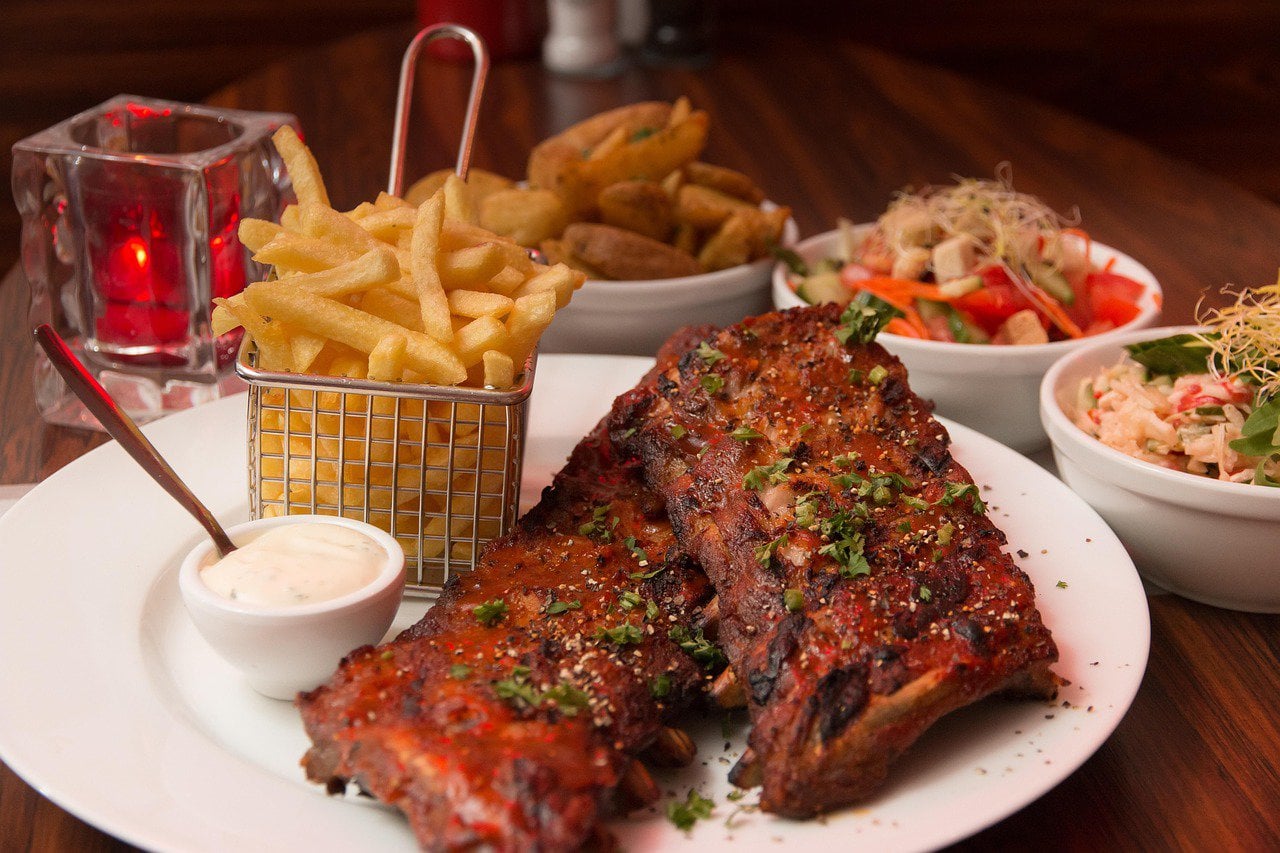
Smoked Baby Back Ribs (3-2-1 Method for Perfect Tenderness)
Image credit: @thegrumpybutcher
Ingredients
- 2 racks of baby back ribs
- Yellow mustard (binder)
- Your favorite BBQ rub (store-bought or homemade)
- Apple juice or apple cider vinegar (moisture for the wrap)
- Brown sugar and butter (optional, but killer for flavor)
- BBQ sauce of your choice
Pro Tip:
- You may want to find a balance between sweet, savory, and a little heat with your rub, as this type of flavor blends perfectly with the smoke.
Instructions
- Prep the Ribs (15 minutes). First, trim off any excess fat and remove the membrane on the back of the ribs. Leaving it on makes the meat chewy and produces a less than satisfying flavor. Simply use a butter knife and paper towel to remove these unwanted parts quickly. In order to help the rub stick, spread a light coat of mustard all over the ribs (note: this is not related to flavor). Follow it up with a generous coat of the BBQ rub on both sides of the ribs. Keep in mind that seasoning is a crucial part in smoking meat, so don’t hesitate to use enough rub on the ribs.
- The First 3 Hours– Smoke. The sweet spot for ribs is to smoke them low and slow under the steady 225°F temperature of your smoker. To get that mild, slightly sweet smoke the best fuel to use would be fruit woods like apple, cherry, or pecan. Place the ribs bone side down and leave it for the entire duration of the recommended cooking time. Resist the urge to peek - every time you open the smoker, you lose heat and smoke. Remember that you’re building bark and layering in flavor during this stage of the smoking process, so opening your smoker means losing the desired flavor of your ribs. You’ll know when it’s ready to be served once the ribs will look dark and a little dry on the surface after being smoked for 3 hours. That’s exactly what you’re going for here.
- The Next 2 Hours – Wrap. The next step is to tenderize the ribs. Spread the BBQ foil on the table or countertop, put the ribs on top, and then add a splash of apple juice or apple cider vinegar. To give it a lavish look, add pats of butter and sprinkle some brown sugar over the ribs before sealing them up and placing them in the smoker. Before putting the ribs back in the smoker, make sure that they are wrapped tightly and smoke them again for another 2 hours. Inside the foil, they’ll steam and soften. After the designated smoking time is complete, you can open the packets also. Here you’ll notice that the meat has pulled back from the bone significantly and this is the sign that the meat has been tenderized.
- The Final Hour – Sauce and Set. Take the packets out of the smoker and unwrap the ribs slowly. Now, it’s time to use your favorite BBQ sauce. It’s entirely up to you whether you want to go light or you want a thick layer of sauce. The final step of the smoking process is to place the ribs back in the smoker without any wrappings this time – smoke for 1 more hour. This step caramelizes the sauce and firms up the bark. The sauce will get viscid, thicken and darken, you can even smell the sweet, tangy aroma of the ribs from far away. Once you’ve completed this step, you should be able to tell when the ribs are ready for serving. They’ll most likely bend easily and almost fall apart when you pick them up with tongs.
Featured image credit: ErwinVisser