Chicken thighs are overlooked grill staples, with many gravitating towards the legs and breasts. This chicken part has as much dark meat as a drumstick, but has a higher meat-to-bone ratio. Read the guide on achieving that moist BBQ chicken thigh taste with a crispy skin intact.

Prep for Ultra-Crispy Skin
Before your chicken thighs hit the grill, you need to prep them for that unbelievably crunchy exterior. It’s all about removing the moisture from the surface to the point it makes that satisfying feel in each bite.
Trim and Dry Thoroughly
Trim loose skin and thick knobs of surface fat so the thighs render cleanly and brown evenly. Make smooth cuts that leave the skin intact and well stretched over the meat. Pat each thigh thoroughly with paper towels until the skin feels tacky rather than slick. Set the thighs on a wire rack over a sheet pan and refrigerate them uncovered for 30 to 60 minutes to allow airflow to dry the surface, as moist skin will not crisp.
Dry-Brine 4–24 Hours
Dry brining is the secret to a crispy skin. Season all sides with kosher salt at roughly 1% of the meat’s weight, or use a light but even coating if you’re not weighing. Salt draws out moisture, then pulls it back in, which seasons the meat while drying the skin. Keep the thighs on a rack and leave them uncovered in the refrigerator for at least 4 hours and up to 24 hours. Dry-brining deepens flavor and primes the skin for blistering crispness.
Rub Strategy: Go Light on the Skin
Apply most of your rub to the meat side and the edges, then use only a thin dusting on the skin. A heavy rub traps surface moisture and slows rendering, which leads to soft skin. Skip sugar on the skin if you plan to finish over a higher heat, since sugar can scorch and turn sticky. A thin, even coat lets fat render through the skin and promotes a shattery bite.
Sauce Without Soggy Skin
The sauce is the second crucial step in achieving that smoky BBQ flavor. Follow these steps to create that sweet and tangy glaze, as well as how to apply it to your chicken thighs.
Make the Glaze (Ingredients + Steps)
Ingredients for a thin, brushable glaze:
- ½ cup ketchup
- 2–3 tablespoons apple cider vinegar
- 1 tablespoon honey
- 1 tablespoon Worcestershire sauce
- 1 teaspoon Dijon mustard
- 1 teaspoon smoked paprika
- ½ teaspoon garlic powder
- ½ teaspoon onion powder
- ¼ teaspoon black pepper
- Pinch of cayenne or chipotle powder
- 2–3 tablespoons water, to thin
Instructions:
- Whisk all ingredients in a small saucepan until fully combined.
- Bring to a gentle simmer for 2–3 minutes until smooth and glossy.
- Adjust the thickness with a splash of water so it brushes in thin layers.
- Keep the glaze warm so it spreads easily and won’t chill the skin.
- Taste and balance with a little more vinegar if the sauce runs sweet.

Applying the Glaze
Brush your glaze only after the skin is crisp and the fat has been reduced. Work at 325 to 375°F so the sugars brown without burning while the glaze sets. Start on the meat side and edges, then add a very light coat of glaze to the skin to preserve its crunchiness. Close the lid of your grill to bake the glaze until it looks glossy and tacky, not wet.
Use two or three paper-thin layers instead of one heavy slather. A thin coat sets fast and protects the texture. Wait until the first layer bubbles at the surface and turns shiny before brushing the next. Thick sauce insulates the skin and traps steam, which ruins the crunchy texture. Keep each pass quick and even to avoid brush marks.
Warm the sauce so it flows and spreads cleanly to your chicken thighs. Cut the thickness of sweet sauces with vinegar or water to make it easier to apply a thin layer. Turn the vents or burners down if the color changes.

Flavor Variations
Here are simple flavor riffs to keep your BBQ chicken thighs interesting for many Sunday lunches. Each option utilizes pantry ingredients and pairs well with apple, cherry, or pecan wood. Pick one, mix in a small bowl, and brush late or toss as a finishing glaze at serving.
- Lemon-Pepper Herb: BBQ chicken thighs get that spicy zing with a lemon-pepper herb rub. Just grate lemon zest into a bowl with black pepper, a tablespoon of olive oil, minced garlic, and chopped parsley. Apply this mix to the thighs during the later cooking stages.
- Peri-Peri Citrus: Upgrade your peri-peri sauce by mixing it with grated garlic, orange juice, and some paprika. Brush the peri-peri citrus near the end of the grilling to preserve that citrus flavor.
- No-Sugar Garlic-Paprika Dry Rub: When sugar is not an option, you can still achieve an amazing flavor by mixing kosher salt, minced garlic, paprika, and black pepper. Apply the rub evenly around the meat, but only slightly on the skin.
- Gochujang-Sesame: Add a Korean spicy kick to your BBQ chicken thigh by mixing gochujang (red chili paste) with honey, soy sauce, and sesame oil. Brush it thinly throughout the cooking process and avoid creating a thick coat.
- Alabama White BBQ Sauce: For a creamy sauce that complements your thigh’s crispy skin, make some Alabama White sauce. Check out our recipe to make this sauce. Warm it gently and mop the meat side and edges so the skin keeps its snap. Offer a drizzle at the table for extra tang without weight.
Final Word
BBQ chicken thighs are worth your grill time because dark meat stays juicy at temperatures that leave lean cuts dry. With the proper prep, you also enjoy a crispy skin on top of your juicy chicken meat. If the glaze does not provide the flavor you are looking for, you can use any of our flavor variations to achieve that unbeatable taste.
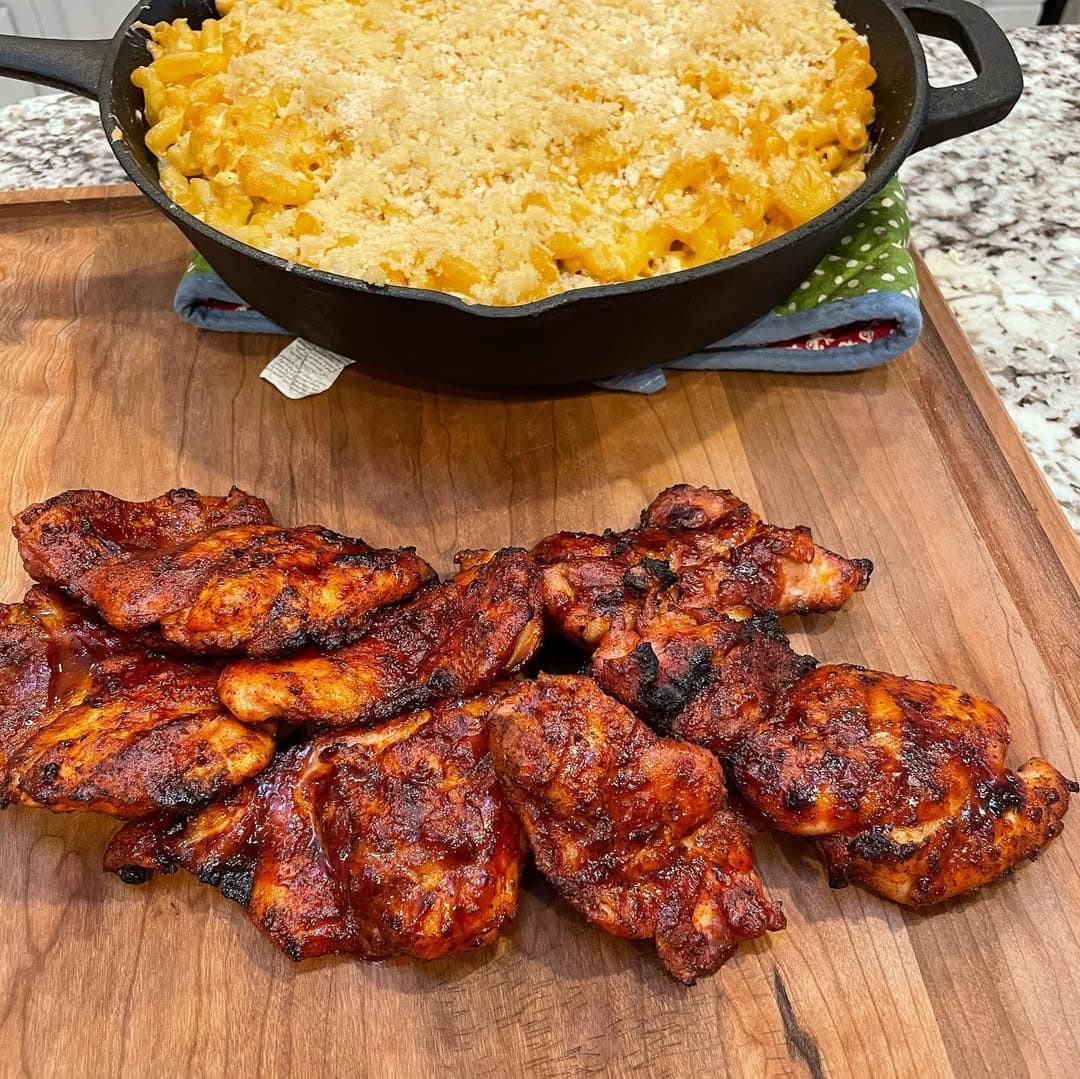
Featured image credit to @grilling4family.