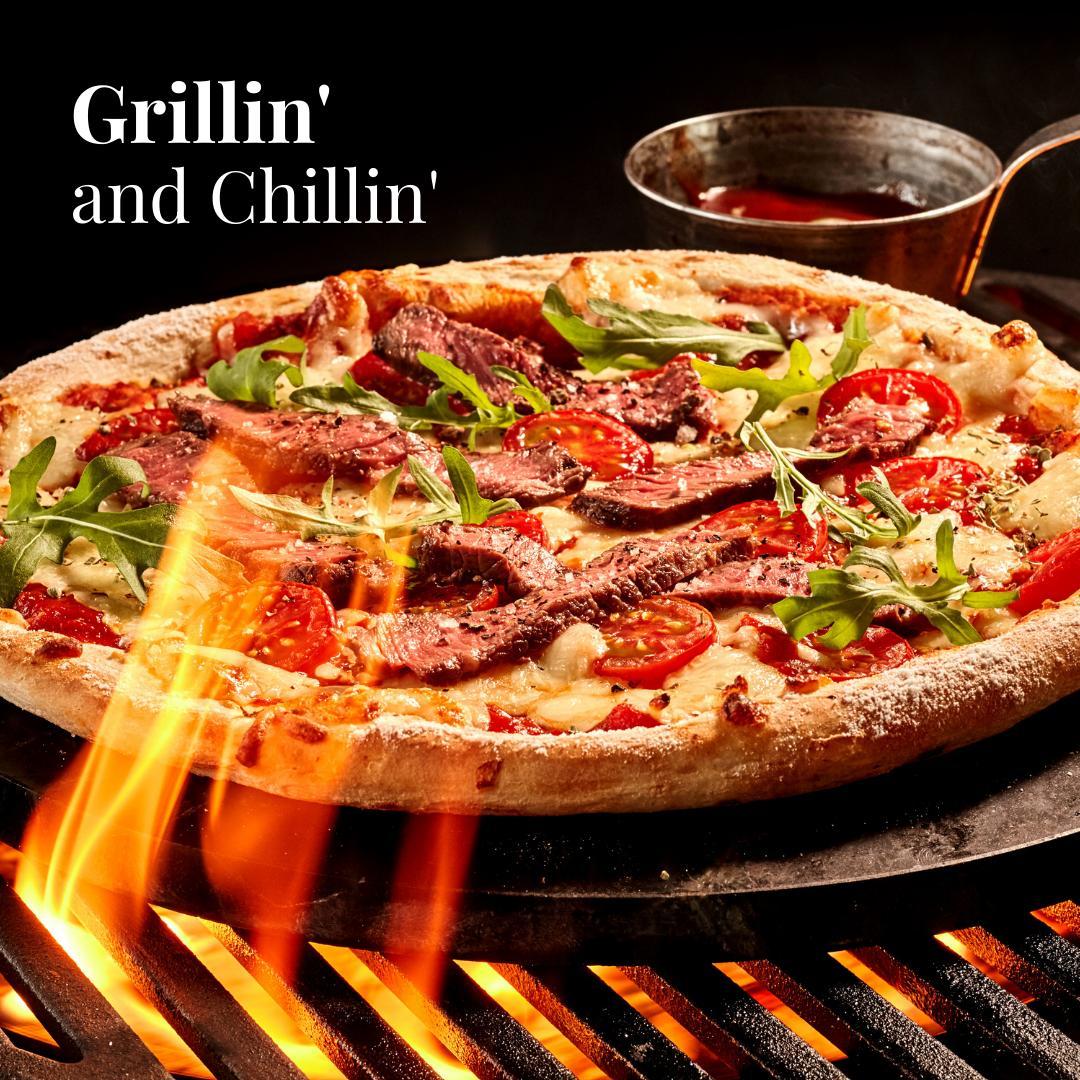
You’ve grilled ribs, burgers, and maybe even a pineapple or two. But pizza? That’s where most backyard cooks hesitate. It sounds risky – dough and open flame don’t exactly scream “safe combination.” But trust me, once you grill pizza, you’ll never look back.
I’ve been smoking meats and charring vegetables for decades, and I’ll tell you this: grilling pizza hits that perfect balance of crispy crust, smoky flavor, and melted cheese glory that no oven can touch.
You don’t need a wood-fired dome or fancy pizza oven. Just a grill, some dough, and a little courage.
Why Grill Pizza?
Because it’s better. Simple as that.
Grilling gives pizza what your kitchen oven can’t – raw heat and smoke. That heat sears the crust instantly, locking in air bubbles and creating those charred blisters everyone pays $20 for at a “Neapolitan-style” spot.
The smoke? That’s free flavor – the kind that seeps into the dough and makes your kitchen pizza taste flat by comparison.
It’s also fast. Once your grill’s hot, you can cook a pizza in under 10 minutes. Great for weeknights, backyard parties, or when you want to impress your friends with something that doesn’t involve another slab of ribs.
Pro tip: Grilling pizza is about prep and speed. Have everything ready – dough rolled, toppings chopped, beer opened – before that dough hits the grates.
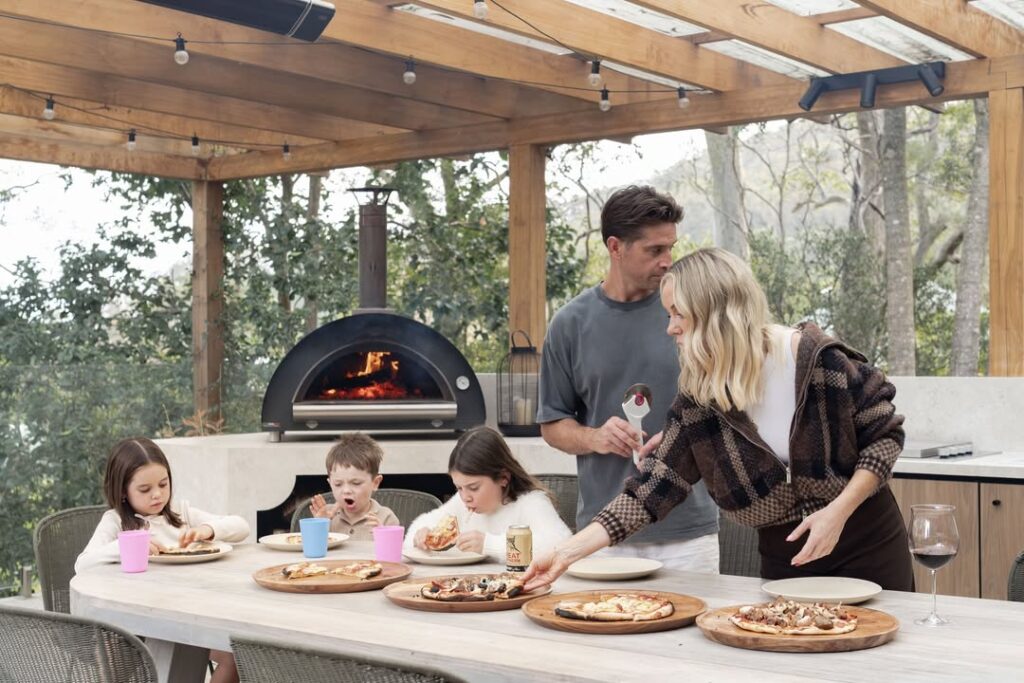
Choosing the Right Grill for Pizza
When it comes to grilling pizza, your setup matters less than how well you know it. Gas grills are perfect for beginners – easy temperature control, fast heating, and consistent results. Charcoal grills? That’s where the magic lives.
They deliver the smoky, fire-kissed flavor that defines a real grilled pizza. If you’re a gadget lover, pellet grills hit a sweet middle ground: steady heat, subtle smoke, and set-it-and-forget-it convenience.
Whatever you use, the rule is simple – know your grill’s hot zones. That’s where your crust will blister and brown beautifully. And don’t overthink it – your backyard grill, even the old one that’s seen better days, can outperform most pizza ovens once you learn its quirks.
The secret isn’t in the brand; it’s in the balance of heat, timing, and confidence.
The Science of the Perfect Crust
A great grilled pizza starts with the right dough – and science is on your side. Heat transforms that humble ball of flour and yeast into something spectacular.
When you drop the dough onto the hot grate, the surface starches caramelize, creating a crisp outer shell that traps steam inside.
That’s why grilled pizza has a chewy middle and crackly edges. Oil helps with both browning and nonstick protection, while salt strengthens gluten and adds flavor. Letting the dough rest at least an hour (or overnight) allows fermentation to build subtle tang and airiness.
Think of the crust as your foundation – everything else depends on it. A well-made dough turns into an edible canvas that can handle high heat, smoky air, and generous toppings without collapsing into a cheesy puddle.
Mastering Temperature Control
The biggest difference between a good grilled pizza and a great one is heat management. Aim for 500–550°F – that’s the sweet spot where you’ll get a crisp crust without burning it to charcoal.
Gas grill users can adjust burners to create a two-zone setup: one side for searing, the other for melting and finishing. Charcoal grill fans should pile coals on one side only, giving you a hot and a cool zone to move the pizza as needed.
The trick is to cook fast, but not furious – high heat for that first sizzle, then indirect heat to finish evenly. Keep the lid closed whenever possible to trap heat and smoke, turning your grill into a mini pizza oven.
If you’re checking every 30 seconds, you’re doing it right. That’s not impatience – that’s precision.

Pairing Your Pizza with Drinks
A grilled pizza deserves more than a random beer from the cooler. Pairing drinks with grilled pizza brings out the best of both worlds. Smoky crust and melted cheese love contrast – think crisp lagers, citrusy IPAs, or a chilled glass of prosecco.
BBQ-style pizzas with tangy sauce and chicken shine next to amber ales or bourbon cocktails. If you’re going Mediterranean with olives and feta, a light white wine or gin spritz fits right in.
And if you’re going dessert pizza (yes, chocolate and marshmallows count), grab a stout or a sweet dessert wine to match the mood.
Bottom line: the right drink amplifies the whole experience. You’re not just eating dinner – you’re hosting a backyard symphony of smoke, fire, and flavor. Cheers to that.
Taking It Up a Notch: Creative Grill Hacks
Once you’ve nailed the basics, it’s time to play. Try tossing a few wood chips on your coals for that smoky pizzeria aroma. Want crispier crusts? Preheat a cast-iron pan on the grill and cook your dough right in it – perfect heat distribution, zero flare-ups.
For a fun twist, brush your crust with garlic butter or chili oil before grilling. Or swap tomato sauce for BBQ, alfredo, or pesto to completely change the vibe. You can even make mini personal pizzas so everyone at your cookout builds their own.
That’s half the fun. And if you want to go bold, sprinkle a little flour directly on the grate before dropping your dough – that’s how you get those photogenic char marks and that whisper of smoke that says, “This isn’t delivery. This is art.”
Pro Tips & Troubleshooting
Because even pitmasters mess up sometimes.
- Soggy crust? Too much sauce or toppings. Go lighter.
- Burned bottom? Heat’s too high or dough too thin. Try indirect heat.
- Cheese not melting? Close the lid longer – you need trapped heat.
- Bland flavor? Brush the crust with garlic butter or olive oil before grilling.
- Want more smoke? Toss a handful of soaked wood chips onto charcoal for that wood-fired flavor.
Remember: BBQ isn’t about perfection – it’s about repetition. The first one teaches you what not to do. The second one changes your life.
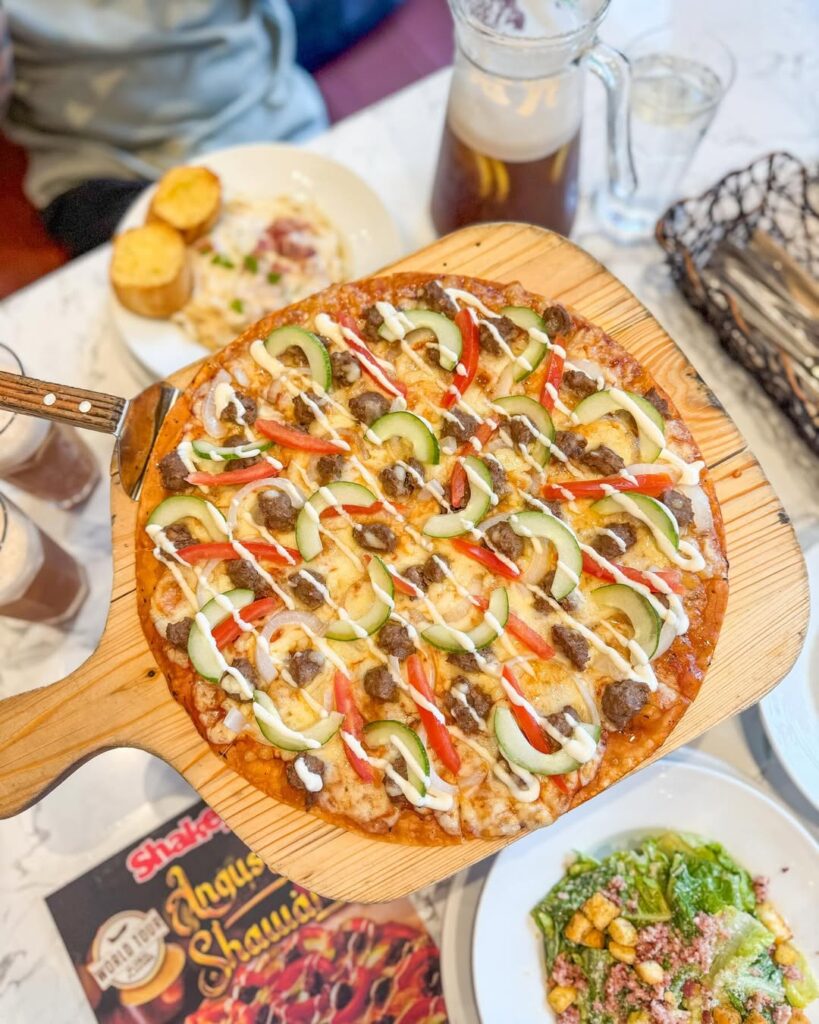
Flavor Variations
Once you master the basics, experiment. Grilled pizza loves variety.
- Classic Margherita: Tomato, mozzarella, basil, drizzle of olive oil.
- BBQ Chicken: BBQ sauce, shredded chicken, red onions, cilantro.
- Mediterranean: Olive oil base, feta, olives, spinach.
- Breakfast Pizza: Bacon, eggs, mozzarella.
- Dessert Pizza: Nutella, sliced bananas, marshmallows – yes, on the grill.
Key takeaway: Once you master the crust, anything goes.
Why It Works
Grilling pizza works because of instant high heat. That heat sears the dough, forming a crisp shell that traps steam inside – chewy on the inside, crisp on the outside. The smoke infuses flavor you can’t fake in an oven.
Think of it as pizza’s primal form. Fire. Dough. Simplicity. You’re not just making dinner – you’re reenacting thousands of years of culinary evolution with a cold drink in hand.
Final Thoughts
Grilling pizza isn’t complicated. It’s fast, fun, and just unpredictable enough to keep things interesting. You’ll burn one, maybe two, and then suddenly you’ll nail it – that perfect balance of crunch, chew, and char that says, “Yeah, I did that on my grill.”
So next time you’re firing up the coals, skip the ribs and grab the dough. Grill pizza once, and you’ll wonder why you ever settled for delivery.
And if your first attempt looks a little “abstract”? Don’t worry. Every pitmaster has a few “rustic prototypes.” It’s part of the charm.
Now grab your tongs. The world’s best pizza oven is already sitting in your backyard.

Grilled Pizza Recipe
Image credit: @marthastewart
Ingredients
- 2 cups all-purpose flour
- ¾ cup warm water
- 1 tsp yeast
- 1 tbsp olive oil
- 1 tsp salt
Pro Tip:
- Mix, knead, and let it rest for at least an hour. Or, if you’re human and busy, grab pre-made pizza dough from the store. It works great – no judgment here.
The Toppings
- Tomato sauce or pesto
- Mozzarella (fresh or shredded)
- Your favorites: pepperoni, mushrooms, onions, basil, grilled veggies, or nothing at all – a plain margherita is hard to beat.
For Grilling
- Olive oil (for brushing dough)
- Cornmeal or semolina (for dusting)
Key point:
- Keep toppings simple. Too many ingredients and your pizza becomes a sloppy mess. The grill is hot – less is more.
Tools of the Trade
- Grill (gas or charcoal both work)
- Tongs
- Pizza peel or large spatula
- Grill brush
- Instant-read thermometer (for the perfectionists)
Optional but excellent:
- A pizza stone or cast-iron pan for even cooking. But honestly, direct grilling gives the best char – and a little chaos keeps it fun.
Instructions
- Preheat the Grill. Crank it up. You want 500–550°F (that’s hot enough to make your eyebrows question your choices). A) Gas grill: Preheat all burners for 10–15 minutes. B) Charcoal grill: Spread the coals evenly and let them burn until covered in gray ash. A hot grill is your best friend – it prevents sticking and gets that signature crunch.
- Prep the Dough. Roll or stretch your dough into a circle about ⅛ to ¼ inch thick. Don’t stress over shape – rustic looks better anyway. Brush both sides with olive oil. That’s your nonstick insurance. Sprinkle some cornmeal on a baking sheet or pizza peel before laying the dough on it – it’ll slide right off when you go to grill.
- Grill One Side First. Here’s where it gets exciting. Lay the dough directly on the grill grates (oil side down). Close the lid. Wait 1–2 minutes. When the bottom shows grill marks and light bubbles, flip it with tongs or a spatula. Congratulations – you just passed the hardest part.
- Add Toppings Quickly. Work fast. You’ve got a minute or two before the bottom cooks through. Spread your sauce on the grilled side, sprinkle cheese, and toss on toppings. Then move the pizza to indirect heat – the cooler side of the grill – and close the lid again. Let it cook for 3–5 minutes. The cheese will melt. The crust will crisp. You’ll smell smoke and happiness. Pitmaster’s tip: This is not the time to go grab a beer. Stay close. Pizza waits for no one.
- Watch for Hot Spots. Grills aren’t perfect. One side’s always hotter. Rotate the pizza halfway through to keep it even. If the cheese melts before the crust crisps, slide it back over direct heat for 30 seconds. Instant fix. You’re looking for a golden crust, light char, and bubbling cheese.
- Remove and Rest. Transfer the pizza to a board or tray. Give it 1–2 minutes to rest before slicing – it’s molten lava right now. Sprinkle fresh herbs, chili oil, or grated parmesan if you’re feeling fancy. Then slice and destroy.
Featured image credit: @sellinglaluxuryhomes

