Let’s face it – there’s nothing quite like the smell of charcoal, the hiss of a flame, and the sizzle of meat hitting a hot grate. But high-end grills? They can cost as much as a used car.
And sometimes, your backyard doesn’t need a Cadillac; it needs something functional, durable, and entirely your own.
That’s where a DIY charcoal grill comes in. Not only does it save money, but it’s also customizable, satisfying to build, and perfect for backyard BBQ adventures.
This guide will show you how to construct a simple charcoal or wood grill that works, looks good, and teaches you the basics of fire management like a true pitmaster.
Why Build Your Own DIY Charcoal Grill?
Building your own grill isn’t just about saving money – though that’s a nice bonus. There are several reasons to go DIY:
- Cost-effective: You can build a sturdy, functional grill for a fraction of the price of commercial models.
- Customizable: Height, width, and cooking surface are fully under your control.
- Pride and satisfaction: There’s nothing like flipping burgers on something you made yourself.
- Learning experience: You’ll get hands-on knowledge about airflow, heat, and fuel management – skills every pitmaster swears by.
- Eco-friendly: You can use recycled bricks or sustainably sourced wood, reducing your footprint.
Think of it as a weekend project that rewards you for years of summer meals.

Safety First: Before You Start
A DIY charcoal grill may look simple, but fire is serious business. Safety comes first:
- Location: Place your grill on level ground, away from flammable materials. Keep it clear of overhanging branches or wooden decks.
- Materials: Use fireproof bricks, cinder blocks, or metal. Avoid treated lumber – chemicals + heat = bad idea.
- Tools and gear: Gloves, goggles, and a mask if you’re cutting metal.
- Fire safety: Keep a bucket of water or sand nearby. Local fire regulations? Check first.
- Ergonomics: Build at a height comfortable for standing and flipping food. No one wants to grill hunched over for hours.
Safety might not be glamorous, but it’s the difference between “pitmaster” and “call the fire department.”
Choosing the Right Materials
Materials are where your grill’s performance starts. The right combo = longevity, heat control, and easier cooking.
- Bricks or cinder blocks: Heat-resistant, inexpensive, and easy to stack.
- Metal grates: Stainless steel is ideal; old grill grates or repurposed metal work too.
- Sand or gravel base: Stabilizes the grill and improves drainage.
- Optional accents: Stone or decorative bricks for a polished look.
- Tools checklist: Hammer, level, trowel, gloves, wire brush.
Pro tip: Recycled materials often work great. A stack of old bricks can become a backyard pitmaster’s dream without spending a dime.
Design Considerations
Before stacking bricks or welding metal, think about how you want to cook:
- Size matters: Small grill for two or large enough to entertain a dozen.
- Airflow: Charcoal needs oxygen. Leave gaps in your brick walls for proper venting.
- Grill height: Waist-level is ideal for flipping burgers and tossing veggies. Too low? Backache incoming.
- Portability: Decide whether it’s permanent or semi-portable.
- Extras: Side shelves for prep, ash collection areas, or decorative finishes.
Even a simple design can shine with small thoughtful touches. A little planning here saves headaches later.

Step-by-Step Construction Guide
Here’s where it gets hands-on. We’ll keep it simple but professional:
1. Choose and Prepare the Location
Pick level ground. If you have grass, clear it and lay a layer of sand or gravel. Leveling ensures stability and prevents tipping when the coals are lit.
Pitmaster tip: “If the base wobbles, your steaks wobble – and nobody wants that.”
2. Lay the Base
Create a foundation with sand or gravel. It’s cheap, fireproof, and prevents water from pooling under your grill.
- Layer 2–3 inches thick.
- Compact it using a board or tamper.
The base is your grill’s skeleton. Do it right, and your structure lasts years.
3. Stack Bricks or Blocks
- Build the walls in a rectangle or square shape.
- Leave 1–2 gaps at the bottom for airflow.
- Aim for 18–24 inches in height.
- Optional: Use mortar for extra stability, though dry stacking works fine for smaller grills.
Tip: Keep walls even – use a level for a professional finish. Nothing ruins a burger faster than a tilted grate.
4. Install the Grill Grate
- Place your metal grate on top.
- Adjustable options? Use bricks as notches so you can raise or lower the grate.
- Ensure it’s stable – you don’t want a hot grate tipping over mid-cook.
Pro tip: Reuse an old store-bought grill grate if you want a sturdy cooking surface without welding.
5. Add Fireproof Finishing Touches
- Mortar between bricks if desired.
- Optional: Decorative stone veneer for curb appeal.
- Wire brush metal surfaces to prevent rust and sharp edges.
6. Test the Grill
- Light a small batch of charcoal or wood.
- Observe airflow and heat distribution.
- Adjust gaps or grate height as needed.
If smoke’s coming out everywhere but the top, you did something wrong. Don’t panic – fix it and try again.
Using Your DIY Charcoal Grill
You’ve built it – now use it like a pro.
- Lighting the fire: Use a chimney starter or small kindling. Avoid lighter fluid – flavor killer.
- Temperature management: Direct heat for searing, indirect for slow cooking.
- Cooking tips: Keep veggies crisp, proteins juicy. Move coals to adjust heat zones.
- Maintenance: Scrape the grate after each session. Remove ash and cover the grill to prevent rust.
Enhancements and Optional Features
Make your DIY charcoal grill feel custom:
- Adjustable grates for cooking flexibility.
- Side shelves for prep work.
- Smoker box for a smoky kick.
- Decorative touches: Stone veneer, paint, or mosaic bricks.
- Weather protection: Cover or small pergola.
Even small upgrades make the grill feel professional.

Common Mistakes and How to Avoid Them
- Overcrowding the cooking area – reduces airflow.
- Using non-heat-resistant materials – recipe for disaster.
- Forgetting proper ventilation – smoky, uneven cooking.
- Building too high or too low – back pain or awkward flipping.
- Ignoring fire safety rules – always check local codes.
Pitmaster insight: “Mistakes are part of the learning curve. Just don’t burn the burgers while learning.”
Alternative DIY Grill Ideas
Not ready for full brickwork? Consider:
- Tin-can grills – portable and quick.
- Barrel or drum grills – perfect for large batches.
- Brick pizza-oven hybrids – dual function for pies and meat.
- Tabletop grills – small, urban-friendly options.
DIY doesn’t have to be intimidating. Even simple setups deliver impressive results.
Storage and Maintenance
- Store in a covered area or use a weatherproof grill cover.
- Remove ash after each session – wet ash = mess and corrosion.
- Inspect grates and brick stability periodically.
- Use wire brushes to clean metal and keep edges smooth.
A little maintenance goes a long way in extending your grill’s life.
Your DIY Charcoal Grill Weekend Project
A DIY charcoal grill is more than a cooking appliance – it’s a weekend project, a learning experience, and the centerpiece of countless backyard memories. You save money, gain knowledge, and get the satisfaction of cooking over a fire you built yourself.
Plan carefully. Use the right materials. Build safely. Then light it up, throw on some burgers, and enjoy the fruits of your labor.
With some patience, a few tools, and a spark of creativity, your DIY grill can rival store-bought models and deliver BBQ that’s genuinely better than takeout. And trust me – nothing tastes as good as food cooked over a fire you built yourself.
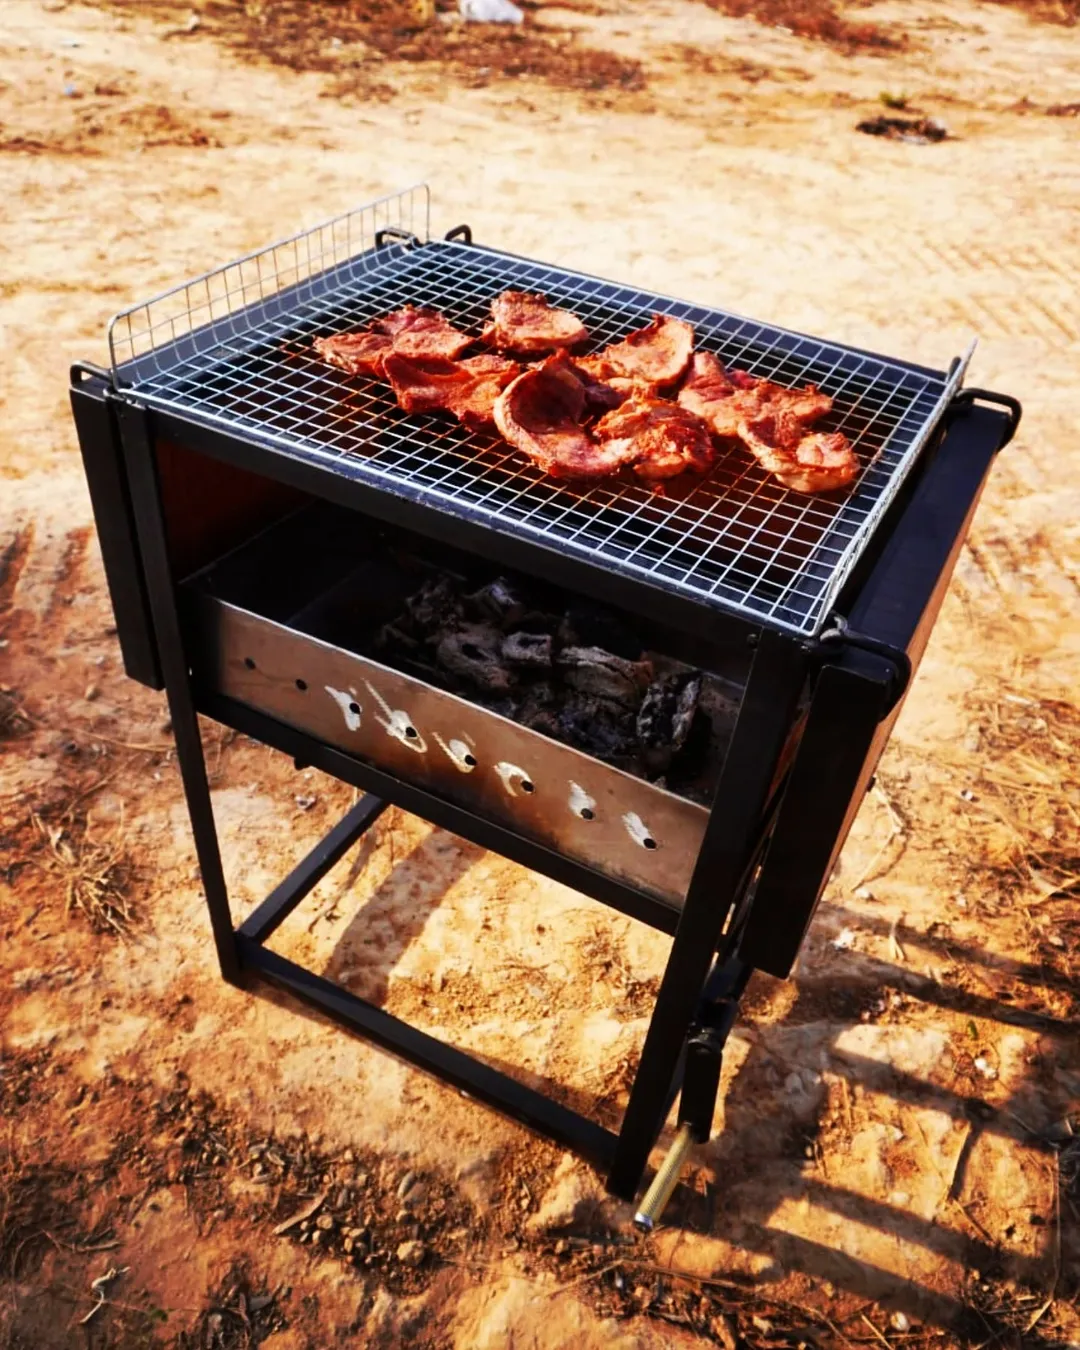
Featured image credit: @admin.creativelab