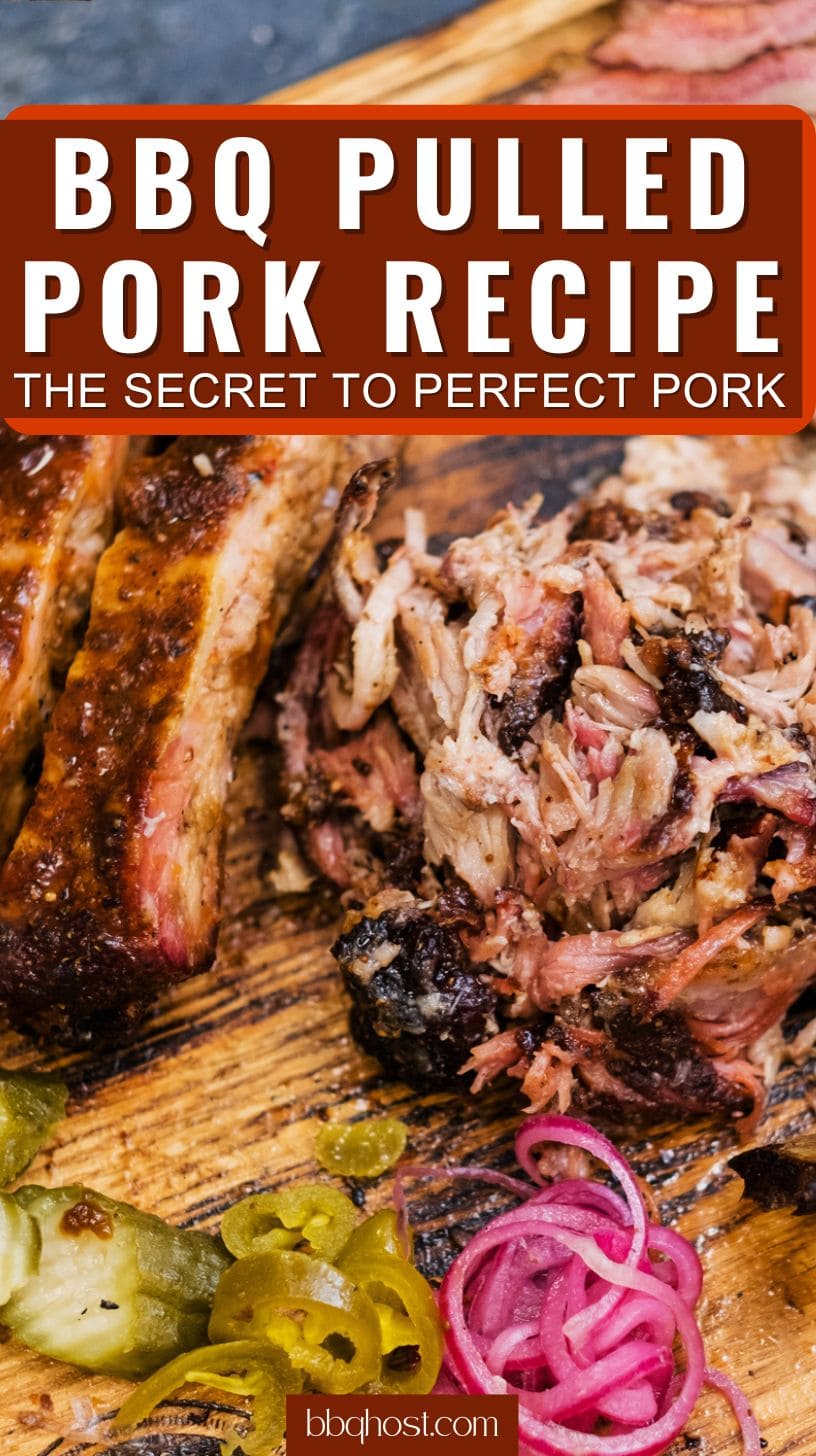
This BBQ Pulled Pork Recipe will deliver you pork that shreds apart with ease and bursts with smoky flavor, so you can impress everyone. BBQ Pulled Pork is one of those dishes that makes people stop in their tracks. The aroma floats through the neighborhood, and before long, you’ve got hungry friends hovering around the smoker.
From choosing the right cut to serving it up, you’ll have the confidence to make pulled pork that impresses every time.
Choosing the Right Cut
The pork shoulder is the classic choice for pulled pork, but there are two parts to know. The upper portion, the Boston butt, carries more fat and marbling.
That extra fat makes it juicy, tender, and forgiving, which is why most pitmasters recommend it. The lower portion, known as the picnic shoulder, is leaner and has tougher skin. It can still work, but you need to watch it more closely to prevent dryness.
If you’re cooking for a big gathering, a whole shoulder combines both sections. For most backyard cooks, though, the Boston butt is the smarter buy. It’s easier to manage and almost always delivers that fall-apart tenderness you’re after.
Prepping the Pork
Good pork doesn’t need much trimming. Leave a thin cap of fat to protect the meat during long hours of heat. Some cooks remove large pockets of fat, but don’t go overboard. You want enough left to help the pork baste itself as it cooks.
A thin coating of yellow mustard or even olive oil makes a reliable binder. The binder isn’t for flavor; it’s there to help the rub stick evenly. Once coated, the shoulder is ready for seasoning.
Building the Rub
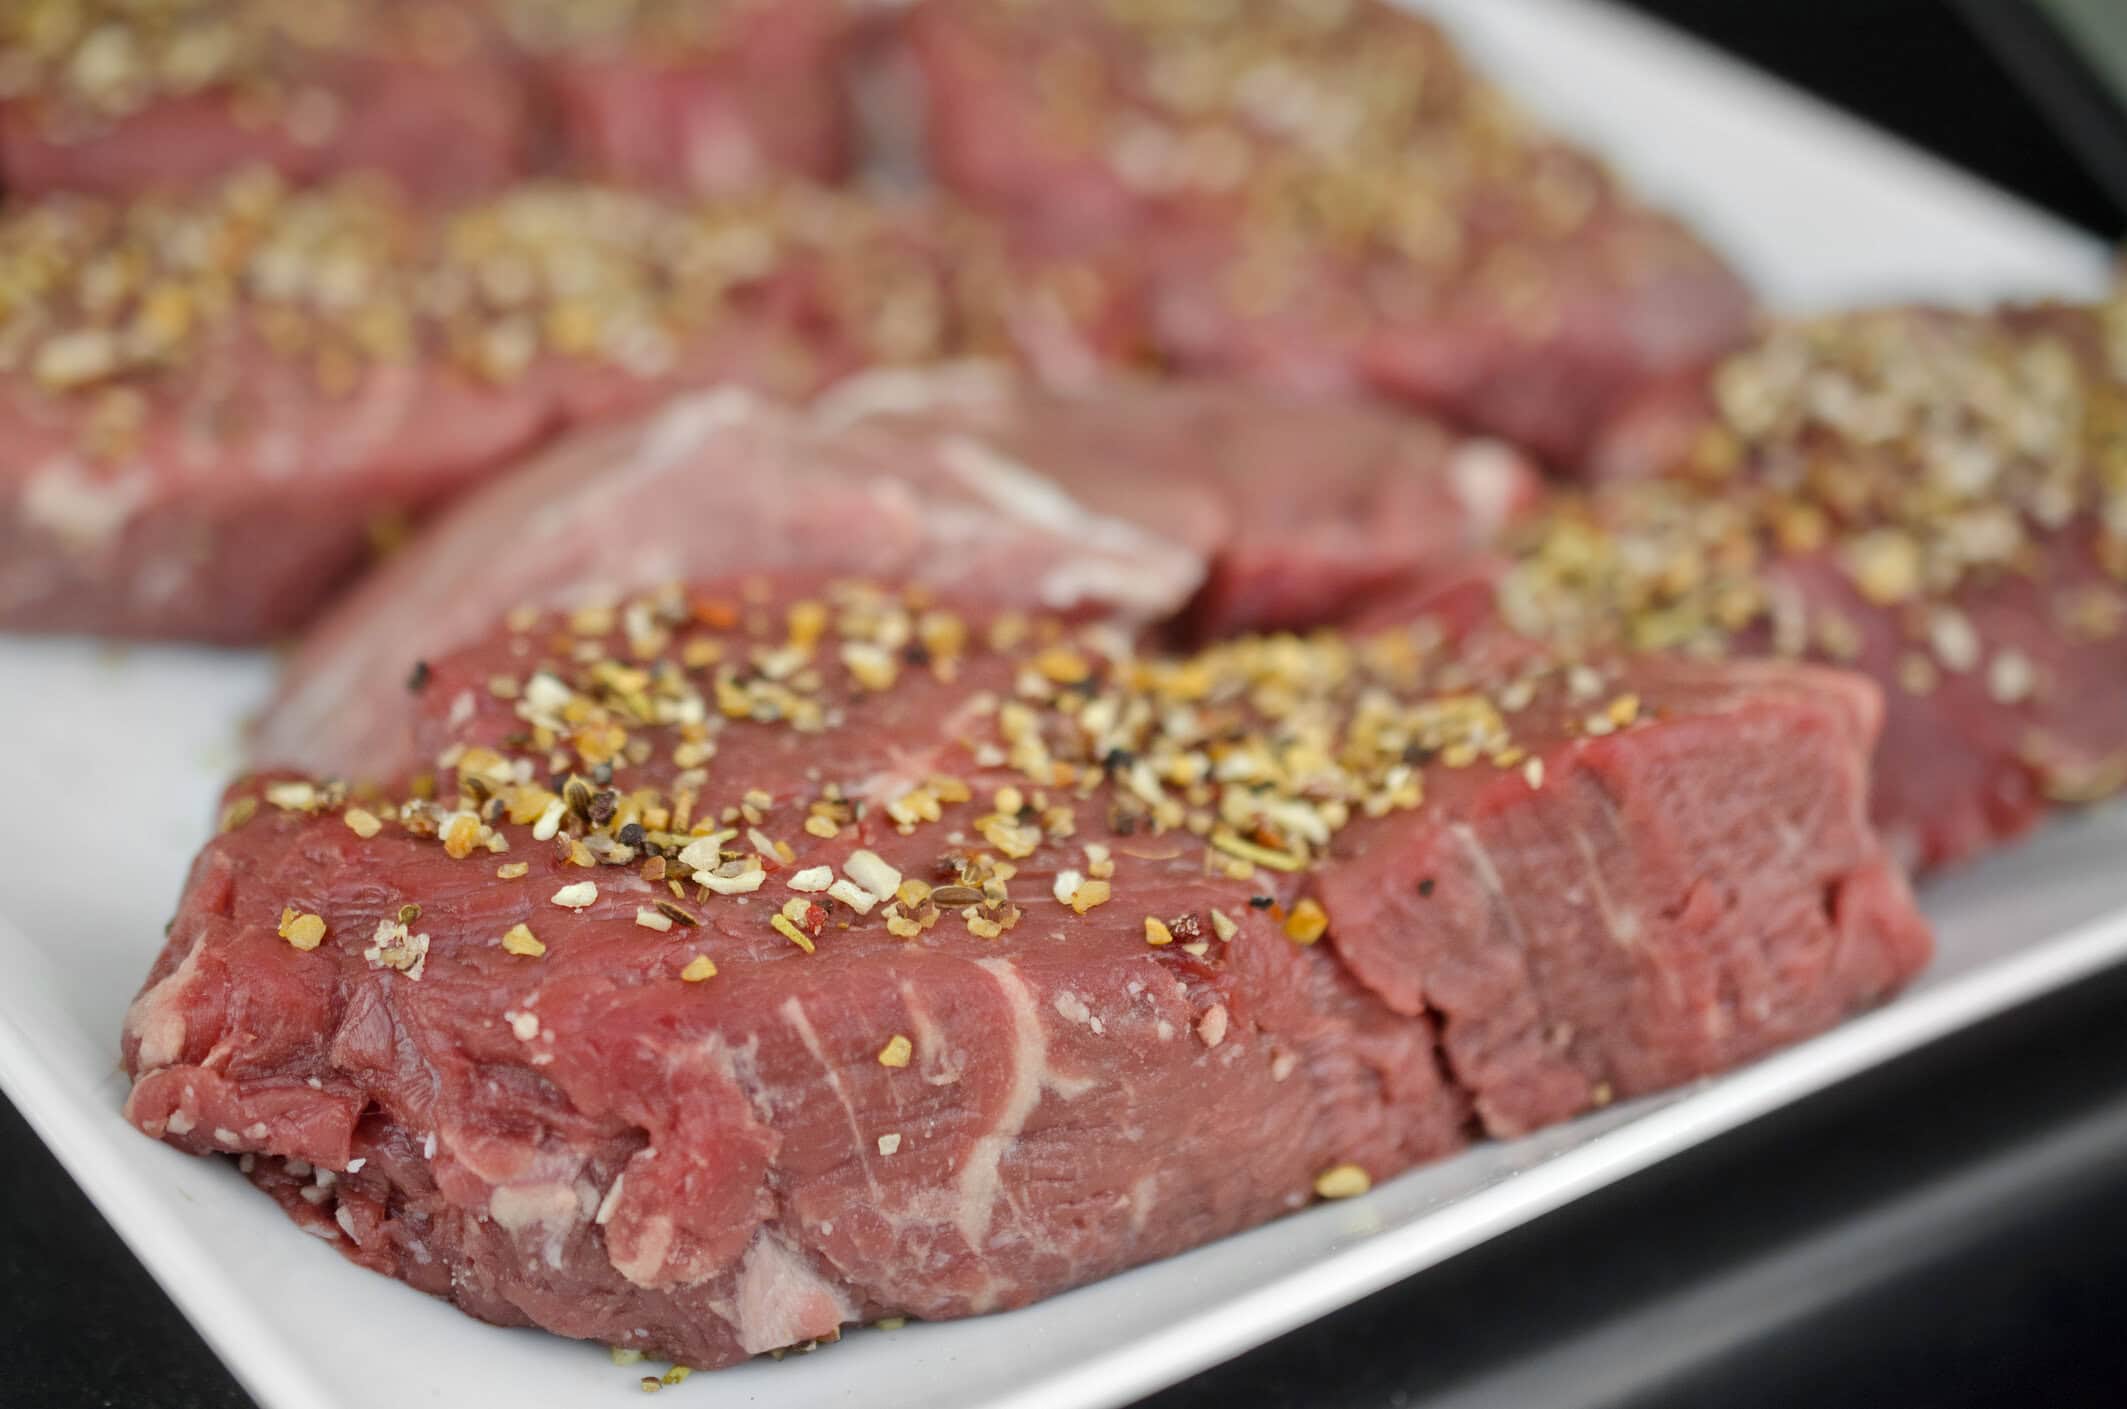
Pulled pork rubs strike a balance between sweet, savory, and spicy. Brown sugar provides caramelization, salt penetrates deeply, and spices add complexity. A simple blend might include sugar, kosher salt, paprika, black pepper, garlic powder, onion powder, and just a pinch of cayenne for heat.
Apply the rub generously, ensuring every surface is evenly coated. Place the pork in the refrigerator for at least four hours, or preferably overnight. This resting period allows the salt to work its way inside, seasoning the meat before it ever hits the smoker.
Setting Up the Smoker
Consistency makes or breaks pulled pork. Maintain a smoker temperature of 225 to 250°F from start to finish. Hickory and oak are bold and traditional, giving pork its signature barbecue punch. Apple, cherry, or peach wood adds a subtle sweetness that pairs beautifully with the natural richness of pork.
Choose wood that matches your taste. (Read our review HEREof the best lump charcoals) For a stronger flavor, stick with hickory or oak. For a lighter touch, blend fruitwood with a base of oak. Always let your fire settle before adding the pork so you avoid sudden temperature swings.
A Note on Smoker Types
Offset smokers produce classic results, but they require constant fire management. Pellet smokers make life easier with automated temperature control. Kamado-style cookers hold heat well and burn fuel efficiently. Even a kettle grill can work if you set it up for indirect heat with wood chunks. Whatever you cook on, the goal is steady heat and clean smoke.
Understanding the Stall
Every pitmaster eventually faces the stall. At an internal temperature of around 160°F, the pork stops climbing and may remain there for hours. The surface moisture evaporates, cooling the meat as quickly as the fire warms it.
You have two options: wait it out or wrap it. Waiting develops the best bark, but it takes patience. Wrapping in foil or butcher paper, often referred to as the Texas Crutch, speeds up the process. Foil traps steam and softens the bark, while butcher paper is more breathable and preserves some of the crust. Both methods are valid, so choose the one that suits your timeline.
Knowing When It’s Done
Pulled pork isn’t finished at one exact temperature. Most shoulders are ready between 195 and 205°F, but tenderness is the real test. If a probe slides in with no resistance, like warm butter, you’re done. Undercooked pork will appear to be cooked when you check it. Perfectly cooked pork feels soft all the way through.
Resting the Meat
This step separates good barbecue from great barbecue. Once the pork is off the smoker, wrap it tightly and place it in a cooler or warm oven for at least an hour. Resting gives the juices time to redistribute, keeping the meat moist once you shred it. Skip this step, and you risk dry pork, even if the cooking process went perfectly.
Pulling the Pork
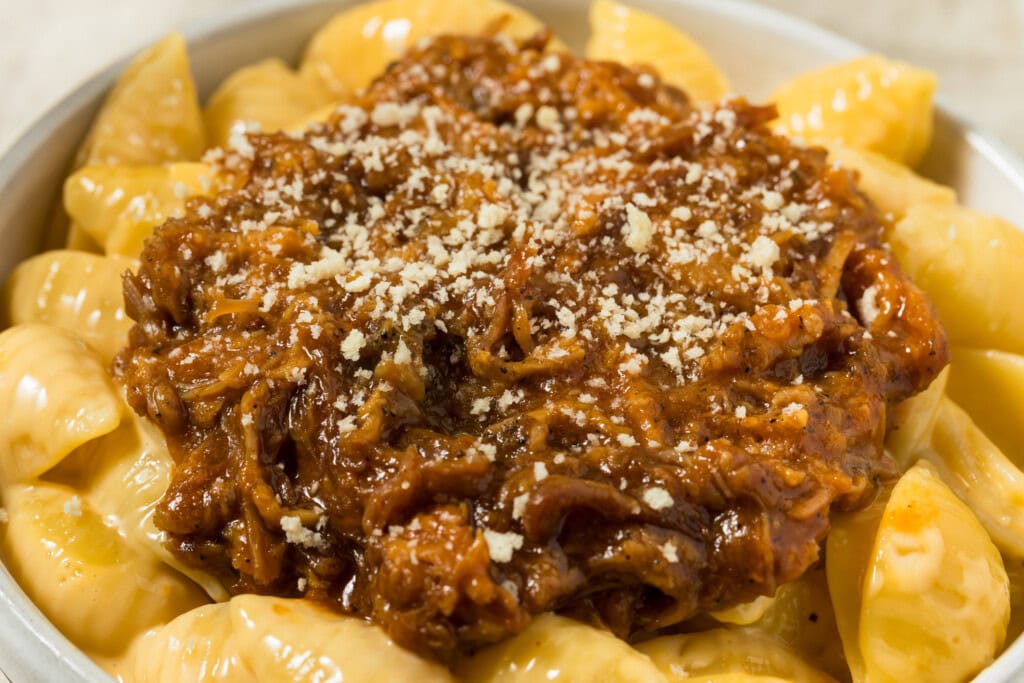
When it’s time to shred, the pork should fall apart easily. Use forks, meat claws, or even your gloved hands. Remove any large chunks of fat or connective tissue. Shred the rest into bite-sized strands. Mixing in some of the reserved cooking juices keeps the meat succulent and flavorful.
Sauce or No Sauce
This choice divides barbecue lovers. In North Carolina, a sharp vinegar sauce is a common accompaniment to many dishes. In Kansas City, sweet, tomato-based sauces are the dominant flavor. Some pitmasters skip sauce entirely, letting the rub and smoke do all the talking.
The safest option is to serve the sauce on the side. A light drizzle adds brightness, but drowning the meat hides the flavor you worked hours to build.
Serving Ideas
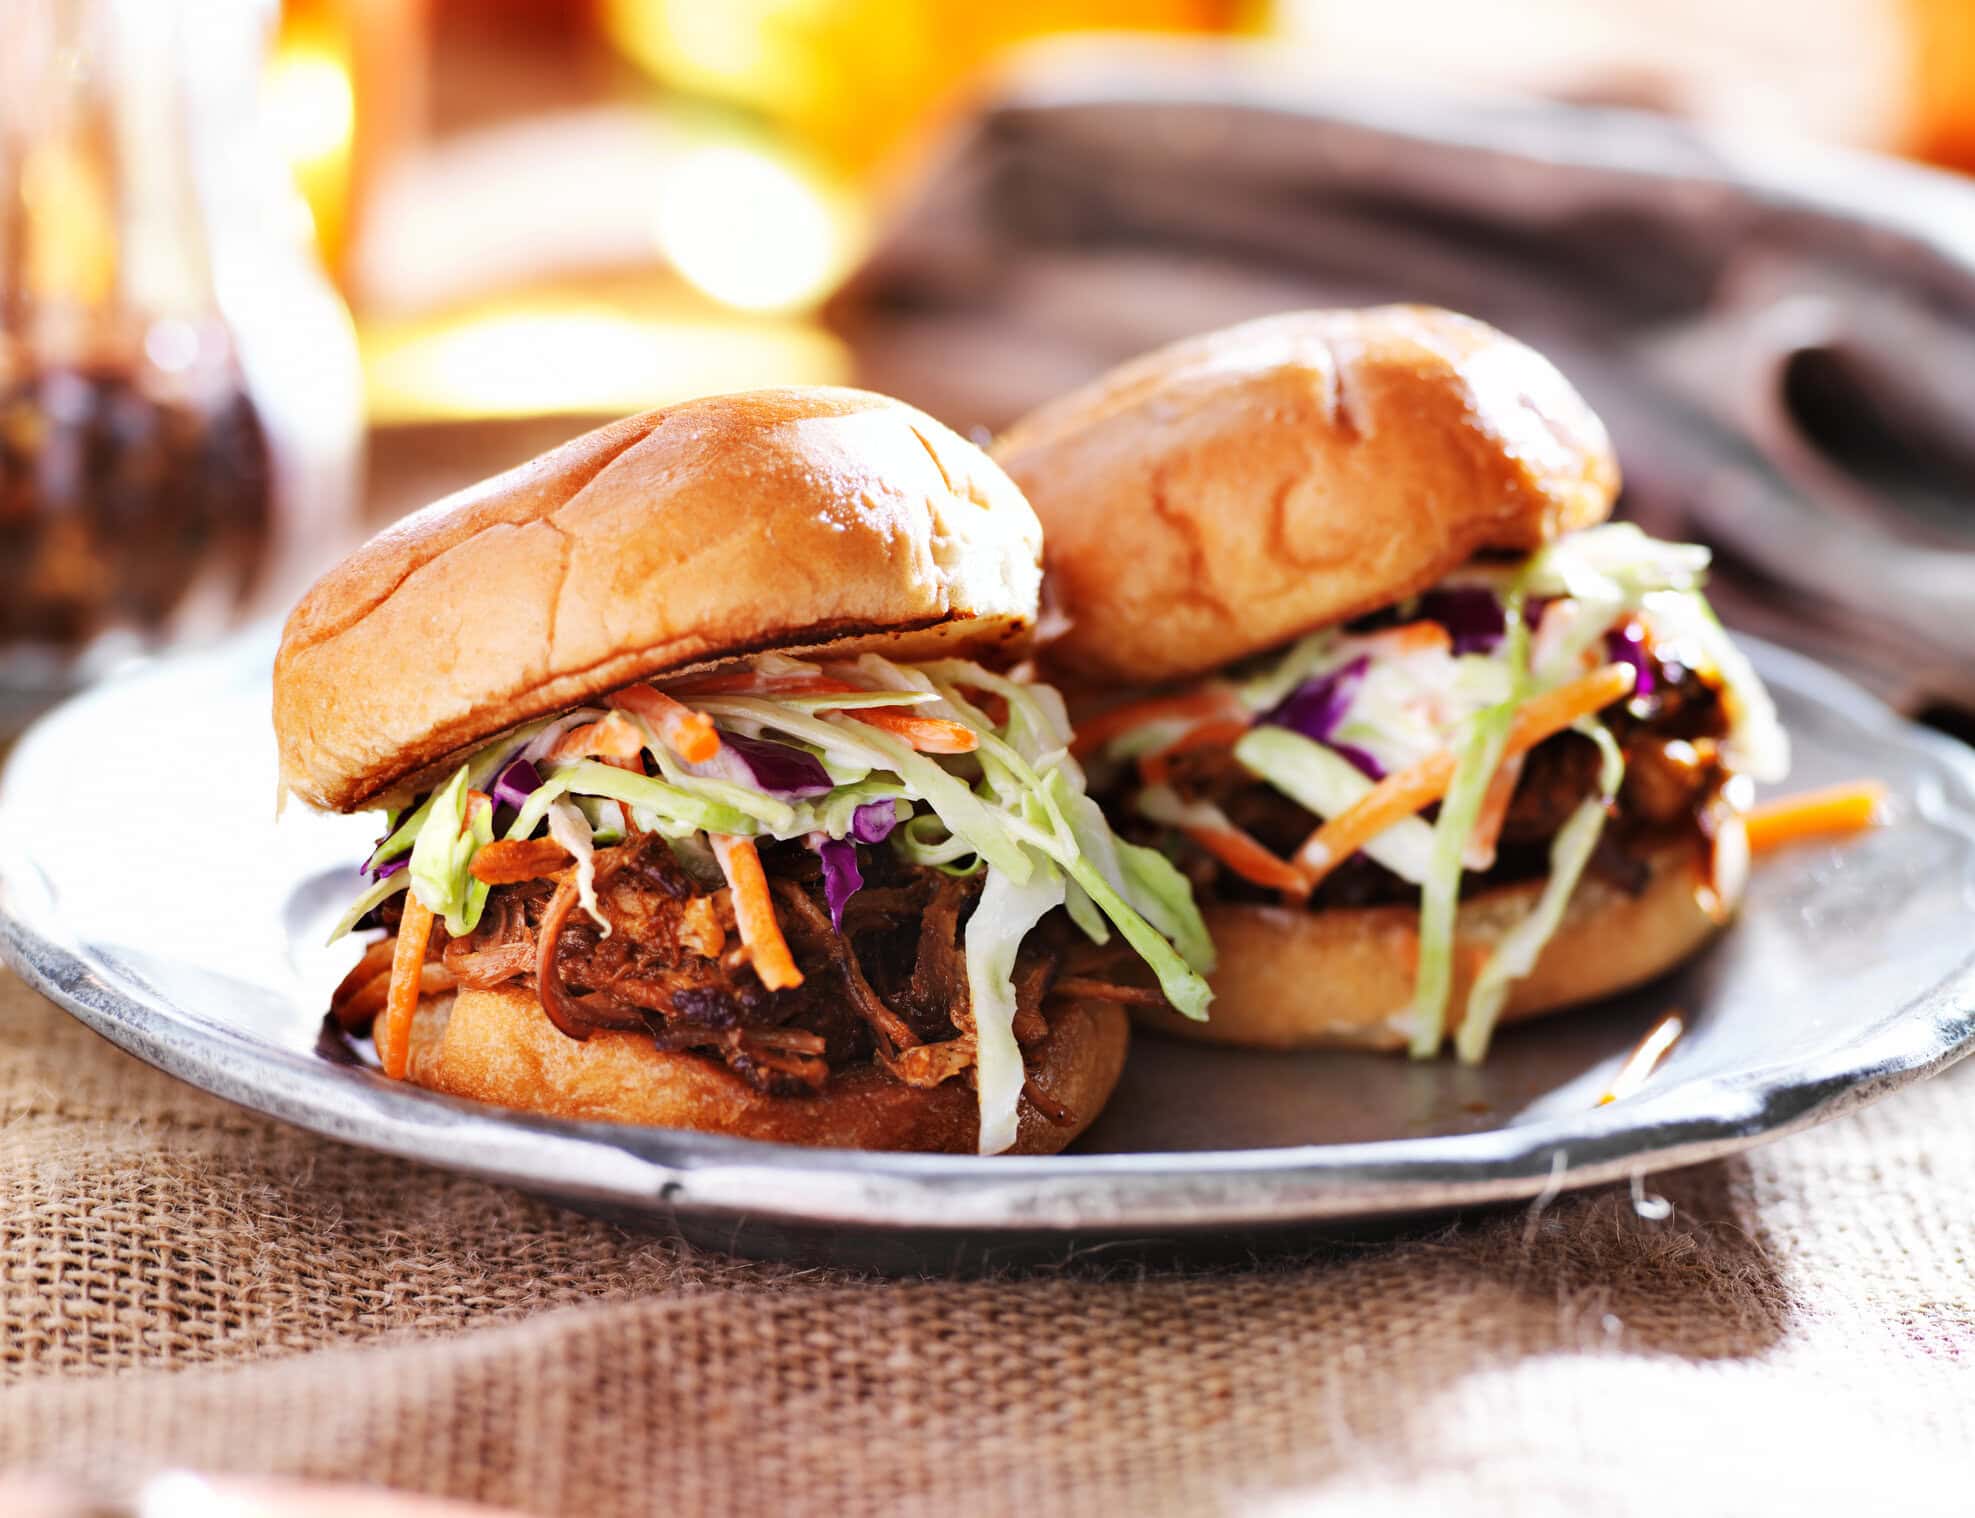
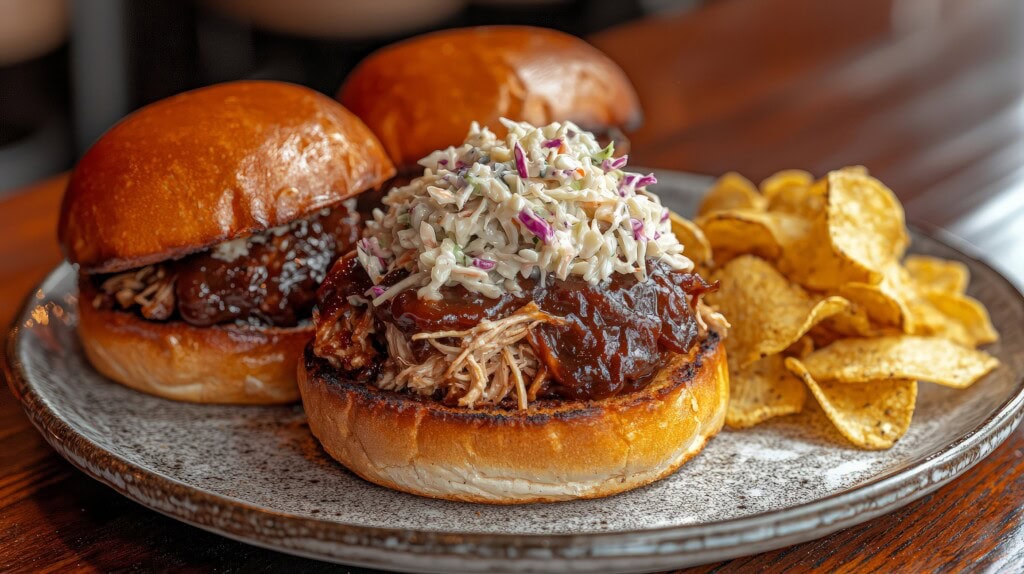
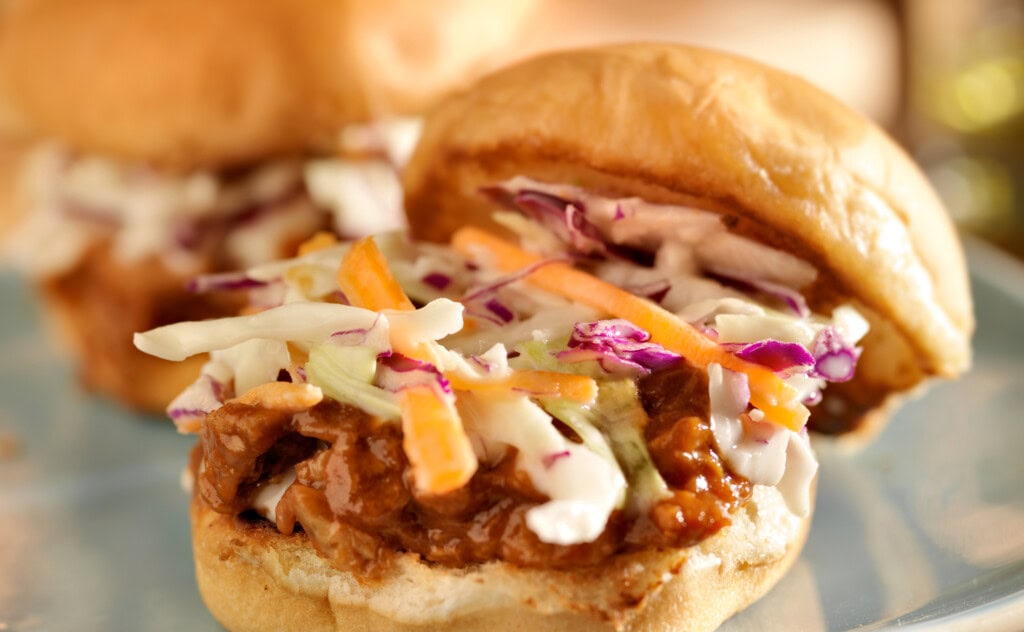
Pulled pork sandwiches with a scoop of slaw are a classic, but the options go far beyond that. Try it in soft tortillas for tacos topped with pickled onions. Load it into baked potatoes with cheese and sour cream. Spread it across nachos for a game-day snack. Pulled pork also freezes well, so you can portion leftovers into bags for quick weeknight meals. Reheat in a skillet with a splash of broth or reserved juices to revive it.
Extra Tips for Success
- Use a reliable thermometer. Guessing leads to dry or undercooked pork.
- Avoid peeking too often. Every time you open the smoker, you lose heat and smoke.
- Plan your timing. Pork shoulders take longer than most expect, often 10 to 12 hours, depending on size. Allow yourself extra time and consider holding the meat in a cooler if it finishes early.
The Bottom Line
Pulled pork takes patience, but the payoff is worth it. When cooked correctly, the meat shreds effortlessly, stays juicy, and carries the perfect balance of smoke and seasoning.
Start with a well-chosen cut, cook low and steady, rest properly, and you’ll be rewarded with barbecue that turns heads. Best of luck, and happy grilling!

