Anyone who’s locked eyes with a chuck roast in the meat case has had the same thought: “That looks tough.” Congratulations – it is. And that’s exactly why I love it.
As a pitmaster, I’ve learned one universal truth: tough cuts don’t need more effort, they need more time. Give a chuck roast patience, gentle heat, and respect, and it’ll reward you with something downright legendary.
This is the road to the perfect chuck roast, and it’s paved low and slow.
Why Chuck Roast Is Built for Low & Slow
Chuck roast comes from the shoulder of the cow. That area works hard, which means:
- Lots of connective tissue
- Plenty of intramuscular fat
- A reputation for being “cheap” and “tough”
That reputation disappears when you cook it correctly.
Here’s the magic trick: collagen turns into gelatin when cooked slowly at low temperatures.
That gelatin is what gives you that silky, pull-apart texture people chase in barbecue joints and pot roast memories. Cook chuck roast fast, and it fights back. Cook it low & slow, and it melts like it owes you money.
Key takeaway: Chuck roast isn’t stubborn – it’s just misunderstood.

The Science (Don’t Worry, It’s the Fun Kind)
Low & slow cooking isn’t mystical, but it sure feels like it when you open the lid.
At temperatures between 190–205°F, the collagen inside chuck roast breaks down into gelatin.
That process:
- Takes time (hours, not minutes)
- Requires moisture
- Hates rushing
This is why chuck roast laughs at grilling but falls apart during a long braise. Moist heat plus patience equals transformation.
Important phrase: Time is an ingredient.
The Power of the Sear: Where Flavor Is Born
Before low & slow works its magic, high heat earns its moment. Searing a chuck roast isn’t optional – it’s foundational. When that meat hits a ripping-hot pan or smoker, the Maillard reaction kicks in, creating hundreds of new flavor compounds.
This isn’t about “locking in juices” (a myth that needs to retire). It’s about building a flavor crust that deepens everything that follows.
That dark, caramelized exterior dissolves slowly into the braising liquid, enriching the sauce with savory depth and roasted complexity. Skip the sear, and you’ll still get tender meat – but it’ll taste flat, like a song without bass.
Key rule: Dry the meat. Season generously. Don’t rush.
Let the roast release naturally from the pan – if it sticks, it’s not ready. Patience starts before the oven ever turns on.
Choosing the Right Chuck: Not All Roasts Are Equal
The meat case can feel like a gamble, but a great chuck roast leaves clues.
Look for marbling – thin white veins of fat running through the meat. That fat renders slowly, keeping the roast juicy and flavorful during long cooks. Avoid roasts that look lean and uniform; they’ll cook up dry no matter how gentle you are.
Thickness matters too. A thick, evenly shaped roast cooks more predictably than a thin, awkward slab. Bone-in chuck? Bonus points. Bones add richness and body to sauces, even if you never notice them directly.
And don’t fear the label “cheap.” Chuck is affordable because it’s hardworking, not because it’s inferior.
Pitmaster wisdom: Buy with your eyes, not the price tag. The right chuck roast is already halfway to greatness.

Seasoning Chuck Roast: Keep It Honest
Chuck roast doesn’t want fancy – it wants clarity. Salt, pepper, and time will take you further than a spice rack tantrum.
Salt early if you can.
A few hours – or overnight – lets seasoning penetrate deeper, enhancing the meat itself rather than just the surface.
Want more? Add aromatics, not distractions. Garlic, onion, thyme, bay leaf – these support the beef instead of competing with it. Bold rubs and sugary spices burn during long cooks and muddy the final flavor.
Remember: chuck roast develops natural richness as collagen melts into gelatin. Over-seasoning masks that reward.
Golden rule: If you wouldn’t drink the sauce by itself, you seasoned wrong.
Great chuck roast tastes like beef turned up to eleven – not like a spice blend trying to steal the spotlight.
The Lid Stays Closed: Trust the Process
Every time you lift the lid, you’re not “checking” – you’re interrupting. Heat escapes. Moisture evaporates. Time resets. Low & slow cooking depends on stable conditions, not constant supervision.
Chuck roast doesn’t need babysitting. It needs faith. Once it’s nestled into gentle heat, collagen begins its slow surrender. Opening the lid too often is like pulling bread out of the oven mid-rise – it delays the transformation you’re waiting for.
Use your senses wisely. Listen for a gentle simmer, not a boil. Smell the progression from raw to rich. When it’s ready, it will tell you through texture – not the clock.
Mantra to remember: If it’s tough, keep cooking. If it’s dry, add patience – not panic.
Low & slow rewards restraint as much as skill.
Sauce Happens (You Don’t Force It)
The best chuck roast sauce is an accident with discipline. You don’t set out to make it perfect – you let it become perfect. As the meat cooks, rendered fat, gelatin, and browned bits merge into something greater than the sum of its parts.
Resist the urge to over-thicken or over-reduce too early. Let the roast finish first. Then, if needed, skim excess fat, reduce gently, or mount with a touch of butter for shine.
What you’re chasing is balance: rich but not greasy, savory but not salty. A squeeze of acid – vinegar or wine – at the end can wake everything up.
Truth bomb: Great sauce isn’t added – it’s revealed.
When done right, the sauce doesn’t sit on the meat. It belongs to it.
How to Know When It’s Actually Done
Forget strict times. Use texture.
- A fork should twist easily
- The meat should pull apart without resistance
- Internal temp usually lands around 200°F
If it’s tough, it’s not ruined – it’s just not ready yet.

Common Mistakes (I’ve Made Them All)
- Cooking too hot: You’ll tighten the meat instead of relaxing it
- Skipping the sear: You’ll miss half the flavor
- Too much liquid: You’re braising, not boiling
- Slicing too soon: Juice crime
Pitmaster confession: Every bad chuck roast I’ve eaten was rushed.
Serving the Perfect Chuck Roast
Classic never fails:
- Mashed potatoes
- Rice or polenta
- Crusty bread for sauce cleanup
Leftovers?
- Shred it for sandwiches
- Fold it into tacos
- Stir it into pasta
Chuck roast is the gift that keeps giving.
Storage, Reheating & Make-Ahead Wisdom
- Refrigerates beautifully for 3–4 days
- Freezes like a champ
- Reheat gently with a splash of broth
Fun fact: The perfect chuck roast tastes even better the next day. That’s not nostalgia – it’s chemistry.
Final Thoughts: Let Time Do the Heavy Lifting
Low & slow cooking isn’t flashy. It doesn’t rush. It doesn’t show off. It just works.
If you want a meal that feels earned, comforting, and deeply satisfying, chuck roast is your cut.
Treat it right, and it’ll teach you something every pitmaster learns eventually:
Great food doesn’t come from force – it comes from patience.
And that, my friend, is the real magic behind the perfect chuck roast.

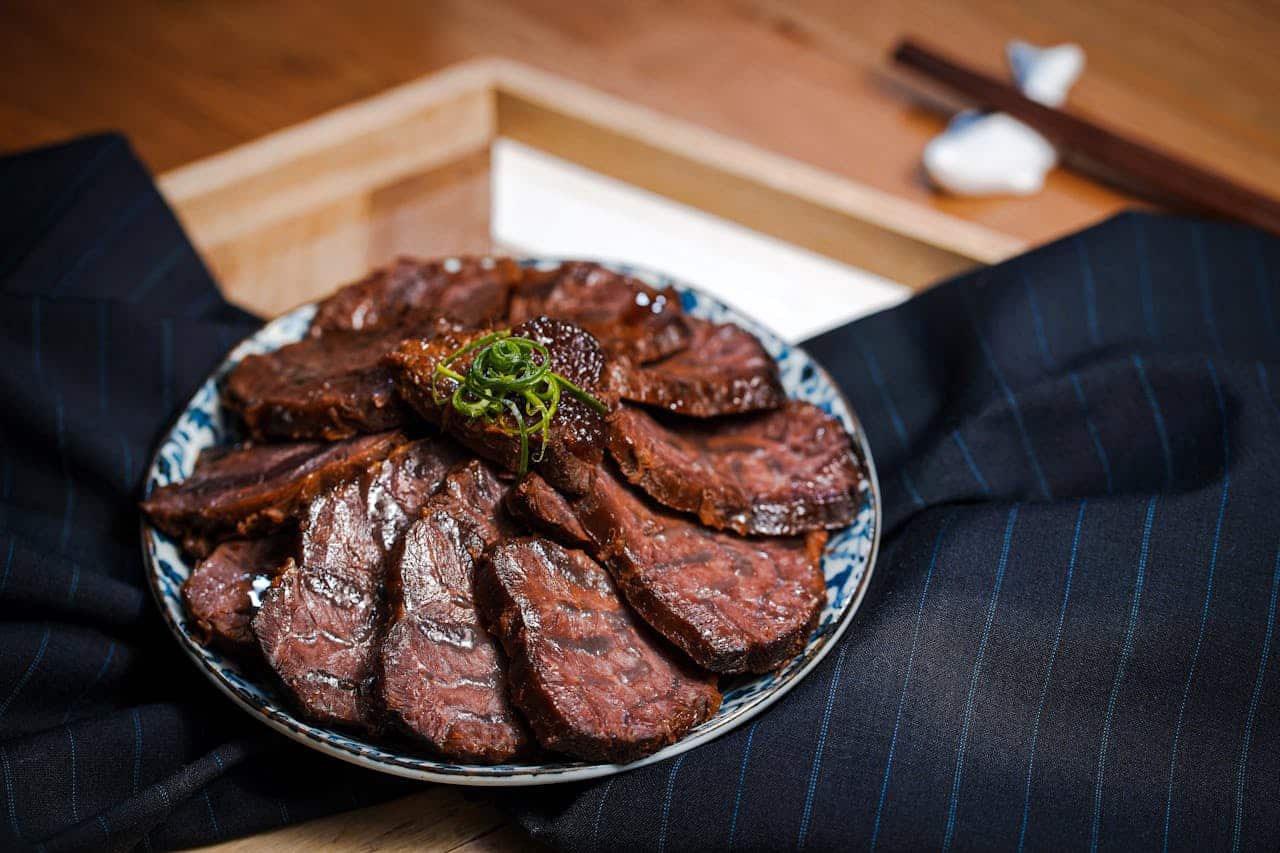
Perfect Chuck Roast Recipe
Image credit: Geancarlo Peruzzolo
Ingredients
Core Ingredients
- Chuck roast (3–4 lbs) – Well-marbled is your friend
- Kosher salt & black pepper – Don’t overthink this
- Neutral oil – For searing
- Onion & garlic – The holy duo
- Beef broth or stock – Flavor insurance
Optional Flavor Boosters
- Tomato paste (for depth)
- Worcestershire sauce (umami bomb)
- Fresh thyme or rosemary
- Carrots and potatoes (if you want a full meal in one pot)
- Pitmaster rule: If you wouldn’t sip it, don’t braise in it.
- Dutch oven or heavy oven-safe pot – Weight equals even heat
- Oven – Reliable, boring, perfect
- Tongs – Your extension cords
Instructions
1. Season Like You Mean It
Pat the roast dry and season generously with salt and pepper. Not a sprinkle – a commitment. Let it sit for 30–45 minutes.
Key point: Dry meat browns. Wet meat steams.
2. Sear for Flavor (This Is Non-Negotiable)
Heat your pot until it’s hot enough to make you nervous. Add oil. Sear the roast hard on all sides until deeply browned.
This isn’t about cooking – it’s about building flavor. Those browned bits on the bottom? That’s the good stuff.
Important phrase: No sear, no soul.
3. Build the Braising Base
Remove the roast. Drop in onions and garlic. Stir. Scrape up the fond (those browned bits). Add tomato paste if using and cook it down until brick-red. Deglaze with broth.
Put the roast back in. Liquid should come about halfway up the meat, not drowning it.
4. Go Low & Slow
Cover the pot and slide it into a 300°F oven. Walk away. Seriously.
Cook for 3–4 hours, turning once if you remember (and don’t panic if you don’t).
Do not:
- Crank the heat
- Peek every 15 minutes
- Panic when it looks “done” too early
- Low & slow rewards calm people.
5. Rest, Then Finish
When the roast is fork-tender, pull it out and let it rest for 20–30 minutes. This lets the juices redistribute instead of flooding your cutting board.
Taste the sauce. Adjust salt. Reduce it if you want something thicker.
Key point: Resting isn’t optional – it’s respect.
Featured image credit: SimplyArt4794
I’m trying the roast now. I love how you brought the recipe to life. Please keep wring about recipes. It’s a fresh take on cooking.