Chicken lollipops aren’t just a fun party snack and you can elevate them to be worthy sacrificial offerings to the gods. Let me introduce you to peri peri chicken lollipops – crispy, juicy, and spicy enough to make your taste buds sit up and cheer.
These bite-sized wonders are perfect for backyard BBQs, game nights, or any time you want finger-food that feels fancy without actually being complicated.
As a chef, I’ve had my fair share of wings, drumettes, and skewers, and nothing beats the smoky, zesty punch of homemade peri peri marinade on perfectly shaped chicken lollipops.
Today, I’m going to show you how to make them crispy on the outside, juicy on the inside, with practical tips, a dash of humor, and the confidence to impress anyone who shows up at your table.

Why Peri Peri Chicken Lollipops Are So Irresistible
What makes these lollipops special? For starters:
- Bite-sized perfection: One-handed eating without utensils.
- Flavor explosion: Smoky, garlicky, tangy, and just the right amount of heat.
- Versatility: Grill, bake, or fry depending on your mood (and smoke alarm tolerance).
Picture this: you take a bite, the skin crunches, the spice hits, and your friends are instantly jealous. That’s magic on a skewer, right there.
The Secret to Extra Crispy Skin
Crispy skin is the holy grail of peri peri chicken lollipops. To achieve that satisfying crunch, start by patting the chicken completely dry before marinating.
Moisture is the enemy of crispiness – any water left on the surface will steam the skin instead of letting it crisp.
For an extra edge, toss the chicken lightly with a bit of cornstarch or rice flour before cooking – it creates a thin, crunchy coating without overpowering the spice. If you’re baking, leave space between each lollipop on the tray so hot air circulates freely.
Grilling? Make sure your coals are hot and avoid overcrowding the grates. Quick tip: brush a thin layer of oil or melted butter over the skin during cooking to enhance color and crunch.
That way, every bite has a perfect snap of crisp skin followed by juicy, flavorful meat.
Balancing Heat: Not Too Mild, Not Too Wild
Peri peri is famous for its fiery kick, but not everyone wants to feel like they’re breathing lava. The beauty of a homemade peri peri marinade is that you control the heat.
Start with a moderate amount of chili or peri peri paste, then adjust according to your taste buds. Want milder lollipops? Remove the seeds from fresh chilies before blending – they carry most of the heat.
Prefer a bold punch? Add extra chili flakes, smoked paprika, or a splash of hot sauce. Pro tip: add a touch of honey or sugar to your marinade – it tempers heat while enhancing caramelization during cooking.
Taste as you go. Remember, peri peri is about flavor first, fire second. This balance ensures that your lollipops are spicy enough to thrill but not to scare your guests away.
Perfect Pairings for Peri Peri Lollipops
Peri peri chicken lollipops are versatile, but pairing them right makes them unforgettable. Crispy fries or potato wedges complement the spice perfectly, while cool dips like garlic mayo or yogurt sauce balance the heat.
For a fresh contrast, serve with coleslaw, cucumber salad, or chopped fresh herbs – they add crunch and brightness. Rice pilaf or buttered couscous works for those who want a more substantial meal.
And don’t forget a wedge of lime or lemon on the side; a quick squeeze brightens each bite. For parties, consider serving the lollipops on a platter with individual dipping bowls – it’s visually impressive and encourages communal snacking.
Pairing thoughtfully elevates simple chicken lollipops into a dish that feels both gourmet and fun.

Make-Ahead Tips for Stress-Free Cooking
Life happens, but peri peri chicken lollipops don’t have to wait. You can prep ahead to save time while keeping flavor intact.
Start by marinating the chicken overnight – the longer it sits, the deeper the flavors. Lollipops can also be shaped a day in advance and stored in the fridge, ready for a quick grill or bake.
If you like to fry, par-cook the chicken first, then refrigerate; a quick re-fry or broil before serving restores crispiness. Make extra marinade and store in the fridge – it doubles as a dipping sauce or glaze.
With these strategies, your chicken lollipops are stress-free, perfectly flavored, and ready to wow guests even on busy nights.
Creative Twists on Classic Peri Peri Lollipops
If you love experimentation, peri peri chicken lollipops are a playground for creativity. Swap traditional drumettes for chicken thighs for richer flavor, or try turkey or quail for something unique.
Mix into the marinade smoked paprika, lime zest, or fresh herbs for nuanced flavor layers. Want a fun glaze? Brush the lollipops with peri peri-honey mixture during the last few minutes of cooking for a sticky, spicy finish.
For a crispy coating, dust with panko breadcrumbs before baking or frying. You can even play with international twists – think peri peri teriyaki or peri peri mango chutney.
With these small adjustments, your chicken lollipops stay classic yet exciting, proving that finger food can be elevated without losing its playful charm.
Tips for Perfect Peri Peri Chicken Lollipops
- Even pieces: Ensures every bite cooks perfectly.
- Pat dry before cooking: Promotes crispiness.
- Marinate long enough: Deep flavor develops over time.
- Adjust spice to taste: Not everyone loves lava-level heat.
- Leftovers: Store in fridge up to 2 days; reheat in oven to maintain crispiness.
Serving Suggestions
Peri peri chicken lollipops are versatile:
- As an appetizer: Serve on a platter with dipping sauces and lime wedges.
- Party snack: Perfect finger food for game day or casual gatherings.
- Main dish: Pair with fries, rice pilaf, or coleslaw for a hearty meal.
Presentation tip: Line a tray with parchment, stick lollipops upright in a glass or bowl – it looks impressive and keeps them neat.
Why Homemade Marinade Makes All the Difference
Store-bought peri peri sauces are convenient, but nothing beats a homemade blend:
- You control heat level, sweetness, and acidity.
- Fresh ingredients = brighter flavors and less preservatives.
- It smells like a Portuguese BBQ straight out of your kitchen.
Pro chef tip: Make extra marinade – use it as a dip, drizzle over fries, or brush on grilled veggies.

The Peri Peri Chicken Lollipops You Deserve
Peri peri chicken lollipops are more than just chicken on a stick – they’re crispy, juicy, and bursting with flavor. The homemade peri peri marinade takes them to the next level, whether grilled, baked, or fried.
They’re fun, easy, and guaranteed to impress at any party.
So grab your drumettes, fire up the grill (or oven), and get ready for finger-licking, spice-packed perfection. Once you try these lollipops, store-bought sauces might as well stay in the store.

Peri Peri Chicken Lollipops Recipe
Image credit: @akadu_bistro
Ingredients
Chicken
- 12 drumettes or wing tips
- Tip: Choose pieces that are roughly the same size for even cooking.
- Optional: Push the meat down the bone to create the classic “lollipop” shape.
Homemade Peri Peri Marinade
- 4–5 red chilies (fresh or dried) or 2 tbsp peri peri chili paste
- 4 cloves garlic, minced
- 2 tbsp olive oil
- Juice of 1 lemon
- 1 tsp smoked paprika
- ½ tsp salt
- ½ tsp black pepper
- Optional: 1 tsp honey or brown sugar for subtle sweetness
Garnishes & Dips
- Fresh parsley, chopped
- Lime wedges
- Garlic mayo, yogurt dip, or extra peri peri sauce
- Chef Tip: The key to a great peri peri marinade is balance – spicy, tangy, and slightly smoky. Too much heat? Tone it down with lemon juice or a bit of honey.
Instructions
- Prepare the Chicken Lollipops. Start by turning your drumettes into lollipops: A) Hold the drumette and push the meat down toward one end of the bone. B) Remove any loose skin at the base for a clean handle. C) Cut through tendons if needed – this is the satisfying part. The lollipop shape isn’t just for aesthetics – it ensures even cooking and gives you a handle for dipping.
- Make the Homemade Peri Peri Marinade. This is where flavor lives: A) Blend or finely mince your chilies, garlic, olive oil, lemon juice, paprika, salt, and pepper. B) Optional: Add honey or brown sugar if you want a subtle caramelized sweetness after cooking. Pro Tip: Taste the marinade before adding chicken (careful, it’s spicy!). Adjust salt, citrus, or sweetness to your liking.
- Marinate the Chicken. Coat each lollipop generously in the peri peri marinade. Place in a bowl or zip-top bag. Refrigerate for at least 2–4 hours, preferably overnight. Longer marination allows the flavors to penetrate deeply. Think of it as spa time for chicken – they come out relaxed, flavorful, and ready to shine.
Cook Your Peri Peri Chicken Lollipops You have options depending on your setup:
Grilling
- Preheat grill to medium-high.
- Cook 10–15 minutes, turning often, until the skin is crispy and slightly charred.
Baking
- Preheat oven to 400°F (200°C).
- Arrange on a baking tray and bake for 20–25 minutes.
- Finish under broiler for 2–3 minutes to get extra crisp.
Frying
- Heat oil to 350°F (175°C).
- Fry lollipops 8–10 minutes until golden brown.
- Internal temp: 165°F (75°C). Safety first, flavor second (but you can have both).
Finishing Touches Brush with extra peri peri sauce if you love heat. Squeeze a little fresh lemon juice for brightness. Sprinkle chopped parsley for a pop of color. Serve with dips like garlic mayo or yogurt sauce. Fun Chef Note: If someone asks how you got them so perfect, wink and say, “Chef’s secret – but really, it’s the marinade.”
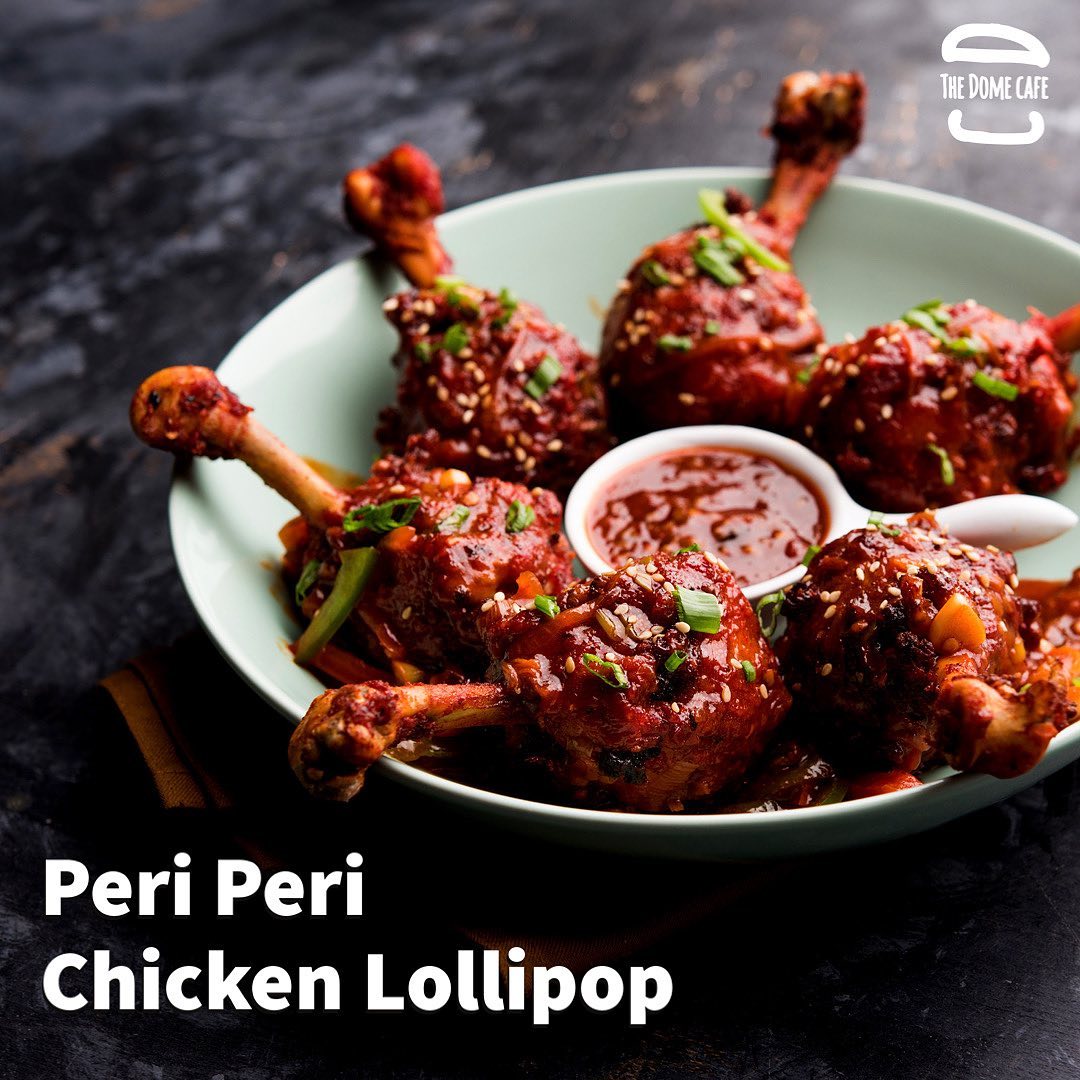
Featured image credit: @thedomecafe_koramangala