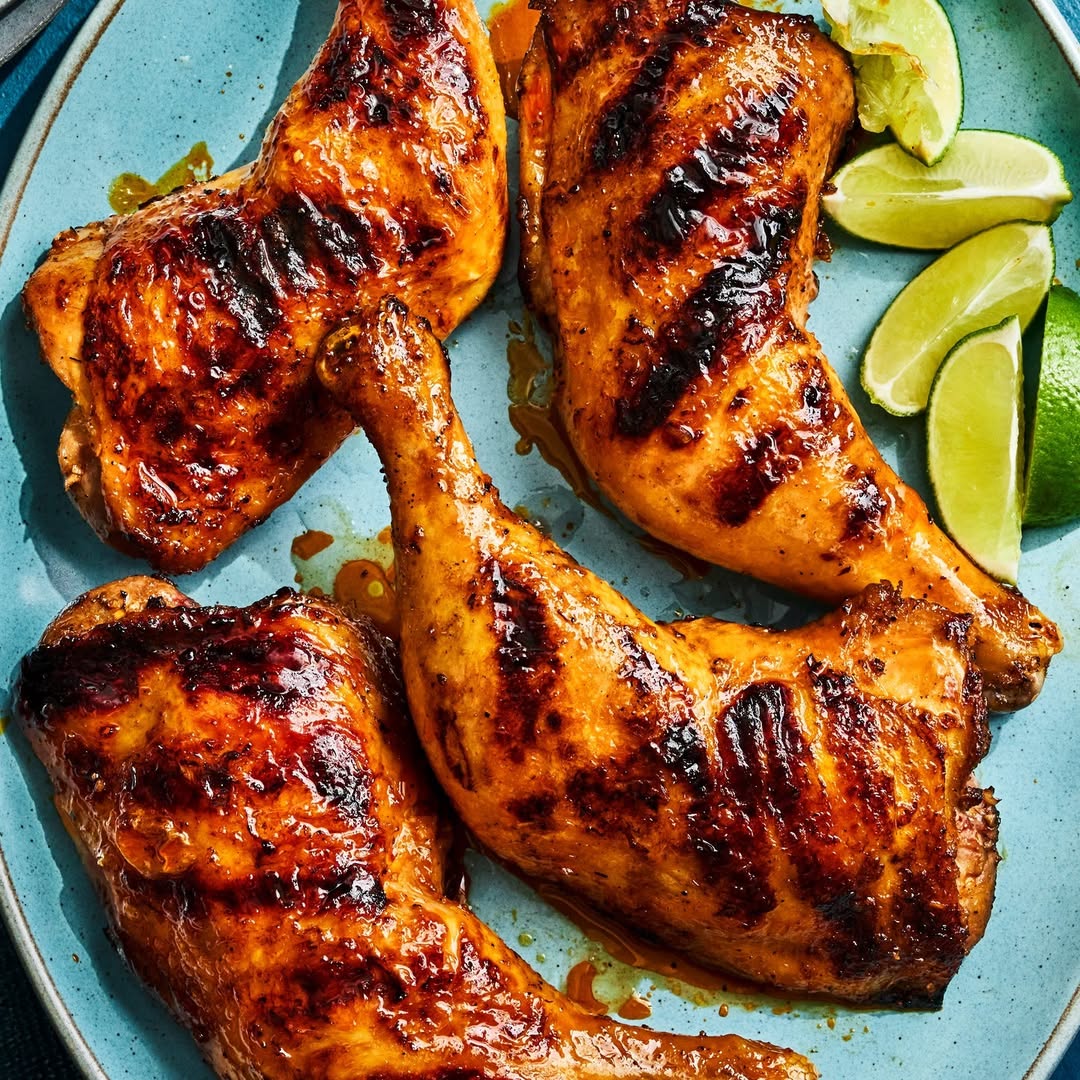
Grilled chicken isn’t just dinner. It’s an experience. The sizzle, the aroma, the little flare-ups that make you feel like a backyard pitmaster – even if you’re wearing a pair of faded sweatpants.
This guide isn’t about complicated sauces or exotic cuts. It’s about mastering grilling chicken so every piece is juicy, flavorful, and cooked perfectly.
Grilling chicken can be intimidating. Too dry, too raw, too smoky. But here’s the secret: with the right preparation, techniques, and timing, anyone can grill chicken like a pro. Think of it as chemistry with a side of fire and flavor.
We’ll cover everything: picking the right cut, prepping and marinating, heat management, marinades, rubs, sauces, and foolproof recipes for breasts, thighs, wings, and drumsticks.
You’ll learn the small tricks that make a massive difference: why resting chicken is a game-changer, how to prevent sticking, and even how to pair the perfect side dish.
By the end of this guide, grilling chicken won’t feel like a gamble. It will feel like an art form that’s approachable, repeatable, and – most importantly – delicious.
So, fire up your grill. Let’s turn ordinary chicken into a flavor-packed masterpiece that wows family, friends, and even your skeptical neighbors.
Choosing the Right Cut of Chicken
Not all chicken is created equal when it comes to the grill. Choosing the right cut is step one in grilling chicken like a pro. Each cut has its quirks, flavor profile, and cooking requirements.
Knowing what you’re working with makes the difference between a juicy triumph and a dry disaster.
Chicken Breasts – lean, mild, and quick-cooking. Breasts are versatile but can dry out if you’re not careful. Best for marinades, quick sears, and high-heat grilling. Slice them evenly to cook uniformly.
Chicken Thighs – dark meat with a higher fat content. Thighs are forgiving, juicy, and full of flavor. Perfect for slow, indirect grilling or tossing on a hot fire. Skin-on thighs? Crispy heaven.
Drumsticks – portable, fun, and great for finger food. Drumsticks thrive with direct heat and bold seasonings. They handle marinades well and stay juicy because of the bone.
Wings – small but mighty. Wings are ideal for high heat and short cook times. Perfect for party snacks and saucy finishes.
Whole Chicken or Spatchcocked – for the ambitious pitmaster. Spatchcocking (removing the backbone and flattening) ensures even cooking and crispy skin. Great for feeding a crowd or showing off your grill skills.
Skin-On vs. Skinless – Skin adds flavor, moisture, and crispiness. Skinless cooks faster and is easier for low-fat meals but can dry if overcooked.
Key Point: Buy fresh if possible. If frozen, thaw completely for even cooking. Don’t guess the weight – a meat thermometer is your best friend.
Selecting the right cut is your first victory. Treat the chicken with care, and the grill will do the rest. Right cut + proper heat = juicy grilled chicken every time.
Preparing Chicken for the Grill
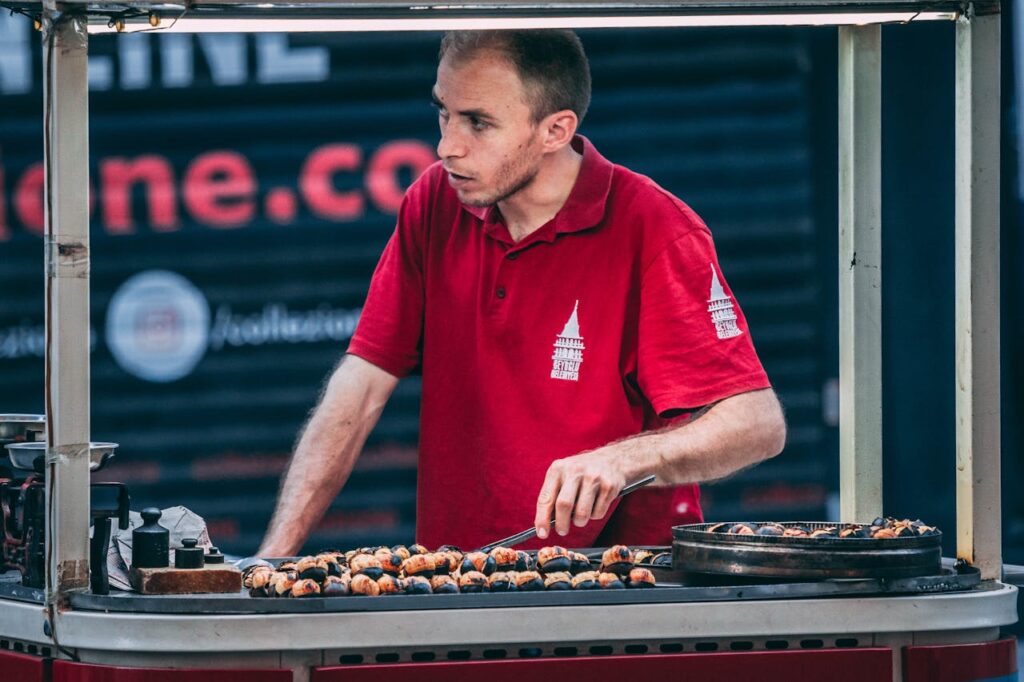
Before you touch the fire, preparation is everything. Grilling chicken starts long before the flames. A little prep transforms average meat into something juicy, flavorful, and memorable.
1. Cleaning and Trimming – Pat your chicken dry with paper towels. Moisture is the enemy of crispy skin and good searing. Trim excess fat or loose skin that might flare up and burn. Dry meat browns better and locks in juices.
2. Marinating Basics – A marinade is your flavor booster. Acids like lemon juice, vinegar, or yogurt tenderize the meat, while oils carry flavor and keep it moist. Herbs, spices, garlic, and chili infuse flavor deep into the meat. Marinate for at least 30 minutes for small cuts, or up to 12 hours for larger pieces. Too long? You risk mushy meat.
3. Brining for Extra Juiciness – A simple saltwater brine is a cheat code for juicy chicken. Dissolve salt (and a bit of sugar if you like) in water, submerge the chicken, and refrigerate for 1–4 hours. Brining helps the meat retain moisture during grilling, especially for lean cuts like breasts.
4. Oil and Seasoning Application – Just before grilling, brush the chicken lightly with oil. This prevents sticking and enhances browning. Then season generously with salt, pepper, and any additional spices or rubs. Don’t be shy – well-seasoned chicken tastes amazing, not salty.
5. Bring to Room Temperature – Let chicken sit out for 15–20 minutes before grilling. Cold chicken can cook unevenly, leading to burnt edges and raw centers.
Key Point: Preparation is the foundation of success. Skip or rush it, and even the best grill can’t rescue poorly prepared chicken.
By following these steps, you set the stage for perfect grilling chicken results: juicy, flavorful, and evenly cooked every time.
Types of Grills and Heat Methods
The grill you choose and how you use it has a massive impact on your chicken.
Understanding your options is half the battle in grilling chicken perfectly. Let’s break it down.
1. Gas Grills – Quick, convenient, and easy to control. Gas grills heat up fast and maintain a consistent temperature, which is great for beginners or busy weeknights. The downside? You might miss that smoky flavor that makes chicken taste like backyard magic. Tip: Add a smoker box with wood chips to get that flavor without the fuss.
2. Charcoal Grills – Classic pitmaster favorite. Charcoal gives deep, smoky flavor and that signature grilled aroma. It requires more patience and attention to temperature, but the payoff is worth it. Arrange coals for direct heat (right above the coals) or indirect heat (off to the side for slow cooking).
3. Pellet Grills – High-tech, low-maintenance. Pellet grills use compressed wood pellets and a digital controller. They combine the flavor of charcoal with the consistency of gas. Great for long, slow cooks like chicken thighs or whole birds.
4. Indoor Grills / Grill Pans – Don’t have outdoor space? No problem. A grill pan or broiler can mimic some of the effects of outdoor grilling. High heat and proper preheating are key. Tip: Use a cast-iron pan for the best sear and flavor retention.
Heat Methods:
- Direct Heat – Quick cooking over the flame. Best for breasts, wings, and thin cuts. You get charred, flavorful skin fast.
- Indirect Heat – Low and slow, away from direct flames. Perfect for thicker cuts, whole chicken, or bone-in thighs. Prevents burning while allowing internal temperature to rise evenly.
Key Point: Matching your chicken cut to the right grill and heat method is essential. Thin cuts thrive over direct heat. Thicker cuts benefit from indirect heat. Understanding your grill is the key to consistent, juicy, flavorful chicken. (Don’t forget to get the right knife for the job HERE.)
Mastering Cooking Techniques
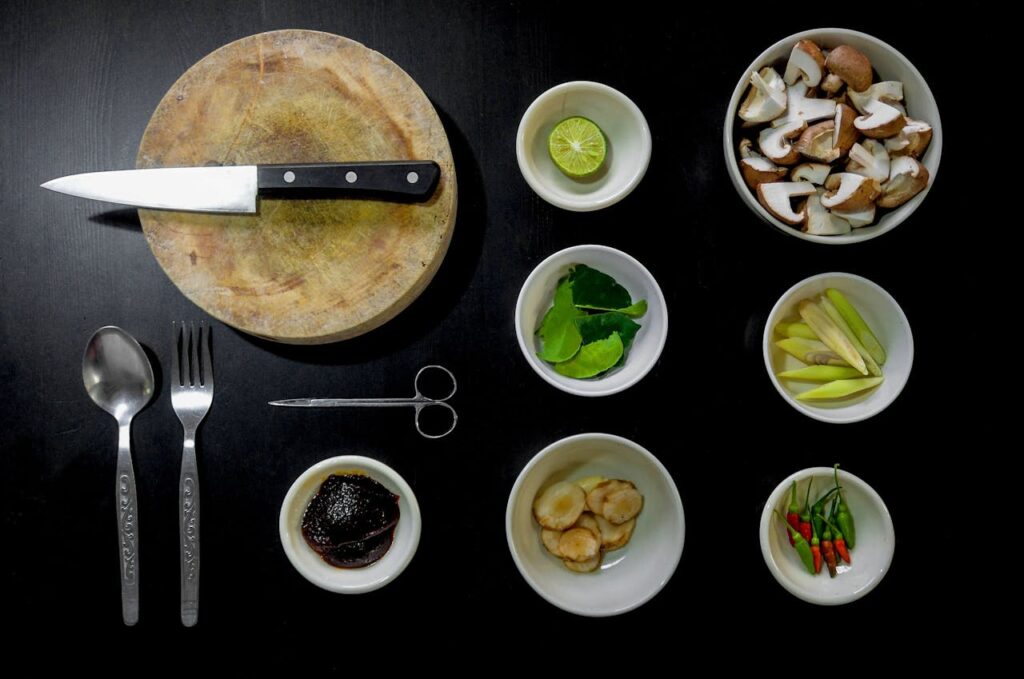
Even with the best chicken and the right grill, technique is what separates good from unforgettable. Mastering how you cook chicken is the heart of grilling chicken like a pro. Let’s break it down.
1. Searing for Flavor – Start with high heat for a quick sear. This creates a golden-brown crust that locks in juices and adds flavor. Think of it as the “first impression” of your chicken: crispy, smoky, and inviting. For breasts and wings, sear 2–3 minutes per side before lowering heat.
2. Flipping and Rotating – Don’t over-flip. Each flip resets cooking and can dry out the meat. Flip once halfway, and rotate if your grill has hot spots. Uneven cooking is a rookie mistake—rotation keeps every piece evenly charred and juicy.
3. Monitoring Internal Temperature – A meat thermometer is your best friend. Chicken must reach 165°F (74°C) for safe consumption, but pull slightly earlier if using carryover cooking. Dark meat like thighs can handle a few degrees more for tenderness. Key Point: Guesswork is the enemy. Thermometer = consistent results.
4. Indirect Heat for Thick Cuts – Breasts, bone-in thighs, or spatchcocked chickens benefit from indirect heat. Move the chicken away from the flames and close the lid. This cooks evenly inside without burning outside. It’s slow, steady, and foolproof for larger cuts.
5. Resting the Chicken – After removing chicken from the grill, let it rest 5–10 minutes. Resting allows juices to redistribute, making slices moist and flavorful. Think of it as giving your chicken a short spa break before serving.
6. Crispy Skin Tricks – Skin-on pieces? Pat dry, brush lightly with oil, and start with high heat. Don’t cover tightly with foil while resting; you want skin crispy, not soggy.
7. Timing and Patience – Rushing leads to undercooked interiors or burnt edges. Trust the process: prep, sear, slow cook, rest. Precision beats guesswork every time.
Key Point: Grilling chicken perfectly is about controlling heat, timing, and technique. The right sear, proper flipping, accurate temperature, and resting transform ordinary chicken into juicy, flavorful perfection.
Marinades, Rubs, and Sauces
Flavor is where your grilled chicken goes from good to unforgettable. Marinades, rubs, and sauces are the tools every pitmaster uses to turn simple meat into a taste explosion.
1. Marinades: Infuse & Tenderize
A marinade isn’t just about flavor – it tenderizes and keeps chicken juicy. Acids like lemon juice, vinegar, or yogurt break down proteins slightly, while oils carry herbs and spices deep into the meat.
Garlic, paprika, chili flakes, rosemary, thyme, and ginger are all excellent flavor boosters.
Timing:
- Small cuts (breasts, wings) → 30 minutes to 2 hours.
- Thicker cuts (thighs, drumsticks, whole chicken) → 4–12 hours.
Too long? The chicken can become mushy. Tip: Always marinate in the fridge, not at room temperature.
2. Dry Rubs: Smoke & Crunch
Dry rubs are a pitmaster’s secret for smoky, flavorful crusts. Mix spices, salt, sugar, and herbs, then rub them evenly over the chicken. Sugar caramelizes on the grill, giving color and crunch – but be careful: high sugar content can burn, so apply late in cooking or reduce the flame slightly.
3. Sauces: Finish Strong
Sauces are the final flourish. Brush BBQ sauce, herb butter, or Asian-inspired glazes toward the end of cooking to avoid burning. A mop of sauce during the last 5–10 minutes builds layers of flavor without charring.
Pro Tip: If using sticky sauces, create zones on the grill. Sear over high heat first, then move to indirect heat to glaze. This ensures perfectly cooked chicken with caramelized flavor.
4. Layering Flavors
Don’t rely on a single technique. A marinade + rub + glaze can create depth:
- Marinate for juiciness.
- Rub for a smoky crust.
- Glaze for shine, sweetness, or tang.
Key Point: Flavoring is as much about timing and technique as ingredients. Done right, your grilled chicken will be juicy, aromatic, and irresistible.
Cutting the Chicken Portions for Grilling
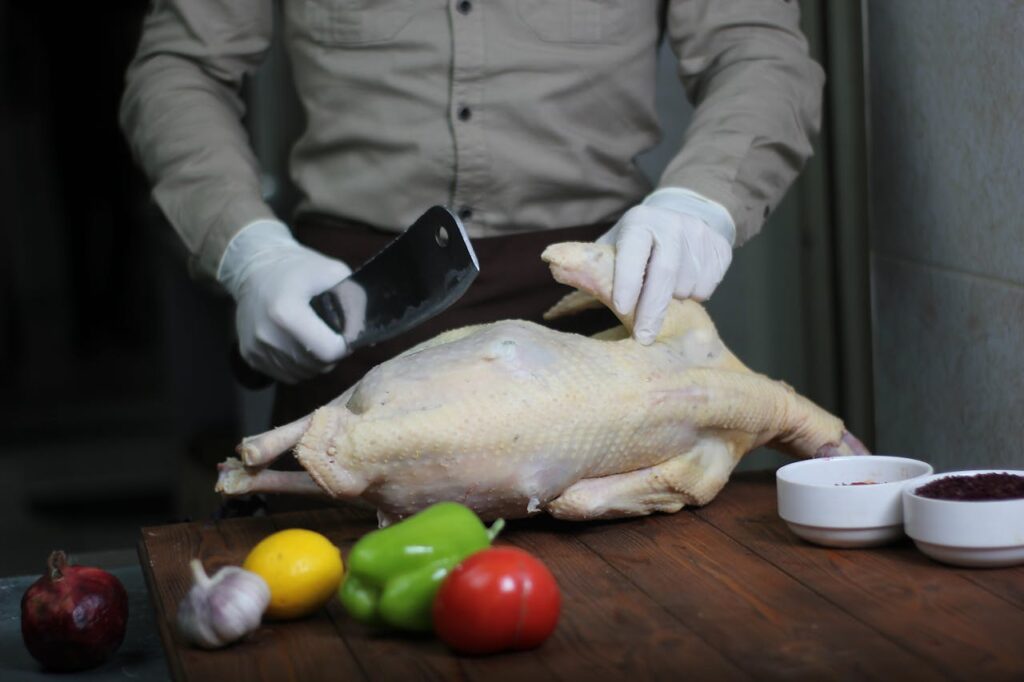
Cutting chicken portions for grilling is all about even sizing, smart trimming, and flavor control. Once you get the correct clever for the job, you start by choosing chicken pieces that cook well over direct heat – thighs, breasts, drumsticks, or wings.
When working with breasts, slice them into thinner cutlets or butterfly them so they grill quickly and evenly without drying out. For thighs, trim excess fat but keep enough to maintain juiciness on the grill.
Wings need no major prep, just remove the tip if you prefer cleaner portions. Always cut pieces to similar thickness to avoid one piece turning into charcoal while another stays undercooked.
Use a sharp knife and keep your cutting board steady to get clean, confident cuts.
If you’re marinating the chicken, scoring thicker sections can help absorb flavor faster. With the right prep, your grilled chicken cooks evenly, stays moist, and picks up that perfect smoky char.
Recipes for Every Cut
Grilled chicken isn’t one-size-fits-all. Each cut behaves differently on the grill. Below are foolproof recipes for each type, so you know exactly how to cook juicy, flavorful chicken every time.
1. Chicken Breasts: Lemon Herb Grilled Chicken
Why it works: Breasts are lean and cook quickly. Proper seasoning and timing prevent dryness.
Ingredients:
- 2 boneless, skinless chicken breasts
- 2 tbsp olive oil
- Juice of 1 lemon
- 2 garlic cloves, minced
- 1 tsp dried thyme or fresh rosemary
- Salt & pepper
Method:
- Pat chicken dry, brush with olive oil.
- Mix lemon, garlic, thyme, salt, and pepper; marinate for 30–60 minutes.
- Preheat grill to medium-high (direct heat).
- Grill 6–7 minutes per side, flipping once. Internal temp: 165°F.
- Rest 5 minutes before slicing.
Tip: Slice against the grain for maximum tenderness. Serve with grilled vegetables or a light salad.
2. Chicken Thighs: Spicy BBQ Grilled Thighs
Why it works: Dark meat stays juicy even over direct heat. Skin-on thighs add flavor and crispiness.
Ingredients:
- 4 bone-in, skin-on chicken thighs
- 3 tbsp BBQ sauce
- 1 tsp smoked paprika
- 1 tsp garlic powder
- Salt & pepper
Method:
1. Rub paprika, garlic powder, salt, and pepper over thighs.
2. Preheat grill to medium (indirect heat).
3. Grill 20–25 minutes, turning occasionally.
4. Brush BBQ sauce during last 5 minutes.
5. Rest 5 minutes.
Tip: Keep sauce off early to prevent burning. Pair with corn on the cob or coleslaw.
3. Drumsticks: Crispy Charred Drumsticks
Why it works: Drumsticks are fun, flavorful, and forgiving. Perfect for finger food.
Ingredients:
- 6 chicken drumsticks
- 2 tbsp olive oil
- 1 tsp chili powder
- 1 tsp smoked paprika
- Salt & pepper
Method:
- Pat dry, toss in oil and spices.
- Preheat grill to medium-high (direct heat).
- Grill 10 minutes per side, rotating to avoid flare-ups.
- Check internal temp: 165°F.
- Rest 5 minutes.
Tip: Crisp skin is key – keep chicken over direct heat for short bursts. Serve with a tangy dipping sauce.
4. Wings: Buffalo-Style Grilled Wings
Why it works: Wings cook quickly and love high heat. Perfect for game day or parties.
Ingredients:
- 12 chicken wings
- 2 tbsp olive oil
- Salt & pepper
- Buffalo sauce (store-bought or homemade)
Method:
- Pat wings dry, toss with oil, salt, and pepper.
- Preheat grill to high (direct heat).
- Grill 8–10 minutes per side, flipping once.
- Toss in buffalo sauce immediately after grilling.
Tip: For extra crispiness, grill skin-side down first and don’t overcrowd. Serve with celery sticks and blue cheese dip.
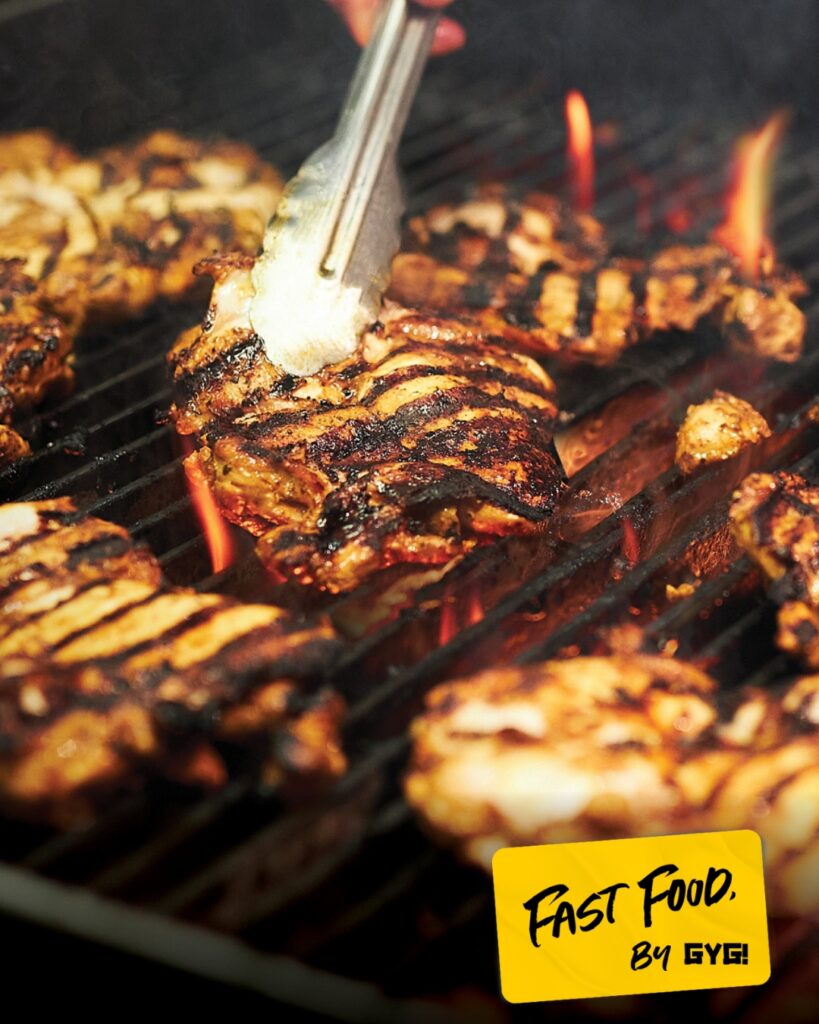
Chef’s Notes Across All Cuts
- Resting is critical: Always rest grilled chicken for 5–10 minutes to lock in juices.
- Thermometer wins every time: Avoid undercooked or overcooked chicken by relying on internal temperature, not guessing.
- Flavor layering works: Marinade → Rub → Sauce = maximum flavor.
- Heat control: Match heat method to cut. Breasts: high heat, short cook. Thighs & drumsticks: medium heat, slower cook.
Key Point: Understanding each cut’s personality on the grill makes grilling chicken easy, consistent, and delicious. With these recipes, you can handle any cut like a seasoned pitmaster.
Common Mistakes and How to Avoid Them
Even seasoned pitmasters slip up sometimes. Avoiding these mistakes makes the difference between juicy, flavorful chicken and a dry, sad dinner.
1. Overcooking – The number one culprit. Chicken is lean, especially breasts. Overcooking dries it out instantly. Fix: Use a meat thermometer. Pull breasts at 165°F, dark meat slightly higher, and let carryover cooking finish the job.
2. Skipping Resting – Cutting too soon lets juices escape. Fix: Always rest chicken 5–10 minutes. Your meat will be moist, flavorful, and easier to slice.
3. Ignoring Heat Zones – Direct vs. indirect heat is critical. Putting thick thighs over direct flames all the way through? Disaster. Fix: Use direct heat for searing, indirect for cooking through. Two-zone grilling = life-saver.
4. Overcrowding the Grill – Packing chicken too tightly prevents even cooking and proper sear. Fix: Leave space between pieces for airflow and caramelization.
5. Marinating Mistakes – Too little time = bland. Too long = mushy. Using sugary sauces too early = burnt edges. Fix: Follow recommended marinating times, apply sauces toward the end.
6. Not Patting Chicken Dry – Moisture = steam, not sear. Fix: Pat dry before seasoning. Oil and dry spices stick better, and skin crisps beautifully.
Key Point: Most grilled chicken disasters aren’t random – they’re predictable. Control your heat, timing, and prep, and you’ll consistently nail juicy, flavorful chicken that looks and tastes like it came from a professional pitmaster.
Serving Suggestions and Sides
Grilled chicken is the star, but the right sides make it shine on the plate. Balance flavors, textures, and colors to elevate your meal.
1. Vegetables – Grilled or roasted vegetables are the obvious choice. Bell peppers, zucchini, asparagus, and corn on the cob complement smoky chicken beautifully. Toss them in olive oil, salt, and a sprinkle of herbs, then throw them on the grill alongside your chicken.
2. Starches – Mashed potatoes, roasted sweet potatoes, rice, or quinoa provide a neutral backdrop and soak up delicious pan juices or sauces. For a grill-friendly twist, try grilled potato wedges brushed with garlic oil.
3. Salads – Fresh, crisp salads add brightness. Think arugula with lemon vinaigrette, cucumber-tomato salads, or coleslaw. These lighten up the plate and contrast perfectly with smoky grilled chicken.
4. Sauces and Dips – From tangy BBQ and buffalo sauce to creamy herb dressings and chimichurri, sauces enhance flavor. Brush during cooking or serve on the side for dipping.
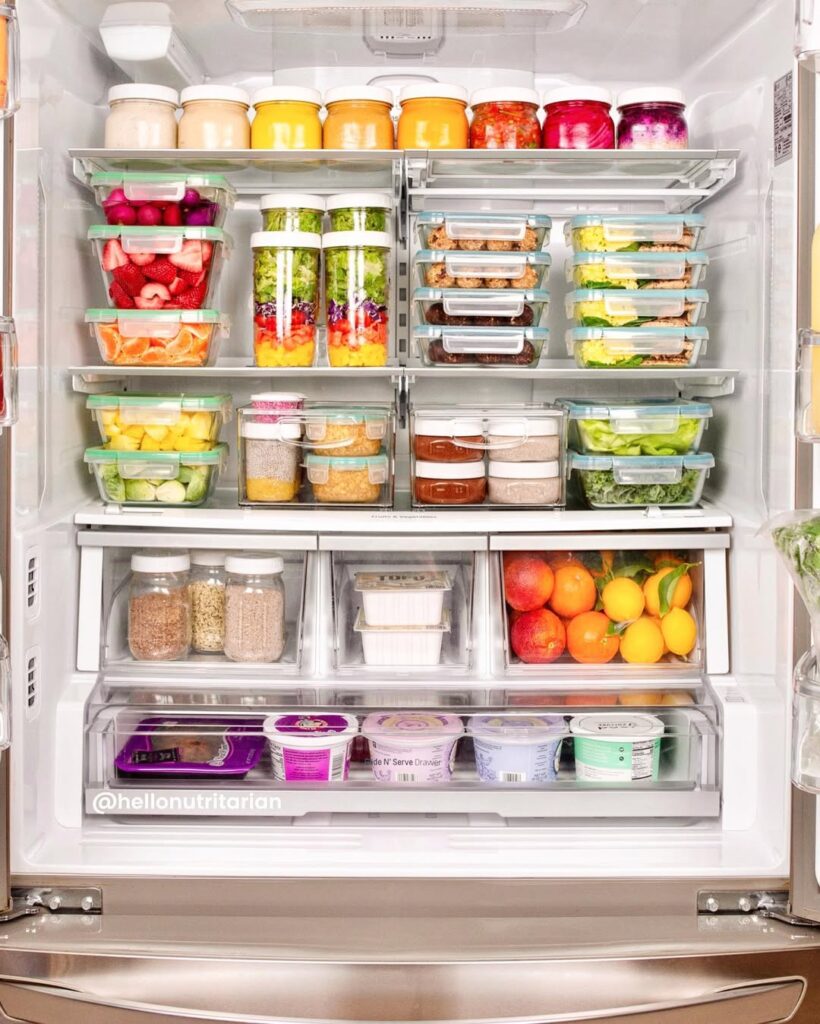
5. Meal Prep & Bowls – Grilled chicken is versatile for lunches. Pair with roasted vegetables, grains, and dressing for healthy meal prep bowls that keep all week.
Key Point: Think of sides as partners, not fillers. The right combination of vegetables, starches, and sauces makes your grilled chicken a complete, crowd-pleasing meal.
Storage and Reheating
Grilled chicken is delicious fresh, but knowing how to store and reheat it ensures you get the same flavor and juiciness later.
1. Storing in the Fridge – Let the chicken cool to room temperature (but don’t leave it out more than 2 hours). Store in an airtight container for 3–4 days. Keep sauces separate if possible to avoid soggy skin.
2. Freezing – Grilled chicken freezes well for up to 3 months. Wrap tightly in foil or plastic wrap, then place in a freezer-safe bag or container. Label with the date. Thaw in the fridge overnight for best results.
3. Reheating – Avoid the microwave if you can; it dries out meat. Instead:
- Oven: 325°F (160°C) for 10–15 minutes, covered loosely with foil.
- Stovetop: Reheat in a skillet over medium-low heat with a splash of water or stock.
- Grill: Quick 3–5 minute reheat over indirect heat, perfect for keeping skin crisp.
4. Leftover Ideas – Sliced grilled chicken is versatile: sandwiches, wraps, salads, pasta bowls, stir-fries, or fried rice. Cold slices even make great snack bites with dipping sauces.
Key Point: Proper storage and reheating preserve juiciness, flavor, and texture, making your grilled chicken last beyond the first meal.
Tips from the Chef
Here’s where the fun begins. After years of chasing flames and tasting my fair share of dry chicken, I’ve learned a few tricks every pitmaster swears by.
1. Patience Pays Off – Rushing the grill is the fastest way to disaster. Let the chicken come to room temperature, preheat your grill, and give thick cuts indirect heat time to cook evenly. Your patience will reward you with juicy, flavorful meat.
2. Oil is Your Friend – Lightly oil the chicken before seasoning. Not only does it help spices stick, but it also prevents sticking and flare-ups. Yes, a little fire is exciting, but flare-ups are flavor-killers.
3. Layer Flavors – Marinate, rub, then glaze. This three-step approach builds complexity without fuss. Think of it like a flavor orchestra: each layer adds depth.
4. Use the Thermometer Religiously – Guessing internal temperature is like gambling with your dinner. A quick check saves embarrassment and keeps chicken perfectly cooked.
5. Embrace Mistakes – Burnt edges? Cut them off and call it “charred perfection.” Too dry? Slice and toss in a sauce; no one needs to know.
Key Point: Grilling chicken is as much about technique and mindset as ingredients. With these small chef tricks, you’ll impress friends, family, and maybe even yourself.
FAQ
1. What’s the best cut of chicken for grilling?
It depends on what you want. Breasts are quick and lean, thighs are juicy and forgiving, drumsticks bring fun finger-food energy, and wings cook fast with tons of flavor.
If you want a show-stopper, a spatchcocked whole chicken cooks evenly with crispy skin. Each cut works – you just match it to the right heat and technique.
2. How do I keep grilled chicken from drying out?
Dry chicken usually comes from overcooking or skipping prep steps. Brine or marinate the chicken, pat it dry, then grill with the right heat zones.
Most importantly, use a meat thermometer and rest the chicken 5–10 minutes before slicing so the juices redistribute.
3. Should I use direct or indirect heat?
Use direct heat for thin cuts like breasts and wings (quick sear, fast cooking). Use indirect heat for thicker cuts like thighs, drumsticks, and whole chickens (slow, even cooking without burning). A two-zone setup makes grilling almost foolproof.
4. How long should I marinate chicken before grilling?
Small cuts like breasts or wings need 30 minutes to 2 hours. Larger or thicker cuts like thighs and drumsticks do best with 4–12 hours. Don’t marinate too long – acidic marinades can make chicken mushy if left overnight.
5. Why does my chicken stick to the grill?
Sticking happens when the grill isn’t hot enough or the meat is wet. Preheat the grill properly, oil the chicken lightly, and pat dry before seasoning.
Once placed on the grate, let it sear – don’t force it. Chicken naturally releases when ready to flip.
6. How do I know when grilled chicken is fully cooked?
Always trust a thermometer. Chicken is safe at 165°F (74°C). For dark meat, going slightly higher (170–175°F) can make it even more tender. Avoid guessing by appearance – it’s the fastest path to undercooked or dried-out meat.
7. What are the best sauces for grilled chicken?
It depends on your vibe. BBQ sauce for smoky sweetness, buffalo for heat, herb butter for richness, Asian-style glazes for tangy-sweet flavor, or chimichurri for freshness. Apply sauces during the last 5–10 minutes so the sugar doesn’t burn.
Time to Test What You’ve Learned: From Theory to Practice
Grilling chicken doesn’t have to be intimidating. With the right cuts, preparation, heat management, and seasoning, anyone can turn simple poultry into a juicy, flavorful masterpiece.
From breasts to wings, thighs to drumsticks, understanding each cut’s quirks makes the difference between “meh” and mouthwatering.
Remember the essentials: patience, proper heat, flavor layering, and resting. Marinate to tenderize, rub for smoky crust, and glaze for the finishing touch. Keep a thermometer handy, avoid overcooking, and embrace your grill as both tool and companion.
Pair with fresh vegetables, hearty sides, and complementary sauces, and you’ve got a meal that looks impressive, tastes incredible, and keeps everyone coming back for more.
Key Point: Grilling chicken is about technique, flavor, and fun. Follow these tips, experiment, and soon you’ll be the go-to grill master at every backyard gathering, confident that every piece is juicy, tasty, and perfectly cooked.
Featured image credit: @foodandwine

