There’s something about grilled lobster that makes people nervous. They’ll toss a ribeye on the flames without blinking but freeze up the moment they see a shell and antennae.
I get it – lobster feels fancy, like something that should come with a white tablecloth and a sommelier.
But here’s the truth: grilling lobster is easier than grilling steak. It cooks faster, it’s naturally flavorful, and it thrives on simplicity.
You don’t need culinary school credentials or a seaside mansion – just a decent grill, butter, and a willingness to get a little smoky.
Today, I’ll walk you through how to grill lobster at home – step-by-step, pitmaster style. You’ll end up with smoky, buttery lobster that’ll make you question why you ever paid restaurant prices in the first place.
Choosing the Right Lobster: Fresh vs. Frozen, Whole vs. Tails
The truth is, not all lobsters are grill-ready. Start with fresh lobster if you can – bright shells, lively antennae, and tails that curl when lifted are good signs.
But if you’re landlocked or on a budget, frozen lobster tails work beautifully too. Just make sure they’re wild-caught, not farmed, and thaw them overnight in the fridge – no microwaves, please.
Whole lobsters make a dramatic presentation, but tails are easier to handle and perfect for beginners. Smaller lobsters, around 1 to 1.5 pounds, cook evenly and stay tender; giant ones tend to toughen up on the grill.
Pitmaster’s tip: skip the pre-cooked lobsters. You want raw meat so the grill can do its job – caramelizing the edges, charring the shell, and locking in the sweetness. Great lobster starts at the market, not the grill.

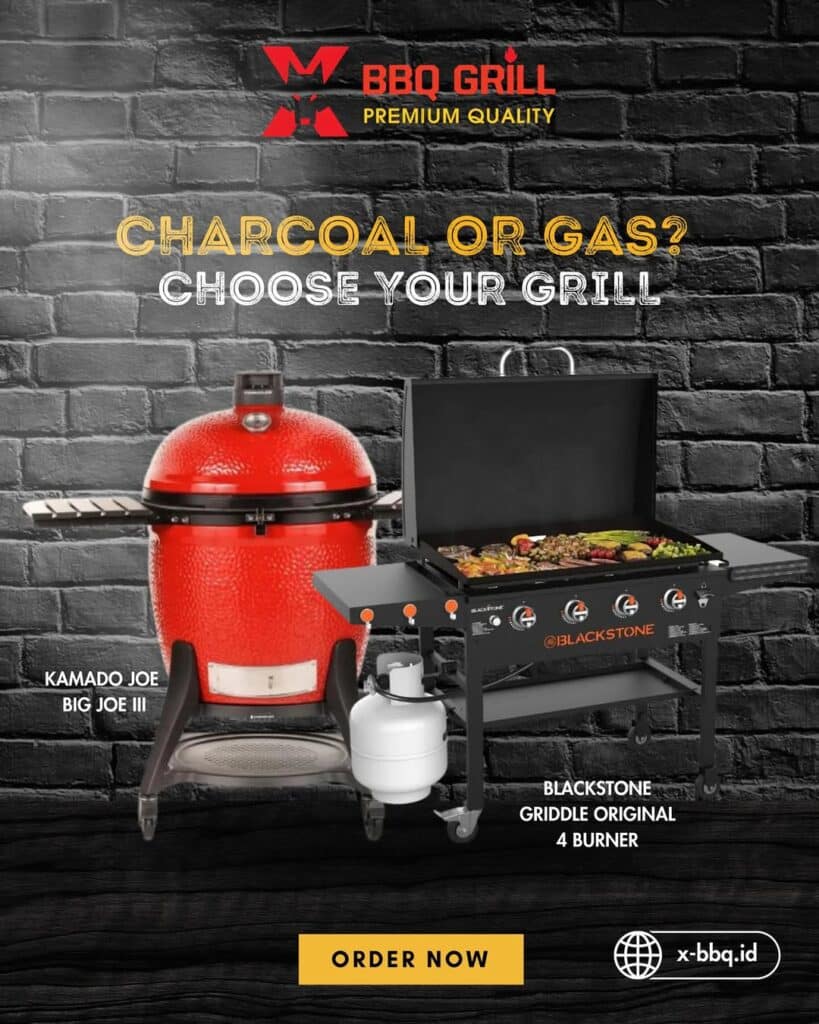
Charcoal vs. Gas: The Great Lobster Grill Debate
Ask any pitmaster and you’ll start a holy war: charcoal or gas? For lobster, both work – it just depends on your personality. Charcoal gives you that rich, smoky depth, the kind of flavor that whispers “I cooked this outside like nature intended.”
It’s perfect for seafood lovers who chase that light kiss of wood smoke.
Gas, on the other hand, is all about precision. You can dial in the temperature, avoid flare-ups, and keep your focus on timing instead of tending coals. It’s great for first-timers or weeknight grillers.
If you’re a hybrid soul, toss a few applewood or oak chunks into your gas grill smoker box – you’ll get the best of both worlds. The rule? Control your heat and respect your flame.
Whether it’s gas or charcoal, what matters is that buttery lobster aroma floating through the backyard.
Flavor Upgrades: Marinades, Rubs, and Butter Variations
Lobster purists will tell you to never touch the meat with anything but butter – but let’s be honest, a little creativity never hurt anyone. Try chili-lime butter if you like heat, garlic-herb butter for old-school richness, or honey-lemon glaze for something light and citrusy.
You can even prep a compound butter – softened butter mixed with herbs, garlic, and a squeeze of lemon – then melt it right over the lobster after grilling.
Want a surf ‘n turf vibe? Baste the lobster with a little steak drippings or a dash of smoked paprika for that extra depth.
Pitmaster’s trick: brush the lobster halfway through cooking with a flavored butter, then again right before serving. That double-hit seals in flavor and makes the shell glisten like lacquer.
Bottom line – lobster loves butter, but it doesn’t mind a little mischief.
What You’ll Need
Let’s keep this simple. Lobster doesn’t need a circus of ingredients – it just needs balance and heat.
Ingredients:
- 2 whole lobsters or 4 lobster tails (fresh or thawed)
- ½ cup melted butter
- 2 cloves garlic, minced
- Juice of 1 lemon + wedges for serving
- Salt and pepper, to taste
- Optional: parsley or chives for garnish
Tools:
- Sharp knife or kitchen shears
- Grill (gas or charcoal)
- Basting brush
- Tongs
- Small saucepan for your butter sauce
Pro tip: Don’t overthink the tools. The goal here is flavor, not kitchen theater.
Step 1: Prep the Lobster
If you’re starting with lobster tails, congratulations – you picked the easy route. Split each tail down the center, shell side down, using a sharp knife or sturdy shears. You want a clean cut so both sides cook evenly.
For whole lobsters, things get a little more dramatic. The humane way is a quick knife through the head, then a clean split down the middle. It’s not glamorous, but it’s the right thing to do.
Pat the meat dry and season it lightly with salt and pepper. That’s it. Don’t go crazy with seasoning yet; the butter baste is where the flavor party happens.
Pitmaster’s tip: Moisture kills your sear. If your lobster is wet, it’s going to steam instead of caramelize. Pat. It. Dry.
Step 2: Make the Garlic Butter Baste
Butter is to seafood what smoke is to brisket – it’s the soul of the operation.
Melt half a cup of butter in a small saucepan. Add minced garlic, a squeeze of lemon juice, and a handful of herbs if you’ve got them. Keep it warm and liquid, not sizzling. You’ll use it for basting on the grill and brushing at the end.
Flavor note: This baste adds richness, helps prevent the lobster from drying out, and gives it that glossy, golden finish that screams “restaurant quality.”
Pitmaster humor: Butter is the duct tape of seafood. It fixes everything.

Step 3: Preheat and Prep the Grill
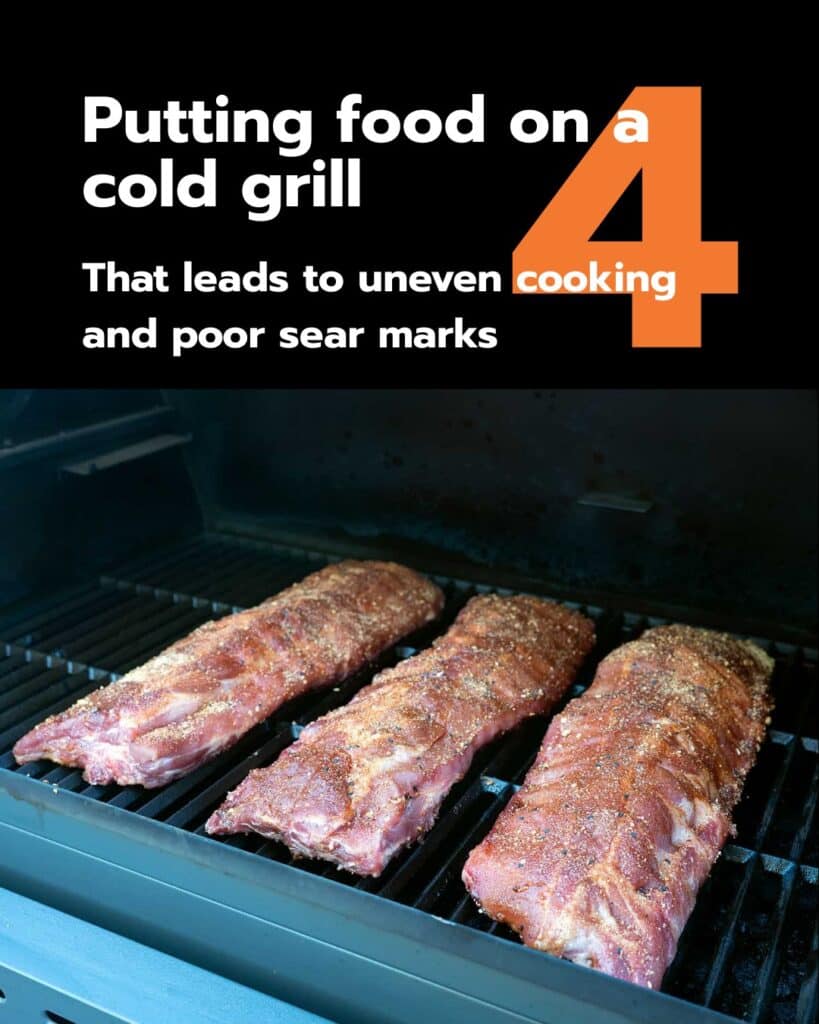
Fire up your grill to medium-high – about 400°F (200°C). That’s the sweet spot between “beautiful sear” and “charred seafood regret.”
Clean your grates and oil them lightly. Lobster meat is delicate and likes to stick. A quick rub of oil on a paper towel (use tongs!) saves a lot of frustration later.
If you’re using charcoal, let the flames die down until the coals glow white-hot. That’s when you know the grill’s ready for action.
Quick check: You should be able to hold your hand about 5 inches above the grate for 4–5 seconds before it’s too hot. Any shorter, and you’re running a forge, not a grill.
Step 4: Grill the Lobster
Now the fun begins.
Place your lobster flesh side down first. You want that quick sizzle – that’s flavor forming. Grill for about 3–4 minutes to get those signature grill marks.
Flip them over and start basting with your garlic butter. Close the lid and let them cook for another 4–5 minutes, basting once or twice as you go.
You’re aiming for opaque, firm meat – not rubbery. Internal temperature should land between 140–145°F (60°C).
If you’re working with whole lobsters, start shell side down to protect the meat from direct heat, then flip for a quick char at the end.
Pitmaster’s warning: Lobster cooks fast. Get distracted checking your phone, and you’ll be chewing on seafood jerky. Stay close, keep basting, and respect the clock.
Step 5: Finish with Flavor
Once your lobster comes off the grill, don’t just stare at it – dress it up.
Brush it again with melted butter, hit it with a squeeze of lemon juice, and sprinkle a bit of chopped parsley or chives if you’re feeling fancy.
If you like heat, toss a pinch of chili flakes or smoked paprika into the butter before brushing. It gives the lobster a subtle kick that pairs beautifully with the sweet meat.
Pitmaster truth: If your plate doesn’t have a small puddle of butter on it, you didn’t use enough.
Serving It Right
Serve your grilled lobster with grilled corn, garlic bread, or a crisp green salad. Keep it light – lobster is the star here.
For drinks, a chilled white wine or a cold beer hits perfectly. And if you want to impress someone, serve it straight from the shell. The presentation does half the talking.
Fun fact: People lose their minds over lobster shells. Something about holding the whole thing just screams “I know what I’m doing.” Even if you barely do.
Leftovers Done Right: What to Do with Extra Lobster
If you somehow manage not to eat every buttery bite, leftover lobster can turn into something just as magical. Chop it up and toss it into a lobster roll – just mayo, lemon juice, and a toasted bun – and you’ve got coastal gold.
Feeling fancy? Mix the meat into creamy mac and cheese, fold it into buttered pasta, or spoon it over garlic risotto. It also shines in tacos – try lobster, avocado, and a drizzle of chili-lime sauce.
Pitmaster’s hack: don’t reheat lobster in the microwave; it’ll turn chewy fast. Instead, warm it gently in a skillet with butter or toss it into a hot dish at the last second.
Grilled lobster leftovers are a gift – use them wisely, and tomorrow’s meal might be even better than tonight’s.

Common Mistakes to Avoid
Let’s be real. Even pitmasters mess up seafood sometimes. Avoid these rookie errors:
- Overcooking: Lobster turns rubbery fast. When in doubt, pull it off a minute early – it keeps cooking in its shell.
- Skipping the pat-dry step: Water on the surface equals no sear.
- Too much direct flame: Flames burn butter faster than they cook lobster.
- Neglecting the baste: That garlic butter isn’t optional – it’s the flavor engine.
Pitmaster mantra: “Control the heat, feed it butter, and don’t walk away.”
Wrapping It Up
See? Grilling lobster isn’t witchcraft – it’s just timing, butter, and confidence. Once you nail it, you’ll start wondering why you ever ordered it at a restaurant.
The beauty of learning how to grill lobster at home is that you can make it exactly how you like it—smoky, buttery, spicy, or simple. The grill does the heavy lifting; you just guide it.
So next time you fire up the grill, skip the burgers. Go bold. Go lobster.
Because nothing says grill master like mastering the ocean.
Featured image credit: @keviniscooking

